
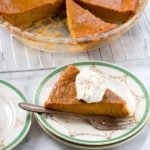
Crustless Pumpkin Pie is a twist on traditional Pumpkin Pie. Naturally gluten-free, this easy custard no crust pumpkin pie delivers the flavors you love without any fuss!
Pumpkin Pie recipes are the signature of fall and Thanksgiving. It's almost everyone's favorite.
The homey aroma of the pies baking makes it hard to wait until taking the first bite!
This easy pumpkin pie recipe will get you to the bite even faster.
Crustless Pumpkin Pie is made of the best part of pumpkin pie!
Want a skinny version? We’ve slimmed down the recipe in this pumpkin pie recipe.
Crustless Pumpkin Pie
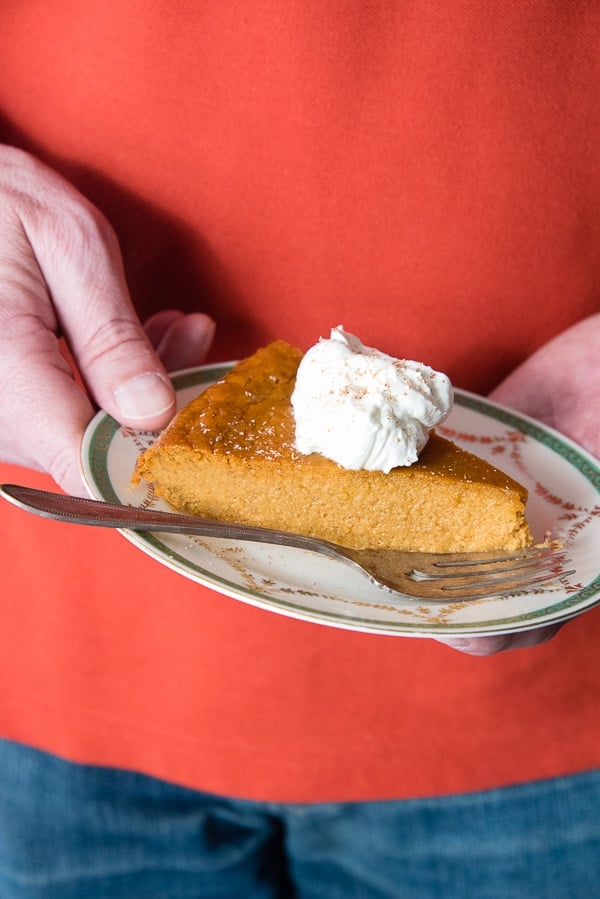
If you haven't had a No Crust Pumpkin Pie it reminds me of a pumpkin flan.
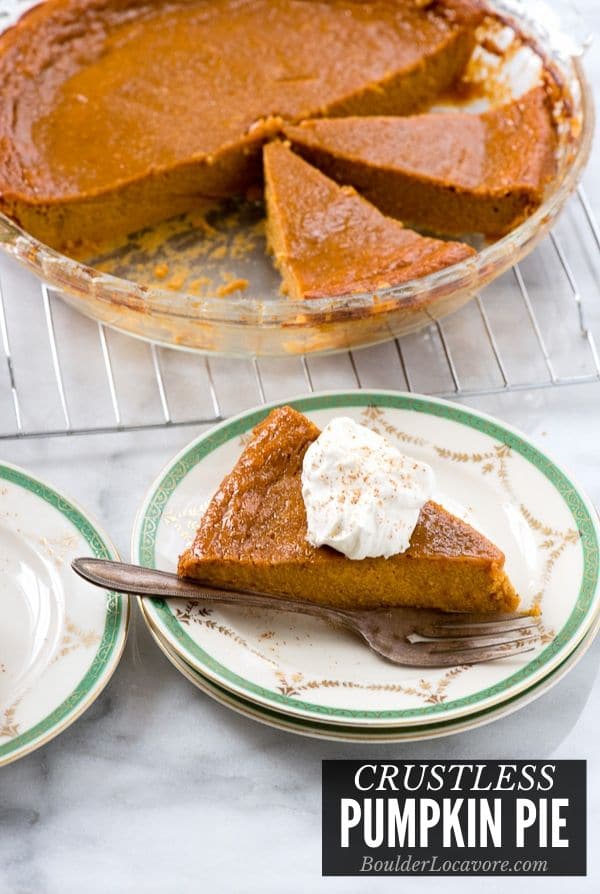
Stripped away are the carby flavors of the crust leaving only the beautiful filling.
It has a caramelized flavor from being cooked without a crust.
This recipe is based on a recipe from the 1930's I found in a pack of vintage recipes.
Now it will become a favorite in YOUR family!
Pumpkin Pie Ingredients
This recipe is made with pumpkin puree that is sweetened and nutmeg is added
- Eggs
- Granulated White Sugar
- Dark Brown Sugar
- Cinnamon
- Pumpkin Puree
- Nutmeg
- Kosher Salt
- Evaporated Milk
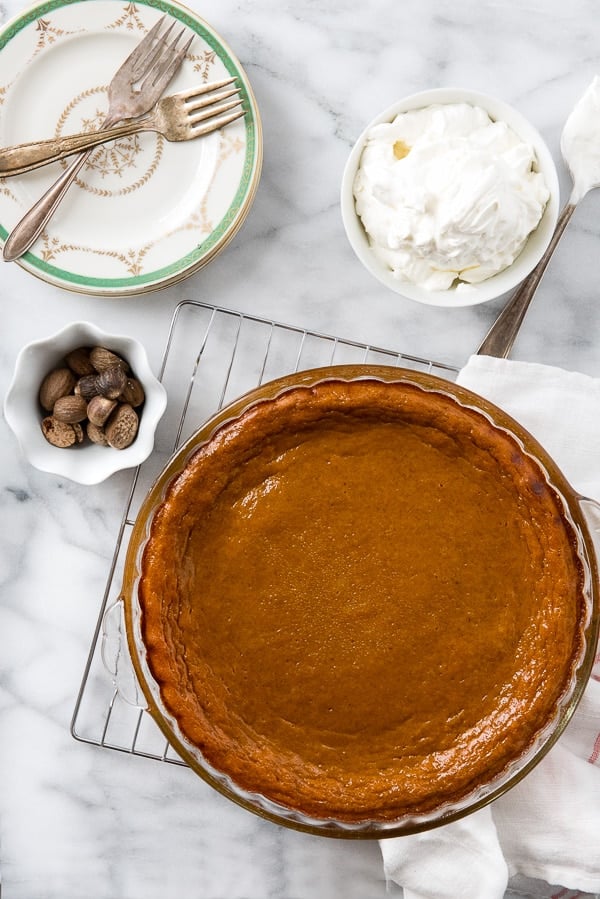
Grated Nutmeg
Ground nutmeg gives that familiar homey flavor to this easy pumpkin pie.
Did you know you can grate your own nutmeg too? Use whole nutmeg and grate them with a fine grater.
The flavor is even fresher and more aromatic than store bought nutmeg
Pumpkin Puree
Use pumpkin puree for this recipe. Not canned pumpkin pie filling.
How to Make Crustless Pumpkin Pie - Step-by-Step
This recipe got a big thumb's up from my family and really couldn't be easier to make.
Detailed printable recipe card at the end of the blog post.
STEP 1: Preheat the oven to 350 degrees. Spray a 9 ½ inch pie pan with non-stick spray (bottom and sides to the rim).
STEP 2: Beat eggs with a mixer. Add remaining ingredients, beat on low to combine.
STEP 3: Place prepared pie pan on a rimmed light-colored baking sheet.
STEP 4: Pour mixture into the pie pan. Bake for 50 minutes; test for doneness and if ready remove from oven and place on a cooling rack
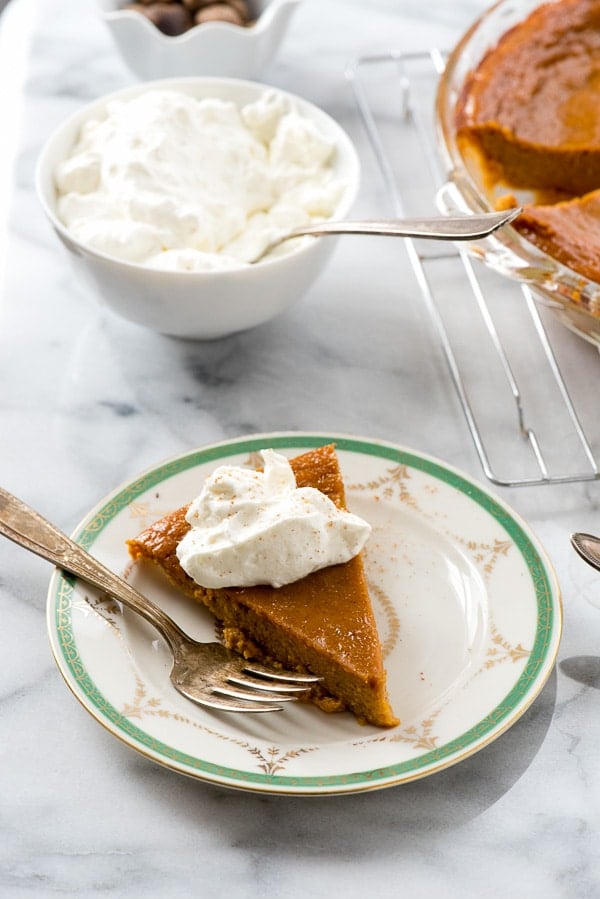
STEP 5: Allow to cool for 2 hours before slicing or placing in the refrigerator to chill.
Pro Tips for Baking this Pumpkin Pie
Spray the pie pan on the bottom and sides up to the rim with no-stick cooking spray. The pumpkin pie will rise as it bakes as custard pies do.
It will then settle as it cools. Coating the sides up to the rim prevents sticking.
Use a regular depth pie pan. Do not use a deep-dish pie pan.
Make sure eggs are room temperature. To quickly warm them place them in a bowl of warm (not hot) water to cover the eggs.
Allow them to sit 5 minutes or until they are no longer cool to the touch.
Bake on a light-colored baking sheet. Dark baking sheets become hotter and will cook faster.
Do not overcook it or it will crack (but still taste delicious).
Test the pie toward the end of the baking for doneness. When a knife inserted into the middle of the pie comes out clean, it's done EVEN if it looks a bit jiggly; it condenses as it cools.
Allow the pie to cool completely before cutting and serving. If planning to serve later, cool fully on a cooling rack before putting into the refrigerator.
May be made the day before serving. Perfect for busy cooking holidays like Thanksgiving.
More Thanksgiving Recipes You’ll Love
- Roast Turkey
- Instant Pot Turkey Breast
- Spicy Chorizo Cornbread Dressing
- Fresh Green Beans with Bacon and Almonds
- Au Gratin Potatoes with Green Chilies
- French Green Bean Casserole
- (Instant Pot) Mashed Potatoes with Sour Cream and Garlic
- Roasted Potatoes with Lavender
- Spicy Cranberry Sauce
- Pumpkin Cheesecake
Try These Dessert Recipes Too!
- Ginger Pear Pie
- Blackberry Oatmeal Bars recipe
- Chewy Ginger Snaps recipe
- Homemade Marshmallow recipe
- Banana Cupcakes & Cream Cheese Buttercream Frosting
- Homemade Hot Chocolate Mix
- Instant Pot Caramel Pecan Pumpkin Cheesecake recipe
- Lemon Pie
Recipe

Crustless Pumpkin Pie
Ingredients
- 4 Eggs , room temperature
- ½ cup Granulated Sugar
- ½ cup Dark Brown Sugar
- 1 teaspoon ground Cinnamon
- 1 15- ounce can Pumpkin
- ¼ teaspoon Nutmeg (freshly grated if possible)
- ½ teaspoon Kosher Salt
- 1 12- ounce can Evaporated Milk
Instructions
- Preheat the oven to 350 degrees. Spray the bottom and sides (up to the rim) of a 9 1/2-inch regular depth (not deep dish) pie pan with no-stick spray.
- Beat the eggs with a mixer. Add remaining ingredients and beat on low setting (to avoid splashing) until combined.
- Place the prepared pie pan on a light colored (not black) baking sheet. Pour the mixture into the pie pan. Bake for 50 minutes and test for doneness by sticking a knife in the middle of the pie. If the knife comes out clean it's done (it may still jiggle a little). It not, bake another 5-10 minutes until the knife comes out clean. Note: the pie will firm up when removed from the oven so if it still moves a bit don't worry.
- Allow to cool on a rack for 2 hours before cutting or chilling in the refrigerator. Maybe be made the day before serving.
Notes
Nutrition
Originally published: November 18, 2016
Barbara Schieving says
I love the simplicity of this pie.
Aysegul says
This sounds great and delicious.Thanks for sharing
Ben Rayl says
This is the perfect option for a thanksgiving day gluten free sweet treat!
Ebba Currie says
How much fresh roasted pumpkin do i replaced the canned pumpkin with?
Toni Dash says
The same volume as 1 15-ounce can of pumpkin. I just Googled a canned pumpkin nutrition label and it indicated 1 15-ounce can has 3.5 1/2-cup servings. So 1 3/4 cups? Feel free to check my math!
Sarah Bailey says
This is really pretty cool that there is no crust. I never would have thought of pie without it.
aziel morte says
This is absolutely looks yummy and a comfort food for me.
Jennifer says
What a creative spin on an old recipe! I just love that your recipe you based it on was from the 1930s. It looks delicious. I’m going to have to add this to my Thanksgiving menu!
Toni Dash says
Hi Jennifer. I don’t actually know that this particular recipe was from the 1930’s; that mention was for a cake recipe I found. I do think it’s from mid last century but am unsure about the actual date!
Seattle Travel Blogger says
You include some very good pictures.
Also, your instructions read well.
Toni Dash says
Thank you!
Melissa @ Married my sugar daddy says
Fewer carbs is right up my alley! Love this recipe and it will be perfect for my gluten free thanksgiving guests!
Rosey says
It reminds me of a flan too. My youngest son dones not like crust so this would be perfect for him.