Homemade Marshmallows are a delicious treat and can be made in any flavor or color! This guide gives recipes, tips and tricks for everything you need to know!
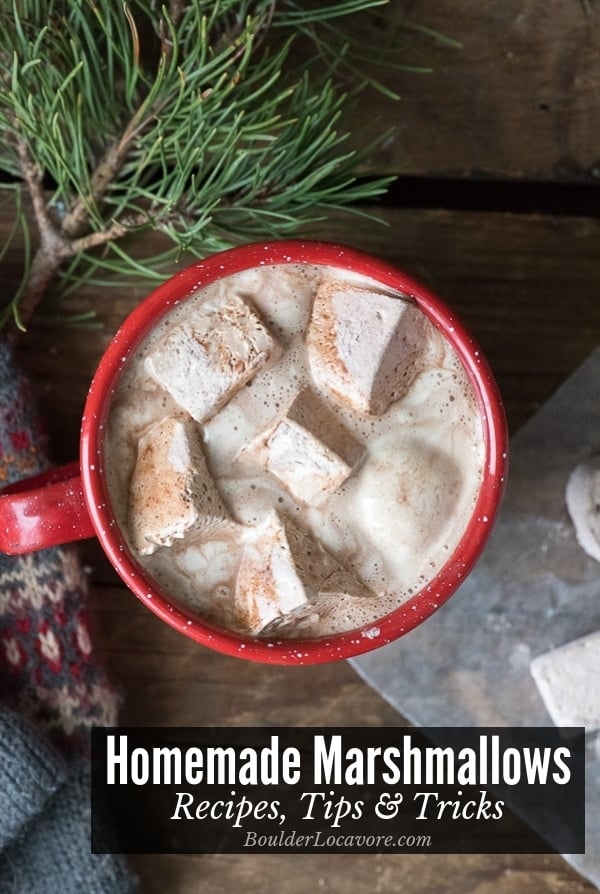
Marshmallows are one of those foods that you’d never imagine you could make yourself.
I’m here to persuade you otherwise!
A world of possibility opens since they can be flavored (and colored) in any way.
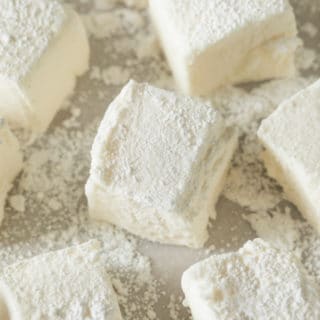
They have a wonderful billowy texture that is slightly denser than store bought marshmallows.
With some simple tips you’ll love making them for every season and occasion.
Why Make Marshmallows?
As available and inexpensive as marshmallows are at the store, you may wonder if it’s worth it to make them?
The answer is definitely YES and here are some reasons why:
- The fluffy texture that does not have the chewiness of their store-bought counterpart.
- Adapting to any flavors (and colors) you can dream up.
- The suspense of leaving an uncovered pan of gooey ‘batter’ to awake the next morning to fully formed marshmallows.
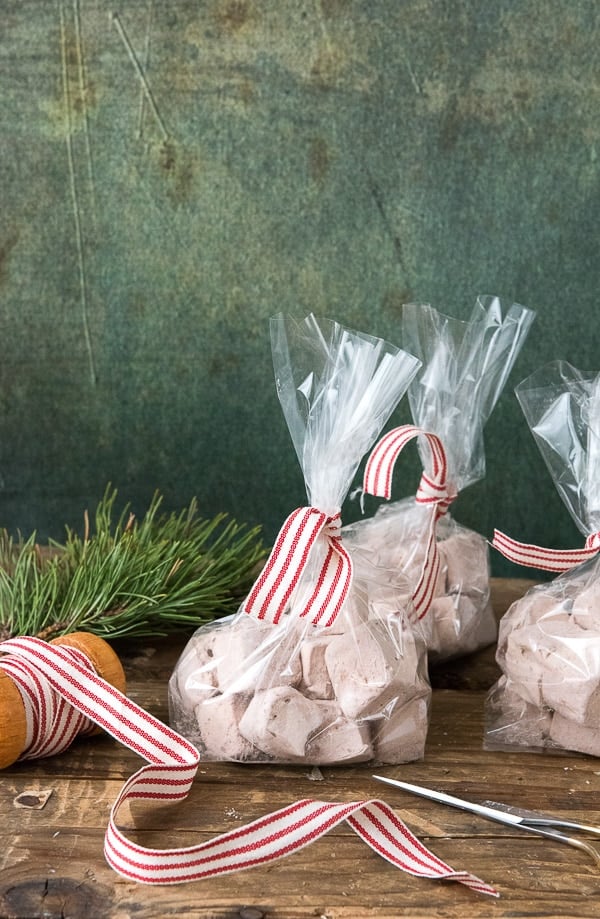
- They make great gifts!
These are wonderful to pop in the mouth or add to a steaming cup of hot cocoa but that’s just a start.
Recipe Ingredients
Have you ever wondered what exactly is IN marshmallows?
Lots of sugar for starters (why else would they be so delicious?!).
- Confectioner’s Sugar
- Cornstarch
- Gelatin
- Water
- Granulated Sugar
- Corn Syrup
- Optional coloring and/or flavoring
The confectioner’s sugar and cornstarch combine to help the completed marshmallows develop an outer ‘skin’ so they are not overly sticky to the touch.
The other ingredients are magically whipped together to create gorgeous these treats you’ll love.
Are Marshmallows Vegetarian?
They actually aren’t! Gelatin, a key ingredient, is made from animal protein.
How to Make Homemade Marshmallows
The main components of making marshmallows include:
- Making a sugar mixture on the stove top (12 minutes)
- Beating the mixture into a fluffy mass (15 minutes)
- Letting the mixture settle in a pan overnight to firm up (overnight)
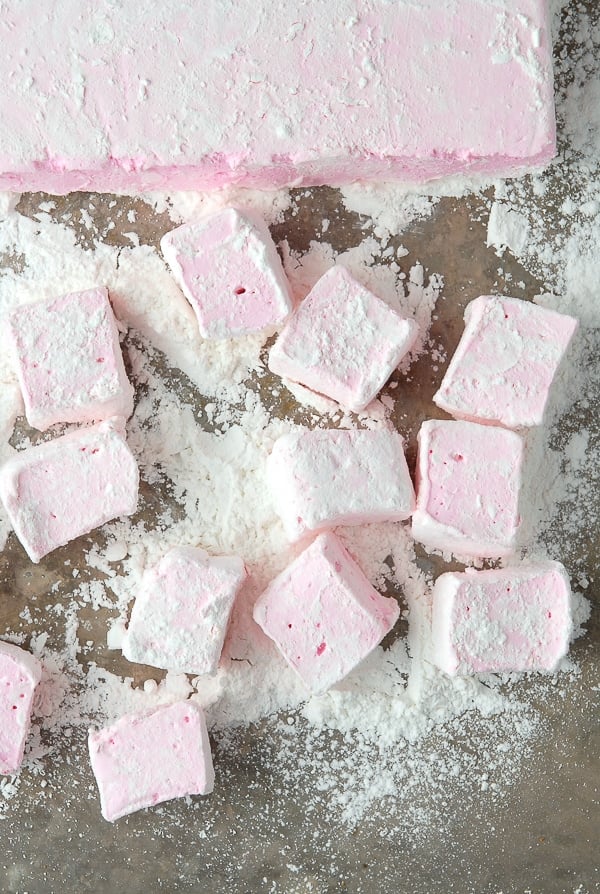
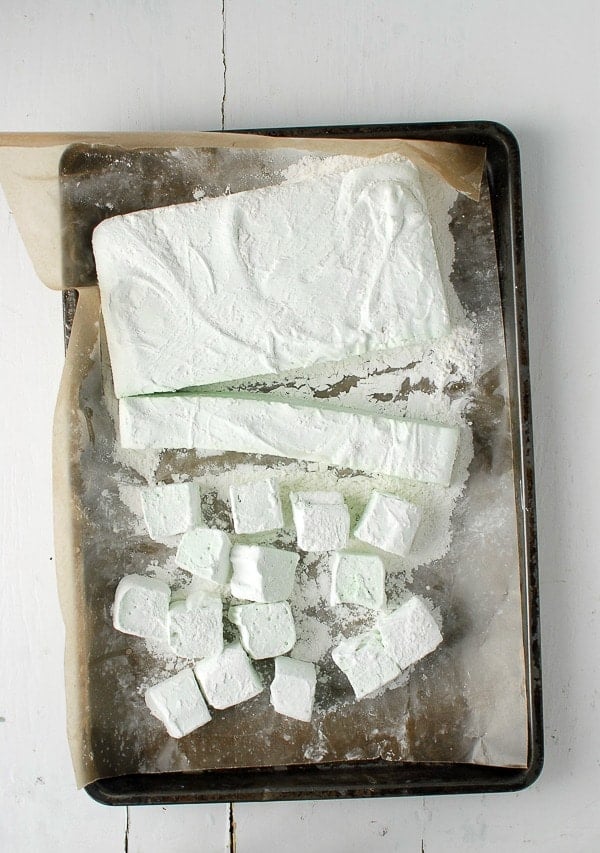
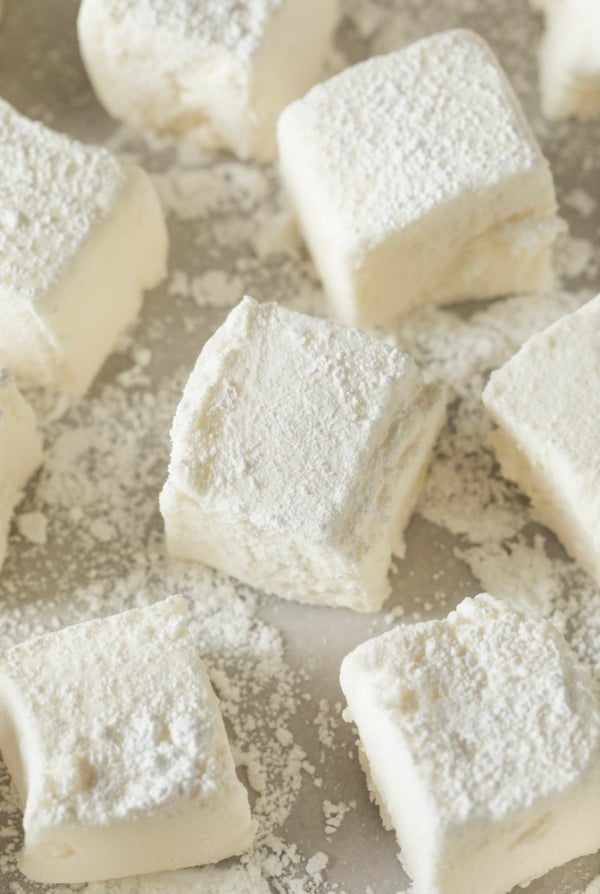
- Cutting and dusting the exposed sides of the marshmallow to prevent excess stickiness
Recipe Notes
This recipe is flavored with vanilla extract.
Make it as is or with some food coloring added (add a few drops at the end of mixing until preferred color is achieved).
Additionally it’s the perfect base recipe to change up the flavors. Simply substitute a different extract of your choice.
Pro Tip: I recommend using clear vanilla extract for these marshmallows to keep them whiter in color.
FLAVOR NOTE: if substituting a strong flavor such as peppermint, using slightly less extract (2 teaspoons vs a tablespoon) will result in a less overwhelming flavor.
Detailed instructions may be found in the printable recipe card at the end of the blog post.
Supplies Needed
- Heavy stand mixer fitted with the whisk attachment: this is key. Whipping the sugary mixture into the marshmallow base takes about 15 minutes and the ‘batter’ becomes thicker putting more demand on the mixer. I use a Kitchenaid Stand mixer and it works like a champ.
- 9-inch by 9-inch pan
- Parchment paper
- Candy thermometer
- Sturdy Spatula (NOTE: This is the only spatula I use; I’m hooked!)
- Non-Stick Cooking Spray (neutral flavor, not olive oil flavor)
How to Cut the Marshmallows
Once the marshmallows are ready, there are a few tricks to cutting them.
I personally use kitchen shears. I find them easy to cut through the marshmallows and to cut into a variety of sizes.
Other tools to cut marshmallows:
Pro Tip: Spray the cutting tool with non-stick spray to make cutting the marshmallows easier.
Cut Them into Regular or Mini Sizes
Another great thing is that you can cut them into any size you choose.
Cut them into regular size, mini or extra-large!
Or cut them into shapes.
How to Make a Swirl Design
There are two ways to make a swirl design:
- Add a few drops of coloring at the end of the mixing cycle and mix two to three times to stripe the color through the marshmallow mixture (don’t over mix or it will color the entire batch), or
- Once the marshmallow mixture is spooned into the pan, add a few drops of coloring and drag it through the mixture with toothpicks or a kitchen knife.
How to Make Shapes
There are molds to make homemade marshmallows however I have not used them.
It’s easy to make shape marshmallows with cookie cutters! As with these Heart Shaped marshmallows, lightly spray a cookie cutter with non-stick spray and cut shapes out of the master batch.
Great for holidays and special occasions!
Make Different Flavors!
Once you make your own marshmallows you’ll love trying different flavors.
Here are some great recipes (link to the recipe in the recipe title):
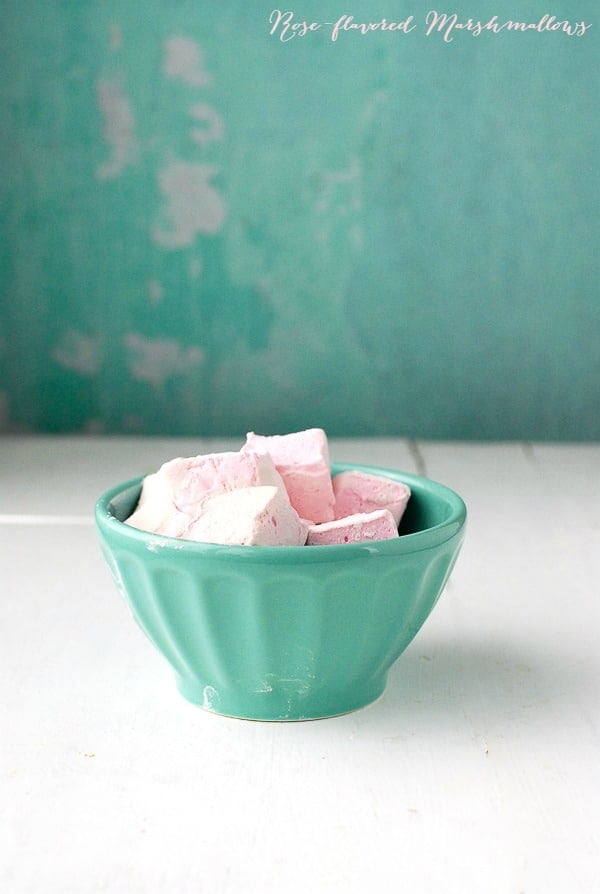
Rose-Flavored: Thanks to rose extract (and lighter flavored rose water) these pink beauties TASTE like roses SMELL! Great for Valentine’s Day or Mother’s Day.
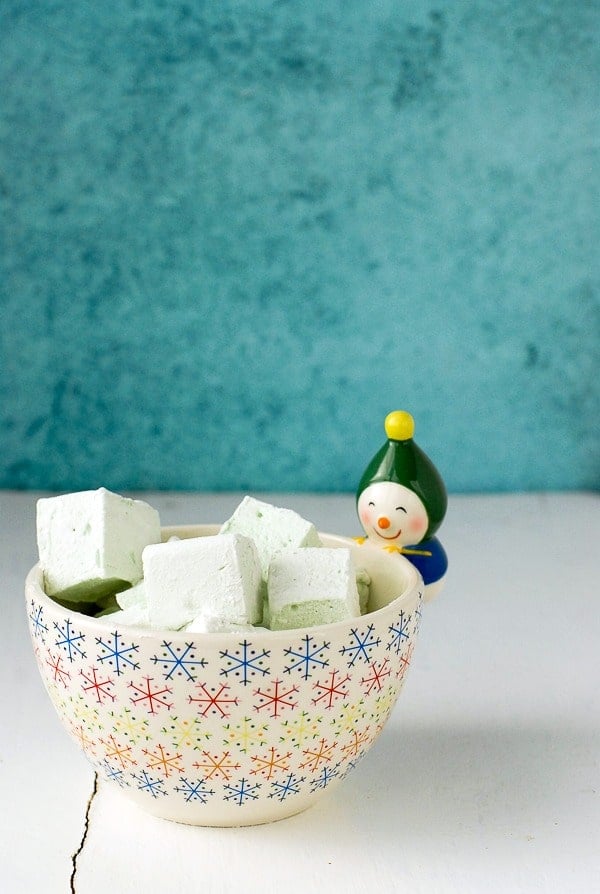
Crème de Menthe: These green, minty marshmallows can be made with homemade Crème de Menthe (or store bought) and are a great holiday treat.
Vanilla-Coffee Liqueur: A light coffee flavor mixed with homey vanilla make these marshmallows a cozy winter option.
Peppermint Swirl (A Farmgirl’s Dabbles): I love the red and white swirls in these peppermint marshmallows. Perfect for some hot cocoa by a roaring fire!
Kool-Aid (Dinners Dishes & Desserts): These are colored and flavored with your favorite Kool-Aid!
Eggnog (Baker’s Royale via TheKitchn): Perfect for the holidays for yourself or gifts.
Rainbow (Baker’s Royale): Nothing is prettier than these Rainbow Marshmallows!
Recipes to Use them
S’mores: regular or oven S’mores are made even better with homemade marshmallows
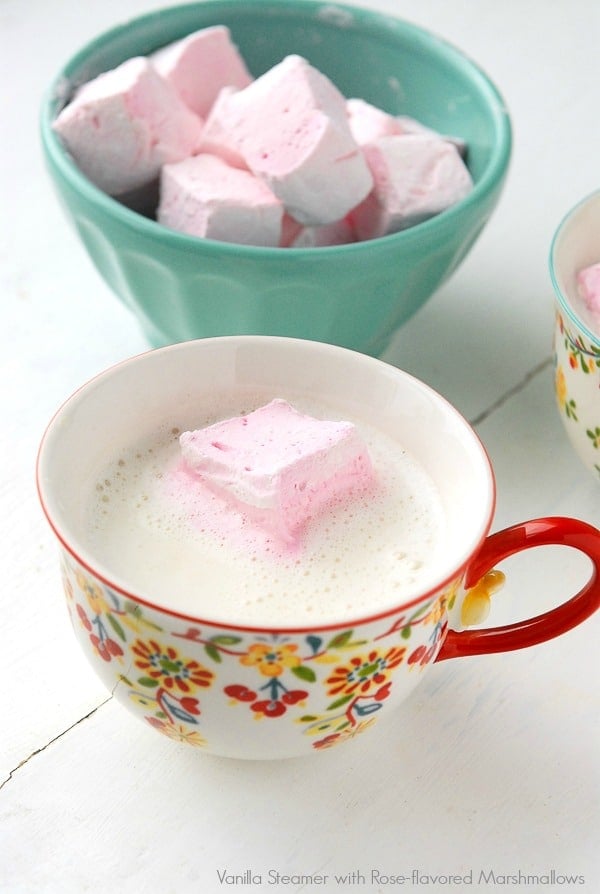
Vanilla Steamer with Rose-Flavored Marshmallows (any marshmallows can be used with this recipe)
How to Store Them
Store in an airtight container for 5 days.
Though they do not ‘go bad’ as with other perishable foods, their texture begins to change after 5 days.
Can Homemade Marshmallows Be Frozen?
YES! If you have more than you can eat, freeze them.
How to Freeze them:
Place them in an airtight freezer-safe container or freezer bag, and keep them in the freezer for up to 3 months.
TIP: freezer smaller bags for a few servings to enjoy when you want some rather than freezing an entire batch.
Try making Hot Chocolate Bombs too!
Please SUBSCRIBE and FOLLOW ME on FACEBOOK , TWITTER , INSTAGRAM and PINTEREST !
Recipe
Homemade Marshmallows
Ingredients
- ¼ cup Confectioner’s Sugar
- ¼ cup Cornstarch
- 3 packets Gelatin
- 1 cup cold Water
- 1 ½ cups Granulated Sugar
- 1 cup Corn Syrup
- 1 tablespoon Vanilla Extract preferably clear vanilla extract
Instructions
- Prepare a 9 by 9 inch square pan by spraying with cooking spray. Place a piece of parchment paper in the pan to cover the bottom and two adjacent opposite sides (leaving the other two opposite sides of the pan uncovered) ; press into the creases. This makes it easy to lift out of the pan when done. Spray the parchment paper and set pan aside.
- Mix together the confectioner's sugar and cornstarch in a small bowl; set aside.
- In the bowl of a free standing mixer equipped with a whisk attachment, add the gelatin and 1/2 cup of the cold water. Do not stir.
- In a large saucepan combine the sugar, corn syrup and remaining ½ cup of cold water. Stir to dissolve.
- Equip the saucepan with a candy thermometer and bring to a simmer over Medium-High heat; do not stir. Allow mixture to simmer until it reaches 240 degrees on the thermometer.
- Slowly pour the sugar mixture down the side of the bowl of the mixer with the gelatin. Start the mixer on low speed and once the two mixture have combined raise the speed to high and allow to mix for 15 minutes when mixture will be light and airy.
- At 14 minutes add the vanilla extract and any food coloring if desired).
- Spray a spatula or silicone spoon with cooking spray so it won’t stick to the marshmallow.
- Spoon the marshmallow mixture out of the mixing bowl and into the prepared pan. Smooth with the sprayed spatula to cover the pan and smooth the top.
- Sprinkle some of the confectioner's sugar-cornstarch mixture on the top; reserve the rest for the next day.
- Set the pan of marshmallow aside at room temperature, uncovered, overnight.
- The next day sprinkle the remaining confectioner's sugar-cornstarch onto a work surface.
- Lift the marshmallow from the pan with the sides of the parchment paper. Peel away the parchment paper and place the underside of the marshmallow (that was on the parchment paper) onto the sugared work surface, allowing it to become covered with the sugar-cornstarch.
- Cut the marshmallow into 1 1/4 or 1 1/2 inch wide strips; kitchen scissors work the best for this task. Cut each strip into individual marshmallows (1 1/4 or 1 1/2 inch).
- Roll all sides of the marshmallows in the sugar-cornstarch mixture and shake off any excess (this will keep the marshmallows from sticking to each other or hands).
- Store in an airtight container for up to 5 days.
Sandra says
My kids really loved making their own marshmallows! Thanks for your recipe!
Fatima Torres says
I didn’t know you could make your own marshmallows. This looks delicious and fun to make with the family.
Toni Dash says
Isn’t that fun?! I did not know it for a long time either.
Cathy says
These would make such a fun gift!
Suzy says
They came out perfectly! The tips and tricks were perfect! These taste so good on a s’mores too!
Wren says
These look delicious! I think my daughters would really enjoy trying this!
Janeane M Davis says
I am glad I saw this recipe. I am excited about making all kinds of recipes for my children’s hot drinks and desserts.