Hummingbird Cake is a 'WOW' cake that never disappoints. Think Carrot Cake meets Banana Bread and a whole lot more.
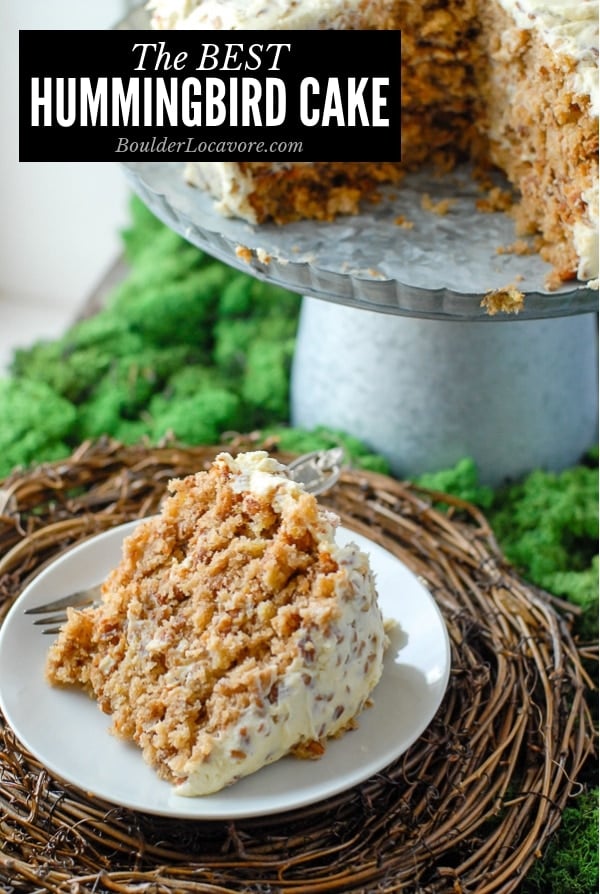
If you never thought you could fall in love with a cake, I feel sure Hummingbird Cake will take you there!
The blend of warming flavors, wholesome ingredients and an element of surprise from more mainstream cakes.
Hummingbird Cake is a special three-layer cake is moist, delicious with a unique flavor combination that never disappoints.
It's perfect for parties, special occasion or just to make any day special!
Jump to:
- What is Hummingbird Cake?
- Why You Should Make THIS Recipe!
- What is the Origin of Hummingbird Cake?
- A Secret Ingredient!
- PRO TIP: Use Fresh Pineapple!
- A Note About the Cream Cheese Frosting
- Make it A Day Early!
- How to Make Hummingbird Cake – Step-by-Step
- Supplies & Tools for Making this Cake Recipe
- How To Store Hummingbird Cake
- Can Hummingbird Cake be Frozen?
- More Cake Recipes You’ll Love
- Try These Recipes too!
- Recipe
What is Hummingbird Cake?
Hummingbird Cake is a perfect marriage between Banana Bread and Carrot Cake flavors.
There is no carrot in the cake but those telltale flavors of cream cheese, nuts and ground cinnamon shine through with familiarity.
Pair that with banana cake with some tropical flavor from fresh crushed pineapple.
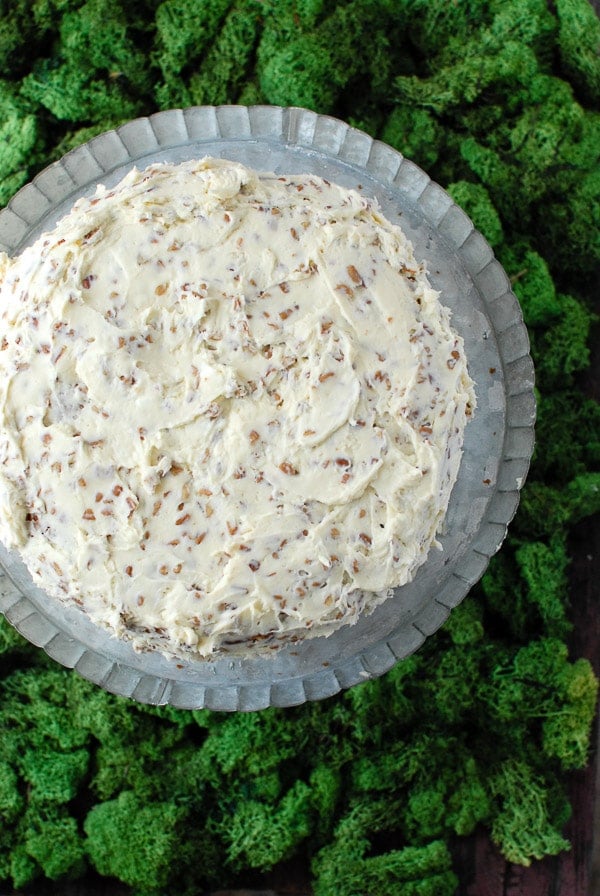
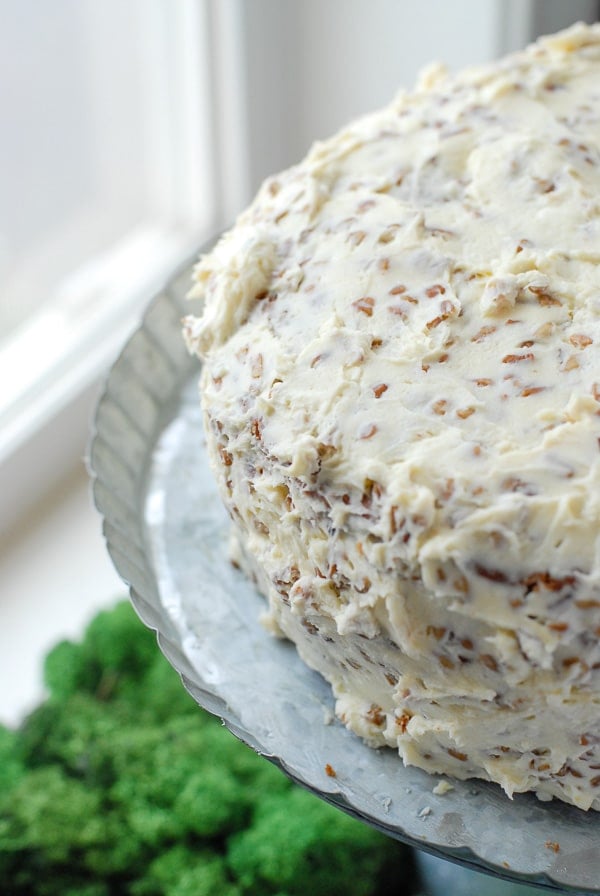
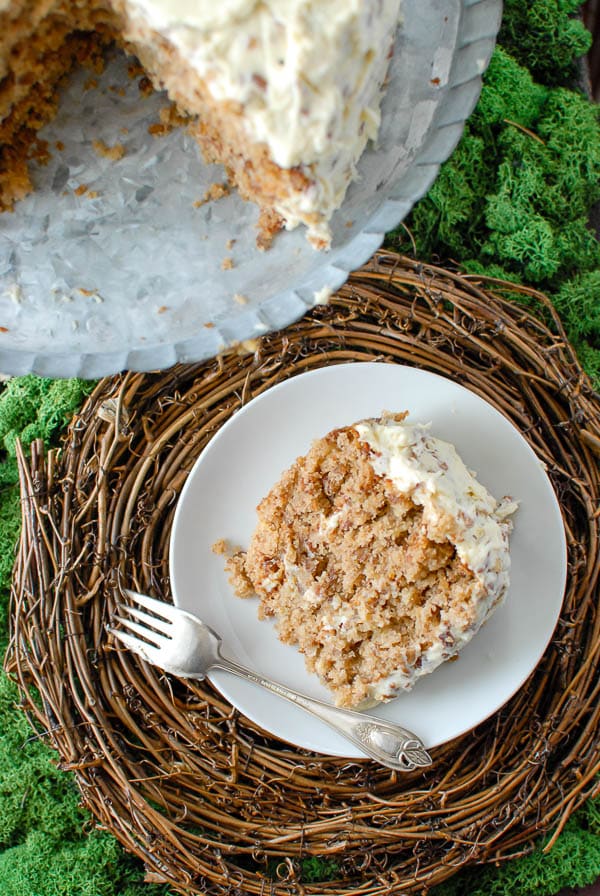
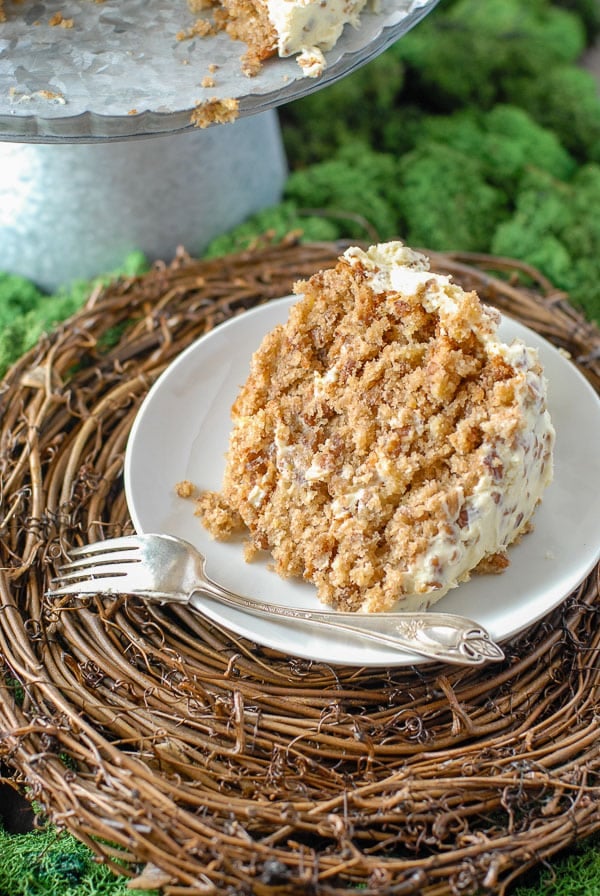
This moist cake has plenty of chopped pecans in the cream cheese frosting on the top of the cake and sides of the cake too!
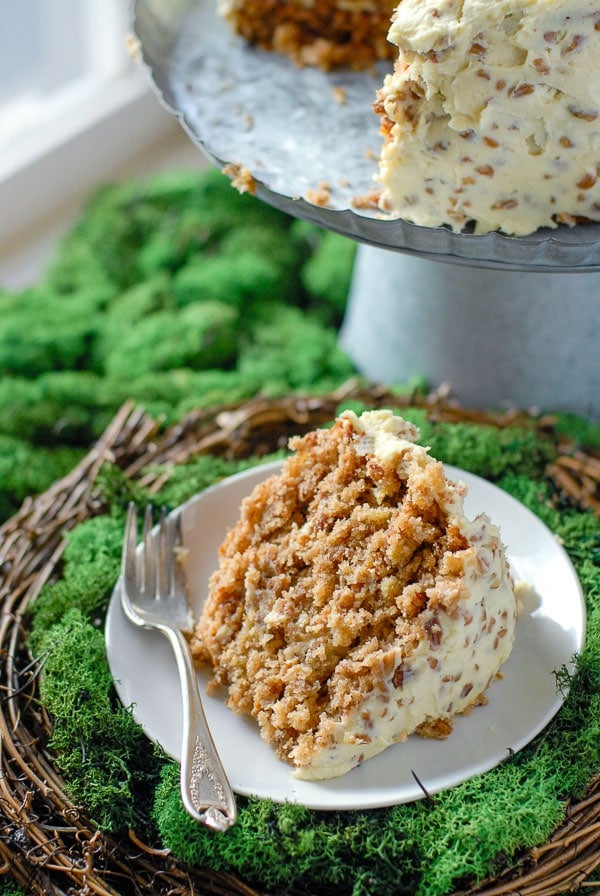
Hummingbird Cake is lighter than carrot cake, almost crumbly (though still moist) with the distinct (though not overpowering) flavor of banana.
It has a Cream Cheese Pecan frosting which is irresistible and a perfect complement to the banana and pineapple flavors in the cake.
Why You Should Make THIS Recipe!
I love easy recipes and shortcuts so looking at a recipe this length would normally scare me off.
Here is why you should make this best Hummingbird Cake recipe:
- Though the recipe is long, it's not hard to make
- It's a unique cake that never disappoints (check the reader comments below for proof)
- This Hummingbird Cake recipe can be made either with traditional or gluten-free flour
- This Hummingbird Cake has a few unique ingredients (but not hard to find) that make it truly special
What is the Origin of Hummingbird Cake?
The origins are from the United States south. Its true roots are from Jamaica where the Hummingbird is the national bird!
A Secret Ingredient!
Banana is a key ingredient in Hummingbird Cake. This recipe uses roasted banana.
This is a trick I learned from a chef years ago when recreating his Banana Pudding: fresh bananas are roasted in the peel.
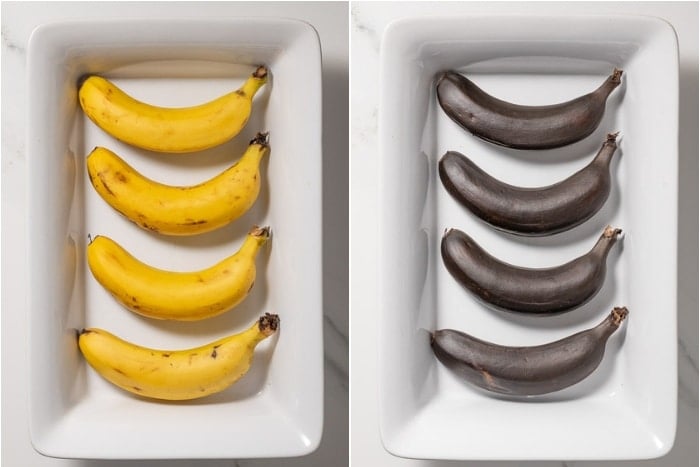
The bananas are baked in the oven and will have black peels after roasting.
After roasting the bananas are sliced open and the roasted banana used in this classic Hummingbird cake recipe.
The banana flavor deepens and caramelizes while they roasts.
The bananas have a rich flavor different from regular fresh or overripe bananas.
Trust me, it's a step worth taking!
PRO TIP: Use Fresh Pineapple!
The recipe calls for fresh pineapple that will be crushed. Don't replace this with canned pineapple!
The reason is that canned pineapple has a much higher amount of moisture and the structure of the pineapple itself is different from being canned.
The flavor is much better with fresh pineapple as well as it won't add too much moisture and change how the cake bakes.
TIMESAVING TIP: buy fresh pineapple chunks in the grocery store produce or prepared foods section.
You will still need to crush it at home but it will save the time of peeling and coring a whole fresh pineapple.
A Note About the Cream Cheese Frosting
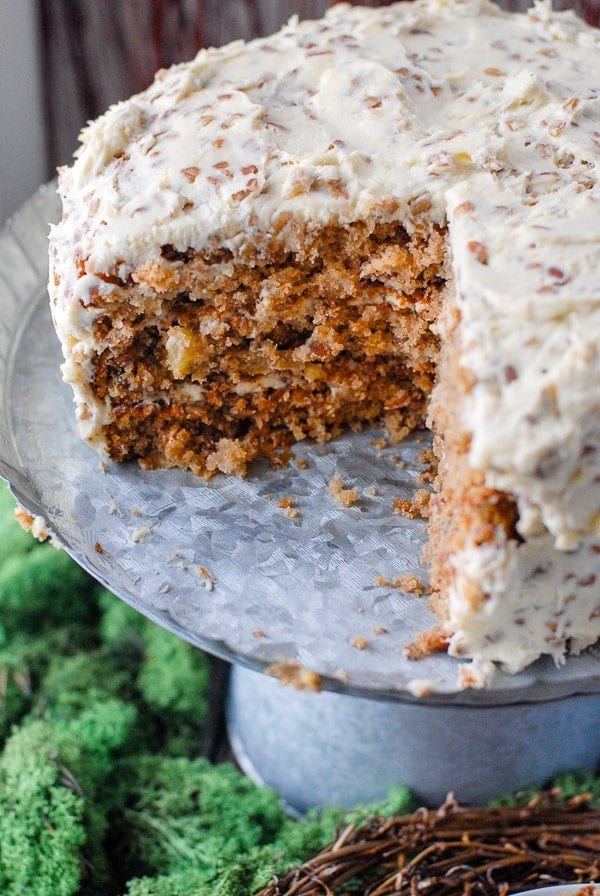
The Hummingbird Cake has a wonderful cream cheese pecan frosting that adds a sweet, tangy, nutty finish to this delicious cake.
The recipe makes enough frosting to lightly frost between the layers.
Though visually more might seem better, the flavors are perfectly balanced.
To me it has the look and taste of a cool weather cake; light cinnamon, roasted bananas and the cream cheese frosting. No frosting overload.
Make it A Day Early!
For best flavor make the Hummingbird Cake a day before serving!
How to Make Hummingbird Cake – Step-by-Step
Though there are a number steps for this recipe, they are not difficult.
And once you have a bite of the cake, you’ll be making it for all special occasions!
If you’d like to print the recipe refer to the detailed recipe card at the end of the post!
How to Roast the Bananas
STEP 1: Preheat the oven to 350 degrees F.
STEP 2: Place bananas on a cookie sheet with peels left on. Bake in the oven for 12 minutes until the skins are black (see below).
STEP 3: After cooling slightly to handle, peel bananas, place in a small mixing bowl and mash (photo 1).
Making the Cake
STEP 1: Butter and flour 3-9 inch round baking pans. Trace the bottom of the pan (for all three pans) onto parchment paper, cut out circle and place in the bottom of each pan.
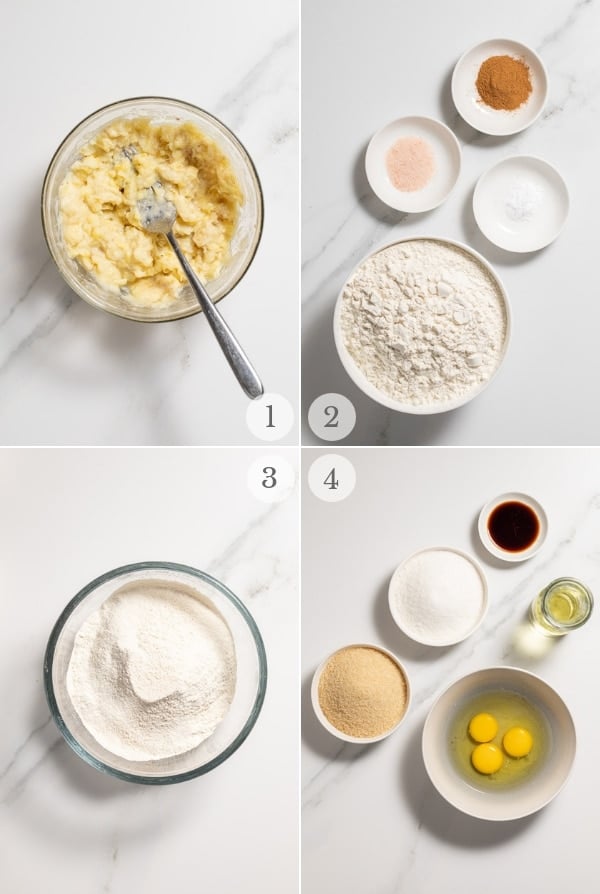
STEP 2: In a sifter over a large mixing bowl combine the flour, cinnamon, baking soda and salt (photo 2; ingredients pre-sifting). Sift into the large bowl (photo 3; after sifting).
STEP 3: In a second large mixing bowl combine the granulated and brown sugar; stir to combine (photo 4; ingredients for next steps).
STEP 4: Add the eggs and stir briskly by hand to combine all ingredients into a smooth mixture .
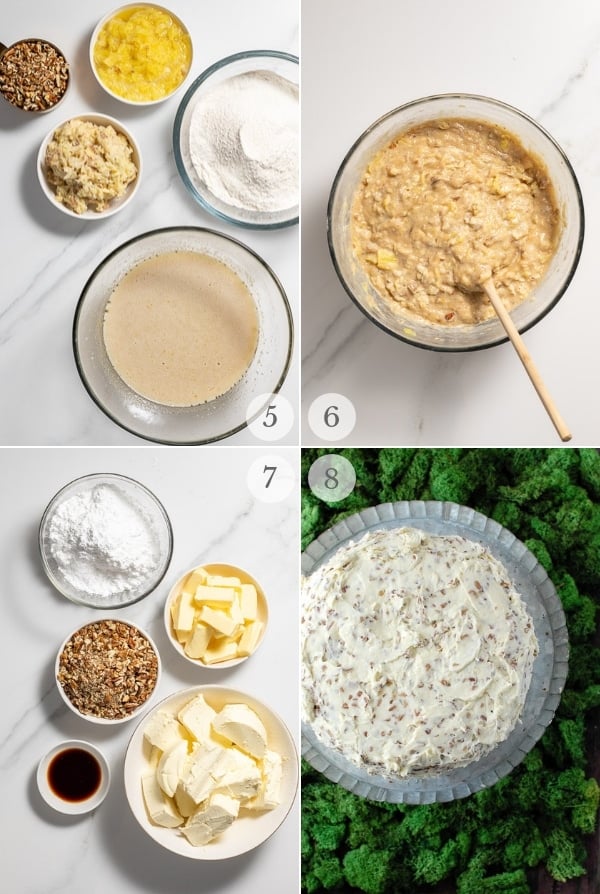
STEP 5: Whisk the oil and vanilla into the sugar/egg mixture until combined and smooth (shown in photo 5 post mixing).
STEP 6: Add the flour mixture (dry ingredients) all at once to the wet ingredients and hand stir (do not beat) to combine the mixture fully.
STEP 7: Crush the fresh pineapple and add the fruit and juice to the batter.
STEP 8: Also add the mashed bananas and the pecans. Stir just until combined; do not over stir (final batter photo 6).
STEP 9: Divide the cake batter evenly between the three prepared pans. Place in the 350 degree oven for 25-30 minutes until cake bounces back to the touch or a toothpick inserted in the center comes out clean.
STEP 10: Allow to cool in pans on wire racks for 5 minutes then turn out onto cooling wire rack to cool completely before frosting.
Preparing the Frosting
STEP 1: Prepare the cream cheese and pecan frosting (photo 7; frosting ingredients).
STEP 2: Follow the instruction in the recipe card to assemble and frost the cake.
STEP 3: Allow cake to stand at room temperature 30 minutes before serving (photo 8).
PRO TIP: Cake best when made the day prior to serving!
Supplies & Tools for Making this Cake Recipe
Most of the items needed for this recipe are things you probably already have!
- Rimmed Baking Sheet (to roast the bananas)
- 3 9-inch Cake Pans
- Parchment Paper
- Flour Sifter
- Small, medium and large mixing bowls
- Standing Mixer (or hand held mixer)
- Potato Masher(to crush the pineapple)
- Whisk
- Cake Plate or Cake Stand (for serving)
How To Store Hummingbird Cake
Hummingbird Cake should be stored in the refrigerator due to the cream cheese frosting.
It may be stored in the refrigerator for 5-6 days (or may be frozen).
Store it in an airtight cake container and take it out 1 hour before serving to allow it to warm to room temperature for best flavor.
Can Hummingbird Cake be Frozen?
YES! It can be kept in the freezer for 4-6 months.
The BEST way to freeze it:
Clear space in your freezer and place the cake, unwrapped in the freezer to full freeze (about 4 hours).
When the cake is frozen, wrap it well with plastic wrap followed by foil.
This will ensure it is well enclosed so it will not dry out.
When ready to eat it, allow it to thaw in the refrigerator overnight or at room temperature (providing it isn't too hot).
More Cake Recipes You’ll Love
If you like the idea of Hummingbird Cake I think you’d love:
- Italian Cream Cake
- Happy Day Cake with Strawberry Whipped Cream Frosting
- Strawberry Cake
- Chocolate Zucchini Cake
- Banana Coffee Cake
- Pumpkin Cheesecake
- Instant Pot Caramel Pecan Pumpkin Cheesecake recipe
- Eggnog Magic Cake
Try These Recipes too!
- Sugar Plums: What Are They & How to Make Them
- How to Make Simple Syrup: 8 Recipes and Suggested Uses
- How to Make Divinity (candy)
- Banana Cupcakes & Cream Cheese Buttercream Frosting
- Homemade Hot Chocolate
- Quiche Lorraine
Recipe
The Best Hummingbird Cake
Ingredients
Cake
- 3 cups All Purpose Flour regular or gluten-free measure-for-measure flour blend
- 2 teaspoons ground cinnamon
- 1 teaspoon baking soda
- 1 teaspoon salt
- 1 cup granulated sugar
- 1 cup packed light brown sugar
- 3 large eggs room temperature
- 1 cup vegetable oil
- 2 teaspoons vanilla extract
- 1 cup fresh pineapple crushed (see below)
- 2 cups roasted bananas* mashed (approximately 4 large or 6 medium-small bananas with peel left on; instructions below)
- 1 cup chopped pecans
- Parchment paper to line bottom of the cake pan
Cream Cheese Frosting
- 1 ½ sticks (12 tablespoons) unsalted butter chilled
- 3 8-ounce packages cream cheese chilled
- 1 teaspoon vanilla extract
- 1 ½ cups powdered/ Confectioners sugar sifted
- 1 ½ cups finely chopped pecans
Instructions
- Preheat the oven to 350 degrees.
How to Roast Bananas
- Place bananas on a cookie sheet with peels left on. Bake in the oven for 12 minutes until the skins are black (the bananas may leak which is fine). NOTE: Leave the oven heated to 350 degrees.
- Remove and let cool until they can be handled. Peel bananas, place in a small mixing bowl and mash. Set aside.
- Peel bananas, place in a small mixing bowl and mash. Set aside.
Making the Hummingbird Cake
- Butter and flour 3 9-inch round baking pans.
- Trace the bottom of the pan (for all three pans) onto parchment paper, cut out circle and place in the bottom of each pan.
- Using a sifter over a large mixing bowl combine the flour, cinnamon, baking soda and salt. Sift into the bowl. Set aside.
- In a second large mixing bowl combine the granulated and brown sugar; stir to combine.
- Add the eggs and stir briskly by hand to combine all ingredients into a smooth mixture.
- Whisk the oil and vanilla into the sugar/egg mixture until combined and smooth.
- Add the flour mixture all at once and hand stir (do not beat) to combine the mixture fully.
- To crush the pineapple: Place 1 cup of finely diced fresh pineapple in a medium mixing bowl and using a potato masher, crush the pineapple.
- Add the crushed pineapple fruit and juice to the batter.
- Add the mashed banana and the pecans. Stir just until combined; do not over stir.
- Divide the batter evenly between the three pans. Tap the pans on the countertop to release any air bubbles and place in the 350 degree oven for 25-30 minutes until cake bounces back to the touch and a toothpick inserted in the cake comes out clean.
- Allow to cool in pans on racks for 5 minutes then turn out onto cooling racks to fully cool before frosting. NOTE: Be sure to peel off and discard the parchment paper.
Instructions for Cream Cheese Frosting
- Cut sticks of chilled butter into 1 inch pieces and place in the bowl of a standing mixer (can use a hand held mixer if needed). Beat on low speed, gradually increasing speed to medium until the butter is still cool but has softened together (about 3 minutes).
- Cut the cream cheese into 1 inch strips and add to the butter. Mix at medium speed until fully combined, and smooth.
- Add the vanilla and slowly add the sifted powdered Confectioners sugar. Beat until well blended, increasing speed to beat on medium-high for 3 minutes or until the frosting becomes light and fluffy.
- Fold in pecans by hand.
Instructions for Cake Assembly
- Place the first layer of cake upside down (the bottom of the cake will be frosted) on the serving plate. Cover with 2/3 cup of frosting. This will be a thin covering.
- Place the second layer of cake right side up (flat cake bottom onto the frosting) and frost the top of this layer with 2/3 cup again (note: I found I needed just a bit more to cover this layer).
- Place the last cake layer with cake right side up and use the remaining frosting to cover top of cake and the sides.
- Allow cake to stand at room temperature 30 minutes before serving and store any uneaten cake in the refrigerator. Cake best when made the day prior to serving!
Video
Notes
Adapted from Country Home magazine (2008)
Nutrition
Originally published: January 29, 2012

Beverly Ringuette says
Recipe looks great! Could I put the pineapple in a food processing instead of crushing it?
Toni Dash says
No. For best results we recommend following the recipe as written.