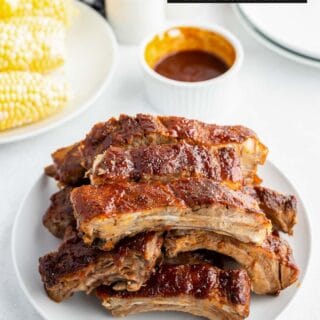
Oven Baked Ribs deliver perfectly cooked tender BBQ ribs without a grill! It’s an easy way to make delicious ribs all year long.
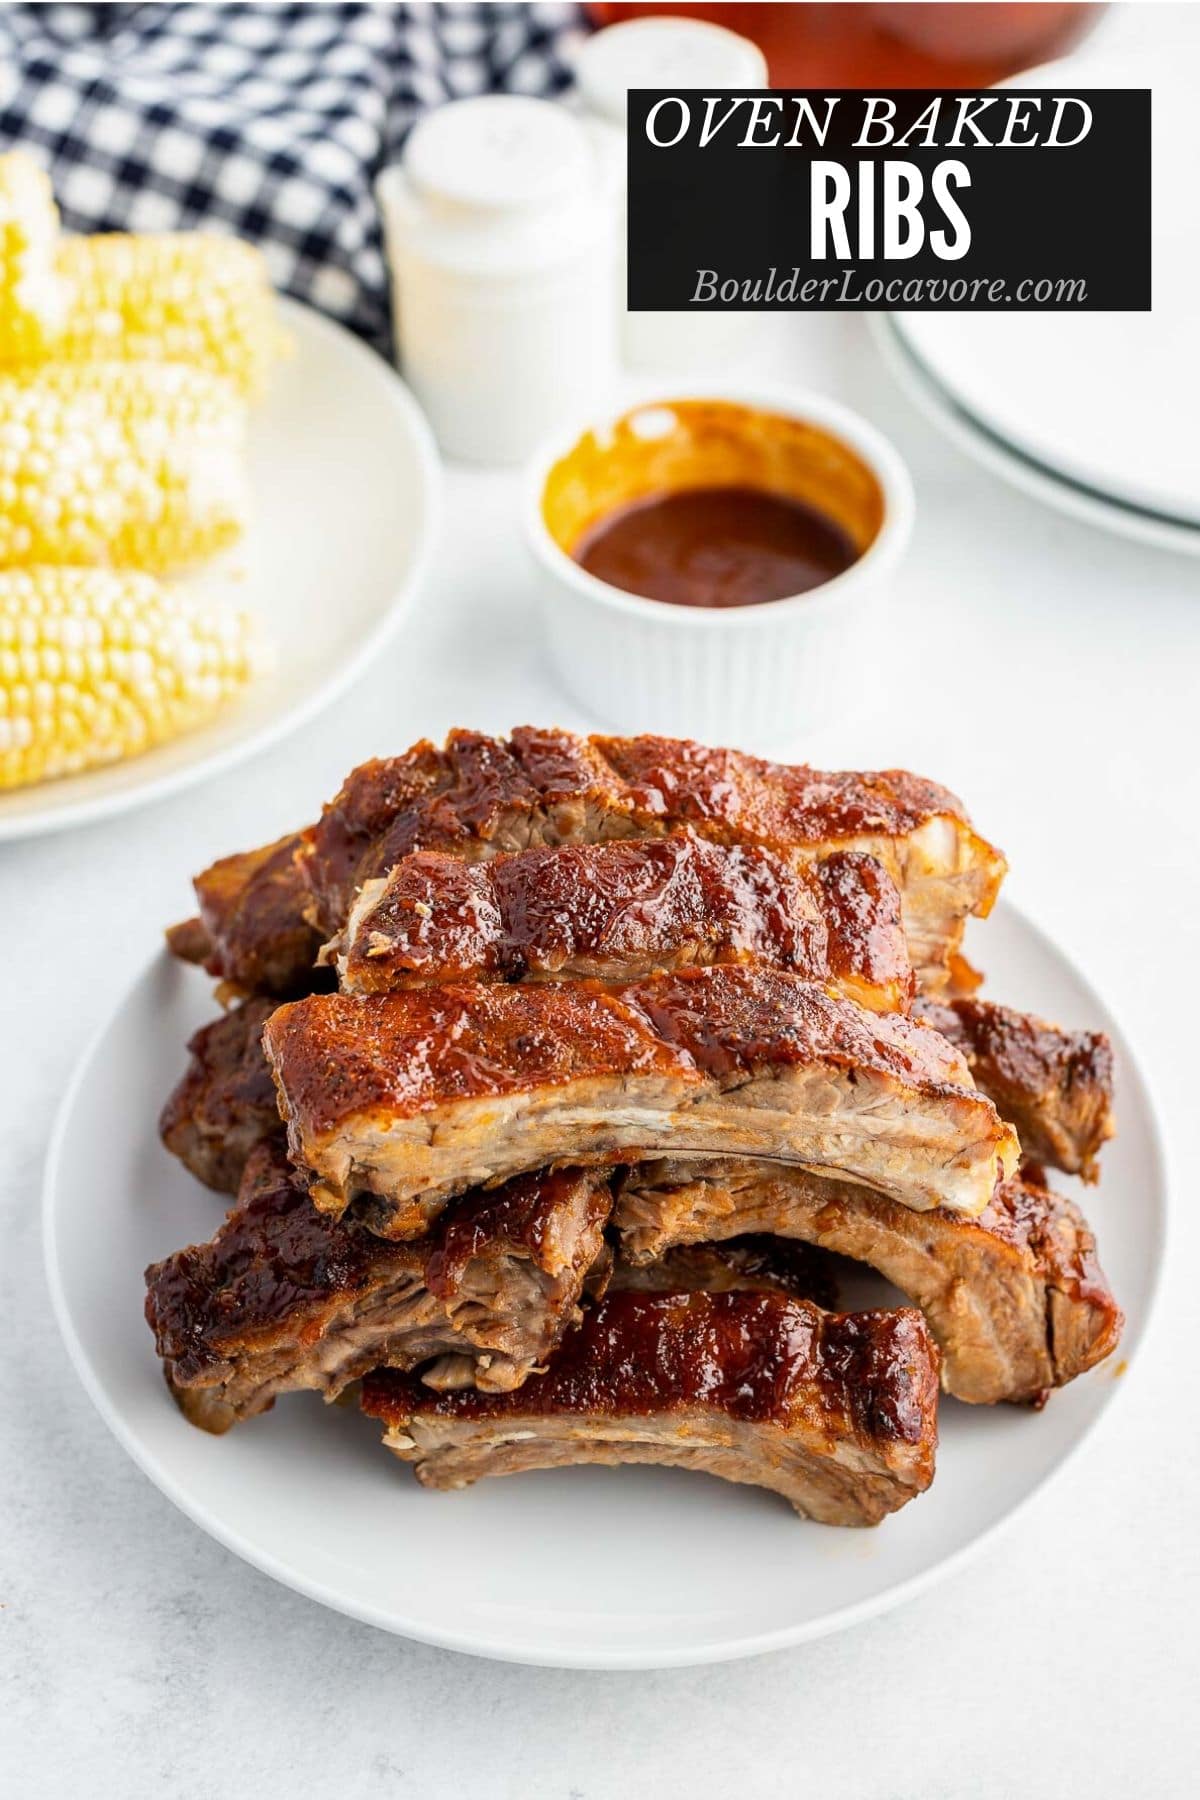
Grilled ribs are a favorite summer recipe but sometimes you just don’t have the time.
Making ribs in the oven can be just as good as on the grill in my opinion and they are so much easier.
No monitoring for flare-ups or drying out.
With the right dry rub and barbecue sauce these ribs will come out of the oven as delicious as if you just pulled them off the grill.
What Type of Ribs to Use?
This recipe uses Baby Back Ribs.
They cook faster than spare ribs though are smaller in size.
Depending on how many being served more than one rack of ribs may be desired.
If so multiple racks can be cooked at the same time.
How Many Ribs per person?
The rule of thumb with Baby Back Ribs because they are smaller is 1 pound per person.
That can vary with different appetites but is a good amount for planning.
How to Remove the Membrane from the Ribs
The membrane is a silvery sheet on the back (bone side) of the ribs.
This is a matter of personal choice: to leave the membrane on the ribs or not.
Some like the additional chewy texture it provides.
Other want to get all the flavor into the ribs possible through grilling or a rub applied before cooking.
Why Remove the Membrane
Removing the membrane allows the rub to coat the ribs from both sides.
NOTE: Some ribs are sold with the membrane already removed. You can tell by looking at them.
To remove it:
- Insert a dinner (blunt) knife under one edge of the membrane.
- Use a paper towel to grab the edge and pull the membrane off the ribs (it’s too slippery to pull off directly without the paper towel). It should come off in one sheet.
- If that doesn’t work, run a paring knife across the membrane taking care not to cut the rib meat. Again use a paper towel to pull off the membrane.
This link from Weber Grills shows the membrane removal in step-by-step photos.
Why Cook Low and Slow?
Cooking ribs on a low temperature for a longer time ensures they’ll stay juicy.
The length of time required has to do with how long it takes the connective tissue to breakdown to give them a tender texture.
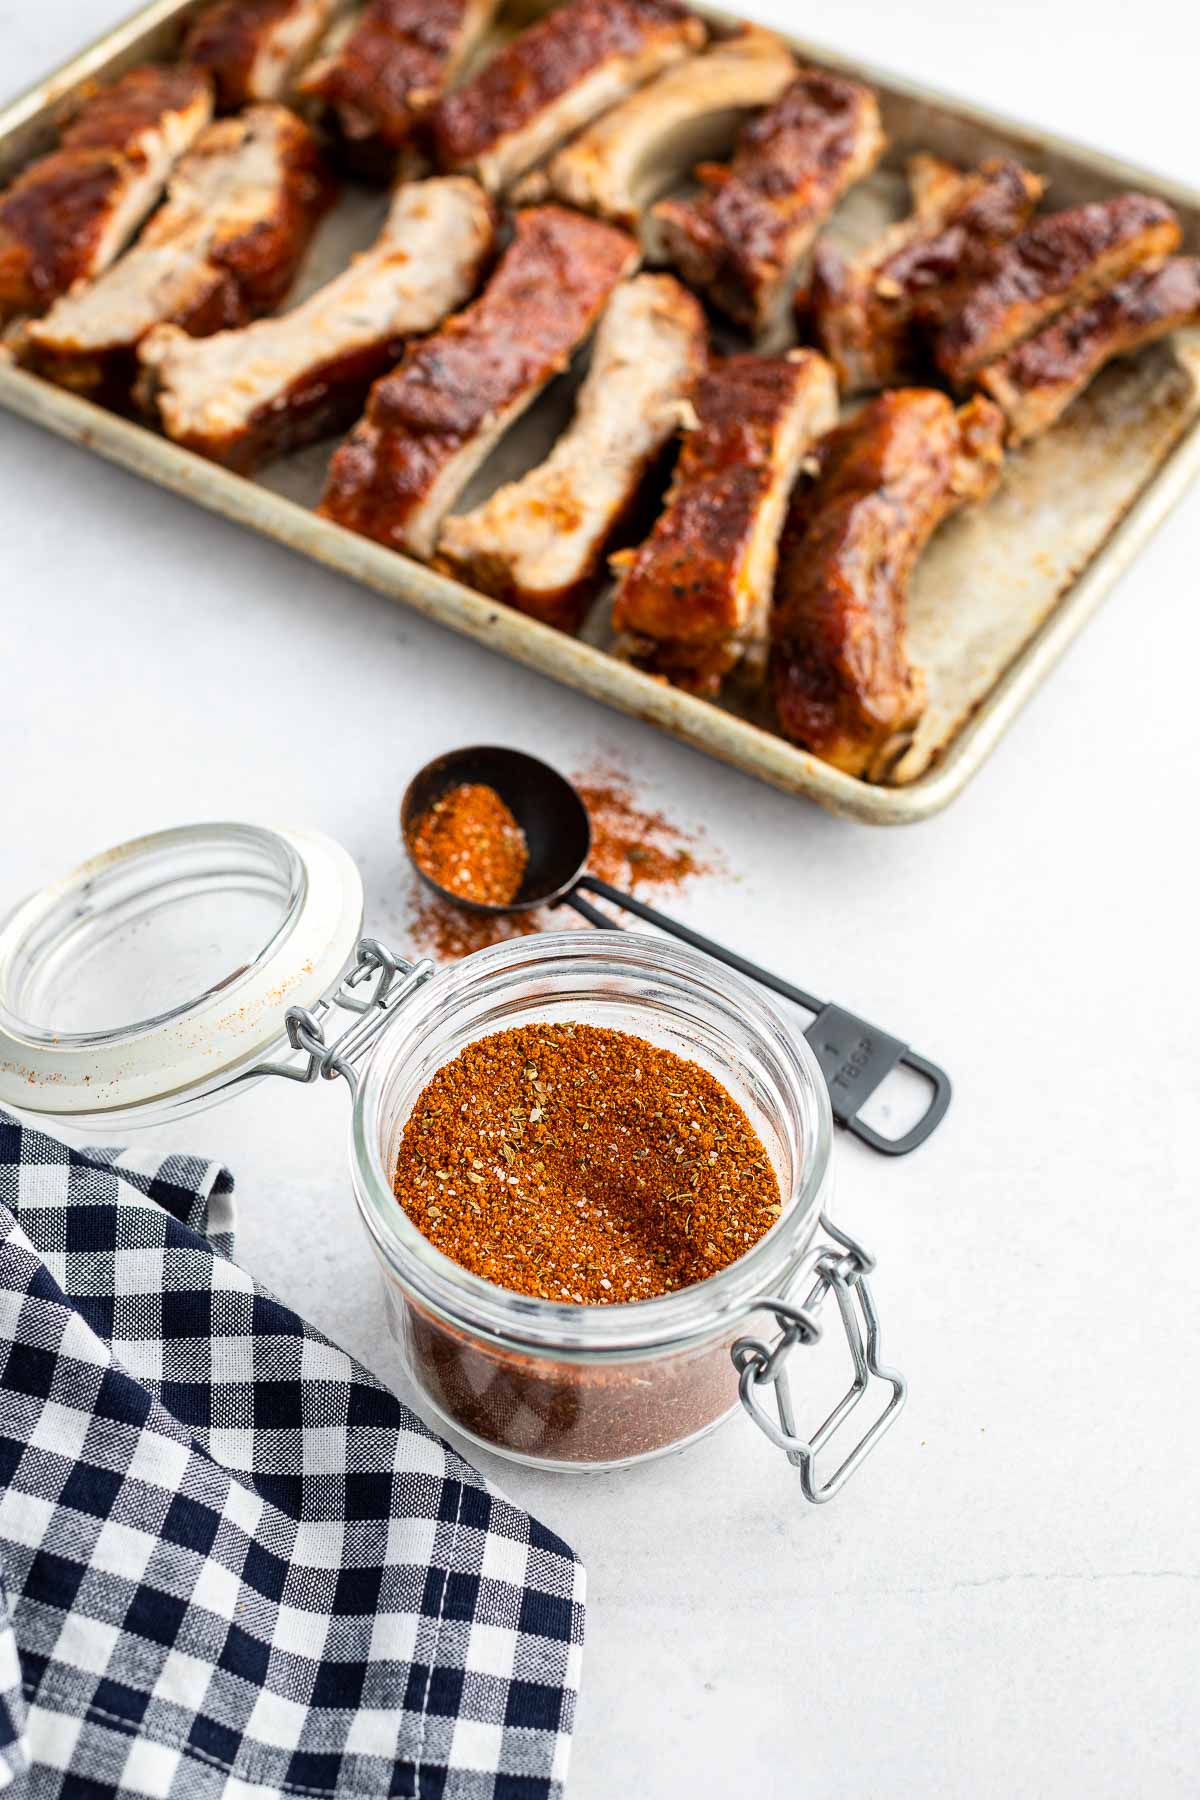
Use Dry Rub for Ribs
This dry rub blend that you can make yourself in about 5 minutes has a combination of sweet, smoky and spicy flavors. It brings out the best flavor in the ribs.
Because it contains Smoked Paprika the ribs will have some smoky flavor even though they are not grilled.
Use a Great Barbecue Sauce
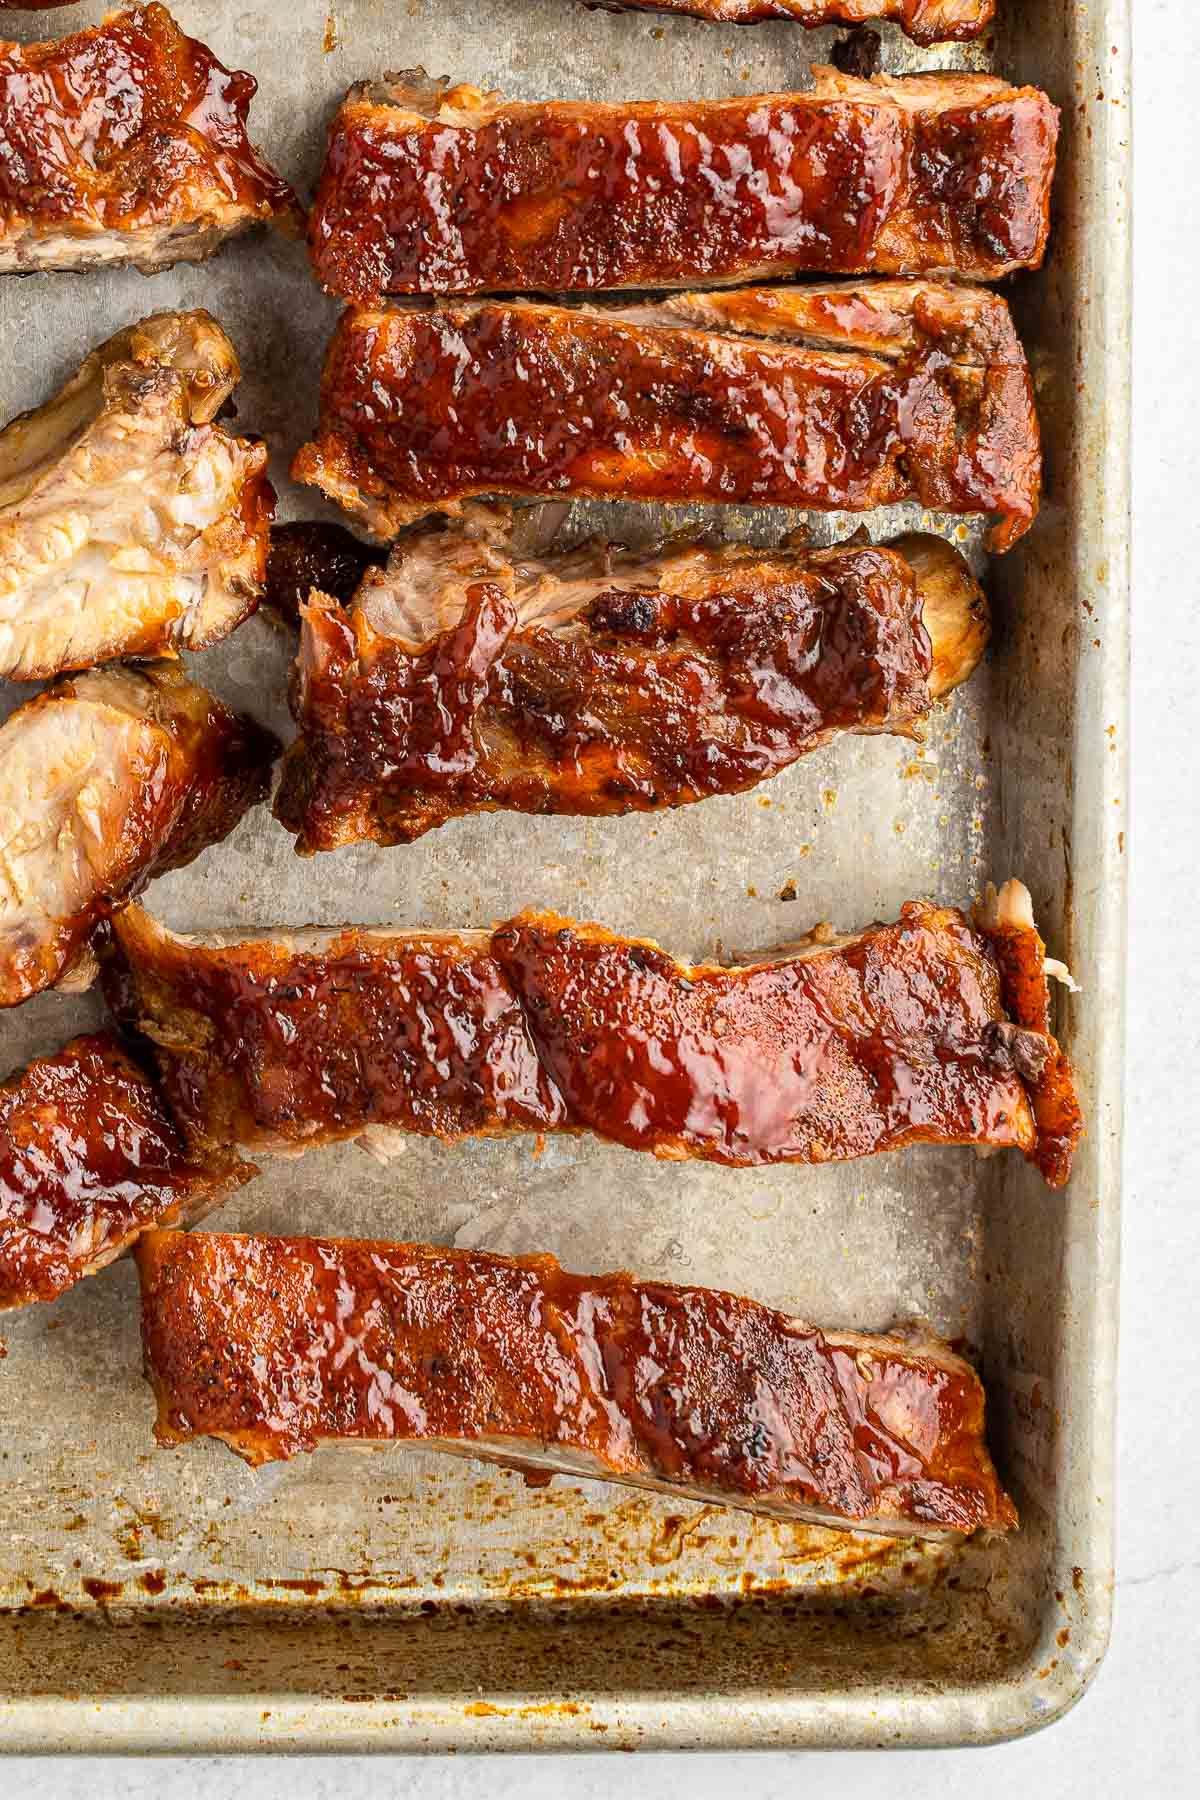
The last stage of cooking the baby back ribs is brushing them with barbecue sauce for a true BBQ rib result.
I make my own homemade barbecue sauce. It’s easy and delicious.
You can even make it with homemade ketchup for a special touch.
Your favorite store bought barbecue sauce will work too!
You DON’T Want ‘Fall-Off-The-Bone’ Ribs
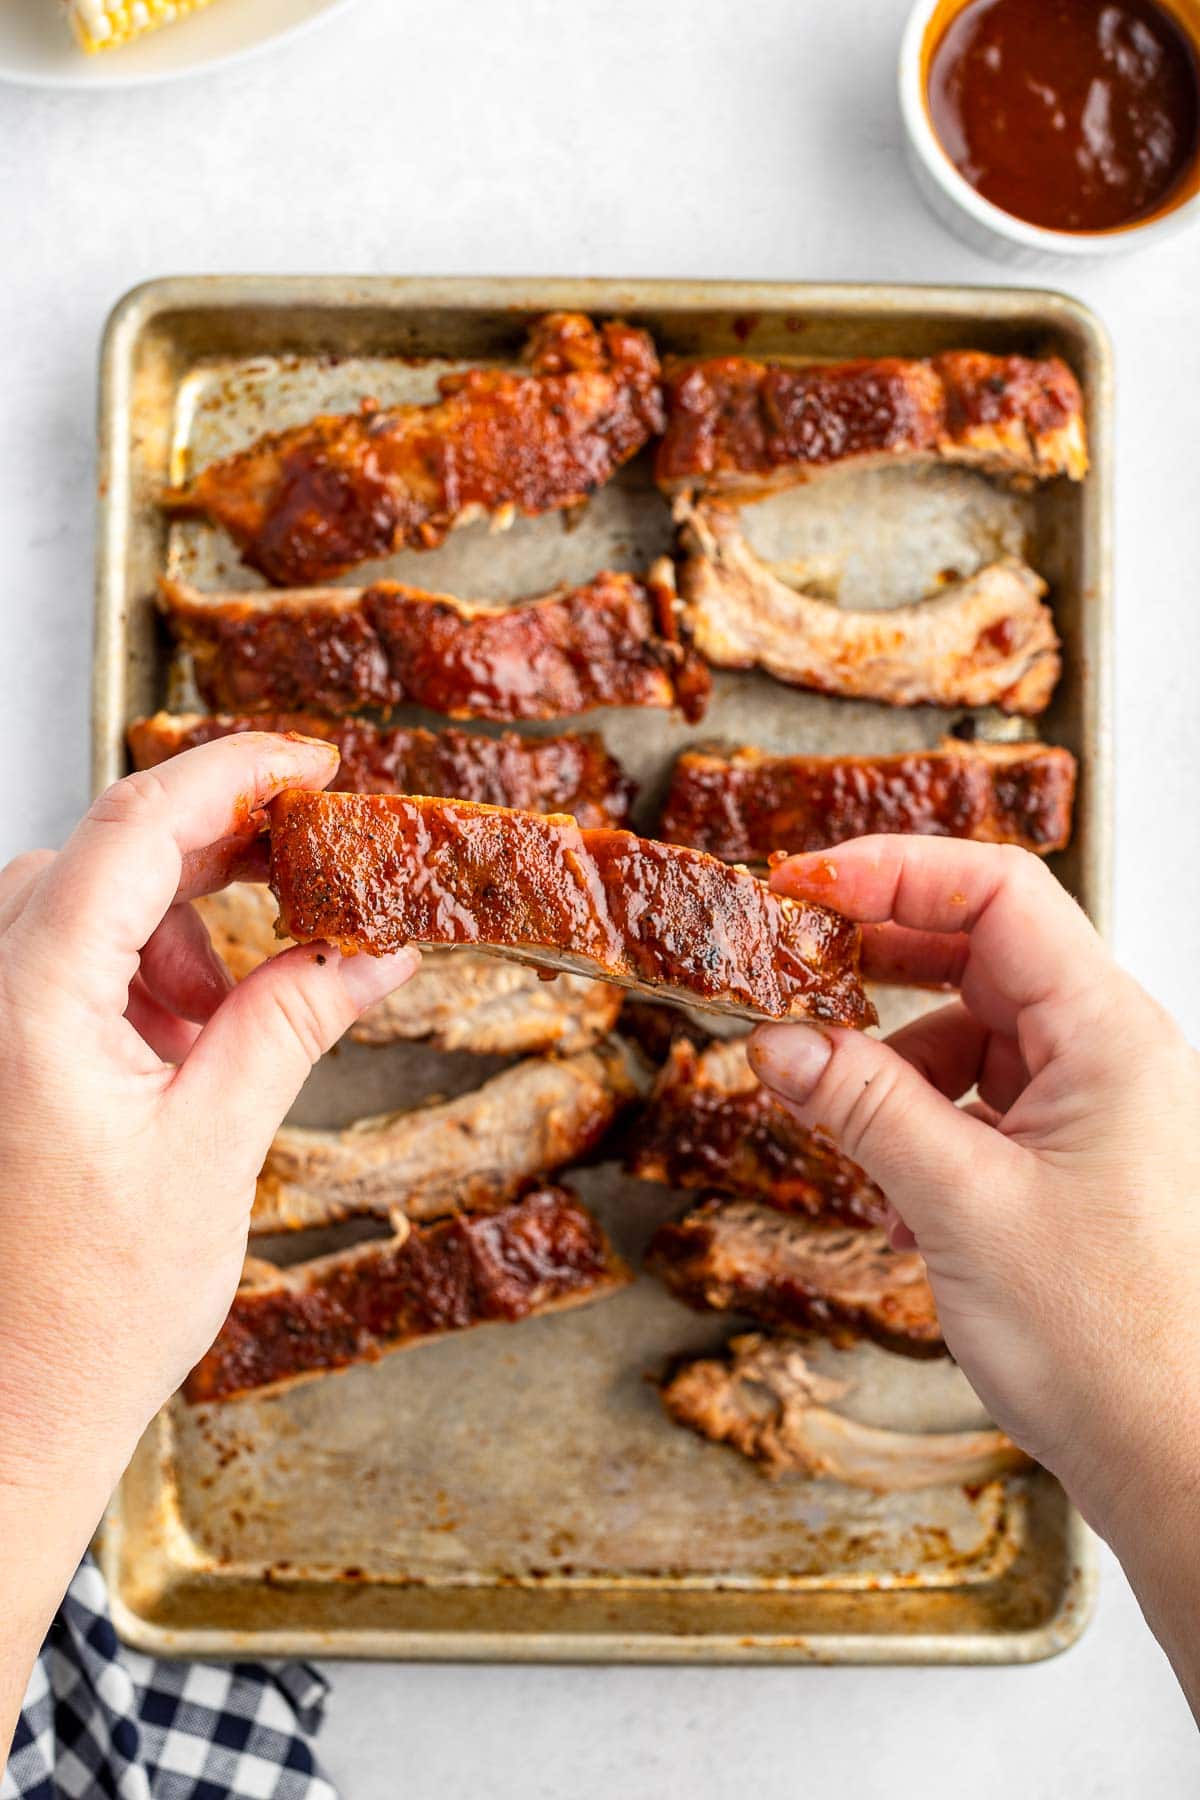
Contrary to the popular description, for oven cooked or grilled ribs you want ribs that pull cleanly off the bone when eaten.
They should provide some resistance.
If ribs are falling of the bone they usually have been boiled or steamed.
You’ll want flavorful cooked ribs still with some texture.
How to Make them – Step-by-Step
NOTE: the rack of ribs in these photos was sold cut in two. Normally you’d receive one rack of ribs and would follow these same instructions making just one packet.
STEP 1: Preheat the oven to 250 degrees F. Place a large piece of foil on a rimmed baking sheet with the ribs on top (photo 1).
STEP 2: Sprinkle the ribs with a generous amount of dry rub and gently massage into all sides (photo 2-3). Approximately 3-4 tablespoons total rub.
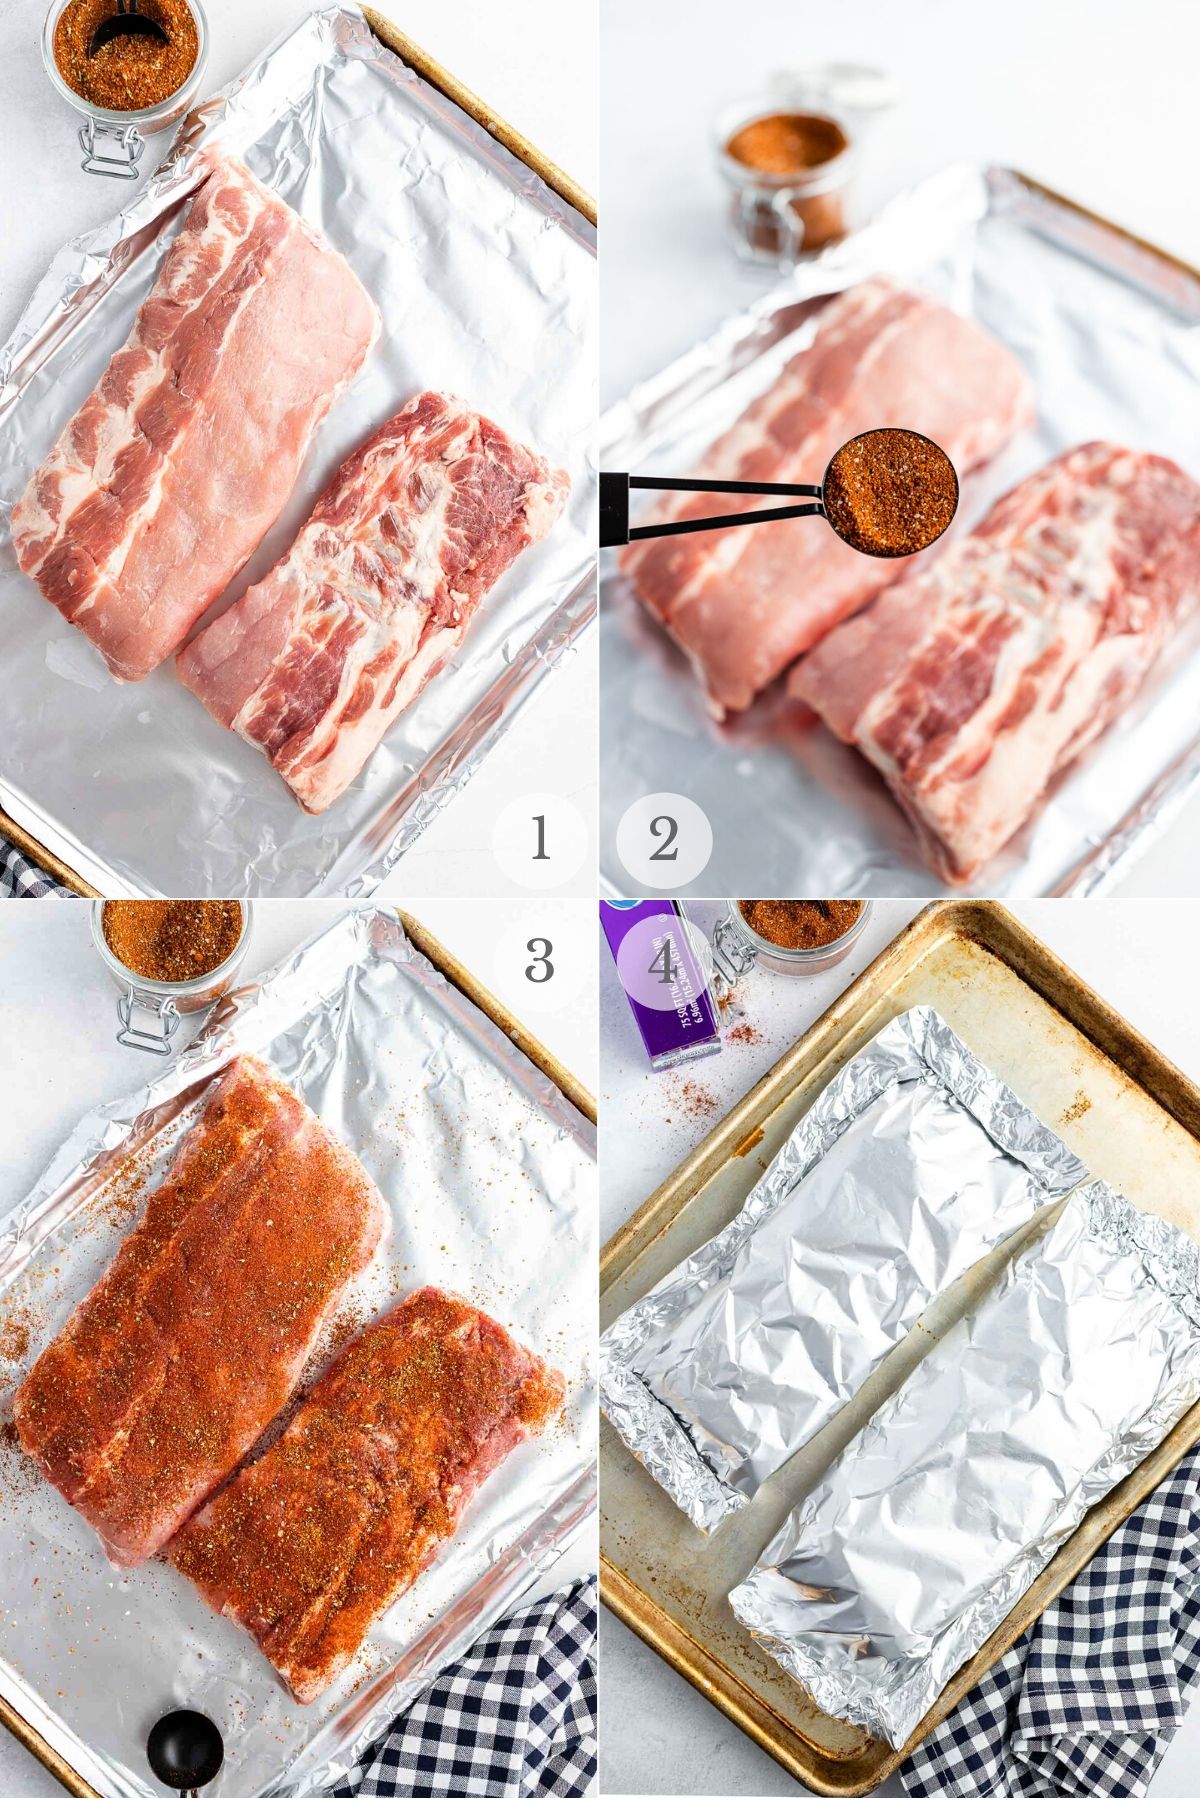
STEP 3: Seal the ribs in foil by folding over the edges and crimping (photos 4-5). Place in the oven for 2 hours.
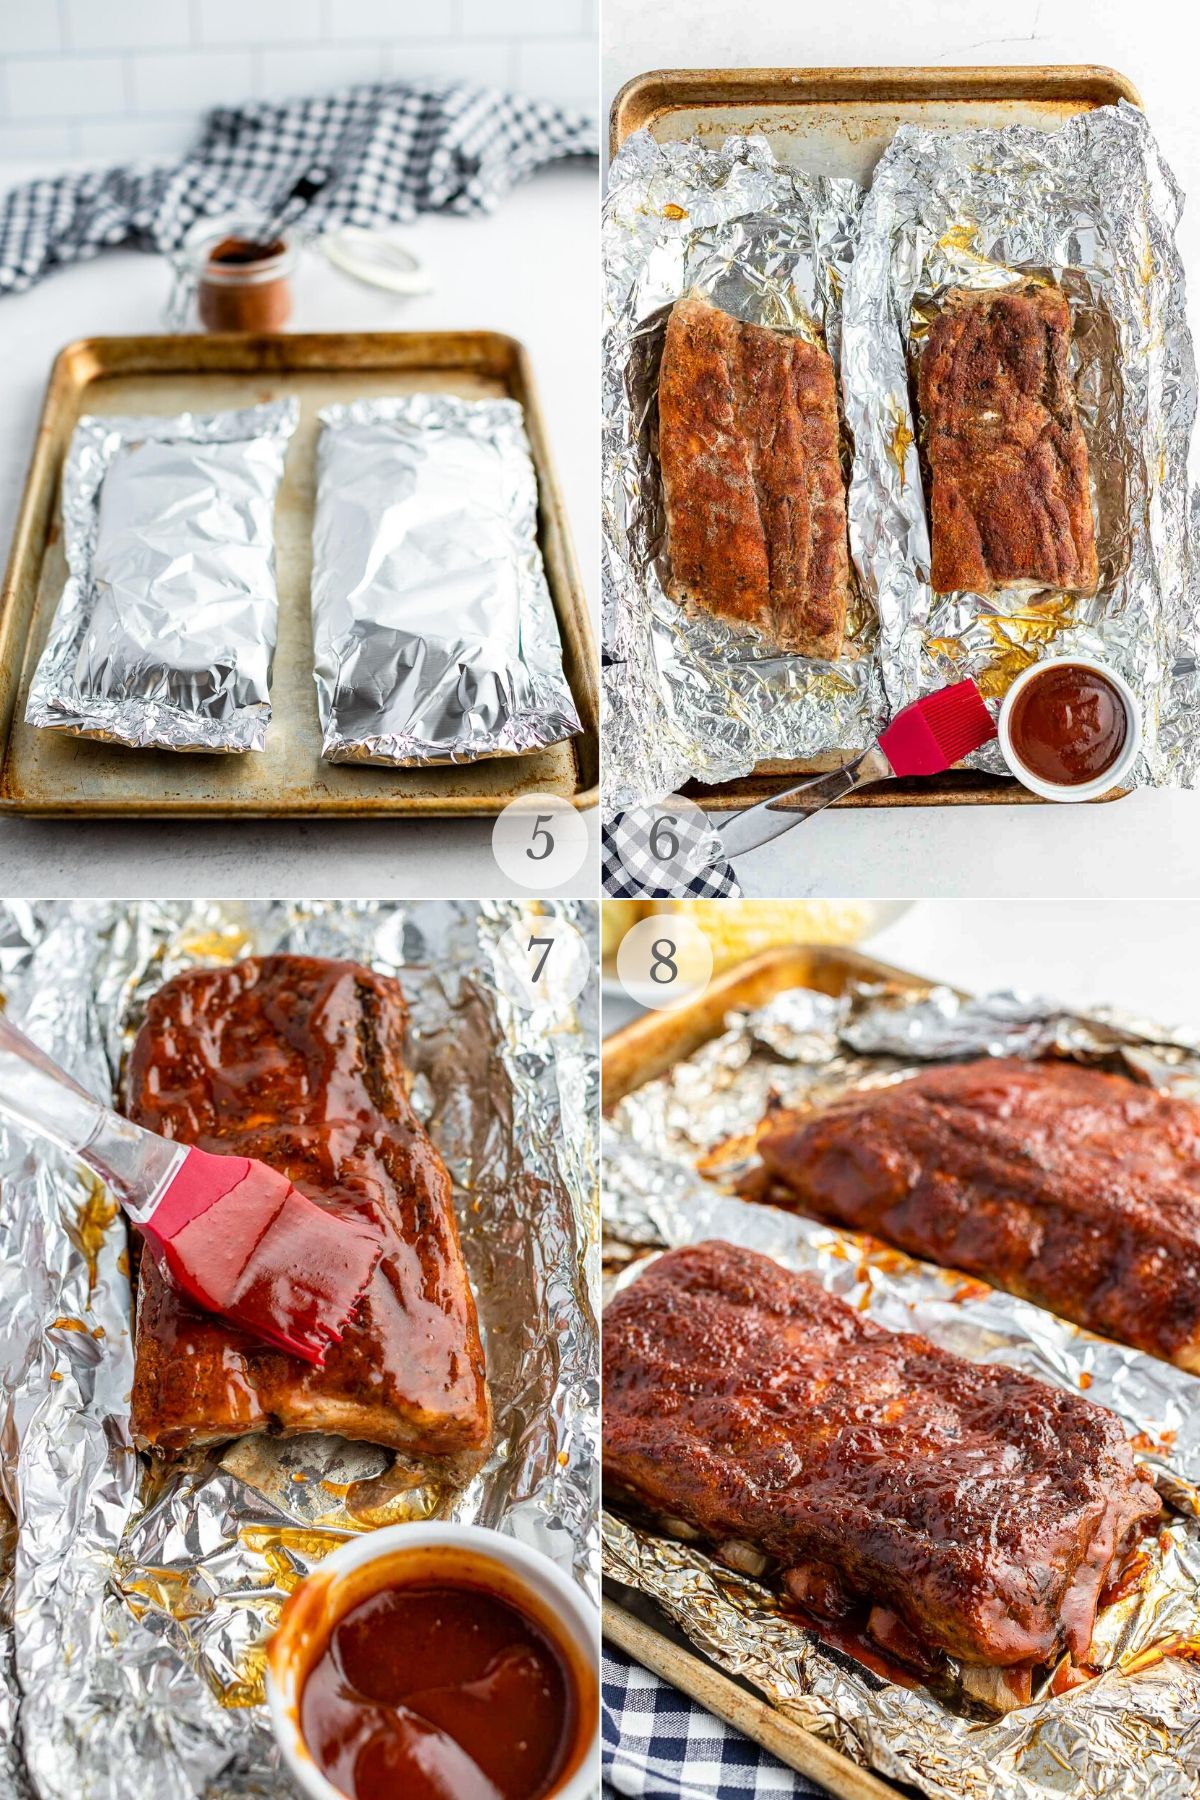
The ribs should be tender and done cooking (see the When Are the Ribs Done below). If not put them back in the oven until they are done (photo 6).
STEP 4: Baste the ribs with barbecue sauce on all sides (photo 7). Put under the broiler for aproximately 5 minutes to develop a crust (photo 8).
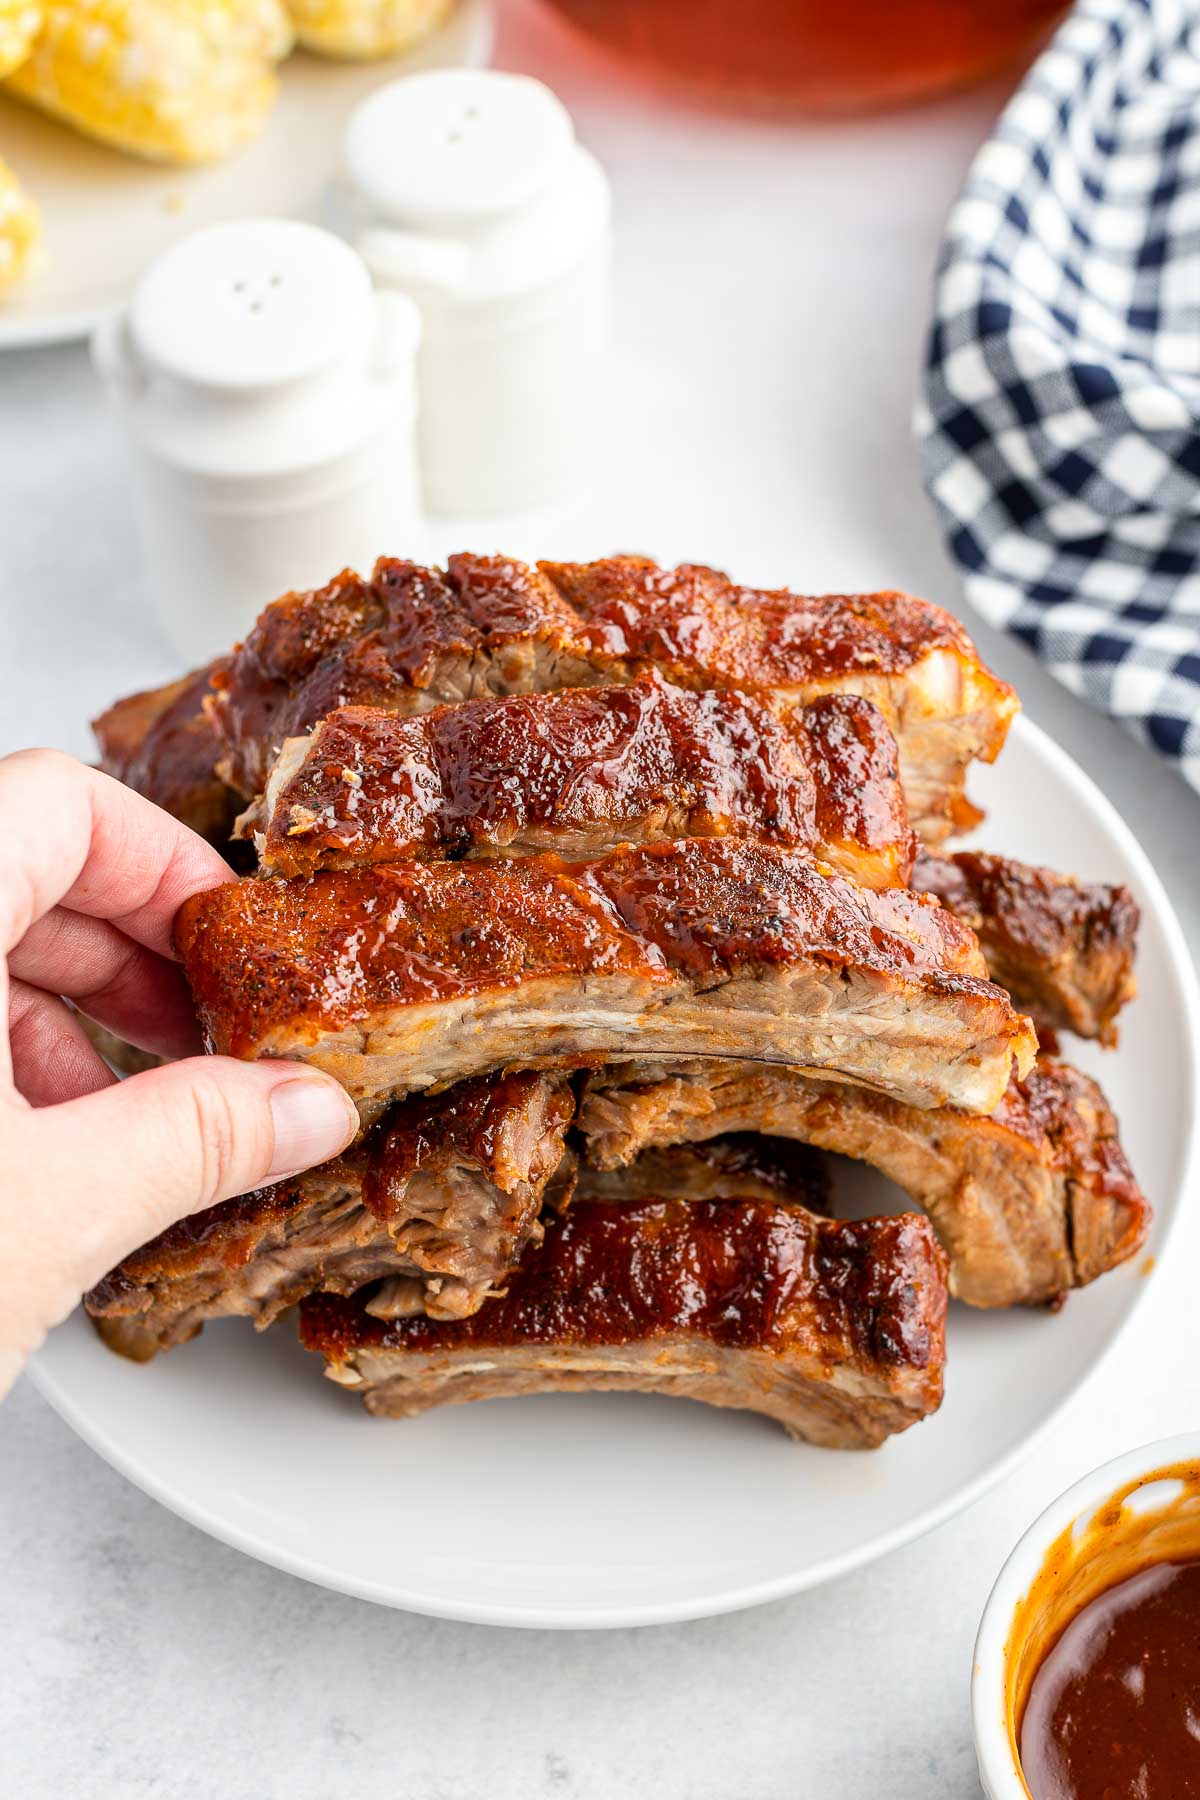
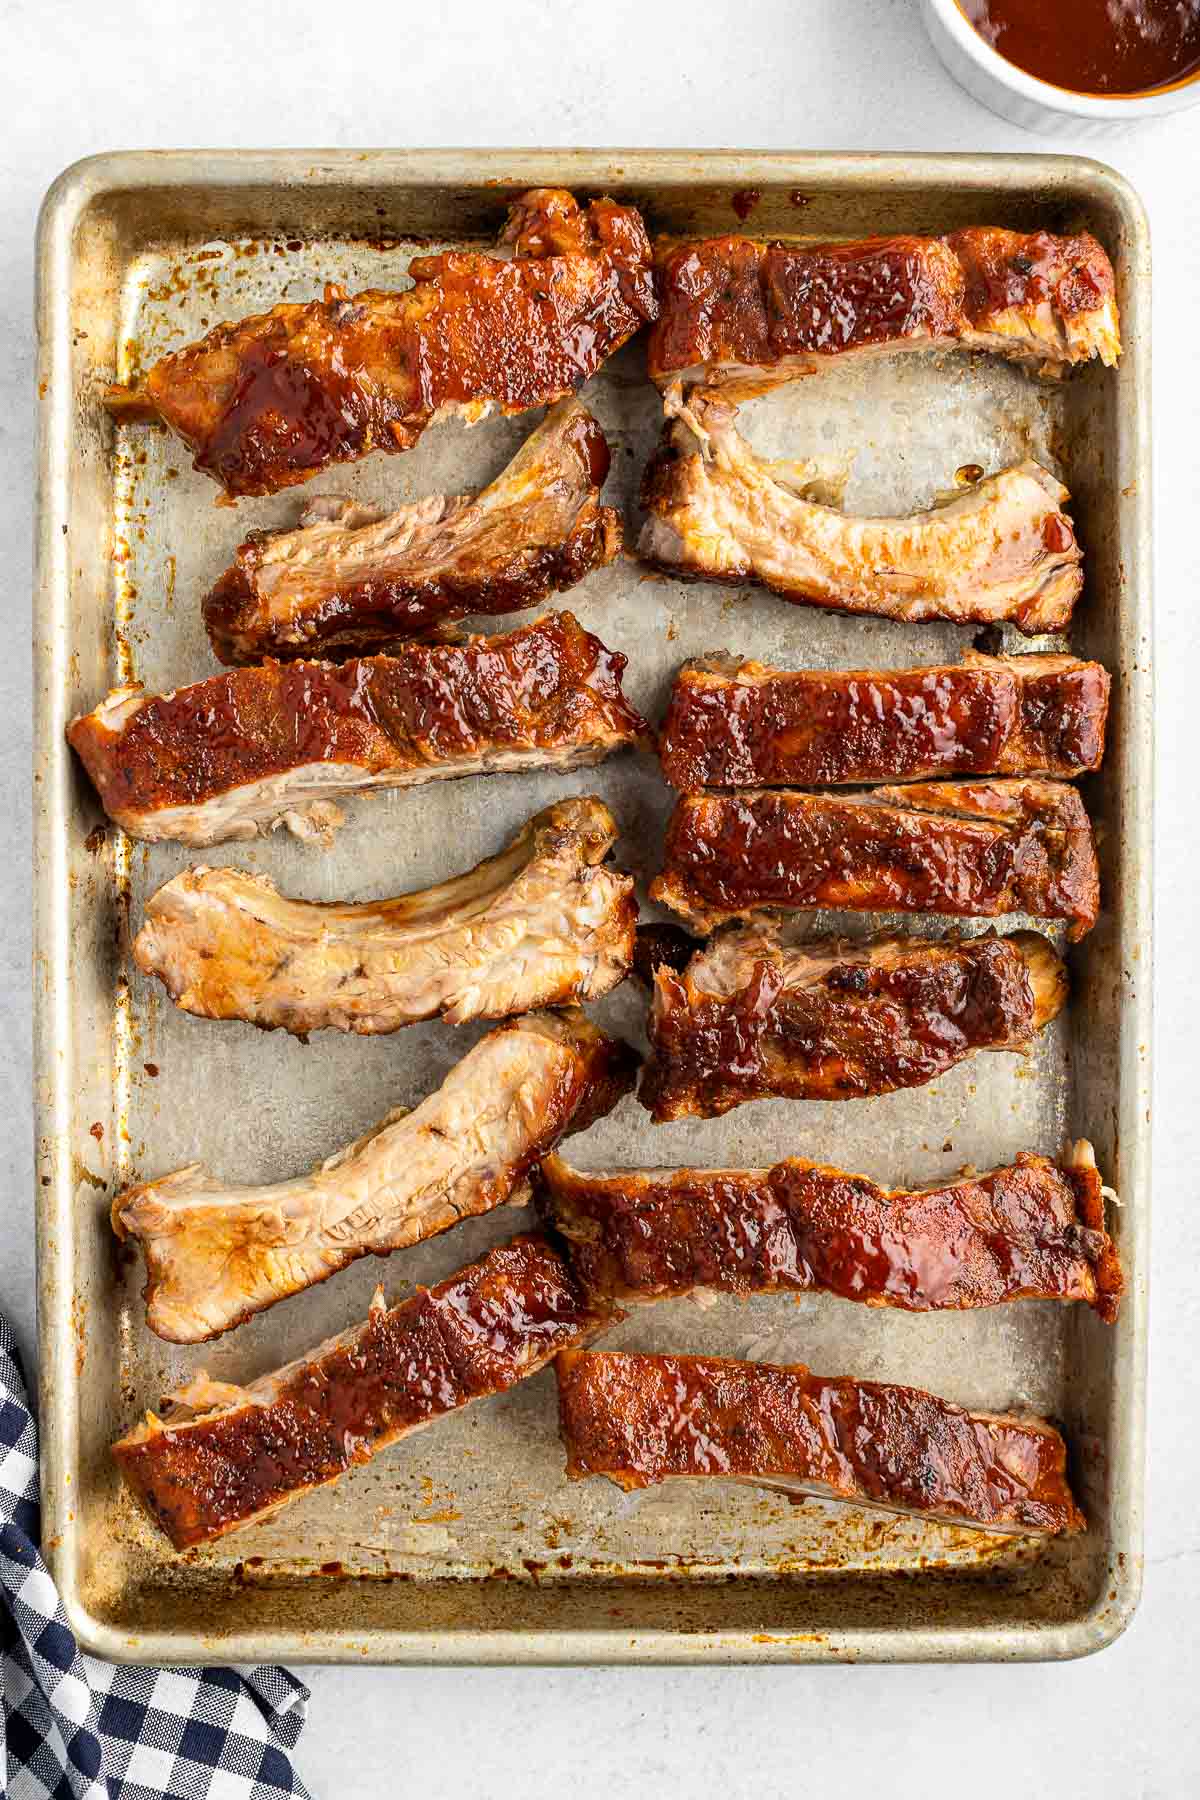
Allow the ribs to cool slightly until they can be safely handled. Cut with a large sharp knife (or I use poultry shears) and serve.
PRO TIP: To make cutting the ribs easier, turn the ribs to have the meat side down. It’s easier to see the bones and cut between them.
How Long do the Ribs Cook?
At 250 degrees F a 2 1/2 pound rack of baby back ribs will cook for 2 hours.
Adjust the timing if making a larger rack of ribs.
When are the Ribs Done?
By Temperature
The food safety temperature guide is when the internal temperature of the meat reaches 145 degrees F.
However the ribs are not at their most tender at that temperature.
Cooking them until they reach anywhere from 180-200 degrees F breaks down the collagen and melts the fat to make them tender and juicy.
Measure the temperature with an Instant Read thermometer in the meat not touching the bone.
By Texture
Getting an accurate temperature on ribs can be tricky.
Another way to determine if they are done is by how they look.
Look for these signs or test the ribs in these ways:
- The meat will begin to pull back exposing the ends of the bones (on the underside) you couldn’t see when starting to cook the ribs.
- The ribs should be flexible but NOT falling off the bone. When holding the rack with tongs on one end the opposite end will bend downward.
- Inserting a toothpick between two ribs should go through easily.
Storing Leftovers
Store leftover barbecue ribs in an airtight container or zipper-close plastic bag for up to 4 days in the refrigerator.
They can be reheated in the oven on low heat or microwaved.

Make it a Meal!
- Homemade Oven Fries
- Bacon Wrapped Chicken Poppers
- Slow Cooker Barbecue Beans with Bacon
- Homemade Russian Dressing with a green salad
- Grilled Asparagus
- Lime Cheesecake
- Rhubarb Crisp
- Slow Cooker Peach-Blueberry Cobbler
More Rib Recipes You’ll Love
- Slow Cooker Root Beer Baby Back Ribs
- Slow Cooker Spicy Baby Back Ribs with Blackberry Preserves
- Slow Cooker Sweet Sesame Baby Back Ribs
- Grilled St. Louis-Style Ribs
- Red Wine Braised Short Ribs with Garlic Whipped Yukon Gold Potatoes
- Southwestern Instant Pot Short Ribs
Please SUBSCRIBE and FOLLOW ME on FACEBOOK , TWITTER , INSTAGRAM and PINTEREST !
Recipe
Oven Baked Ribs
Ingredients
- 1 2 1/2-pound rack Baby Back Ribs
- 1/4 cup Dry Rub for Ribs or favorite rib rub
- ½ cup favorite Barbecue Sauce
Instructions
- Preheat oven to 250 degrees.
- Lay ribs out on a foil lined sheet pan. Rub 3-4 tablespoons spice rub evenly over all sides of the ribs. Wrap securely in foil.
- Roast for 2 hours.
- Remove from the oven, open foil. Brush with the barbecue sauce.
- Broil for 5 minutes or until BBQ sauce is thick and bubbly. Ribs should reach 145 degrees internal temperature minimum; 180-200 degrees preferred for tenderness.
- Remove from oven, allow to cool slightly to handle. Cut ribs and serve.
Notes
How Many Ribs per Person?
With Baby Back Ribs the rule of thumb is 1 pound per person. This will vary depending on appetites. One 2 1/2 pound rack of ribs would feed between 2-4 people. The recipe can easily be doubled or tripled depending on oven cooking space.How to Tell if Ribs are Done
- Measure internal temperature of rib meat. It is 'done' at 145 degrees but the ideal temperature is between 180-200 for tenderness.
- Insert a toothpick between the ribs. It should go in and out effortlessly when the ribs are done.
- The meat will recede exposing the bones on the underside of the rib rack.
Audrey says
Yum, so easy and I love the dry rub!
amy stweart says
My family LOVES these and they are so easy to make! Great recipe!
Kayla DiMaggio says
Thank you so much for sharing this! I have never made ribs before and these were delicious!
Angela says
Oven baked ribs are the way to go. Great recipe. They come out great every time!
Brianna May says
Yum!1
Katie says
So simple yet so good! This is such a great recipe!
Suzy says
Loving how tasty and perfectly tender these come out! That dry rub is everything!
Kevin says
We are always up for some ribs! Cannot wait to make these!
wilhelmina says
This is a great method for tender and juicy ribs! It’s so easy and practically no-fail!
Kimberly says
Absolutely mouthwatering and finger-licking delicious! Will be making these again soon!