
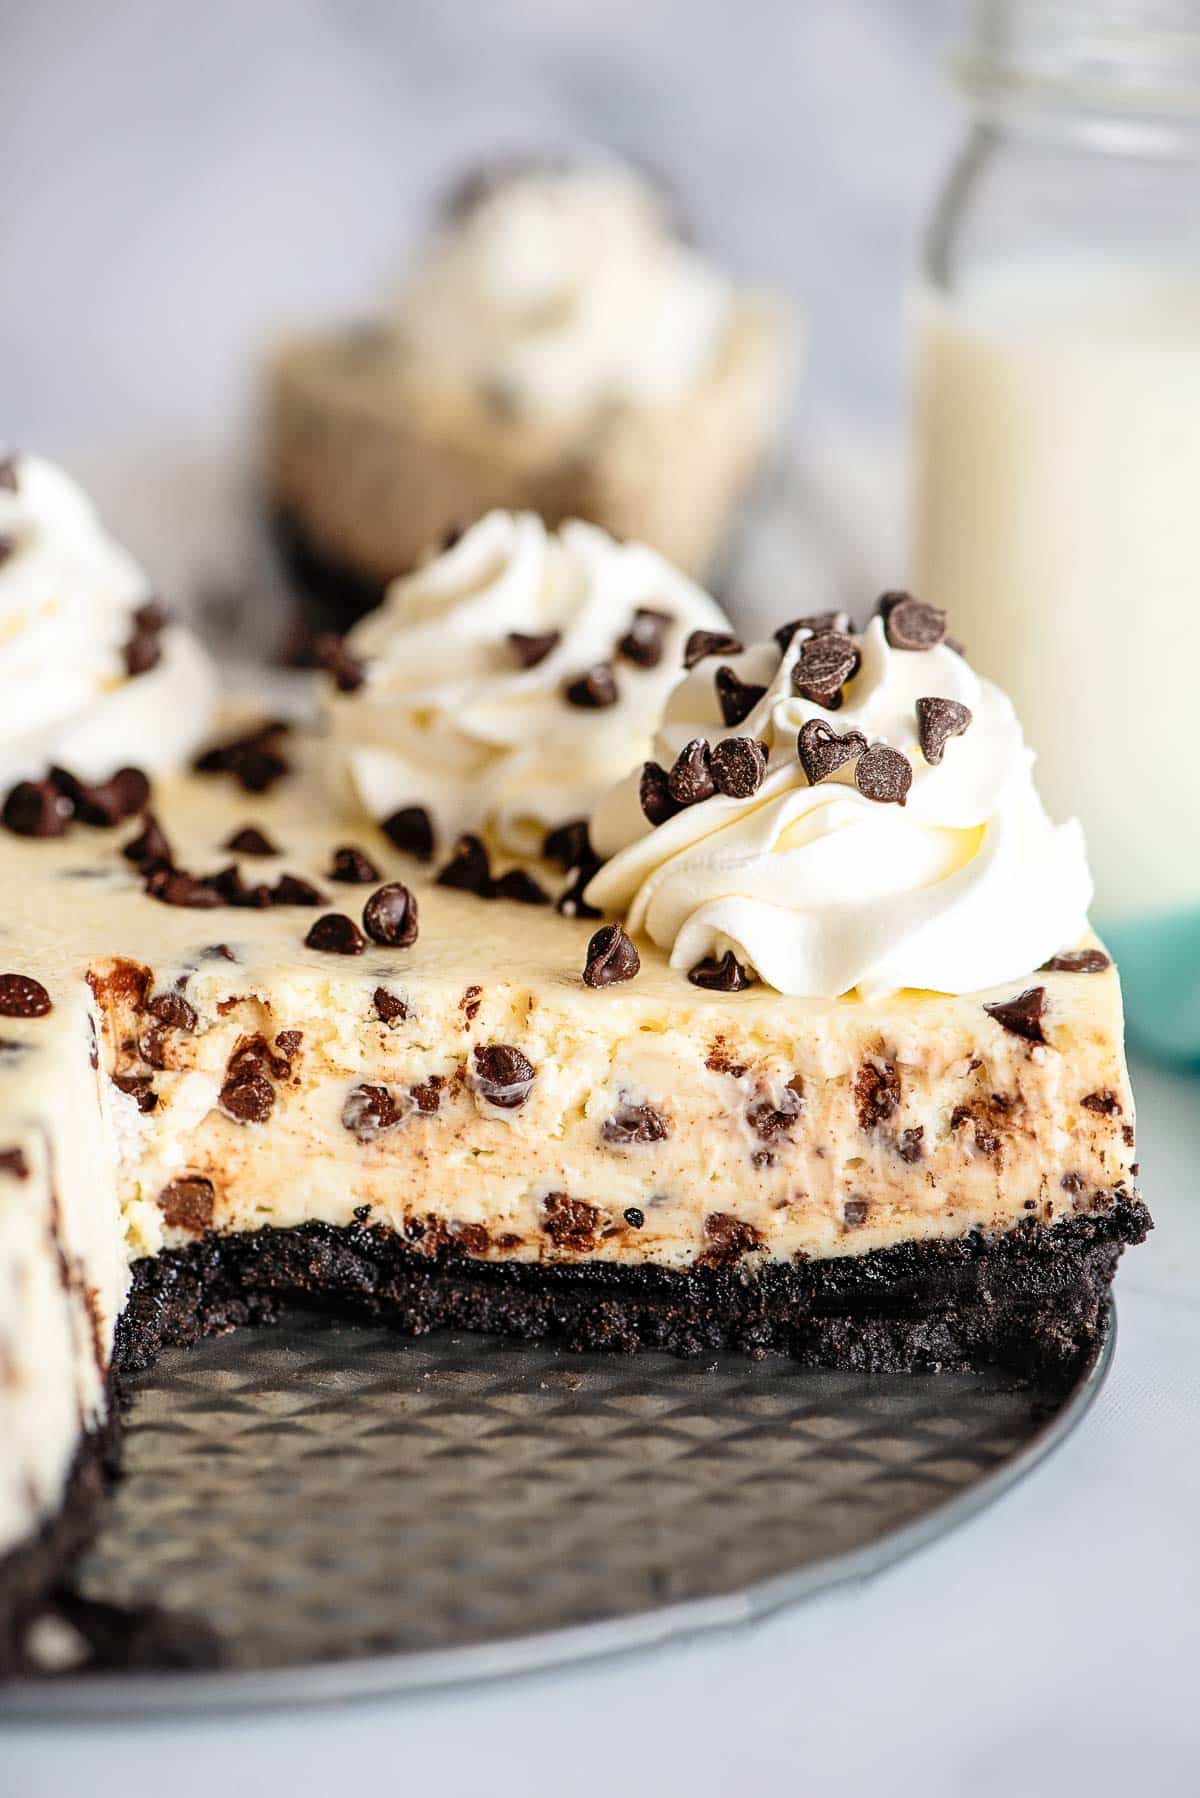
Tangy, sweet Chocolate Chip Cheesecake has all the creamy texture and rich flavor of a regular cheesecake with the right amount of chocolate for chocolate lovers too! It’s a crowd pleaser.
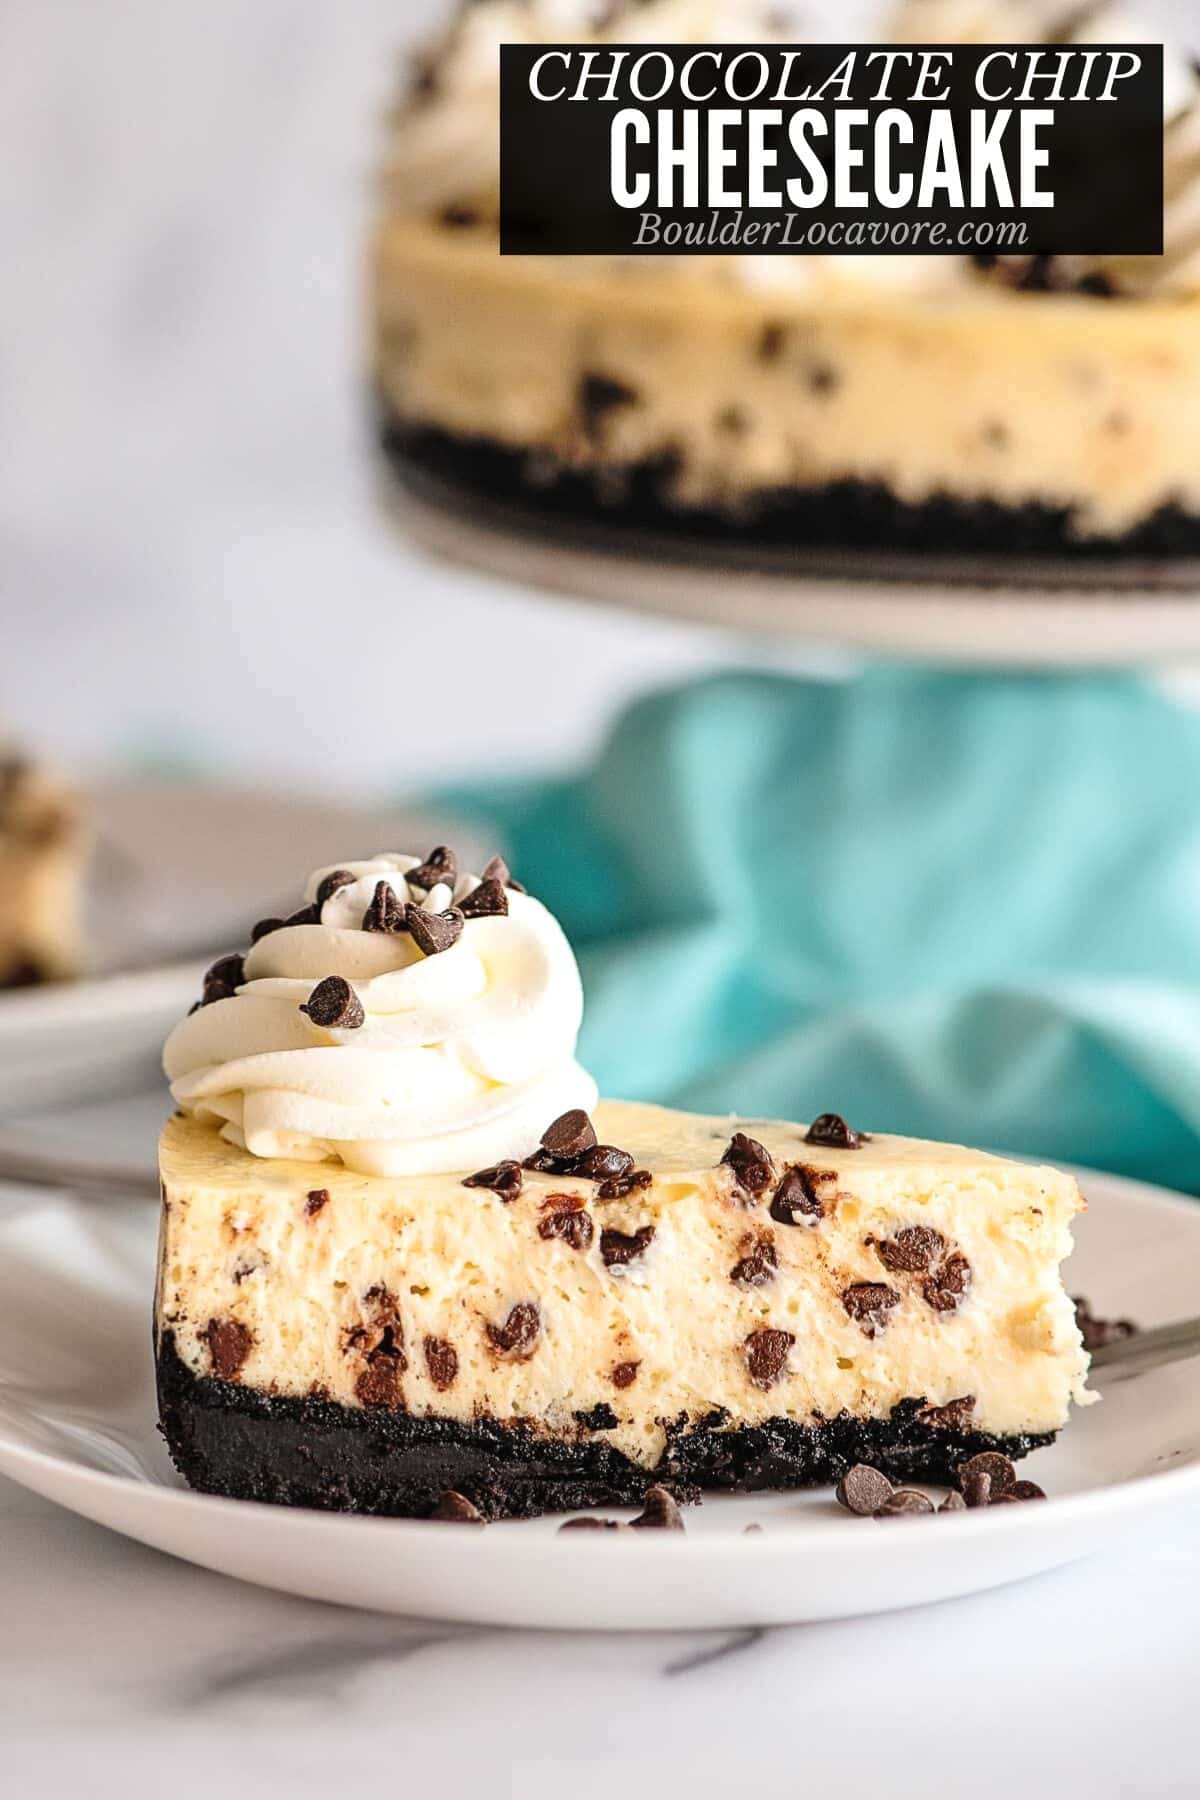
Oreo crust, creamy cheesecake, mini chocolate chips….what’s not to love?! This great dessert takes classic cheesecake up a notch with mini chocolate chips throughout. If this is your first cheesecake you are in for a treat.
Cheesecake is not difficult to make but does require some specific steps for the best results. We include step-by-step instructions, photos and Pro Tips to walk you through making this delicious chocolate chip cheesecake.
Jump to:
Recipe Ingredients Notes
For the complete ingredient list and amounts, refer to the printable recipe card at the end of the post.
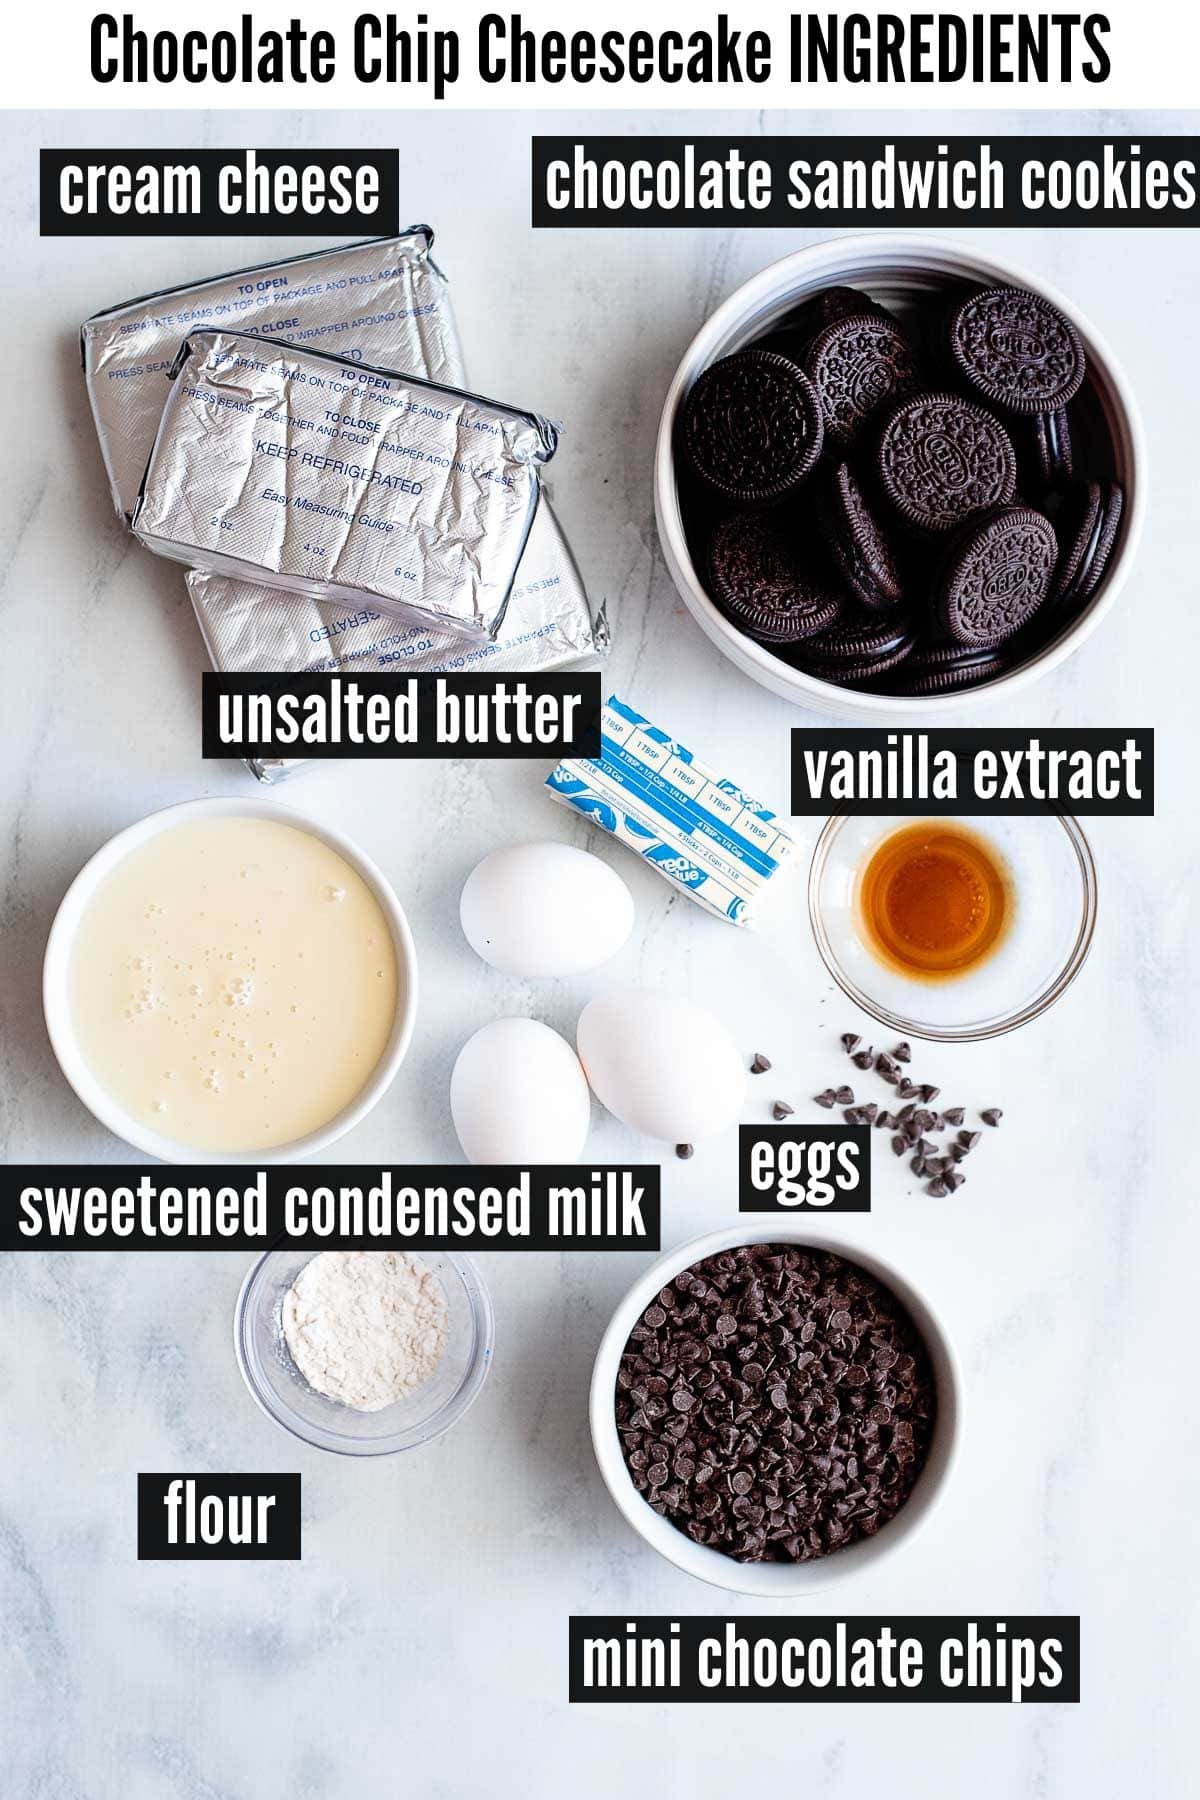
- Chocolate Sandwich Cookies. We used dark chocolate Oreos but you can use any chocolate sandwich cookies: regular Oreos, gluten-free Oreos or another brand of sandwich cookie. They’ll be ground into crumbs for the crust.
- Unsalted butter. Five tablespoons of melted unsalted butter is used for the crust.
- Eggs. You’ll need 3 large eggs and they should be at room temperature before starting the recipe.
- Cream cheese. Three 8-ounce blocks of full-fat cream cheese that have been softened are used in the filling. Be sure to start with softened cream cheese so it blends smoothly.
- Sweetened condensed milk. One 14-ounce can is used.
- Vanilla extract. This gives a homey flavor to the cheesecake.
- Mini chocolate chips. One cup is used in the cheesecake and some on top. Because they are mini size they will not sink to the bottom as larger chocolate chips will. They also spread throughout the cheesecake for more per bite.
- All Purpose Flour. Two teaspoons is tossed with the chocolate chips to prevent them from sinking in the cheesecake when baked. Regular or gluten-free measure-for-measure flour blend can be used.
- Whipped topping. This is optional for topping when serving.

How to make it
STEP 1. Preparation
Preheat oven to 325 degrees F. Spray bottom and sides inside of a 9-inch springform pan with non-stick spray.
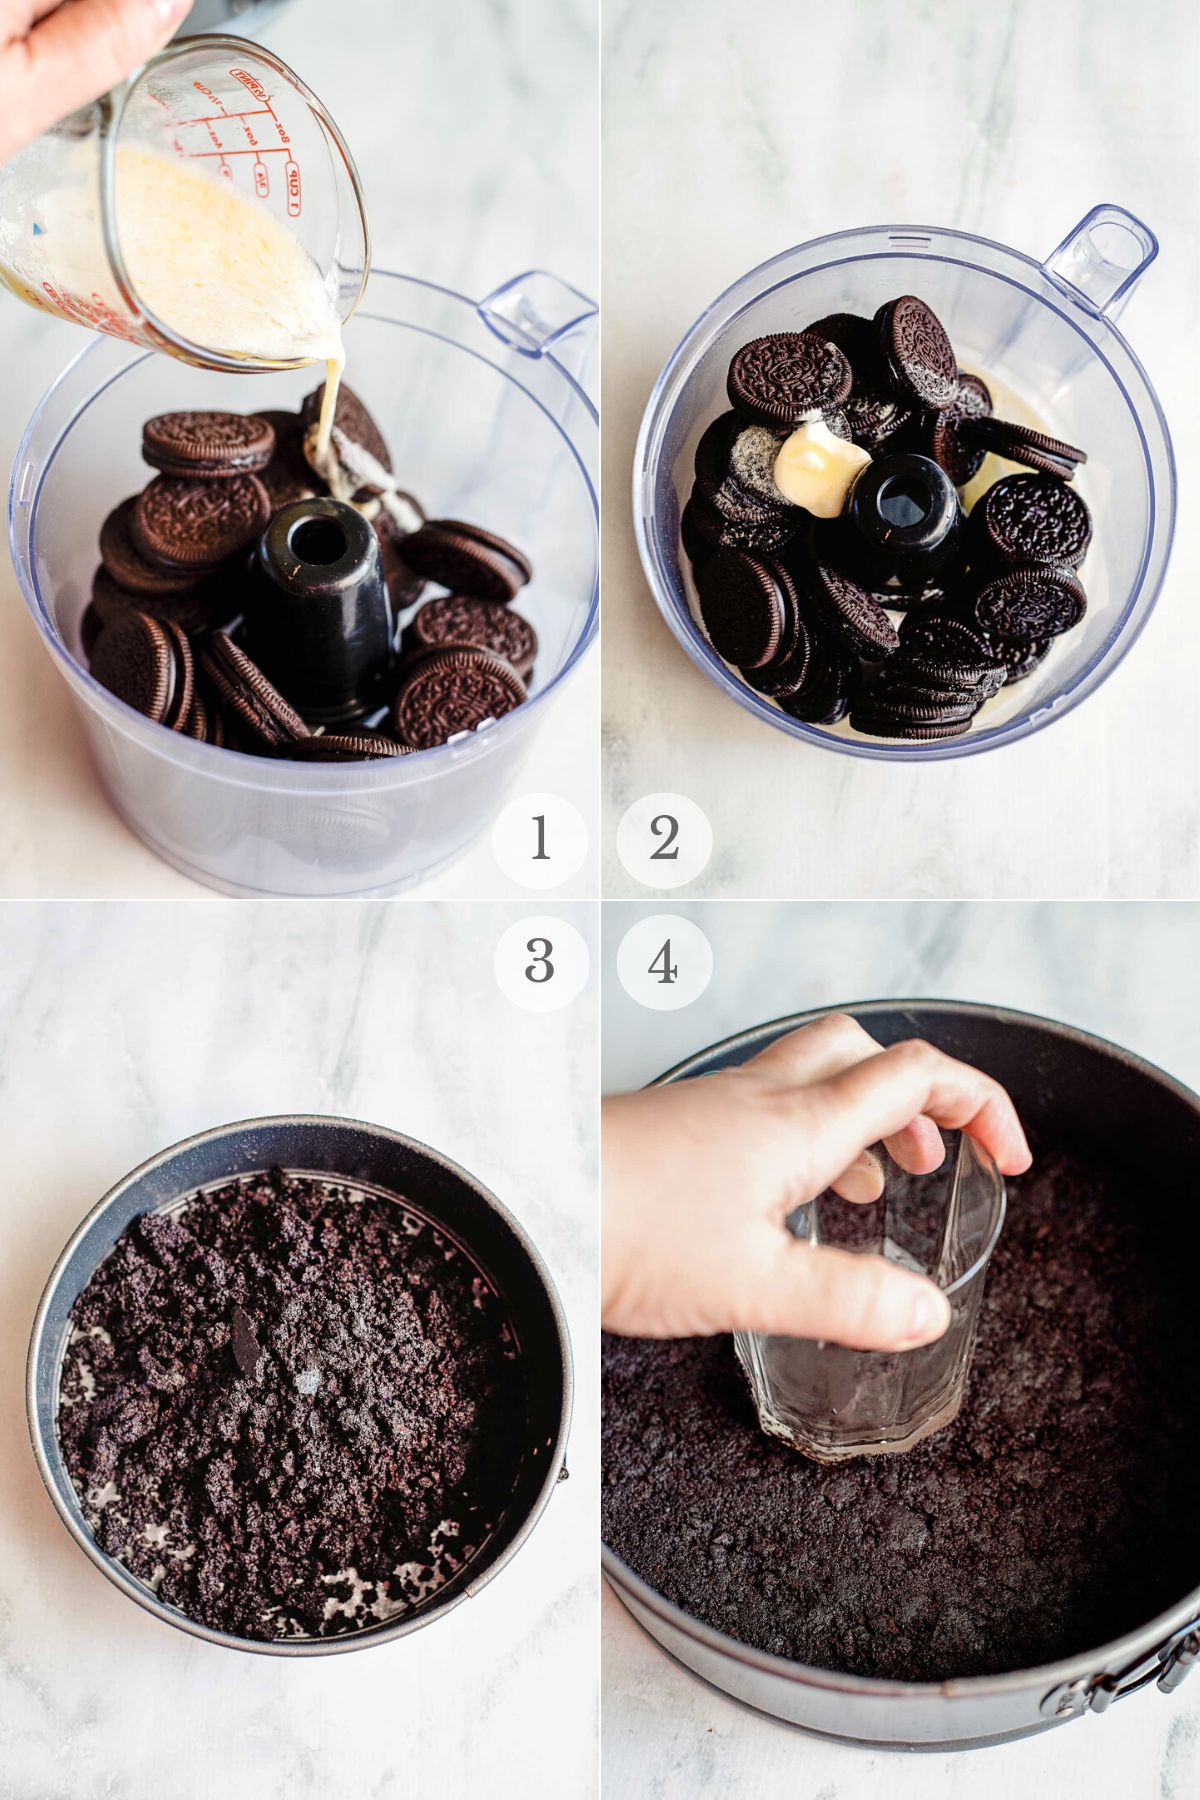
STEP 2. Make the crust
Using a food processor, pulse the sandwich cookies and melted butter together until crumbs are fine (photos 1-2). Pour the mixture into the bottom of the prepared pan (photo 3).
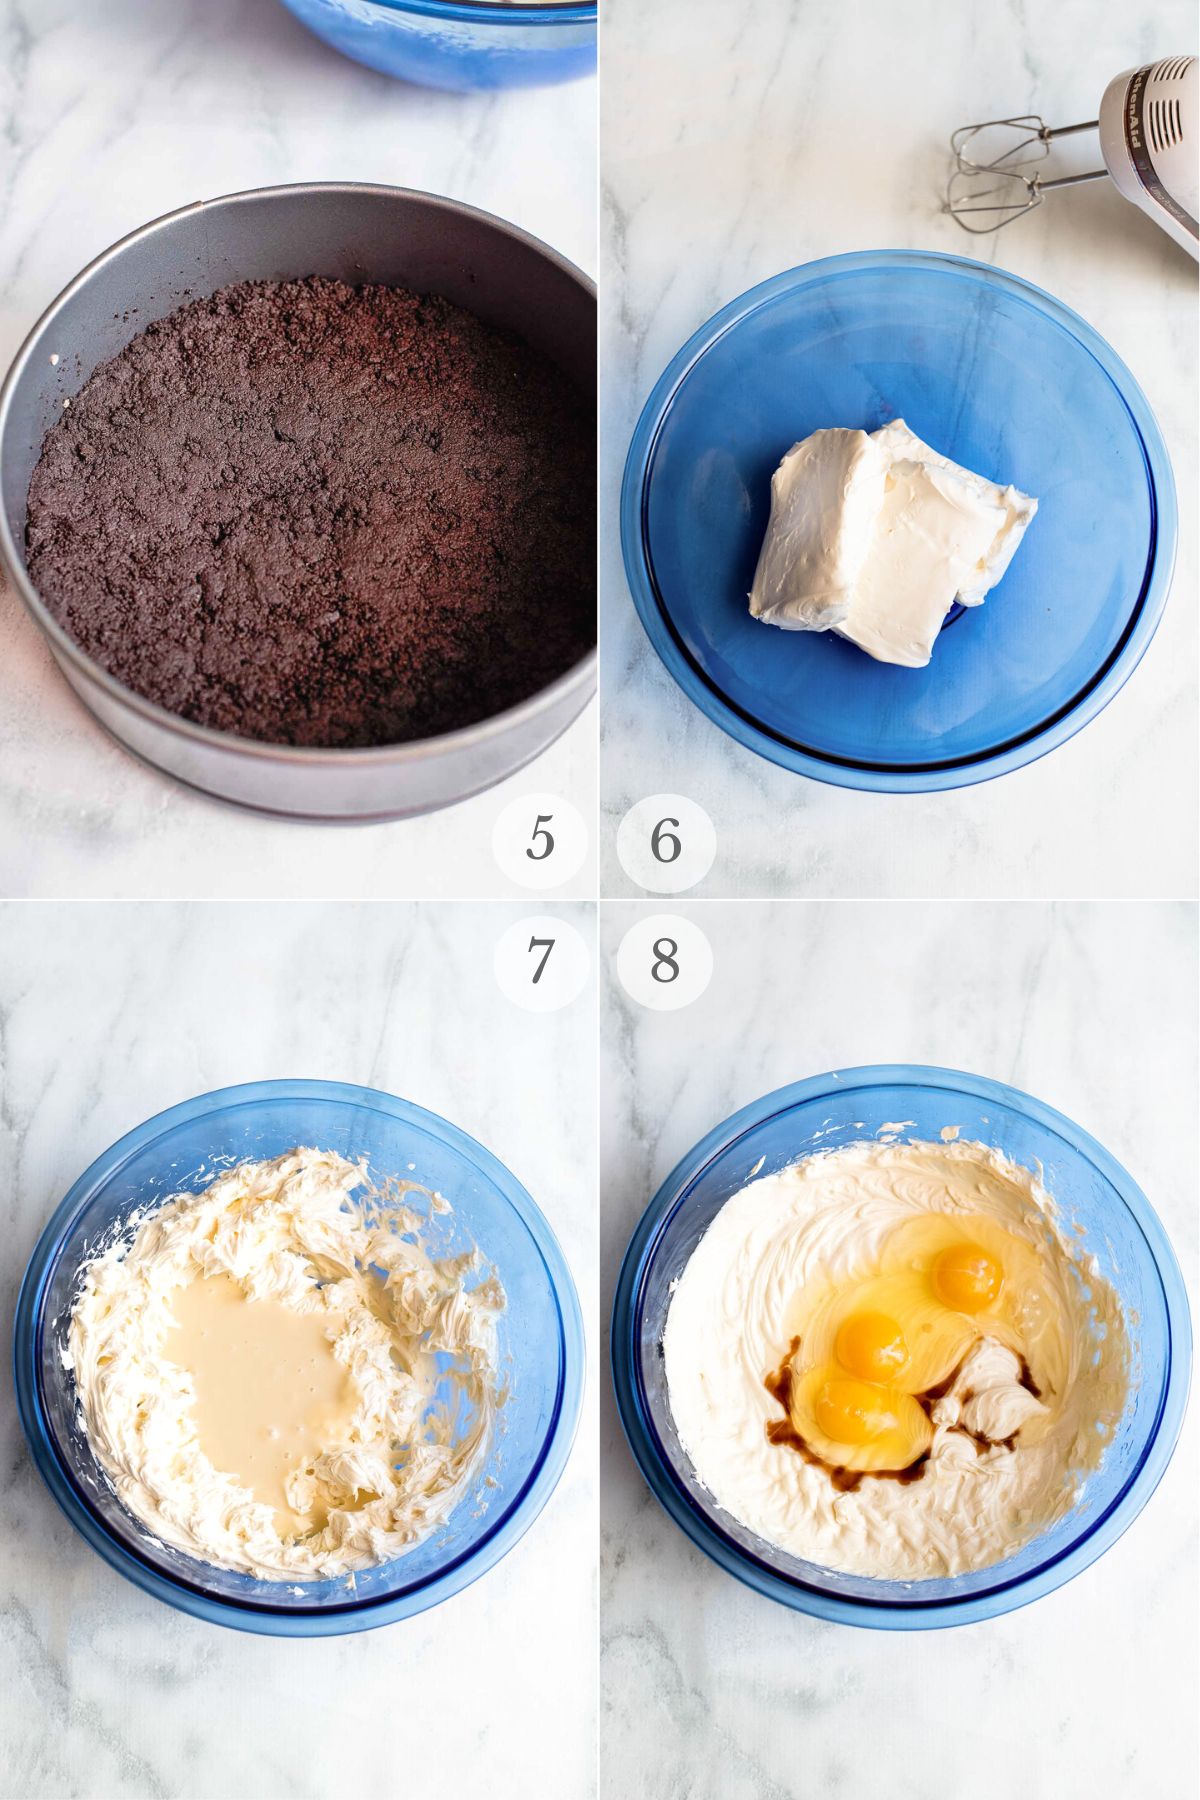
Using the flat bottom of a measuring cup, a glass or your hand, press the crumbs down into the bottom of the pan until the crumbs are packed (photos 4-5).
Bake for 10 minutes. Set aside to cool while the filling is prepared.
STEP 3. Lower the oven temperature
Lower the oven temperature to 300 degrees F.
STEP 4. Prepare the cheesecake filling
In the bowl of a stand mixer fitted with paddle attachment or a large bowl using hand electric mixer, beat the cream cheese until smooth (photo 6). Pour in sweetened condensed milk and beat until well combined (photo 7).
Add the eggs and vanilla extract; mix well (photo 8). Scrape the sides of the bowl as needed.
In a small bowl, toss the 3/4 cups of mini chocolate chips with the flour to coat (photo 9).
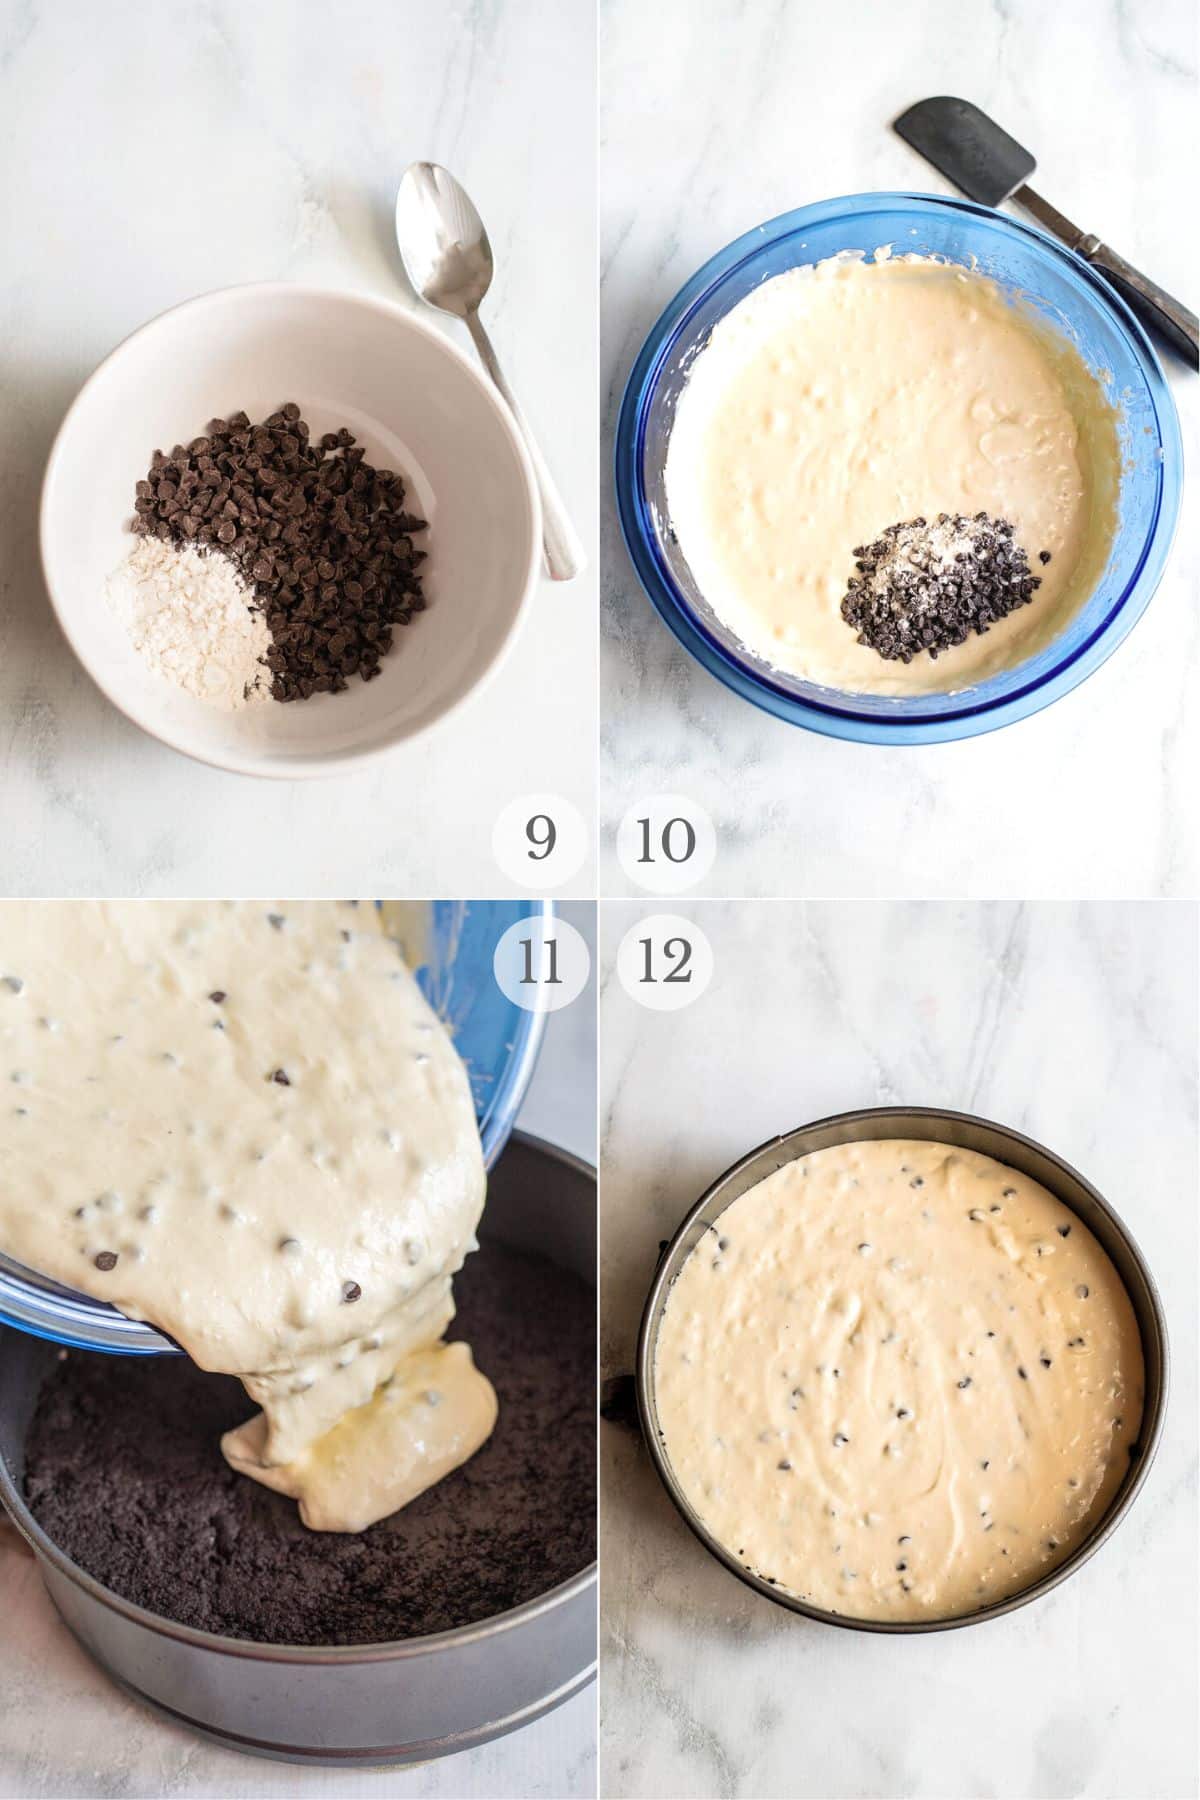
Using a spoon or spatula, fold ½ cup of the mini chocolate chips into the batter (photo 10).
Pour the cheesecake batter on top of the baked crust and spread to the edges (photos 11-12). Top with the remaining ¼ cup mini chocolate chips (photo 13).
STEP 5. Create a water bath
A water bath will help to keep your cheesecake moist while baking and prevent cracks.
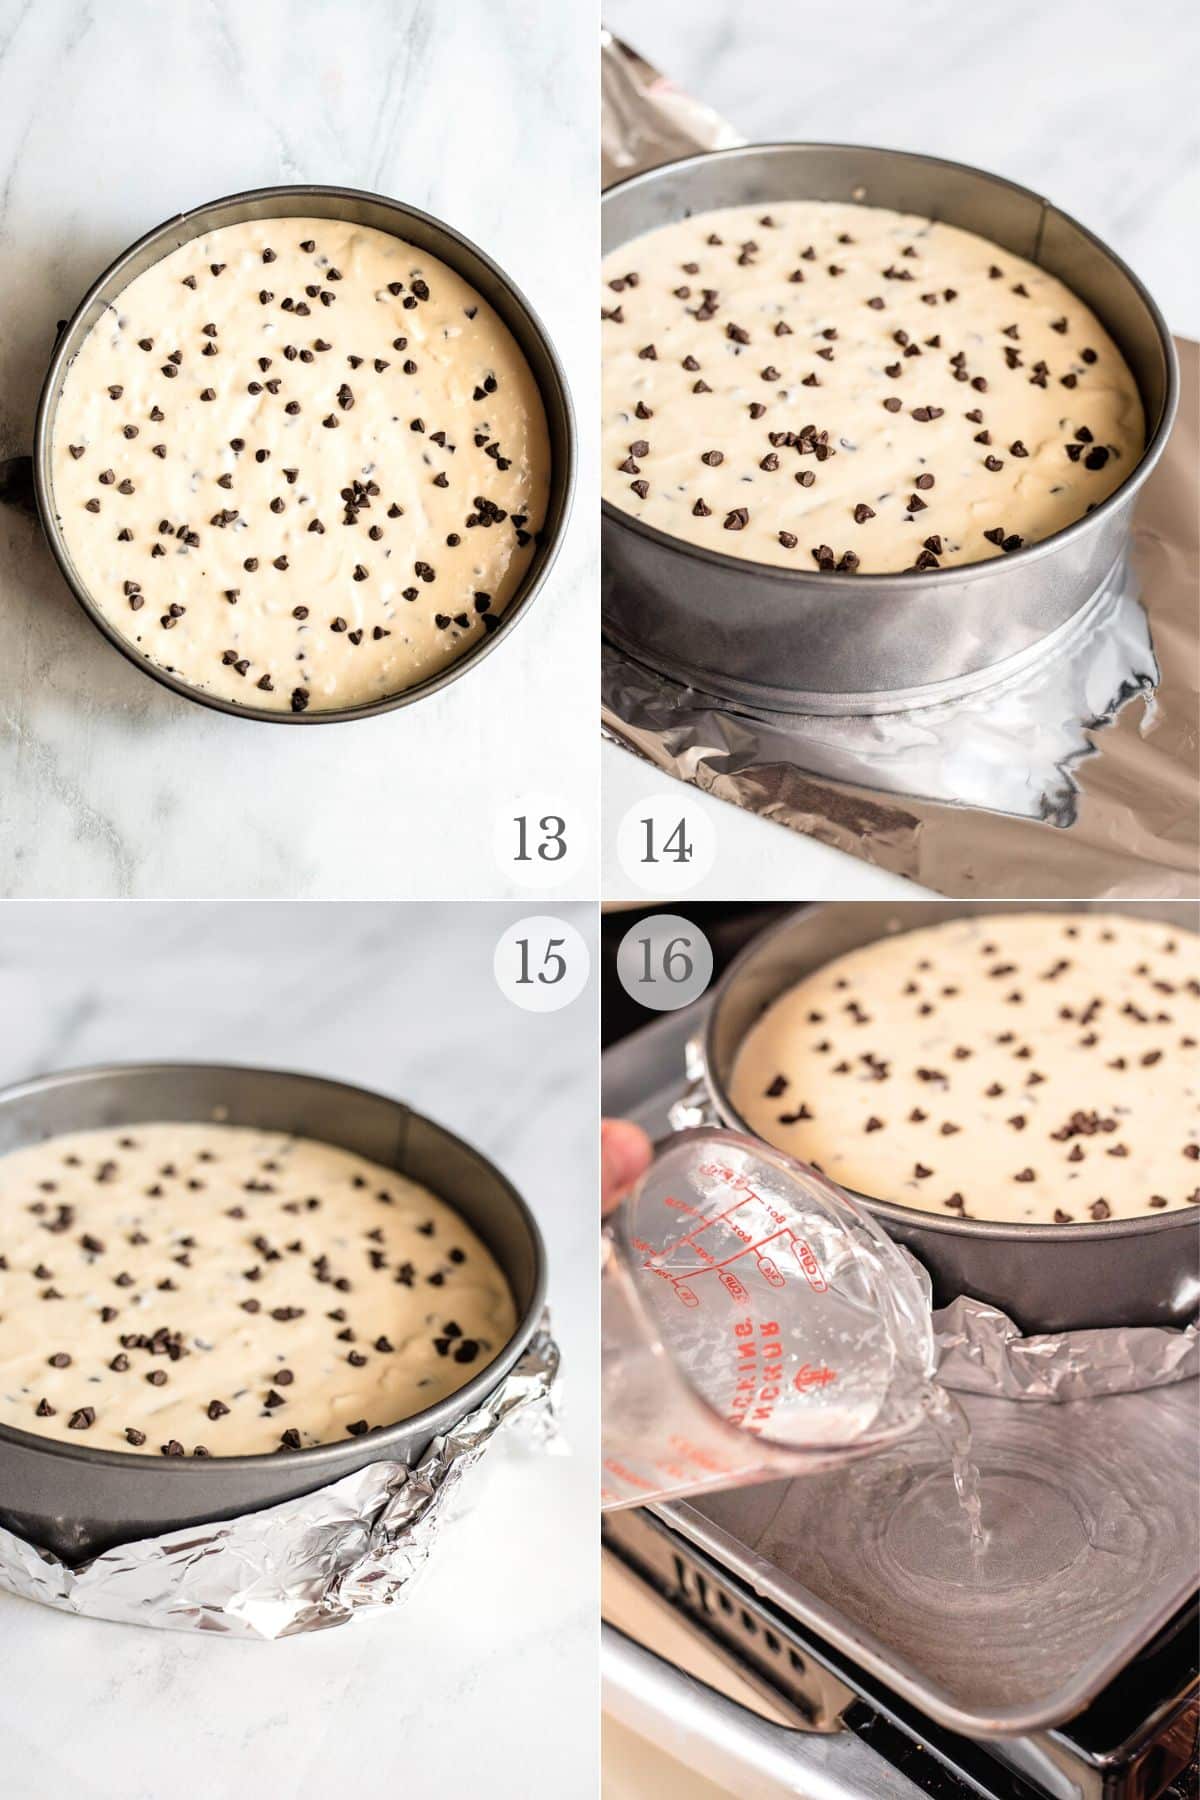
Lay a sheet of aluminum foil underneath the cheesecake pan and fold up the sides to wrap the bottom of the pan snugly (photos 14-15). Place the prepared pan into a pan with tall sides (a baking pan that the cheesecake will fit into or a roasting pan will work great as well).
Pour 1-2 inches of hot water into the pan (the depth should be halfway up the outside of the cheesecake pan) (photo 16); this will work best if done by the oven so the water won't slosh around during transportation into the oven.
STEP 6. Bake
Place onto the middle rack and bake for 1 hour and 10 minutes.
Make sure the oven is at 300 degrees *Do not open the oven during baking*
STEP 7. Cool slowly
Once the baking time is up, turn off the oven and very slightly crack open the oven door.
The cheesecake will be a little jiggly when first done, this is normal and does not mean it's not done. As the cheesecake begins to cool, and when fully cooled, it will be solid and the jiggling will decrease.
Leave the cheesecake in the oven with cracked door for at least 1 hour to allow the cheesecake to cool very slowly. Cracking will happen during the cooling process if the cheesecake is allowed to cool too quickly.
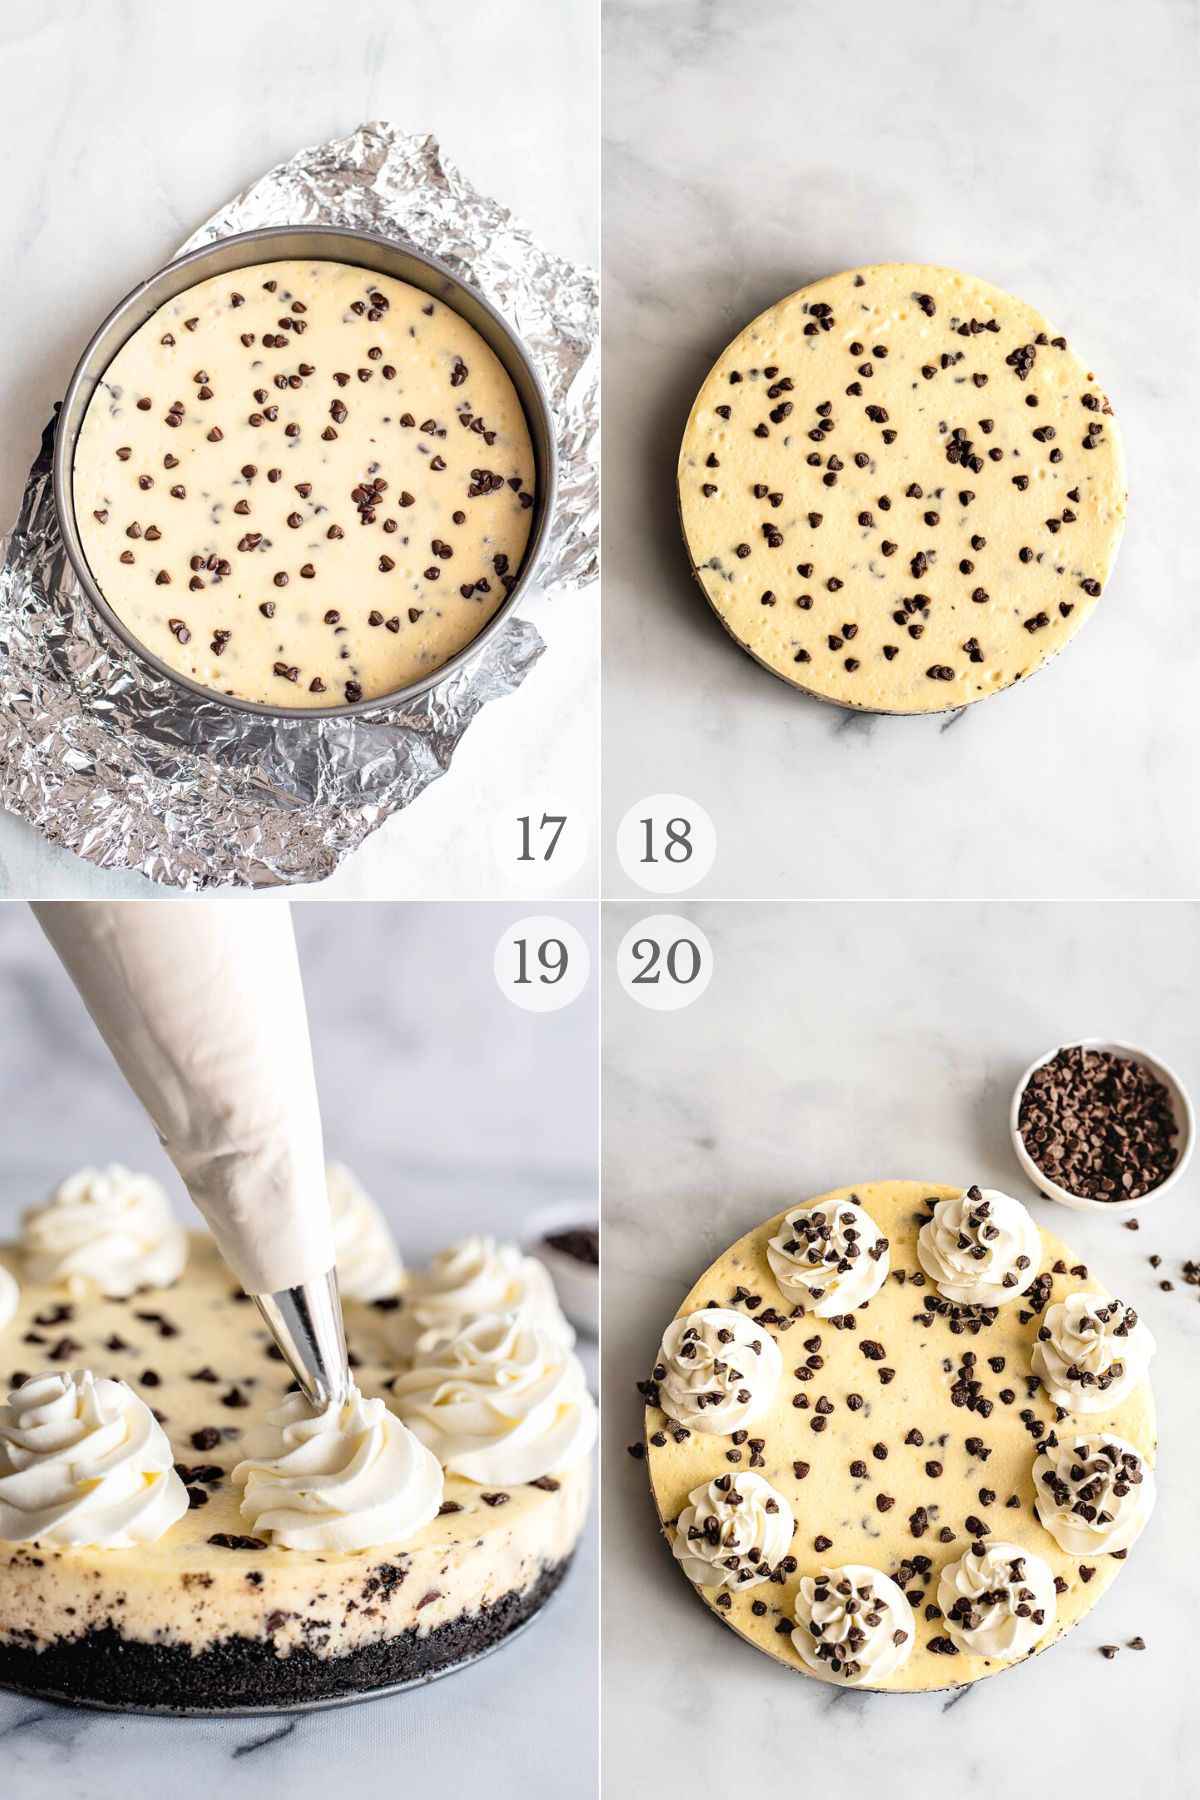
Once the 1 hour is up, move the cheesecake to a counter and allow it to fully cool before covering and moving into the refrigerator; foil can be removed (photo 17). Cool for a minimum of 5 hours in the refrigerator, overnight if possible .
STEP 8. Serve
Release the sides of the springform pan and remove (photo 18).
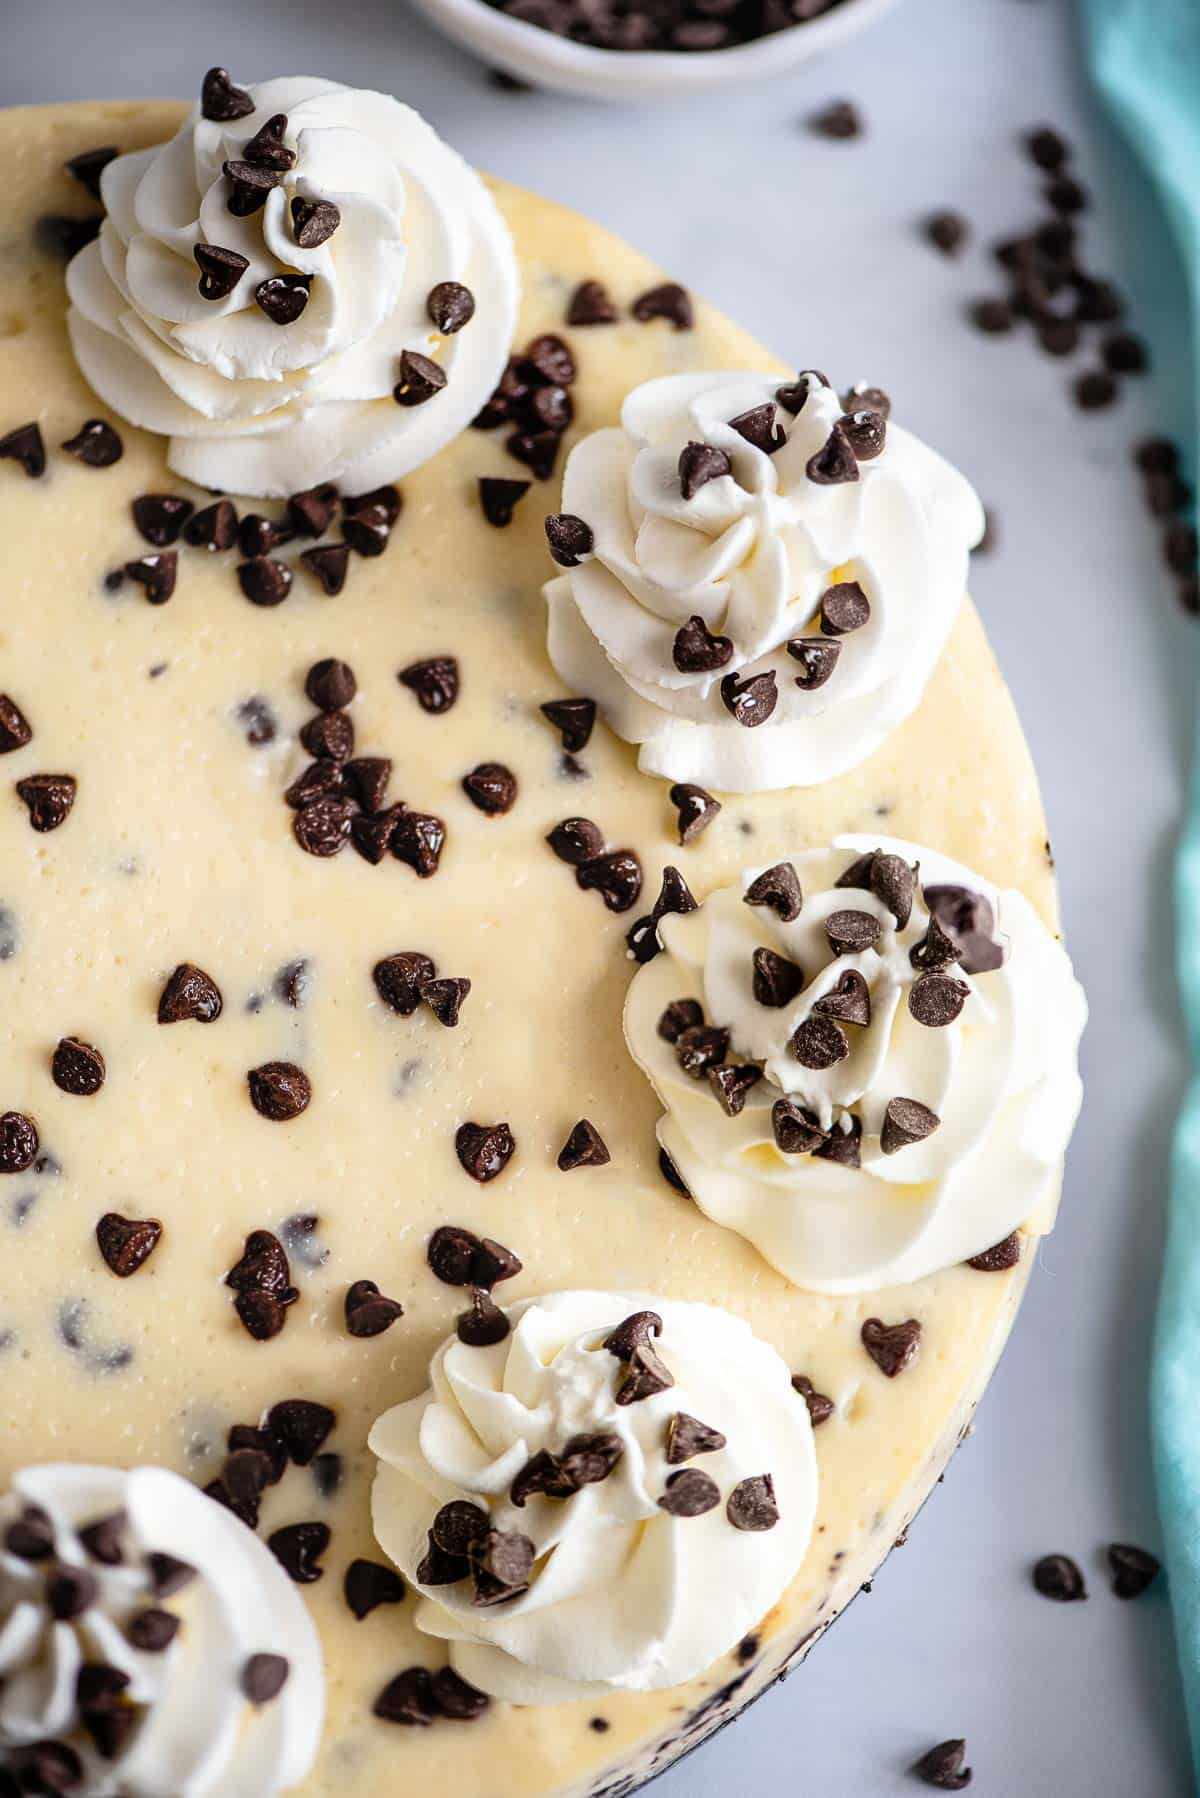
Garnish with whipped topping (photo 19). Sprinkle the remaining 1/4 cup chocolate chips on top of the cheesecake (photo 20). Slice using a sharp knife and serve.
Variations
- Using regular size chocolate chips. If swapping be sure to toss in flour so they do not sink to the bottom of the cheesecake.
- Chocolate drizzle. Drizzle a little bit of chocolate sauce across the top for decoration.
- White Chocolate Chip Blondie Cheesecake. Make a white chocolate chip blondie cheesecake: replace the chocolate Oreos with a golden Oreos or vanilla sandwich cookies. Replace the chocolate chips with a vanilla baking chips. Use the regular size chocolate chip tip above.
- Mint Chocolate Chip Cheesecake. Use Mint Oreo Cookies for the crust and add a layer of Andes Creme de Menthe baking chips on top. For gluten-free use regular gluten-free Oreos for the crust.
- Birthday Cheesecake. Use vanilla baking chips, a birthday cake oreo cookie crust and top the whipped topping with some sprinkles.
Pro Tips for perfect Cheesecake
Room temperature ingredients. For the ingredients to blend smoothly any chilled ingredients should be at room temperature before starting the recipe. If the cream cheese chilled it will form lumps that cannot be beaten out. Beating the filling too much introduces air which will bubble out of the cake when baking.
Use a water bath. This allows for even cooking as well as moisture to help prevent burning, drying out or cracking.
Lower the temperature to 300 degrees. Cooking the cheesecake on a low heat helps prevent cracking.
Don’t open the oven during baking. The temperature change can cause the cheesecake to sink and crack.
Not Overbake. Cheesecake will come out of the oven with a little jiggle in the middle. This is normal! The cheesecake will firm up while it cools and chills.
Cool in Oven with Door Cracked for 1 hour. After baking be sure to turn off the heat, crack the oven door to allow cooling. This will make sure there is no cracking or sinking of the cheesecake.
Chill at least 5 hours before Serving. This is key to develop the creamy cheesecake consistency and firmness.
How to Store
Store in an airtight container or covered with plastic wrap in the refrigerator for up to 5 days. Best if eaten within a few days.
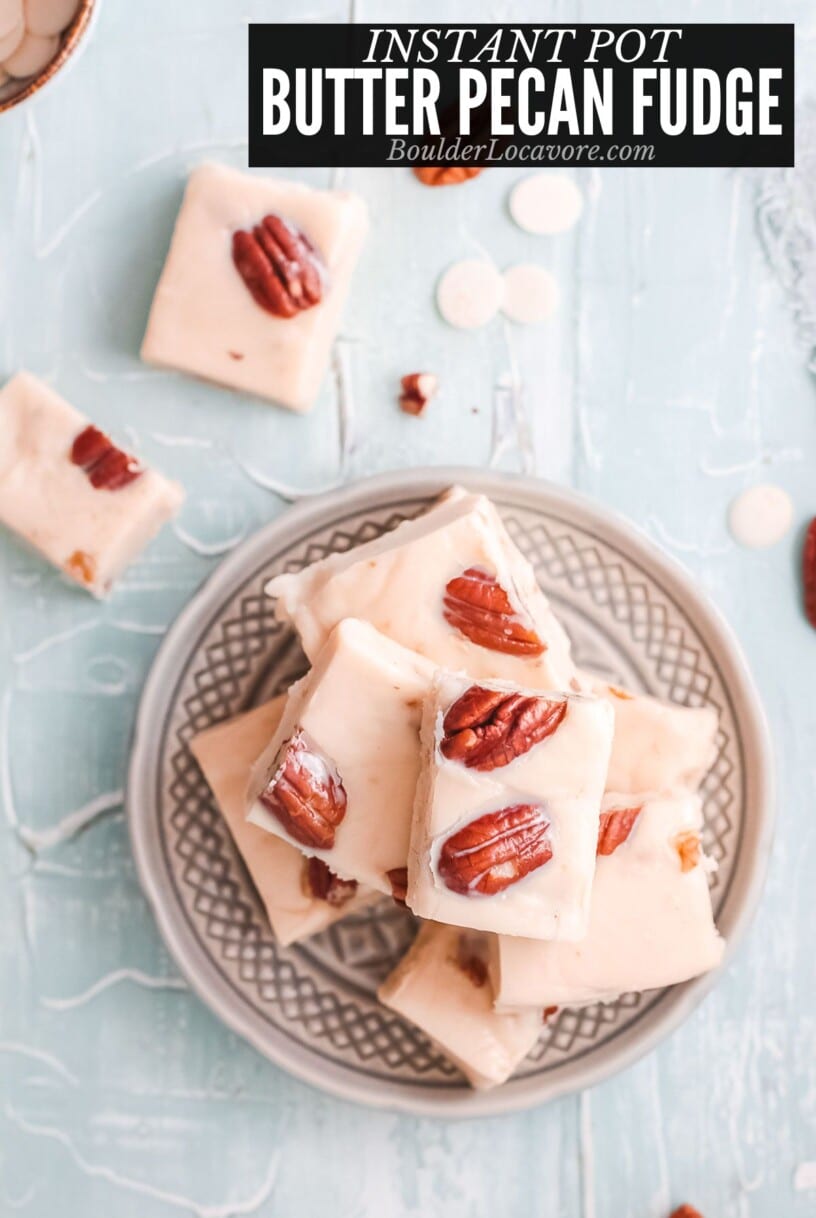
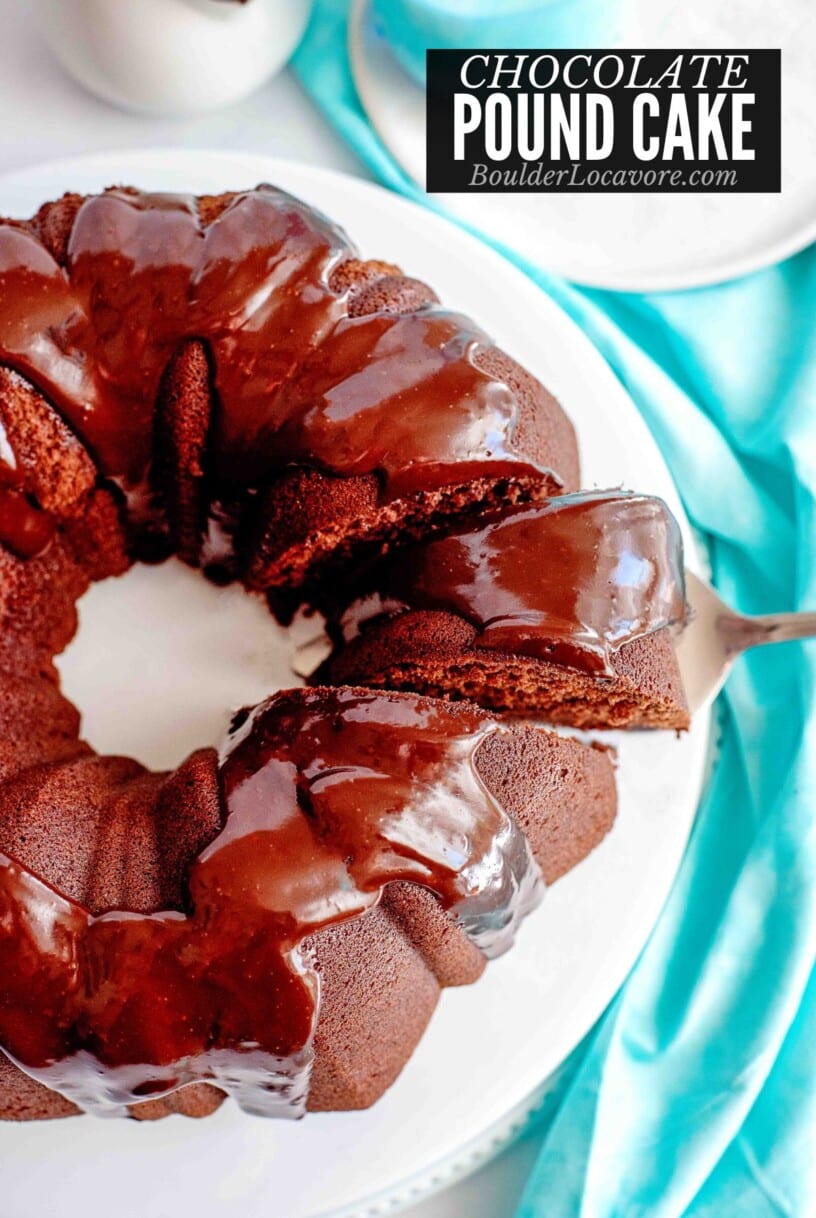
More recipes you’ll love


Recipe

Chocolate Chip Cheesecake
Equipment
Ingredients
Crust
- 35 dark chocolate Oreos any chocolate sandwich cookie will work including regular gluten-free Oreos
- 5 tablespoons unsalted butter melted
Filling
- 3 8-ounce containers full fat cream cheese softened
- 1 14-ounce can sweetened condensed milk
- 3 large eggs
- 1 teaspoon vanilla extract
- ¾ cup mini semi-sweet chocolate chips
- 2 teaspoons all purpose flour regular or gluten-free measure-for-measure flour blend
Garnish (optional)
- ¼ cup mini semi-sweet chocolate chips
- whipped topping
Instructions
- Preheat oven to 325 degrees F. Spray the inside of a 9-inch springform pan with a non-stick spray.
- Using a food processor, pulse the sandwich cookies and melted butter together until crumbs are fine. Pour the mixture into the prepared springform pan. Using the flat bottom of a measuring cup, drinking glass or your hand, press the crumbs down into the bottom of the pan until the crumbs are packed.35 dark chocolate Oreos , 5 tablespoons unsalted butter
- Bake for 10 minutes. Set aside to cool while the filling is prepared.
- DROP THE OVEN TEMP TO 300 DEGREES.
- In the bowl of a stand mixer fitted with paddle attachment or in a large mixing bowl with electric hand mixer, beat the cream cheese until smooth.3 8-ounce containers full fat cream cheese
- Pour in sweetened condensed milk and mix until well combined. Add in the eggs and vanilla extract; mix well.1 14-ounce can sweetened condensed milk, 3 large eggs, 1 teaspoon vanilla extract
- Toss the mini chocolate chips with the flour. Using a spoon or spatula, fold ½ cup of the mini chocolate chips into the batter.¾ cup mini semi-sweet chocolate chips
- Pour the cheesecake batter on top of the baked crust and spread to the edges. Top with the remaining ¼ cup mini chocolate chips.
- A water bath will help to keep your cheesecake moist while baking and prevent cracks.
- Water Bath: Lay a sheet of aluminum foil underneath the cheesecake and fold up the sides to wrap the bottom of the pan. Place the prepared pan onto a pan with tall sides (baking pan, roasting pan, etc.). Pour 1-2 inches of hot water into the pan (halfway up the side of the springform pan).TIP: this will work best if done by the oven so the water won't slosh around during transportation into the oven.
- Place onto the middle rack and bake for 1 hour and 10 minutes. Make sure the oven is at 300 degrees *Do not open the oven during baking*
- Once the baking time is up, turn off the oven and very slightly crack open the oven door. IMPORTANT NOTE: The cheesecake will be a little jiggly when first done, this is normal and does not mean it's not done. As the cheesecake begins to cool, and when fully cooled, it will be solid and the jiggling will decrease.
- Leave the cheesecake in the oven with the door cracked open for at least 1 hour to allow the cheesecake to cool very slowly. NOTE: Cracking will happen during the cooling process if the cheesecake is allowed to cool too quickly.
- Once the 1 hour is up, move the cheesecake to a counter and allow it to fully cool before covering and moving into the refrigerator. Cool for a minimum of 5 hours in the refrigerator, overnight if possible.
- To serve: release the sides of the springform pan. Garnish with whipped topping. Top with the ¼ cup mini chocolate chips, cut slices and serve.¼ cup mini semi-sweet chocolate chips, whipped topping
Notes
- Room temperature ingredients. Be sure the cream cheese and eggs are room temperature.
- Use a water bath. This allows for even cooking as well as moisture to help prevent burning, drying out or cracking.
- Lower the temperature to 300 degrees before baking. Cooking the cheesecake on a low heat helps prevent cracking.
- Don’t open the oven during baking.
- Not Overbake. Cheesecake will come out of the oven with a little jiggle in the middle. This is normal! The cheesecake will firm up while it cools and chills.
- Cool in Oven with Door Cracked for 1 hour. This will make sure there is no cracking or sinking of the cheesecake.
- Chill at least 5 hours before Serving. This is key to develop the creamy cheesecake consistency and firmness.
Erin says
Two of my favorite things in one delicious dessert! Cheesecake and chocolate! Will definitely make this again, but wish I was as talented at decorating with whipped topping as you! 🙂 Looks so pretty.
Erin says
This was my first cheesecake!! I love cheesecake but have never made it. All the photos you shared for the recipe steps gave me the courage to try it and it turned out great. Thank you!
Kristyn says
This cheesecake is so heavenly!! Paired with the oreo crust, it’s one of my favorites!! It will be great for all the upcoming holidays!
Lubna says
This is too DELICIOUS. Love it! Cheesecake and chocolate chips, both are my favorite’s and this recipe is a keeper.
Kim says
This cheesecake had the perfect amount of sweetness and the texture was incredibly smooth. Definitely a winner.
Casey says
I love the crust in this recipe. It’s absolutely delicious. I think I may use it for other cheesecake recipes, too!
Hannah says
I’ve never tried chocolate chip cheesecake before this and feel like I have been missing out after taking a bite. The recipe was easy to follow and we loved the flavor.
Andrea says
I love how easy this creamy, smooth and marvelous chocolate chip cheesecake is to make. It was a hit in my house.