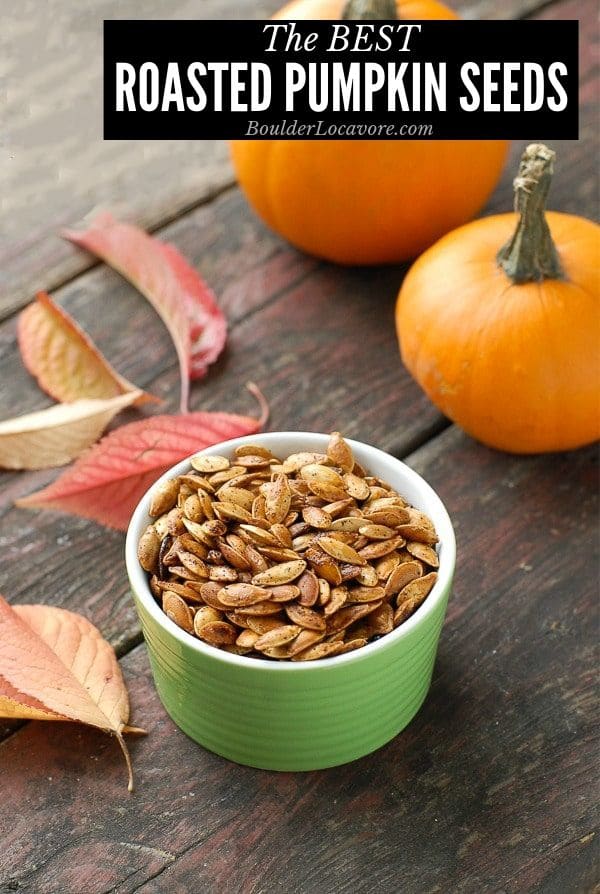
Roasted pumpkin seeds are a crunchy, salty, irresistibly good snack and so easy to make! This recipe has a life-changing trick that makes it the BEST roasted pumpkin seed recipe you’ll ever taste.
If you think carving jack o’lanterns is the best part of Halloween, I have a surprise; it’s not!
Making roast pumpkin seeds is an incredibly delicious snack that’s a healthy snack too!
Every person I’ve served these roasted pumpkin seeds can’t wait to cut into a winter squash to make more!
Roasted pumpkin seeds are easy to make. Getting them out of the gooey inside of the pumpkin is the hard part.
This roasted pumpkin recipe has a special TRICK that makes all that hassle go away!
It will become your favorite recipe for roasting any type of winter squash seeds.
Jump to:
- What do Roasted Pumpkin Seeds Taste Like?
- Use this Method for All Winter Squash Seeds!
- A Life Changing Trick!
- Why this is the Best Method for Roasting Pumpkin Seeds?
- Which Pumpkins Have the Best Seeds for Roasting?
- How to Season the Seeds
- How to Make It – Step by Step
- How to Tell When Roasted Pumpkin Seeds are Done
- Expert Tip
- How to Store
- More Pumpkin Recipes You’ll Love
- Recipe
What do Roasted Pumpkin Seeds Taste Like?
They have a nutty flavor. They taste a bit like bacon to me too.
Seeds roasted through this method are incredibly delicious and a crunchy snack.
Use this Method for All Winter Squash Seeds!
These roasted pumpkin seeds are so delicious making them only at Halloween is a crime!
This method is perfect for all winter squash seeds.
If you are making a pumpkin pie, Butternut Squash soup (or Butternut Squash Noodles)? Don’t throw away the seeds; roast them.
They are delicious for snacking but also great on salads, to top soups, tossed on granola and many other foods.

A Life Changing Trick!
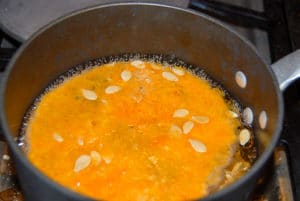
Boil the seeds in salted water first. This is the best and easiest way to roast pumpkin seeds.
How will that make a difference?
Boiling separates all the stringy fibers of the pumpkin membrane from the seeds (the hardest part) freeing them to easily be roasted.
The boiling step takes care of all the time usually spent trying to free the seeds from the pumpkin membrane and goop.
The salt water also plumps up the seeds giving them incredible texture and flavor when they are roasted.
Why this is the Best Method for Roasting Pumpkin Seeds?
It can take hours to dig through the pumpkin membrane to release and roast the seeds.
Even then they generally don’t come out well.
The seeds can be thin, hard to crisp up for a nice crunch and lack flavor, or taste ‘green’.
By pre-boiling, the seeds have begun to cook before the roasting. Roasting in the oven really finishes them and crisps the outside to a pleasing texture.
The results are night and day from traditional roasted pumpkin seeds.
Which Pumpkins Have the Best Seeds for Roasting?
Pick a large pumpkin (not heavier but physically bigger) that sounds hollow when you tap it.
If wishing to make homemade pumpkin puree choose pie pumpkin or sugar pumpkin. They have fewer seeds by you’ll be able to use the rest of the pumpkin too.

How to Season the Seeds
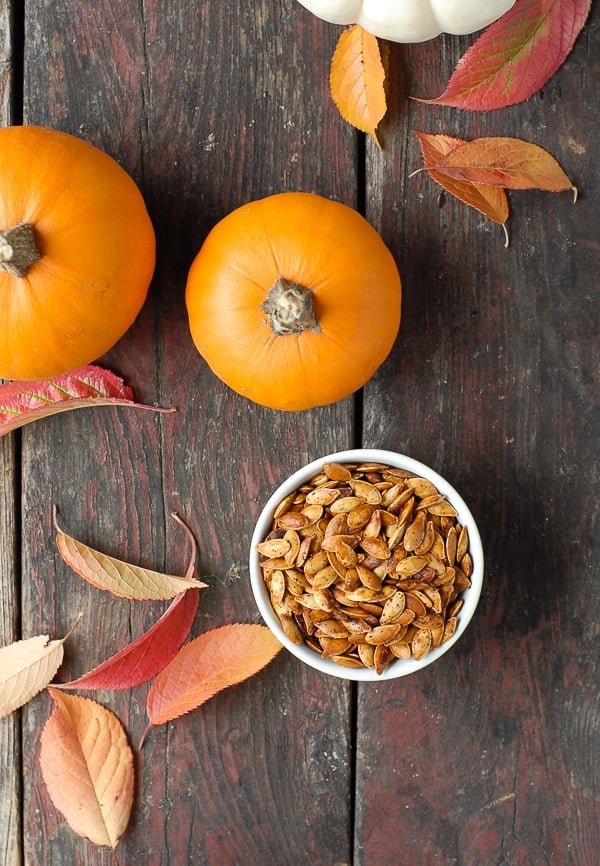
This is the fun part. Seasoning the roasted pumpkin seeds can be anything you love.
Salt or salt and pepper alone are delicious. Do you have a favorite spice? Try it.
Suggested Seasonings
Try a few sprinkles of Ground Chipotle Chilies, some salt and pepper before roasting. They are delicious with some smoldering heat and smoky flavor.
Sprinkle the seeds with some soy sauce or Tamari (if gluten-free) before roasting for salty Asian twist.
Cayenne Pepper is great if you love some heat.
Sumac has a citrus flavor along with a Middle Eastern taste.
You could even change it up and try some fine grain sugar for a kettle-corn type flavor.
Garlic powder or garlic salt can add a garlicky flavor to this tasty snack.
Try some curry powder!
The possibilities are endless.
How to Make It – Step by Step
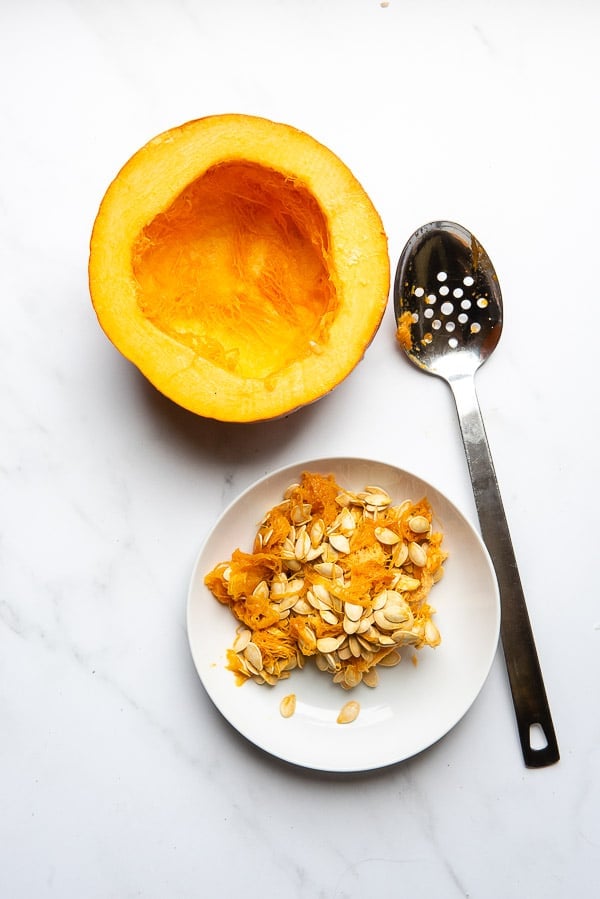
STEP 1. Gather the seeds
Scrape the seeds from a partially cooked or uncooked winter squash (pumpkin, delicata squash seeds, butternut squash, etc). It will include membrane (see photo below).
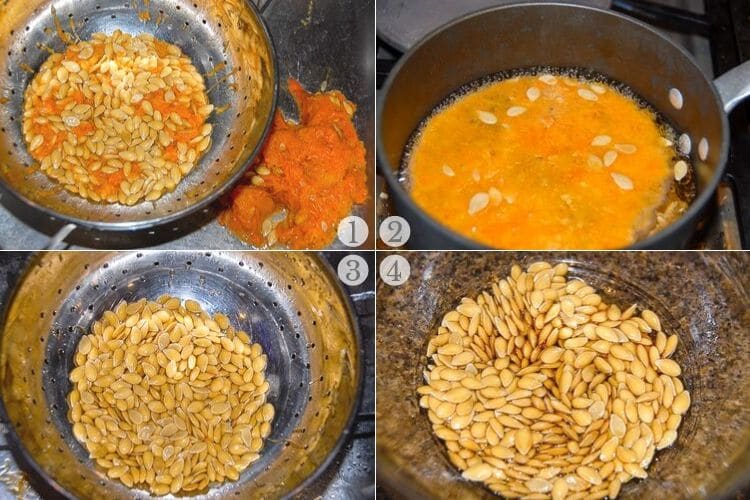
Rinse the seeds to remove large pieces of membrane (photo 1).
STEP 2. Boil the seeds
Preheat the oven to 400 degrees. Bring a large pot of salty water to a boil.
Boil the seeds for 10 minutes (photo 2).
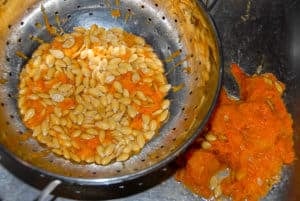
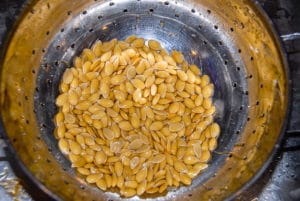
Strain the clean pumpkin seeds in a colander and remove any separated bits of pumpkin (photo 3).
STEP 3. Roast the seeds
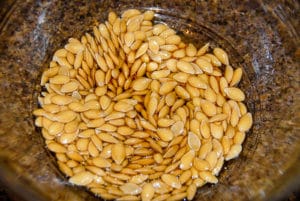
Put clean seeds in a large bowl and drizzle with olive oil, salt, black pepper or desired seasonings and toss seeds to coat (photo 4).
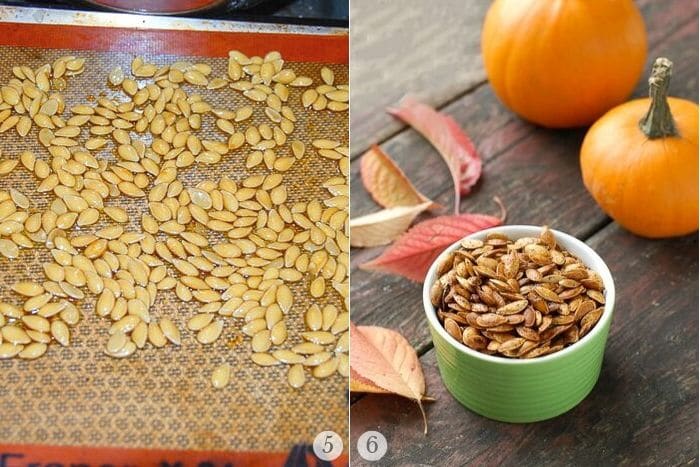
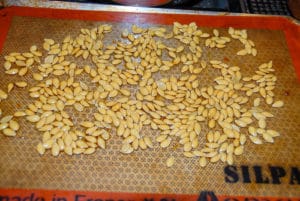
Spread the seeds in a single layer on a rimmed baking sheet lined with parchment paper or a silicon mat. Bake in the 400 degree oven to desired crispness; usually 10-15 minutes depending on the seeds (photo 5).
Allow seeds to cool then devour (photo 6)!
How to Tell When Roasted Pumpkin Seeds are Done
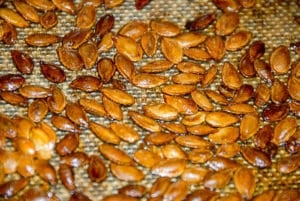
The seeds start as a wet, grayish color when they are raw. As they roast the dry seeds become opaque white followed by golden brown as they become fully roasted.

Expert Tip
Pumpkin Scooper. Using a pumpkin scooper makes the job of removing the seeds and membrane much faster and easier.
How to Store
After the seeds roast and are completely cool, store in an airtight container at room temperature.
More Pumpkin Recipes You’ll Love
- Pumpkin Cheesecake
- How to Make Pumpkin Butter
- Easy Pumpkin Cornbread Muffins recipe
- Pumpkin Cream Cold Brew recipe (Starbuck’s Copycat)
- Pumpkin Oatmeal recipe
Recipe
Best Roasted Pumpkin Seeds
Ingredients
- Pumpkin Seeds or Winter Squash Seeds
- 2 teaspoons Olive Oil
- Kosher Salt
- Seasonings to taste
Instructions
- Scrape any squash seeds out of a partially cooked or uncooked winter squash.
- Rinse the seeds to remove the major chunks of squash or any strings possible. NOTE: The boiling separates most of it; this is to remove anything large.

- Preheat the oven to 400 degrees.
- Bring to boil a few cups of water and seeds; about 2 cups of water to 1/2 cup of seeds. Add ½ teaspoon of salt per cup of water. Note: the amount of salt may be increased or decreased to taste. Boil for 10 minutes.

- After boiling, return seeds to a colander and rinse. Any remaining pumpkin particles or string will have separated; remove them from the seeds.

- Put the seeds in a bowl. Toss with 1-2 teaspoons of olive oil to coat the seeds and add salt and pepper to taste. Additional seasonings and spices may be added.

- Spread seeds in a single layer on a baking tray or in a shallow roasting pan in the upper portion of the oven.

- Bake until seeds begin to brown and are a consistency of your liking; usually 10-15 minutes. NOTE: Different size seeds may take different lengths of time to cook. TIP: the seeds change from the wet, grayish color to more of an opaque white then golden brown as they become fully roasted.
- Leave the seeds to cool on a rack until you can safely handle them.

Video
Nutrition
Originally published October 2010
Roasted Pumpkin Seeds are a wholesome, delicious snack that are so easy to make!
Katie says
I have been looking for something like this! I always like to roast the seeds when my kids carve pumpkins, and this is an amazing method!
Sara says
I love this method to boil the seeds to get all the stringy stuff off. Works perfectly for the best seeds!
Pam Dana says
Great tips! Thank you!!
Katerina @ diethood .com says
YUM!! My favorite snack!!
Lauren Kelly says
I never throw away those amazing pumpkin seeds! I love he flavors in these!
Stephanie says
My kids love these! I’m with you, I just use salt and pepper to season them.
lisa says
this is definitely the best method I’ve seen! i love me some pumpkin seeds… can’t wait til fall so i can get roasting!
Andrea says
this is delicious to boil first. Hard to save some for tomorrow to let my caregiver taste. She had never cut a homegrown pumpkin before.and was off work before I roasted it as well as made seeds……yummy thank you.
I still adore sharing a new food, that some folks in later years never experienced.
Hilda golde says
Pretty good! I boild with Jalapeño Sea Salt. and for seasonings: more sea salt, cayenne pepper and the True Lime Cilantro Garlic Seasoning. Ooh yeah!!
Toni Dash says
Wowza! I love it!!
Poppy Guloien says
I loved this…however I didn’t read that you were only supposed to boil them for 10 minutes until they had already been boiling for half an hour…thought I had ruined them because they went very grey but I decided to soldier on and do some experimenting. I put olive oil all over all of them and then separated them into four bowls and I did one bowl with just seasoning salt, one with worcestershire, one with Valentina’s hot sauce and one with Tamari. I had to bake them for 40 minutes stirring every ten minutes or so but they turned out AWESOME. Thank you. I never would have thought of boiling them.