

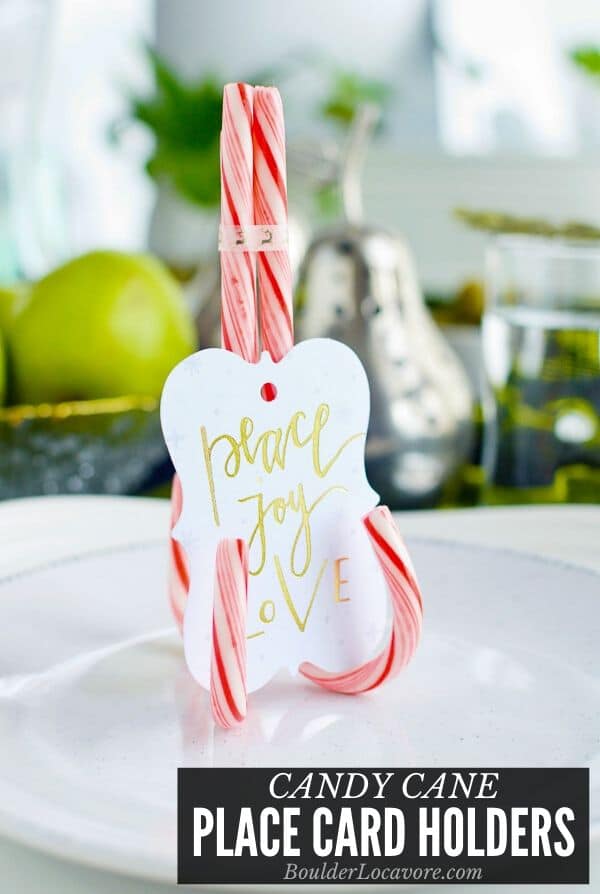
Place card holders make a table feel special and you can make one with candy canes in about 5 minutes! A fun and festive addition to any holiday table!
Sitting down for a holiday meal with a special greeting or your name at your place is a festive addition to any dining table.
It’s a way to make it feel personal. It also makes organizing friends and family easy too!
Homemade Candy Cane Place Card Holders take about 5 minutes to make!
For those old and young alike, they bring a special joy to the table.
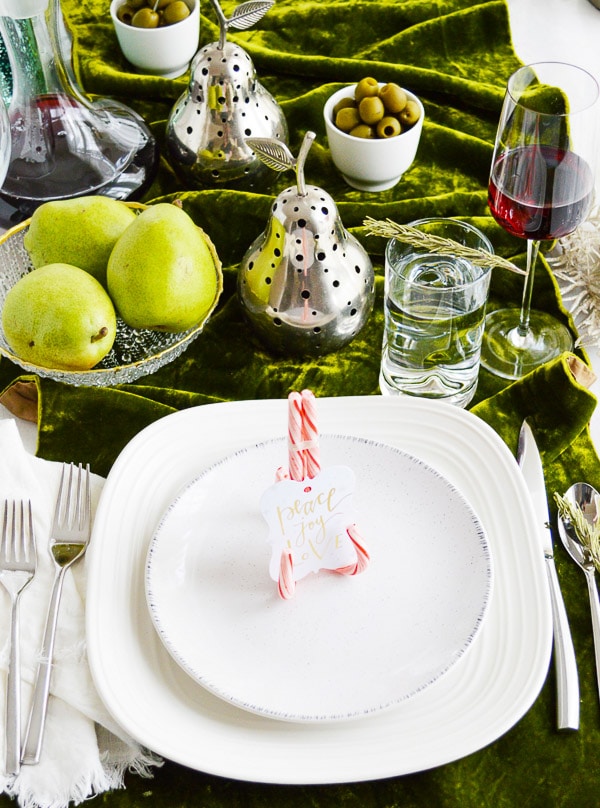
When hosting a larger group I love to make special place cards that go with the meal. Everyone loves them!
Also if trying to mix a group of diners up (think every holiday movie about families that don’t get along lol) seating assignments with name cards makes everyone feel more comfortable.
Finding extra time during the holidays to do anything extra is a challenge.
These place card holders are fast and easy to make.
There is even a way to keep them edible!
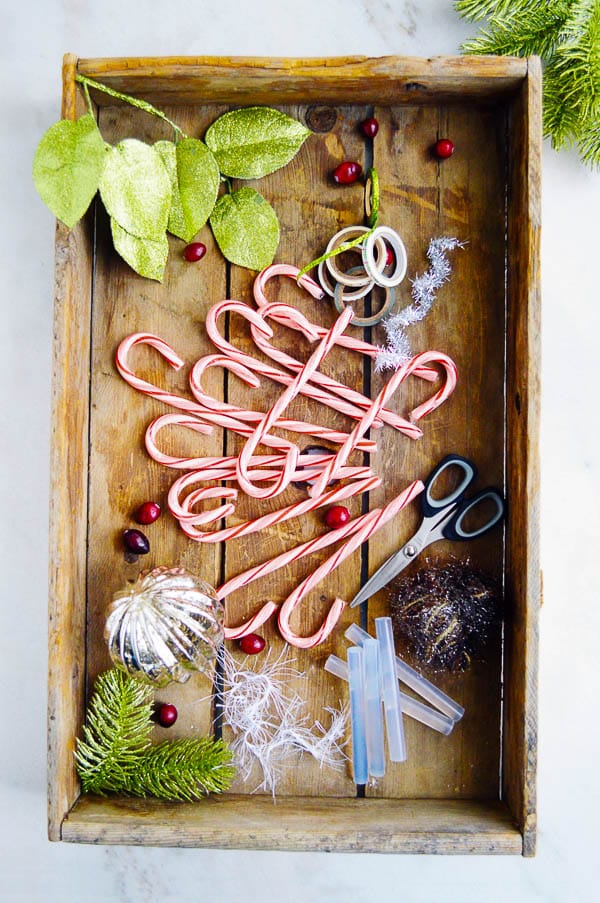
Place Card Holder Supplies
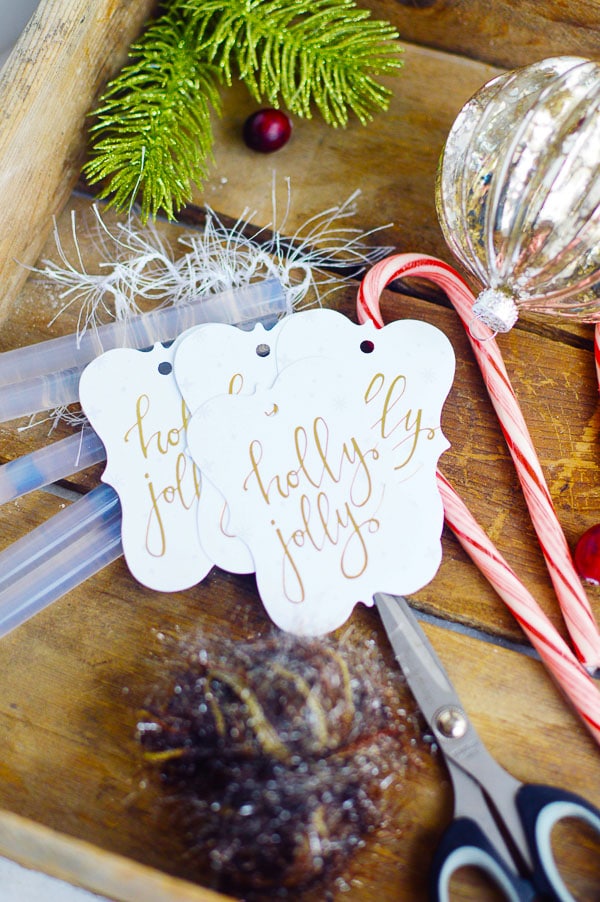
This project only takes a few supplies that are easily found at the grocery store and craft supply store!
- standard size Candy Canes
- Hot Glue Gun (recommended) or Sticky Adhesive Dots (I recommend the mini size)
- Ribbon, trim, Washi tape or a glittery pipe cleaner
- Place card (homemade or purchased)
What is Washi Tape?
If you have not used Washi tape it is a thin Japanese paper with adhesive.
It’s easy to use, tears with fingers and is a fun decoration for this type of project.
It can be found in crafting stores or online.
The size shown on this project is 3MM Washi tape.
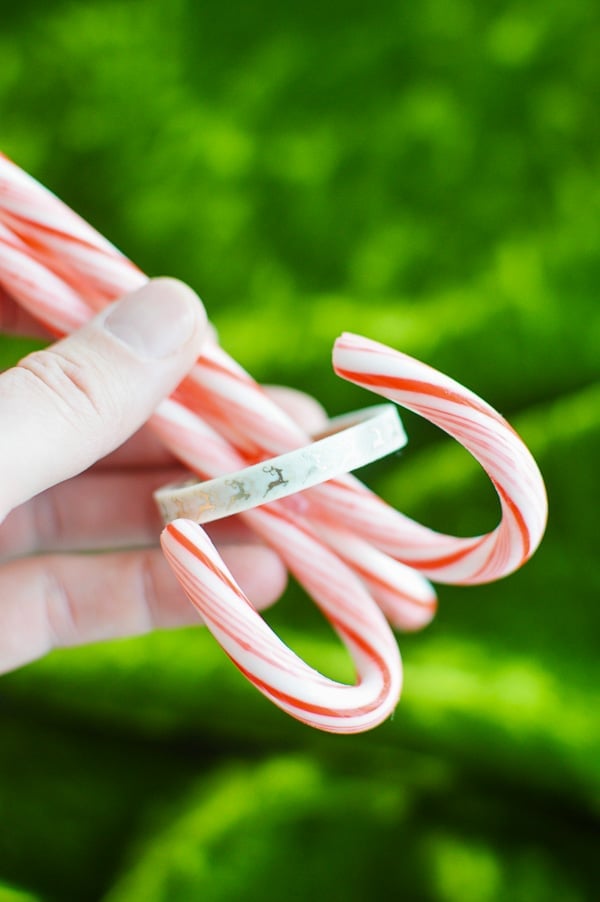
Preparing the Candy Canes
The wrappers have been removed from the candy canes to make these place card holders.
Gluing the candy canes together will make them inedible.

How To Keep the Place Card Holders Edible
If you want the option of guests to eat them, do NOT remove the plastic wrapper before beginning!
Also instead of using hot glue use adhesive tape to wrap the candy canes together.
Then cover the tape by putting ribbon, wider Washi tape or a metallic pipe cleaner over it.
How to Make Candy Cane Place Card Holders – Step-by-Step
Assemble all supplies (photo 1).
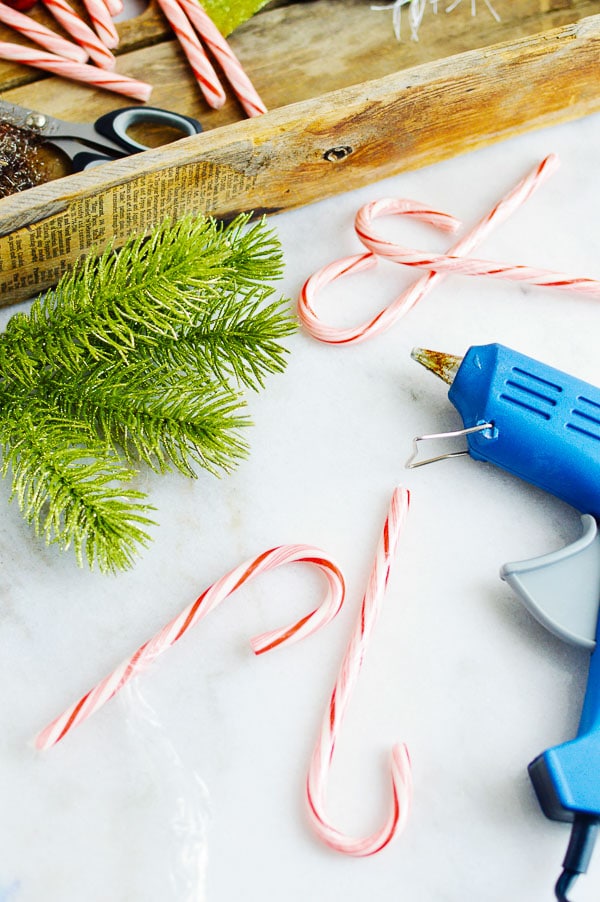
STEP 1: Assemble all supplies (photo 1). Remove the wrappers from the candy canes (see above for options to all the place card holder to be eaten) (photo 2).
STEP 2: Hold the three candy canes together with the long ends touching. Holding them tightly, set the curved bottoms on a flat surface to ensure they will sit flat when glued.
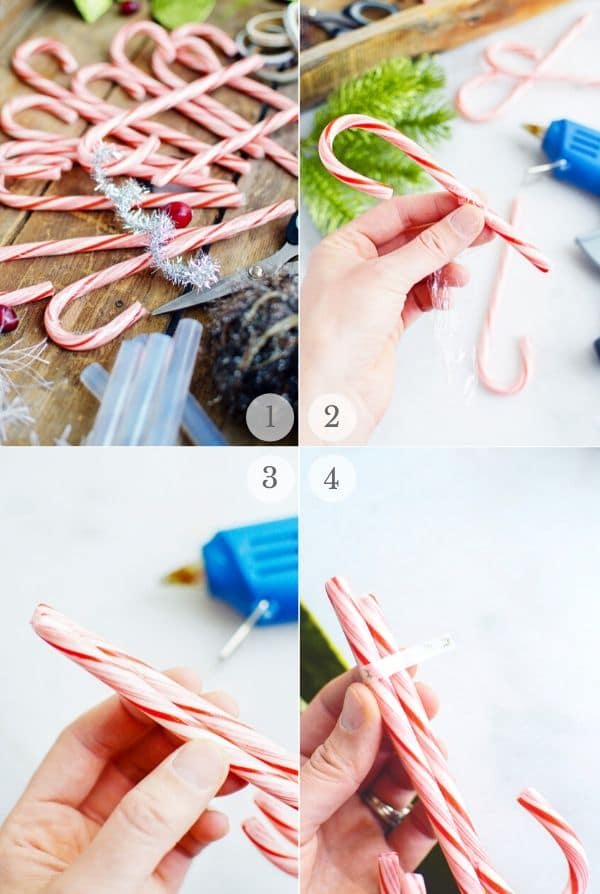
STEP 3: Glue the first two candy canes together. Once they are set, glue the third candy cane, again testing to be sure the curved bottoms will sit on a flat surface without wobbling (photo 3).
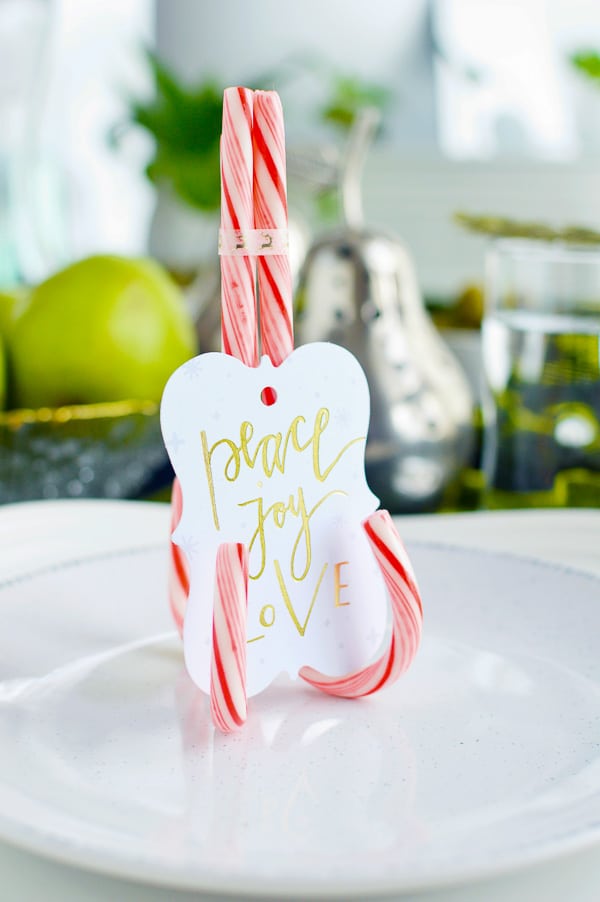
STEP 4: Add decorative ribbon or trim to the top of the place card holder (photo 4).
Place at individual place settings with a festive card, name place card or photo.
 PRO TIP: Spacing the Candy Canes
 PRO TIP: Spacing the Candy Canes
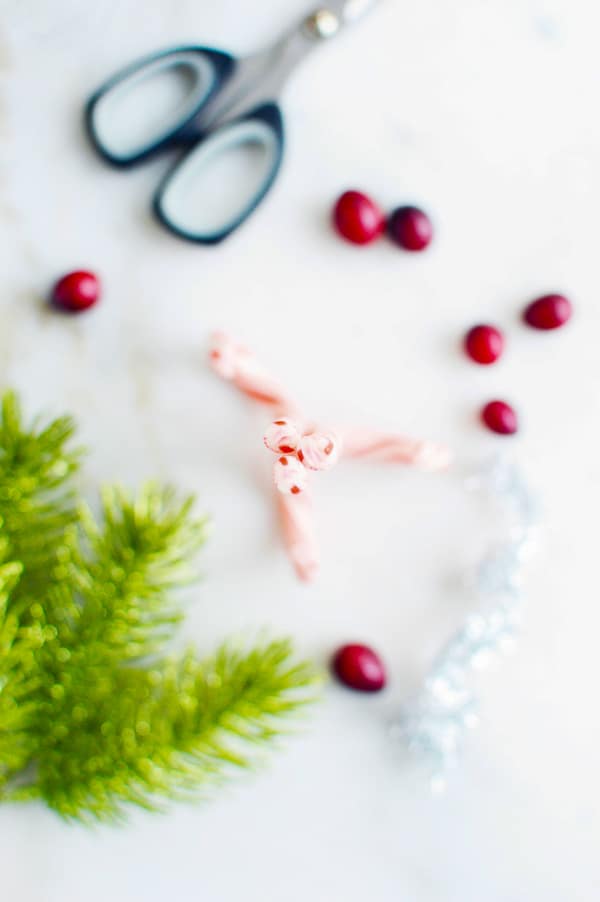
The candy canes make an easel.
The front two hold the ends of the place card. The third faces the back to make sure the place card holder stays upright.
If you look down from above, you’ll see spacing as in the photo below.
When working with hot glue, there is a few seconds after applying before it begins to set.
Also check that the bottoms of the candy canes are touching a flat surface when glued and standing upright.
You’ll have a few seconds to slide them if they need adjustment before the hot glue hardens.
Now that you have a beautiful holiday place card holder, what to serve for dinner?
Delicious Holiday Recipes to Make
- Easy Whole Roast Duck with Chinese Five Spice
- Turkey Roulade with Apple-Cranberry Stuffing in a Bacon Weave
- Christmas Breakfast Enchilada Casserole
- Eggnog Magic Cake
- Shortcut French Cassoulet
- Quiche Lorraine
- The Best Eggnog Recipe
- Wassail
Please SUBSCRIBE and FOLLOW ME on FACEBOOK , TWITTER , INSTAGRAM and PINTEREST !

Candy Cane Place Card Holders
Equipment
Ingredients
Supplies PER place card holder
- 3 standard size Candy Canes plastic cover removed (see notes)
- Hot glue or small Sticky Dots (used for scrapbooking)
- 6 inches Decorative ribbon, tinsel or trim, or narrow width washi tape
- Place cards, Photos or Envelopes I got these exact ones at Micheals craft store this season.
Instructions
- If using a glue gun (recommended): Heat glue gun. Set it up so you can quickly pick it up while holding the candy canes in place. NOTE: if using sticky dots, open the package for quick use.

- Hold the long sides of the candy canes together, so the curved ends are evenly spaced. Holding them tightly together place the bottoms on a flat surface to ensure the bottom is level.
- Glue or stick them them together, starting with two of the candy canes. Then glue the third in place when the first two have set and are sturdy.
- Wrap the ribbon, trim or washi tape around the candy cane cluster for decoration.
- Use festive cards (refer to photos) or print name place settings.

- Store candy cane place card holders at room temperature until you’re ready to use them.


Dana Brillante-Peller says
What a cute idea for the holiday dinner setup. I like using the candy canes for something like this.
Ntensibe Edgar Michael says
Hhhhmmmm….alright Toni! If you say so. I will try this out.
Angelica Sereda says
Great idea- and so festive!
GiGi Eats says
What an absolute genius and super festive idea!!
Monica says
This is beautiful! I love the simplicity and budget + time friendly way to bring a DIY touch to the table. I’m making these!
Bill Sweeney says
These are so cool! My kids could make these for their teachers. Simple and cost-effective is perfect.
Stephanie says
These are so adorable! I’m going to use these for our Christmas party next weekend…thanks!
Jessica Collazo says
This is so adorable and easy to do DIY. Is perfect for a holiday dinner or even to put pictures on it. I love it!!
Julie Cao says
This is such a creative way tomake the place card holder. I will try this for my Christmas eve dinner table. It looks so simple and beautiful.
Julia Frey says
What a brilliant and festive idea and I love that it’s easy enough to do even for those of us who are not very crafty. Thank you for sharing!