

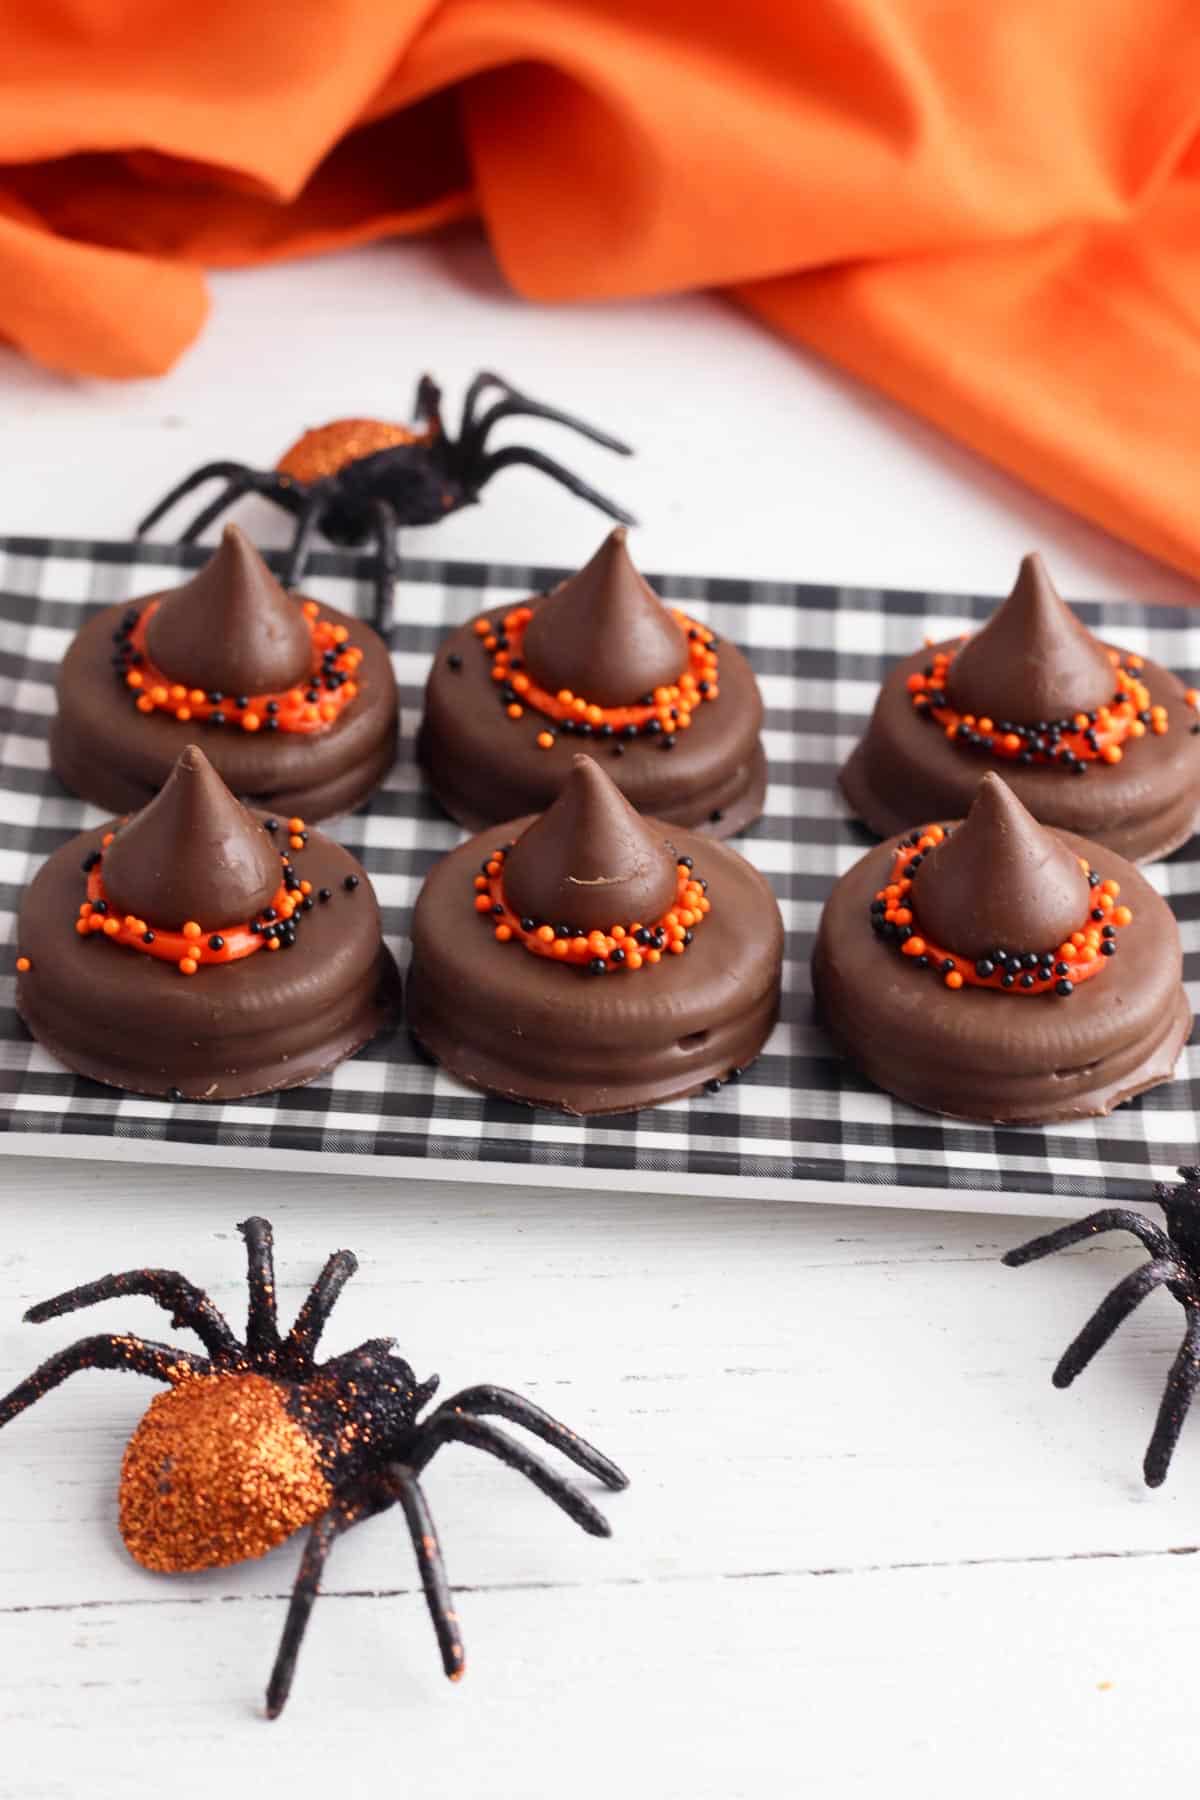
Witch Hat Cookies are an EASY Halloween cookie recipe that delivers on the fun factor! Perfect for a Halloween party and no baking is required!
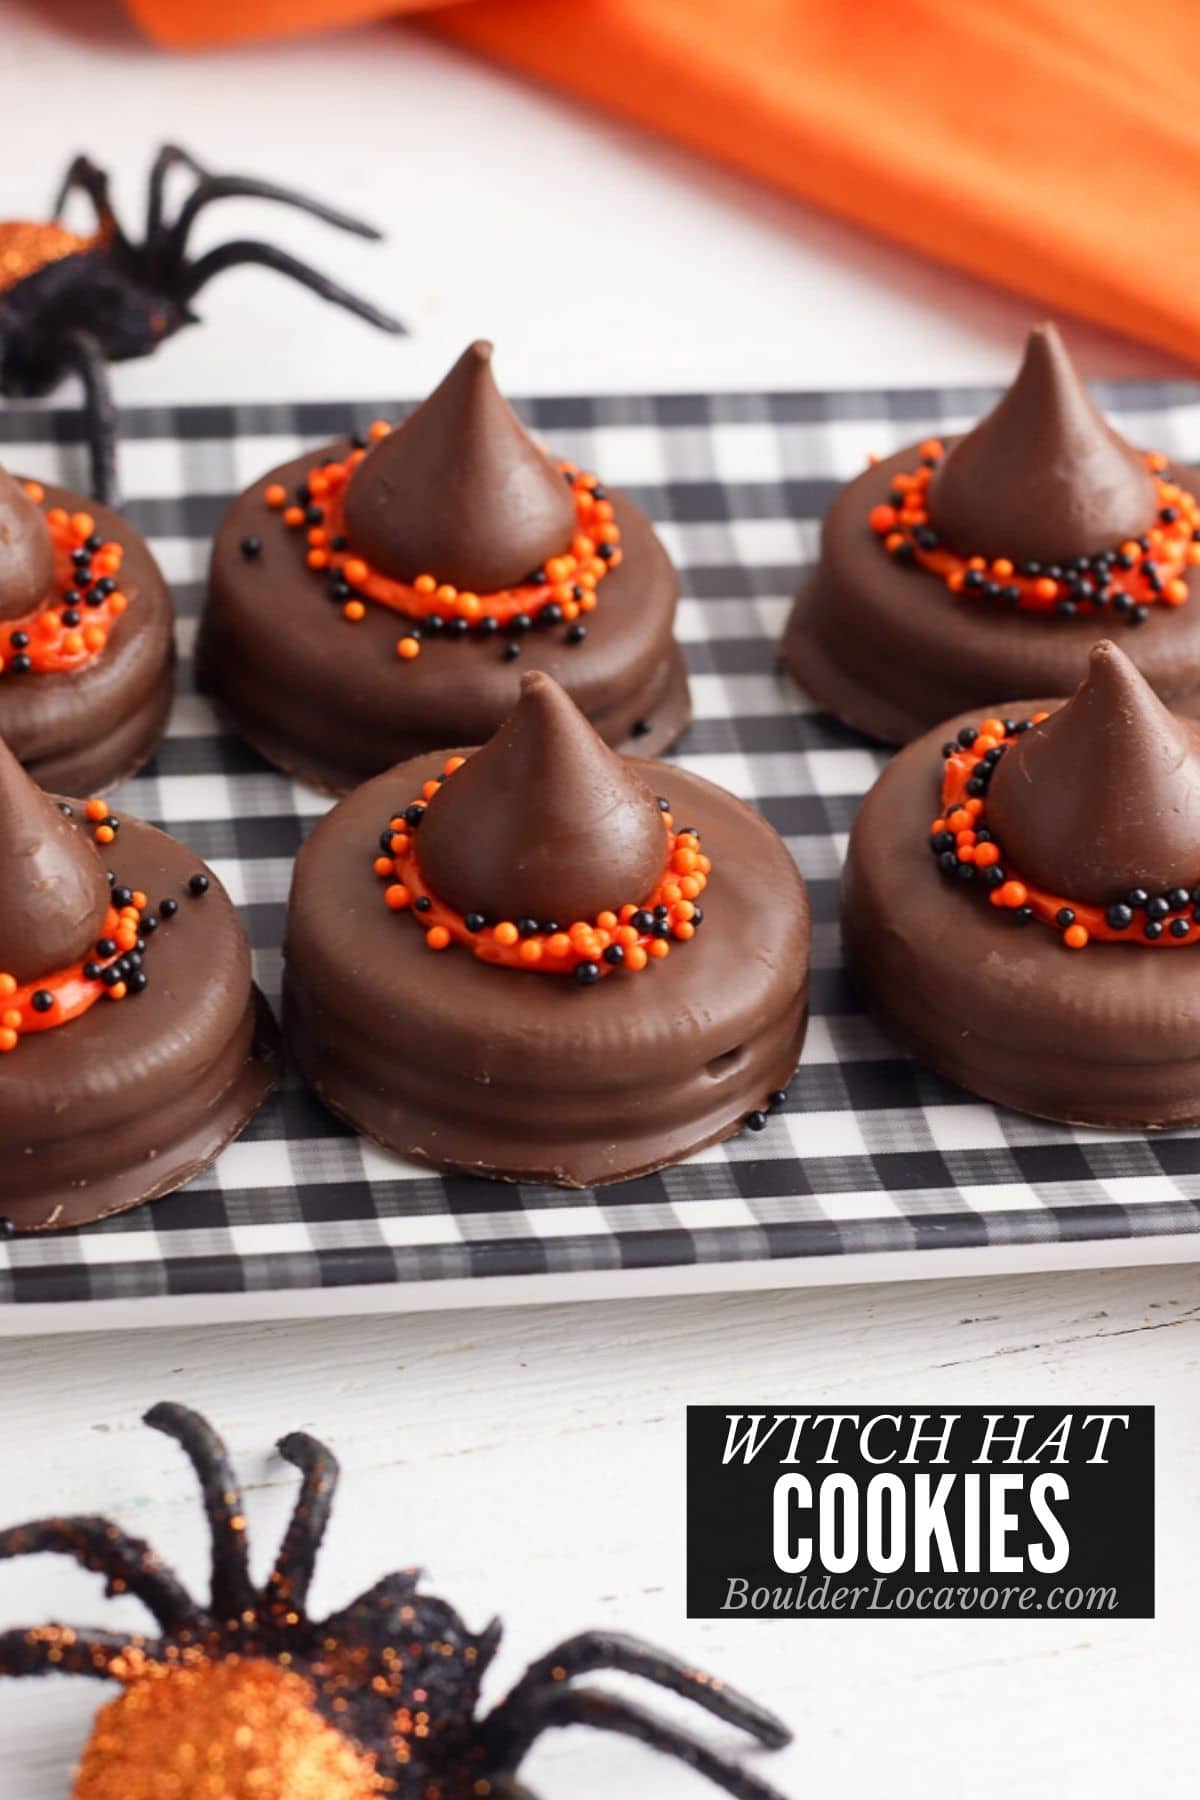
As far as Halloween cookie recipes go, they don’t come easier than this easy recipe. All you need is a few minutes for assembly. No cookie dough, no stand mixer, no waiting around required.
These adorable Witch Hats are as fun as baked cookies and kids can help with assembly too. Set them out with other Halloween treats and Halloween appetizers and little monsters and ghosts will be so excited!
And so will you because they are so easy to make.
Pair them with other sweet treats like Mummy Cookies with candy eyes, Mummy Oreo Cookie Pops or Candy Corn Quesadillas for party guests!
Easy Halloween Cookie recipe
This no bake cookie is truly an assembly recipe only. Combining prepared ingredients in a new way to create spooky cookies for some Halloween fun!
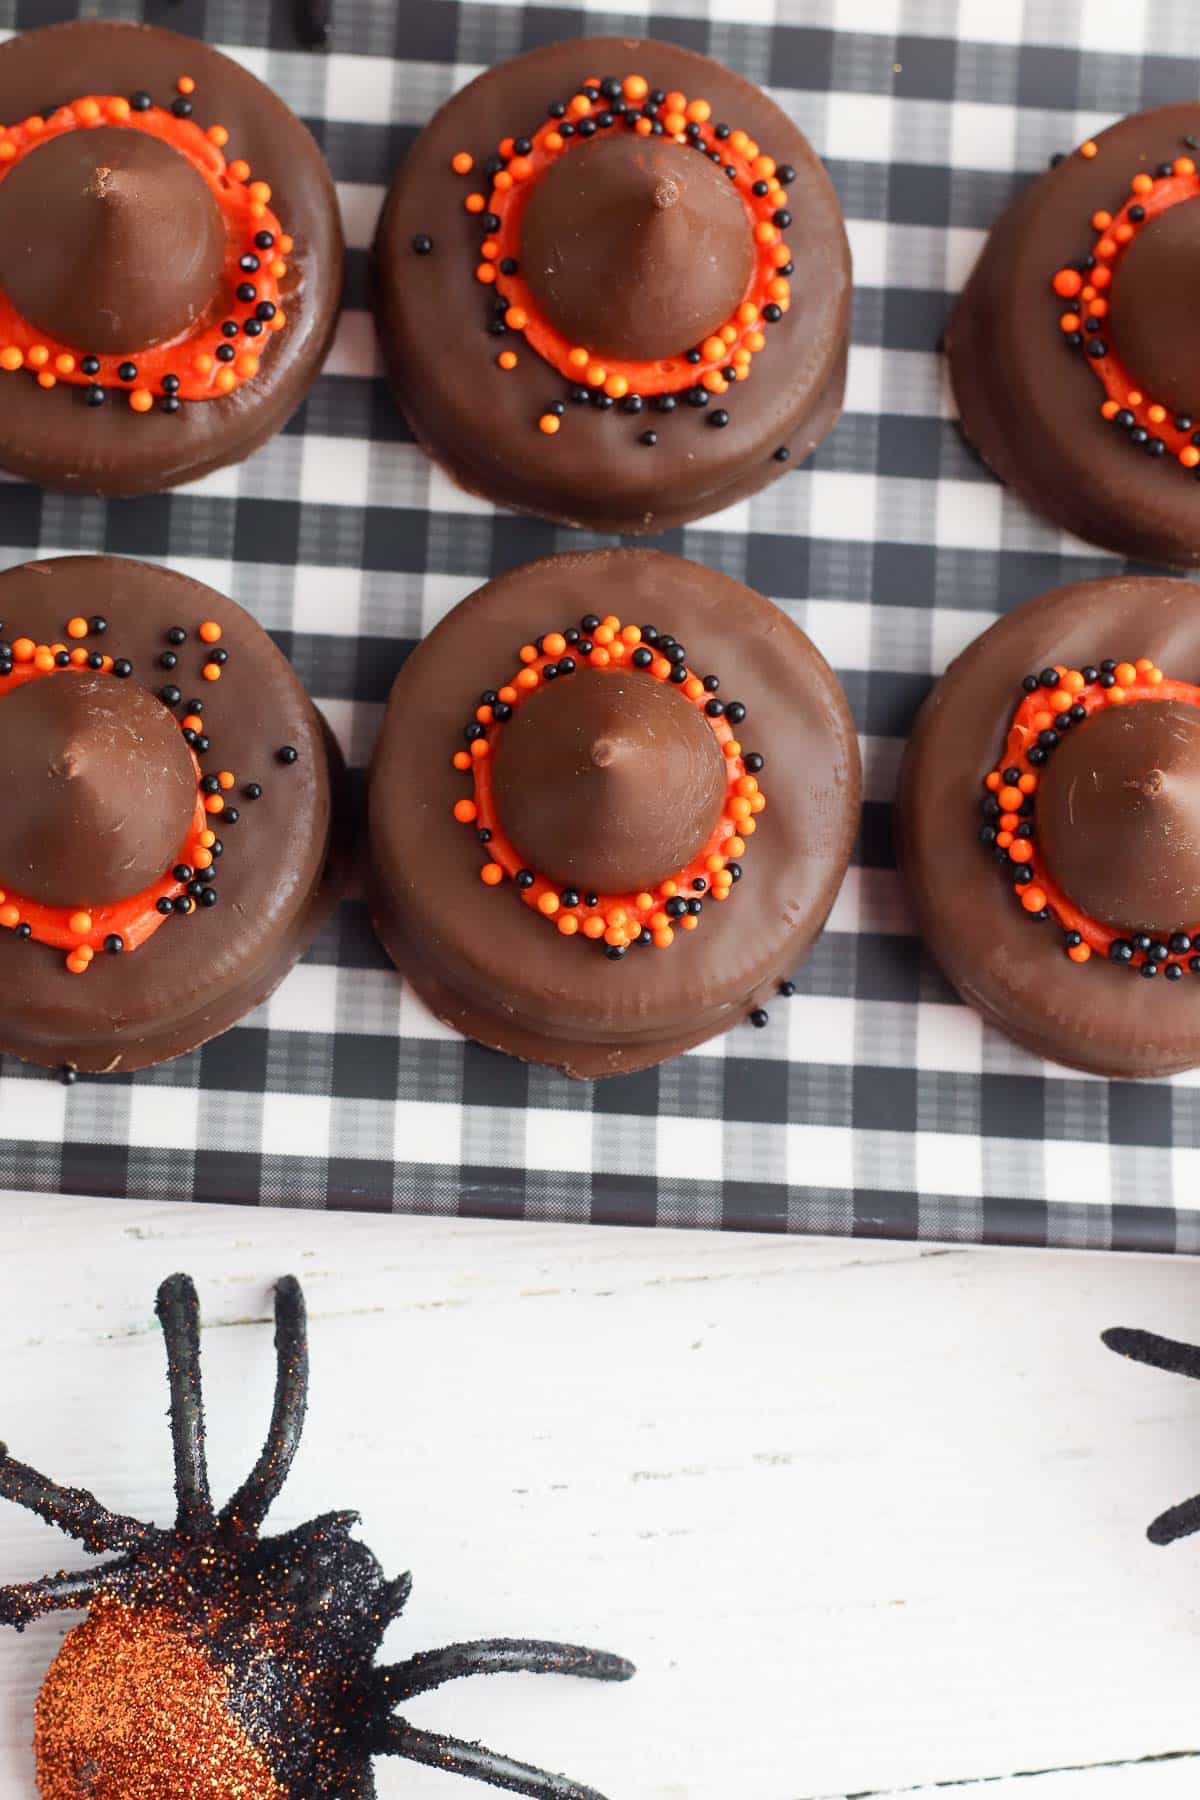
These adorable cookies will be a star of Halloween parties with just a few simple ingredients easily found at the grocery store .
It’s a great recipe to pull off a Happy Halloween surprise with very little effort.
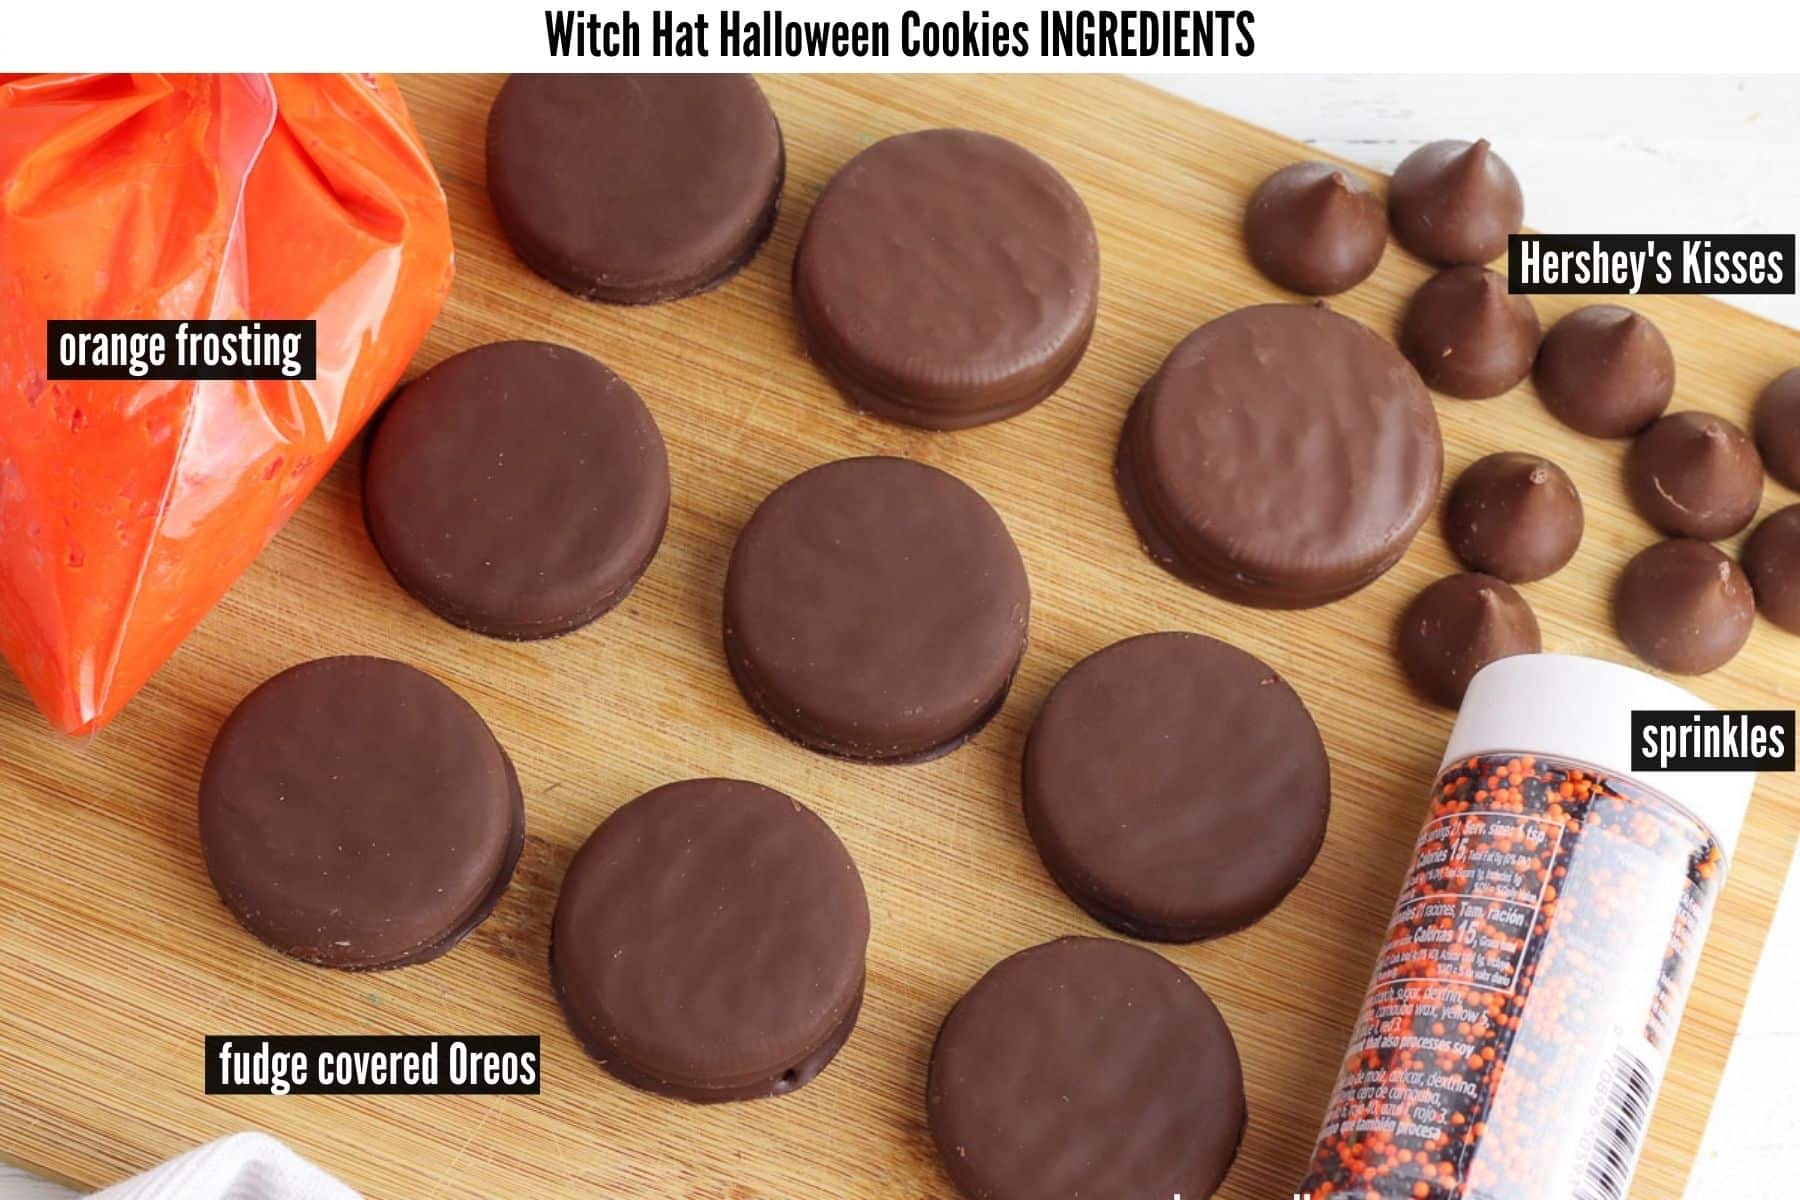
Recipe Ingredients + Notes
Fudge Covered Oreos. These are regular Oreo sandwich cookies coated with chocolate and they come this way.
Hershey’s Kisses. Traditional Hershey’s kisses. You’ll use them unwrapped.
Orange frosting. This is used to attach the top of the hat (kiss) and for decoration. We used Pillsbury Funfetti Orange All Star Vanilla frosting. Vanilla frosting can be dyed orange with food coloring too.
You could use green, purple or black icing too.
Orange and black sprinkles. These create the look of a hat band. You can use any tiny Halloween sprinkles.
How to make homemade Chocolate Covered Oreos
It’s also possible to chocolate coat Oreos at home. This is great if you can’t find Fudge Covered Oreo cookies or if you need a gluten-free version (Oreos makes a gluten-free version but not a fudge coated one).
Homemade chocolate dipped cookies just need sandwich cookies (Oreos or another brand) and candy melts. Follow our easy instructions to make your own Chocolate Covered Oreos.
How to Make Witch Hat Cookies
STEP 1. Pipe the frosting
Fill a piping bag fit with any type of plain or round piping tips (or freezer plastic bag with the tip cut off with orange frosting.
Pipe a dollop of frosting in the center of the cookie (photo 2).
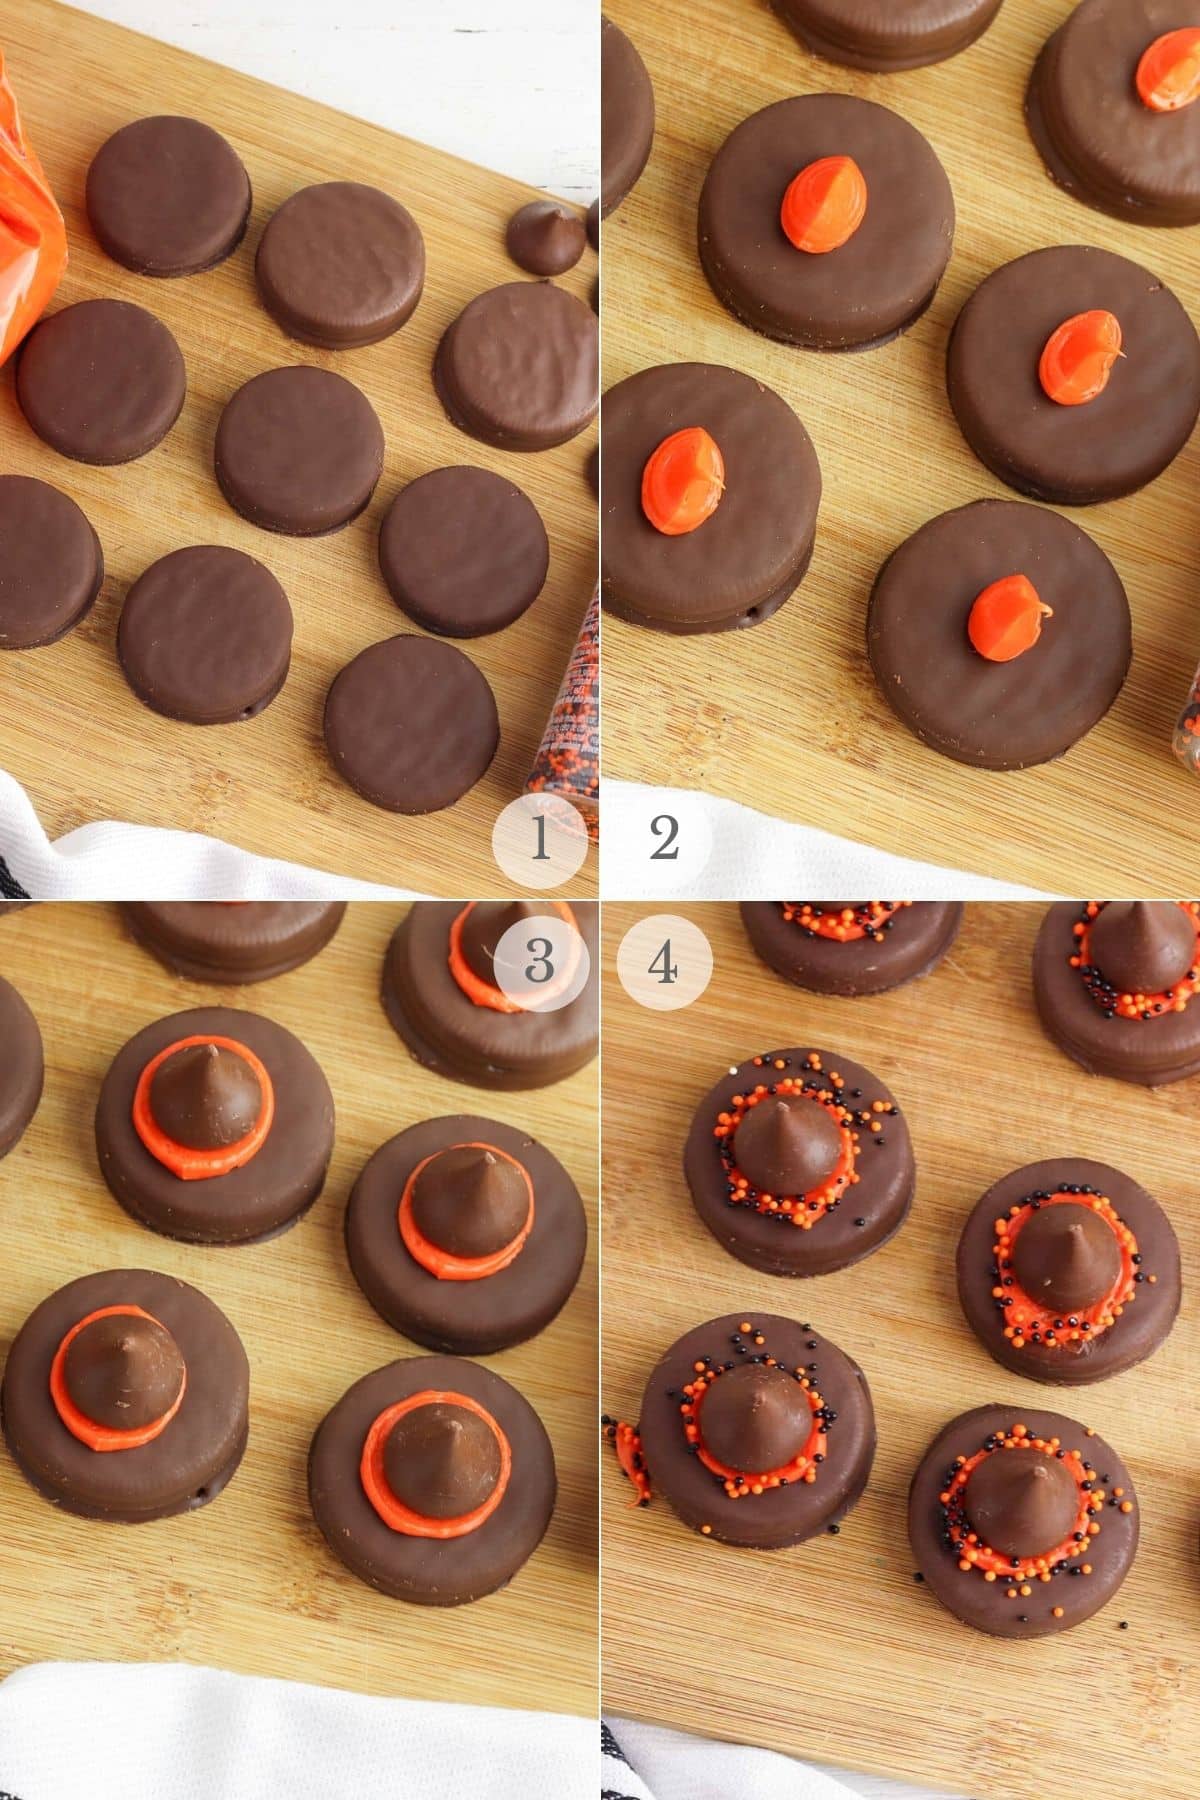
STEP 2. Assemble
Press the Hershey’s kiss into the frosting (photo 3).
Sprinkle some of the orange and black sprinkles on top of the exposed frosting for decoration (photo 4).
Place on a cooling rack (wire rack) or baking sheet to set.
Top Tips
Avoid melting the chocolate. When working with Hershey’s kisses or chocolate covered cookies avoid over touching them OR run hands under cold water first. This will keep the heat from your fingers from leaving marks on the chocolate.
You can use chocolate handling gloves too but that’s probably not necessary.
How to Store
Place in an airtight container lined with parchment paper.
Place in a single row, seal and keep at room temperature or refrigerator. If in the refrigerator be sure the container if fully sealed.
Moisture can negatively effect the cookie coating.
More recipes you’ll love!
Recipe
Witch Hat Halloween Cookies
Ingredients
- 12 Fudge covered Oreo cookies
- 12 Hershey's chocolate kisses unwrapped
- orange colored frosting we used Pillsbury Funfetti Orange Vanilla frosting
- orange and black sprinkles
Instructions
- Fill a piping bag fit with a round tip or zip-top plastic freezer bag with a corner cut off with orange frosting.
- Pipe a dollop of frosting in the center of on each fudge covered Oreo.
- Press the Hershey's Kiss into the frosting leaving some underneath the kiss.
- Sprinkle the orange and black sprinkles on top of the exposed icing to decorate.
Suzanne says
Did a test run of these today and they are so adorable and easy!! Thank you! Going to send them to my daughter’s school Halloween party and know they’ll be a hit.
Amanda Scarlati says
These are so adorable!
Serena says
Super cute and a fun snack!
Audrey says
These are super cute, my kids loved making these.
Sabrina says
These are so awesome and fun! Thanks for this fantastic idea!
Tavo says
Genious! Only a few ingredients and make something so beautiful! I am definitely making these again for Halloween! thanks for sharing!
Grace says
OMG SO fun! We made them over the weekend and they took about 5 minutes it seemed. I love how easy they are.
Debra says
These are so fun! I just tried them to practice before halloween. YUM.
Kristen says
These were so much fun to make with my daughter! Loved that they were so simple and fuss-free. Will definitely make them again next Halloween!
Erin says
These are so fun! I can’t wait to serve them on Halloween night!