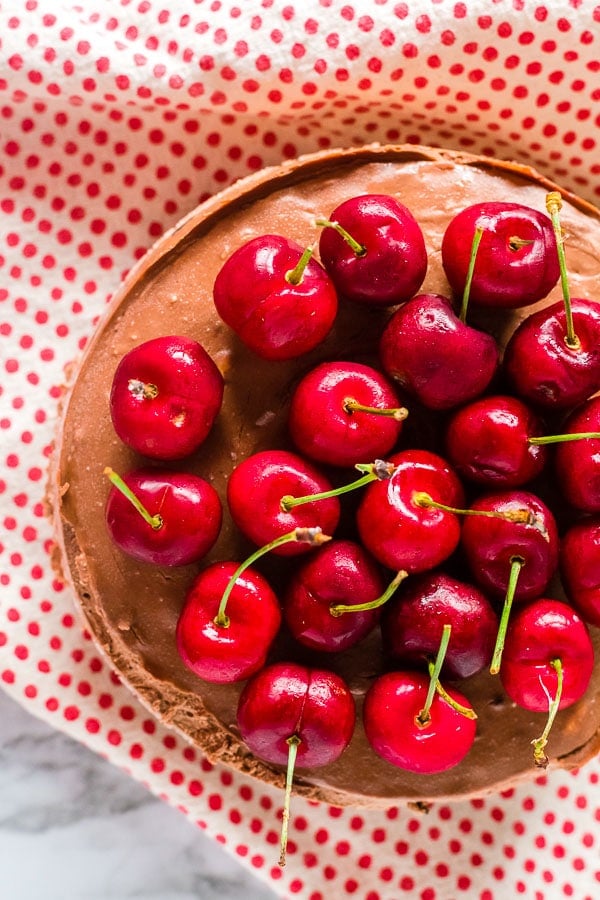
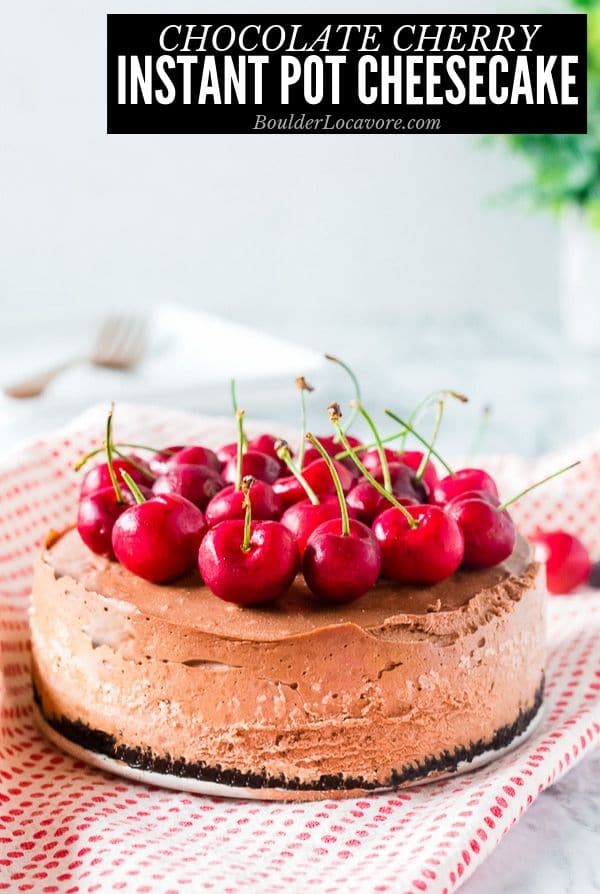
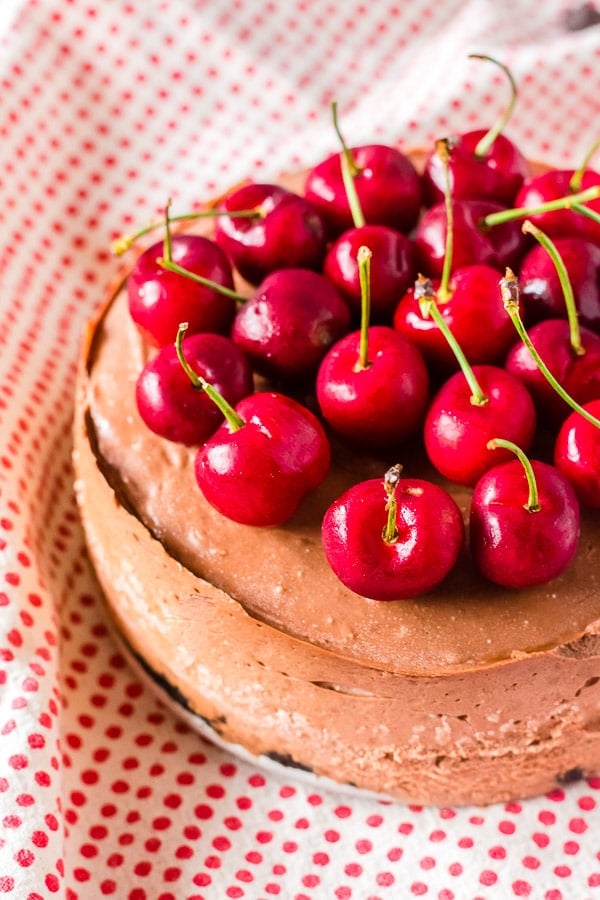
Instant Pot Cheesecake is so creamy and easy to make! This ‘Black Forest’ cherry chocolate cheesecake is rich and delicious.
Chocolate lovers and cheesecake fans unite with this easy rich, creamy cherry chocolate cheesecake recipe!
Made even easier in the Instant Pot!
If you love Black Forest cake, you’ll find the same irresistible flavors in this instant pot cheesecake recipe. Along with a chocolate sandwich cookie, Oreo, crust!
Jump to:
Instant Pot Cheesecake Ingredients
All the ingredients in this chocolate cheesecake recipe are easy to find!
- Chocolate sandwich cookies (Oreo-type)
- Melted butter
- Cream cheese
- Granulated Sugar
- Semi sweet Chocolate (chocolate chips or chopped chocolate)
- Hershey’s Special Dark Cocoa Powder
- Plain yogurt (or sour cream can be substituted)
- Maraschino cherry juice
- Eggs
- Fresh cherries and whipped cream for topping (optional)
Use Yogurt or Sour Cream
This Instant Pot Cheesecake can be made with yogurt or sour cream. The results are nearly identical.
Using yogurt makes the chocolate cheesecake a smidge lighter but just as tangy and delicious.
How to Make it Gluten-Free
Using gluten-free chocolate sandwich cookies to make the recipe gluten-free.
TIPS FOR MAKING THE BEST INSTANT POT CHEESECAKE
After much experimentation I’ve found some great tips to make the perfect instant pot cheesecake every time:
Ensure the cream cheese and eggs are at room temperature. Take the cream cheese out of the refrigerator 30 minutes before making the recipe. OR softened in the microwave on the soften function. This ensures a creamy lump-free batter.
Add the eggs one at a time and don’t over mix the filling afterwards to avoid mixing in more air. This will bubble up when the cheesecake cooks making a bumpy surface and potential air pockets in the cheesecake.
After assembling the cheesecake, tap the bottom on the counter top multiple times to release any air bubbles. This will keep the consistency creamy, hole-free and make the top smoother.
Add a paper towel on top of the cheesecake lightly secured with a piece of foil before cooking. This helps limit condensation forming on the top of the cheesecake which makes it bumpy. When removing the cheesecake after cooking, soak up any water that is on top of the FOIL with a paper towel. This will keep it dripping onto the top of the cheesecake when it is removed.
Create a homemade FOIL SLING to lower the cheesecake into and out of the Instant Pot. It will lift it out more safely after cooking (the steam can burn). Instructions in the recipe card at the end of the blog post.
Lightly dab up any condensation on the top of the cheesecake (after cooking) with a paper towel. Even when using Tip #4, some condensation may be present on the surface of the cheesecake.
Be sure to vent any lid or covering on top of the cheesecake when putting the cheesecake in the refrigerator. This allows condensation to escape and not accumulate on top of the instant pot cheesecake.
The Perfect Instant Pot Cheesecake Pan
I have a few springform pans that work well in my 6-quart Instant Pot.
Some cheesecake recipes fill the pan and the foil covering the top can get into the filling when it cooks.
It doesn’t hurt the Instant Pot cheesecake but also doesn’t leave a nice flat top.
We recommend this Instant Pot Official springform pan. It’s sturdy, non-stick and the depth provides the foil will never touch the top of the cheesecake!
You’ll note in the recipe steps photos there is plenty of space between the top of the cheesecake and the foil.
How to Make Chocolate Cherry Instant Pot Cheesecake – Step by Step
For the detailed printable recipe refer to the recipe card at the bottom of the blog post.
- Prepare a 6” spring form pan with nonstick spray.
- Process the sandwich cookies in a food processor to make crumbs.
- Add the melted butter; mix until combined.
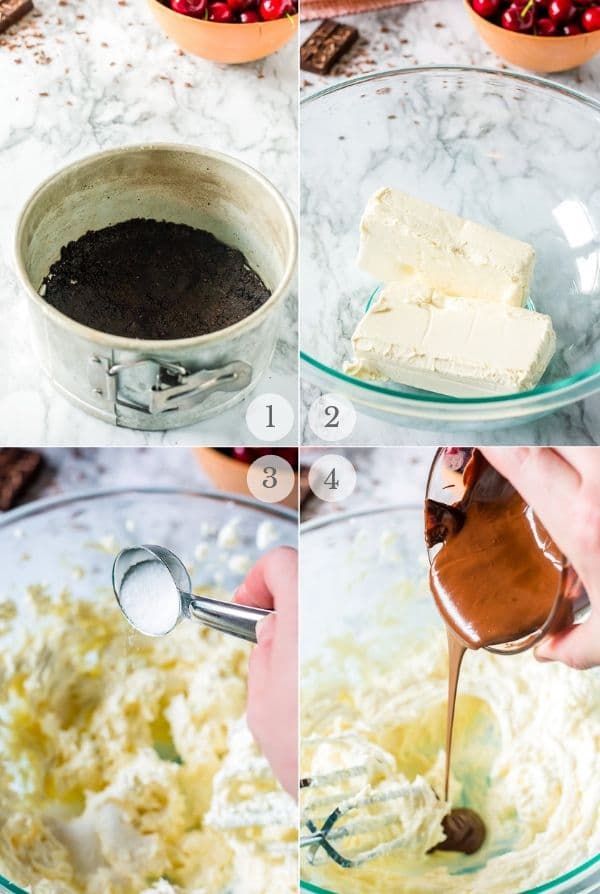
- Spoon into the bottom of the spring form pan and press to create the crust. Freeze while making the filling. (photo 1)
- Mix the cream cheese until light and fluffy and there are no lumps (photo 2).
- Add in the sugar one tablespoon at a time until combined (photo 3).
- Add in melted chocolate (photo 4) and cocoa powder (photo 5); mix until just combined.
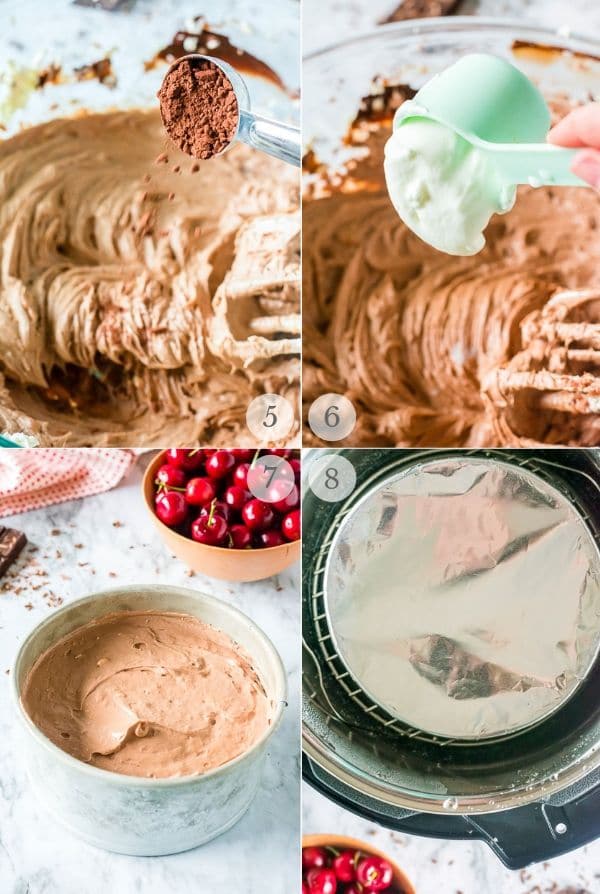
- Add yogurt (photo 6) and cherry juice and mix well.
- Lastly add in the eggs one at a time. Mix just enough to incorporate into the mix. DO NOT OVERMIX.
- Add the filling to the frozen crust (photo 7). Cover with aluminum foil.
- Add a trivet into the Instant Pot and add one cup of water.
- Place the instant pot cheesecake on the trivet (photo 8) and place the lid on in the sealing position. Use a foil sling for easy removal (optional – instructions in recipe card).
- Place on Manual ‘high pressure’ for 35 minutes and allow to naturally release.
- Remove the cheesecake; allow to cool completely on a wire rack.
- After it has cooled to room temperature, place in the refrigerator for at least 6 hours or overnight (recommended).
More Recipes You’ll Love
- Pumpkin-Spice Panna Cotta with Gingersnap-Toffee Crust
- Buttermilk Strawberry Shortcake
- Rich Chocolate Cherry Brownie Pots (allergy-friendly)
- Gluten-Free King Cake for Mardi Gras
- Pumpkin Cheesecake
Recipe

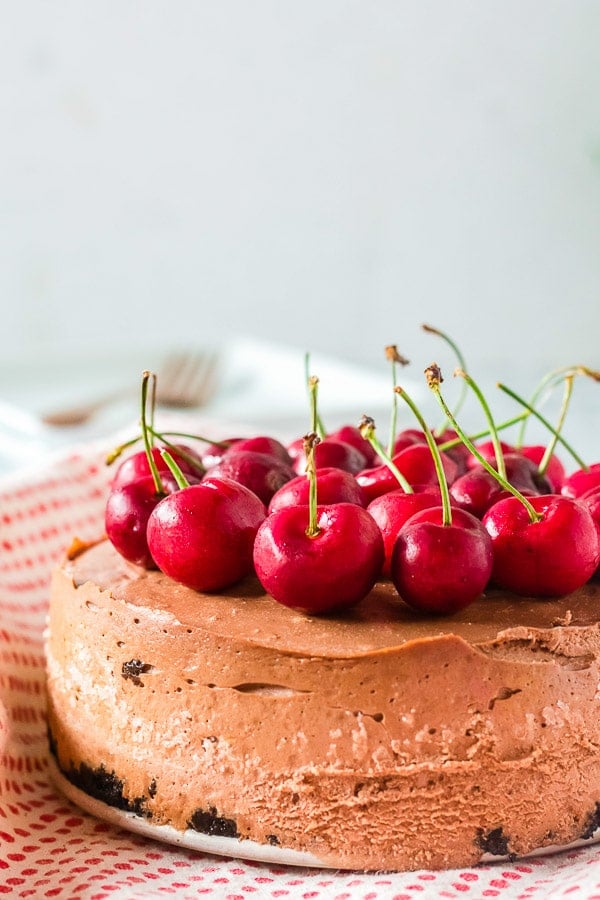
Chocolate Cherry Instant Pot Cheesecake
Equipment
Ingredients
Crust
- 10 chocolate sandwich cookies
- 3 tablespoons melted butter
Filling (note: all ingredients should be room temperature)
- 2 8-ounce packages cream cheese softened softened
- 6 tablespoons granulated sugar
- 2 ounces (aproximately 1/3 cup) melted semi sweet chocolate
- 2 tablespoons Hershey’s Special Dark Cocoa Powder
- ½ cup plain yogurt OR sour cream
- 1/4 cup maraschino cherry juice
- 2 eggs
- Fresh cherries and whipped cream for topping optional
Instructions
- Prepare a 7” spring form pan with nonstick spray.
Making the Crust
- In a food processor, process chocolate sandwich cookies to make fine crumbs.
- Add in melted butter and mix until combined.
- Spoon mixture into the bottom of the spring form pan and press to create the crust.
- Place in the freezer while making the filling.
Making the Filling
- In a large mixing bowl or a bowl of a stand mixer with a paddle attachment mix cream cheese until light, fluffy with no lumps (3-5 minutes). This step is very important for a great end result!
- Add the granulated sugar one tablespoon at a time mixing until combined.
- Add the melted chocolate and cocoa powder; mix until just combined.
- Add yogurt and cherry juice; mix well.
- Add in the eggs, one at a time; mix just enough to incorporate into the mix. NOTE: Do not to overmix.
- Add the filling into the frozen crust and cover with aluminum foil. Tap on the counter top to release any air bubbles.
- Insert the trivet into the Instant Pot and add one cup of water.
- CREATING A FOIL SLING (optional): Create a foil sling using a 20-inch piece of foil folded in thirds vertically. Center the pan on the middle of the sling and lower it into the Instant Pot onto the trivet. Fold the ends of the sling over as needed to allow locking the Instant Pot lid, keeping them pressed outward to the walls of the Instant Pot insert; do not fold them onto the top of the pan.
- Place the cheesecake on top of the sling on the trivet. Seal the lid.
- Select Manual HIGH PRESSURE for 35 minutes. Allow to naturally release following the cooking cycle.
- Once the lid can be opened, remove the cheesecake using the sling. Allow to cool completely on a wire rack.
- After it has cooled, place in the refrigerator for at least 6 hours or overnight (recommended).
- Serve with fresh cherries and whipped cream and enjoy!

Haven says
Hi. I dont have an IP. Can I use the oven for this recipe?
Toni Dash says
Hi Haven. Unfortunately this recipe was developed for a pressure cooker so does not translate in its method to oven preparation.
Beverly Bailey says
I have a Breville slow/pressure cooker…could I use it? any suggestions or changes?
Toni Dash says
Hi Beverly. I have only made the recipe in a 6-quart Instant Pot. I would think if the Breville operates in the pressure cooker mode like other pressure cookers you should just be able to make it. However I am not familiar with that machine or any uniqueness it may have.
Lindsay Cotter says
Loved how easy this was to make in my instant pot! It was so delicious!
Faith Roxas says
This recipe looks so great! It also looks so easy to try! I love trying recipes like this.
Angela Ricardo Bethea says
This recipe looks so great! It also looks so easy to try! I love trying recipes like this.