

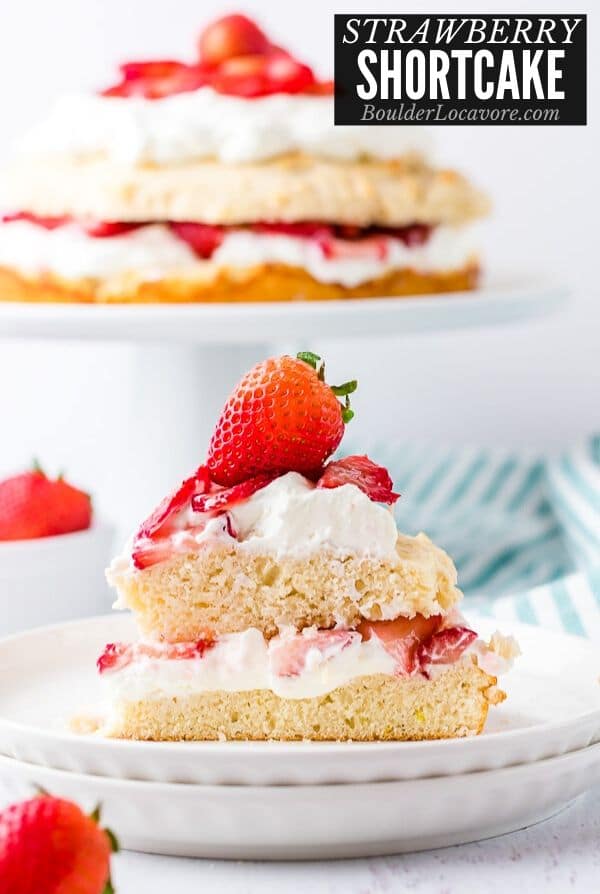
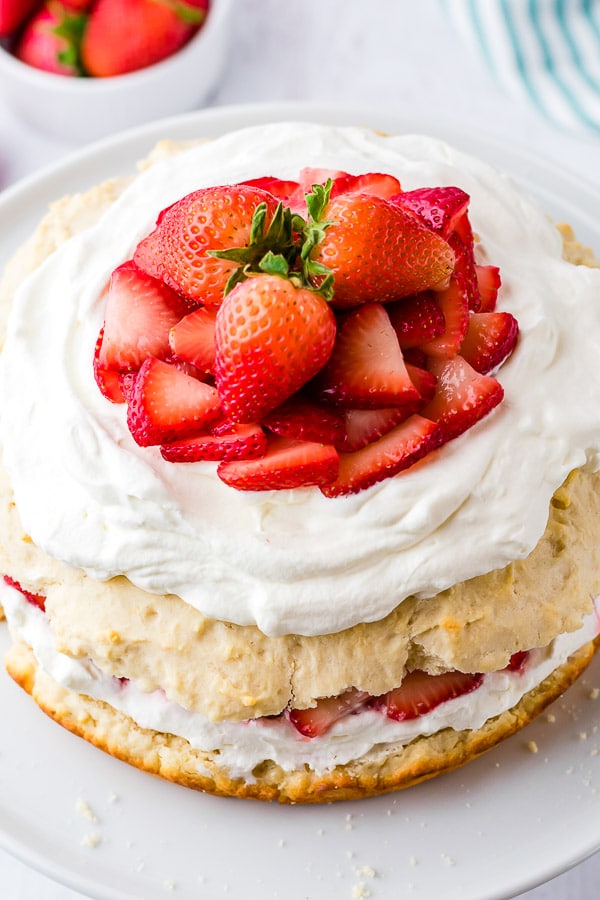
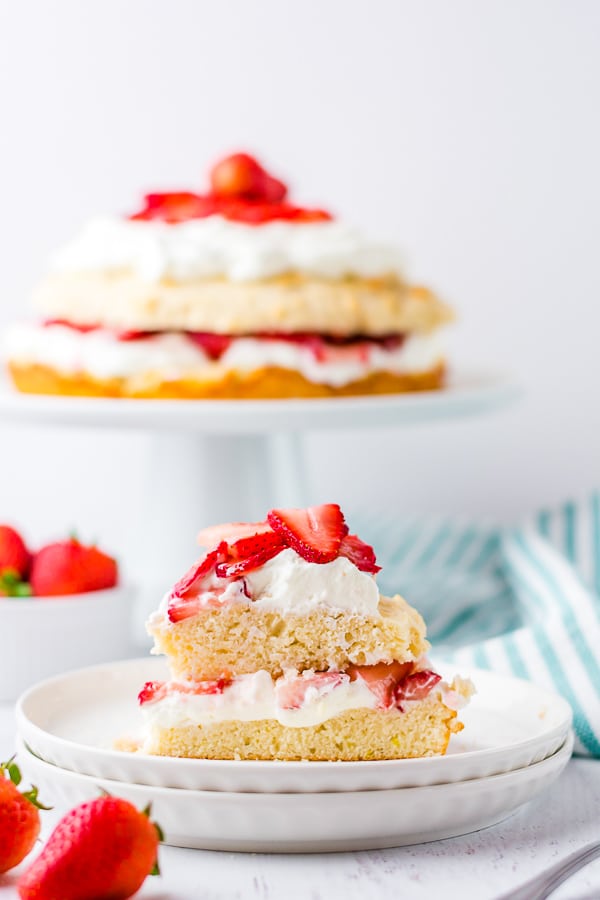
Strawberry Shortcake is a summery dessert that’s easy to make! This recipe is made as a full cake with lemony shortcake, piled high with sweet whipped cream and delicious fresh strawberries!
Strawberry Shortcake just tastes like summer!
It’s a light dessert packed with fresh flavors.
This version is super easy to make in a cake form you’ll love!
Great for gatherings, holidays or just to make the day a little bit more special.
What is Strawberry Shortcake?
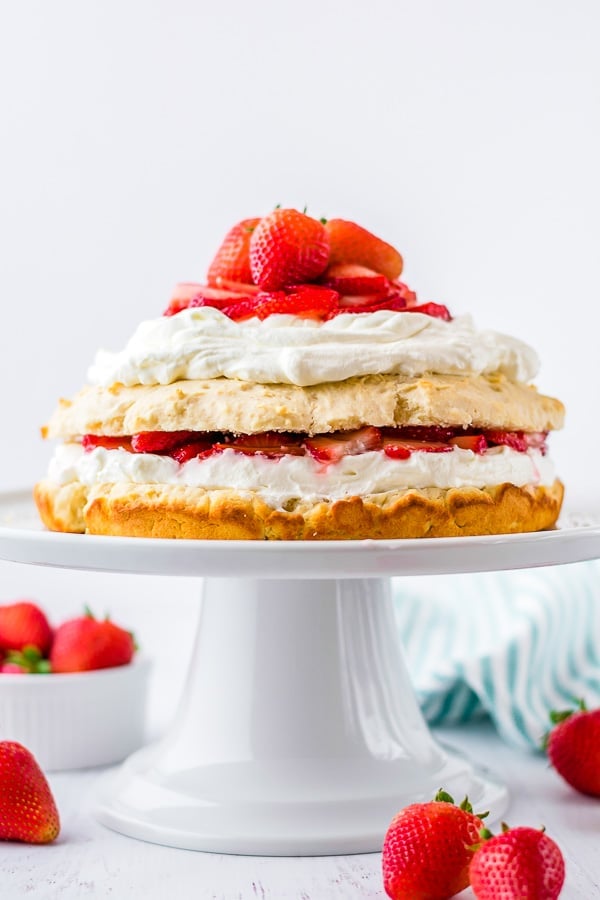
It's layers of cake, strawberries and whipped cream that come together for an impressive dessert.
The shortcake is biscuit-like, which pairs perfectly with the strawberries and whipped cream for a fresh and sweet taste.
This dessert is fruity and light with plenty of strawberry flavor.
This version of the classic dessert recipe is in cake form instead of individual shortcake desserts.
Easy Dessert Recipe for Beginners
This recipe is also beginner-friendly if it's your first time making strawberry shortcake.
Making it as a cake makes the recipe easier and faster than individual desserts.
After making this version you’ll be ready to try these individual Berry Buttermilk Shortcakes!
Recipe Ingredients
- fresh Strawberries
- Granulated sugar
- All-purpose flour (regular or gluten-free measure-for-measure flour blend)
- Baking powder
- Salt
- Lemon zest
- Shortening
- Egg
- Whole milk
- Vanilla Extract
- Heavy cream
Make it Regular or Gluten-Free
This recipe has been tested with each regular All Purpose Flour and a gluten-free measure-for-measure flour blend.
The results were fantastic in both cases.
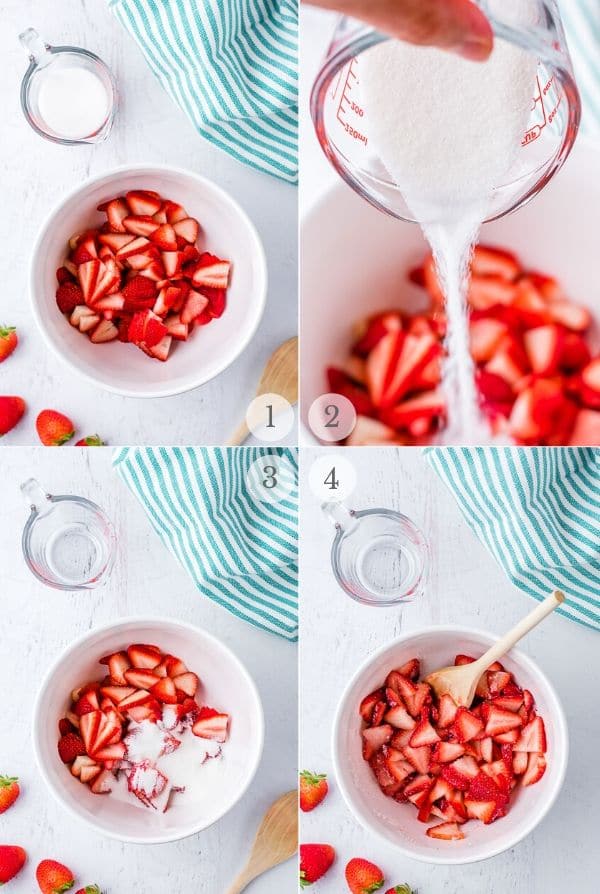
Macerating Strawberries
Adding sugar to fresh berries and letting them sit is called ‘mascerating’ them.
This process brings out more sweetness which is great if all the strawberries aren’t completely sweet.
It also softens the strawberries too.
It does release moisture from the strawberries.
So use a slotted spoon when scooping them onto the shortcake to keep the shortcake from becoming soggy.
How to Make Strawberry Shortcake – Step-by-Step
STEP 1: Preheat oven to 425 degrees F. Grease a round 9-inch cake pan.
STEP 2: Place the sliced strawberries in a bowl (photo 1) with 1/3 cup granulated sugar (photos 2-3). Toss to coat (photo 4). Set aside.
STEP 3: In a large mixing bowl stir together the flour, baking powder, 1/4 cup granulated sugar, and salt (photo 5). Stir in the lemon zest (photos 6-7).
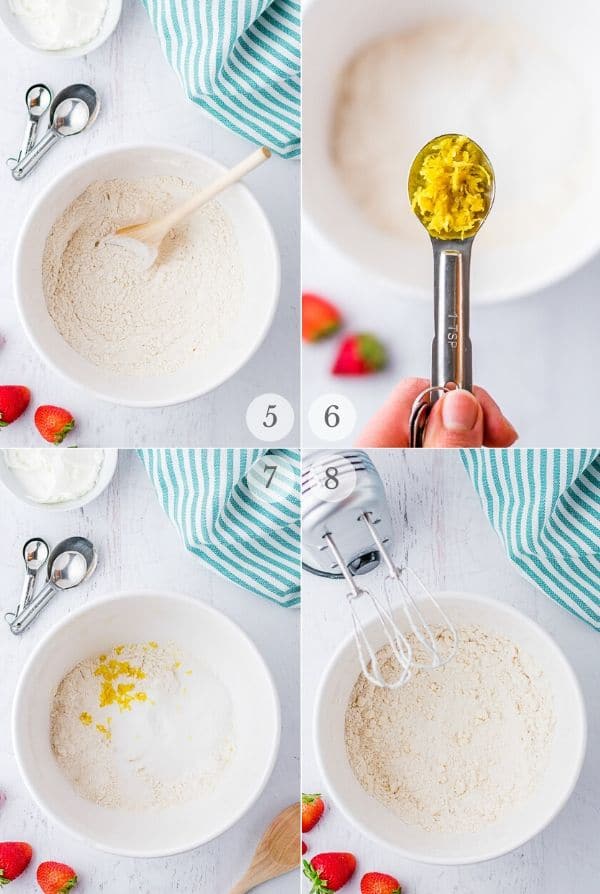
STEP 4: Cut in the shortening with a mixer or pastry blender (photo 8). It will resemble coarse granules.
STEP 5: In a separate bowl whisk together the egg, milk and vanilla extract (photo 9). Stir into the dry ingredients (photo 10) forming a thick dough-like batter (photo 11).
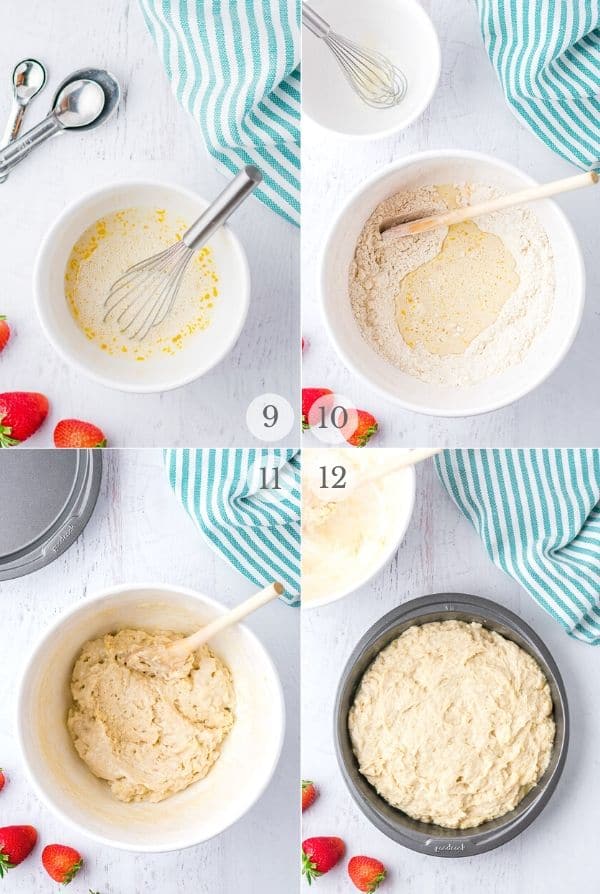
STEP 6: Spoon into the prepared pan (photo 12). Bake for 15-20 minutes until the top is golden and a toothpick inserted comes out clean (photo 13).
STEP 7: Cool the shortcake in the pan on a cooling rack for 15 minutes. Remove it from the pan, place onto the cooling rack for 10 more minutes.
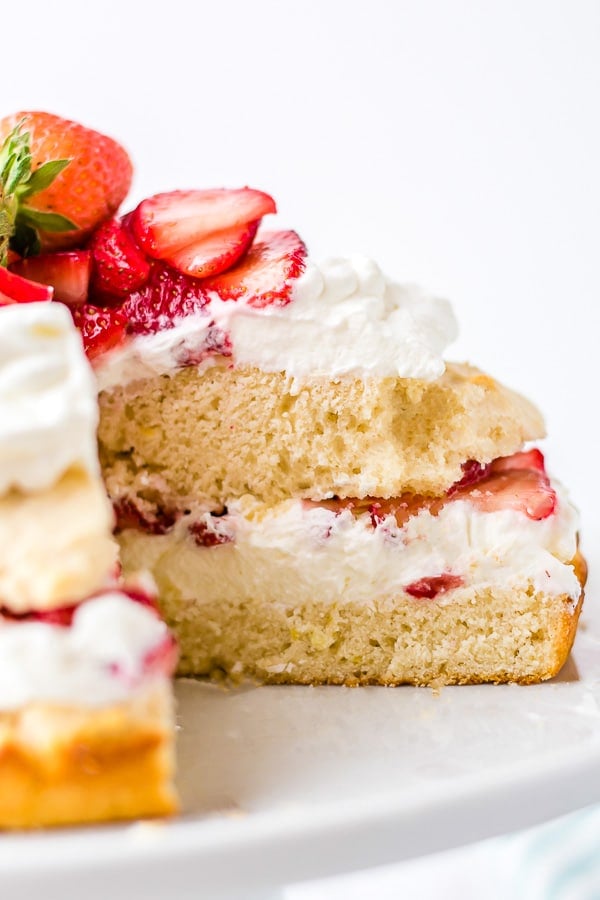
Slice the shortcake through the middle making 2 layers (photo 14); allow both layers to cool fully on the cooling rack.
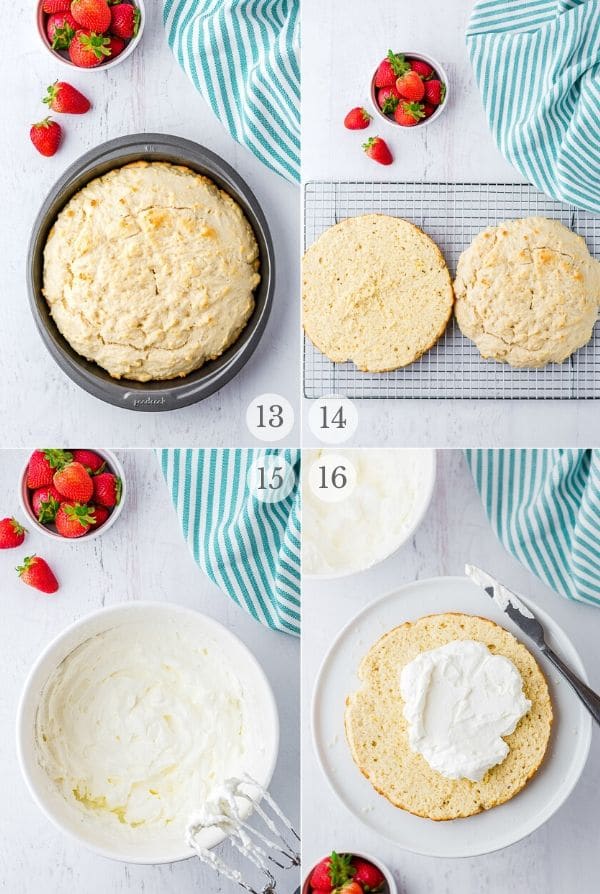
STEP 8: Prepare the whipped cream (photo 15). Spread half of it onto the bottom layer of the shortcake (photo 16). Spread to the edges (photo 17).
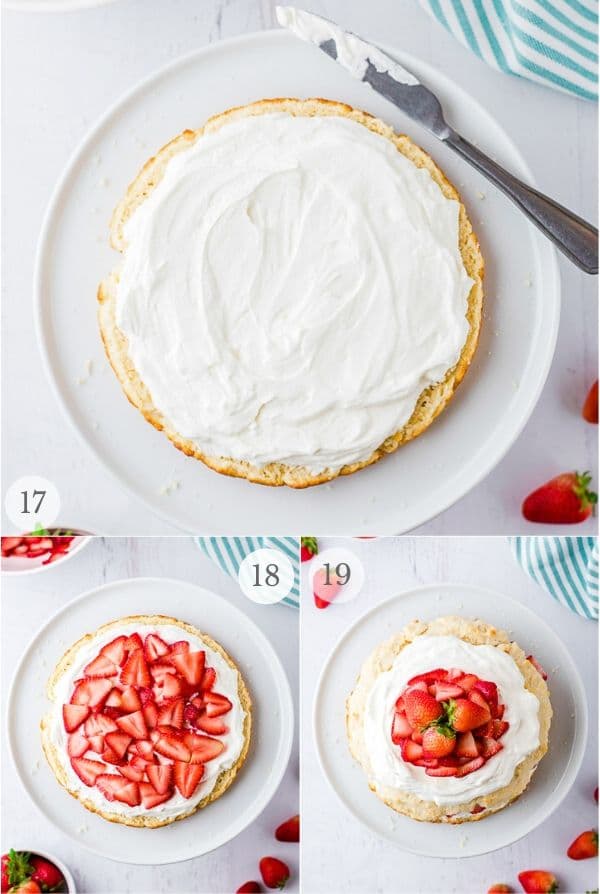
STEP 9: With a slotted spoon scoop half of the strawberries onto the whipped cream (photo 18).
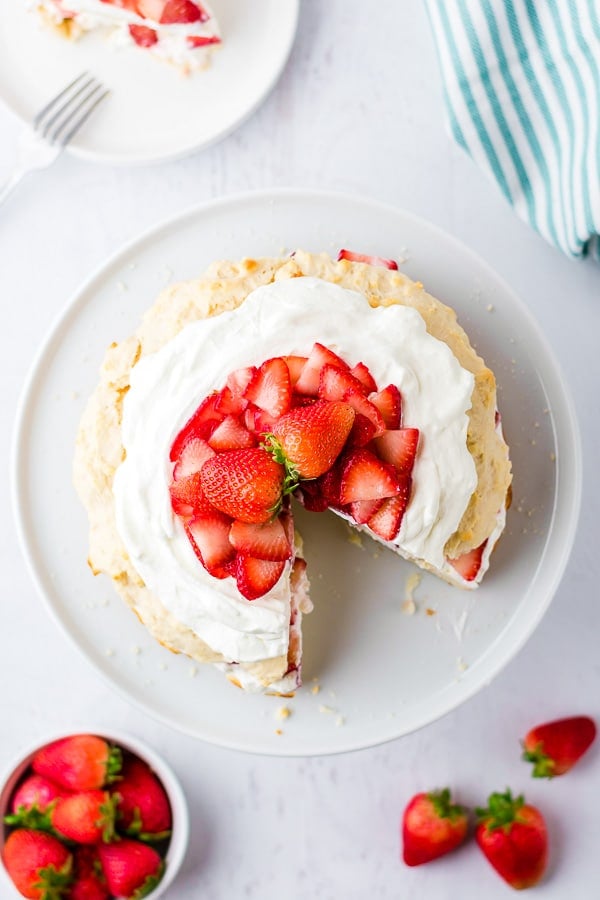
STEP 10: Place the top layer of shortcake onto the strawberries. Repeat with the remaining whipped cream and strawberries (photo 19). Serve within an hour of making.
Pro Tips for a Perfect Strawberry Shortcake
Save some Strawberries
Before starting the recipe, reserve a handful of strawberries to use as garnish for your finished cake.
Cool the Shortcake Completely
After the shortcake bakes it will cool in the pan. Then out of the pan on a cooling rack.
Last it will fully cool after being sliced into two layers.
Allowing it to cool completely will create the most sturdy consistency.
This is particularly important if making the shortcake gluten-free.
Use a Sharp Knife to cut your cake
When cutting your cake in half, be sure to use a very sharp knife.
A long serrated knife, like a bread knife, works great!
Work to cut your cake evenly across the middle so that it cuts apart cleanly.
Slice through the upper middle
When slicing the shortcake into two layers, make a cut about halfway up the cake.
This will make the top layer slightly larger than the bottom.
Your top layer will be rounded and should be thick enough to hold together when placed on top of your cake.
Use a Slotted Spoon
When dishing the strawberries onto the shortcake use a slotted spoon.
The process of macerating the strawberries, tossing them with sugar, yield liquid.
To keep the shortcake from becoming soggy, scooping the strawberries and allowing the liquid to drain first is best.
Best Eaten when Freshly Made
Summery Strawberry Shortcake is best eaten when freshly made. Actually within an hour of making it.
If in a hot or humid climate assembling it at the last minutes will keep it looking its best.
Leftovers are delicious but the consistency of the shortcake and strawberries aren’t as good.

Storing Leftovers
Strawberry Shortcake is best served within an hour of making it.
When left longer the cake will soak up the moisture from the berries, and the whipped cream will begin to deflate.
Sliced strawberries quickly become unappealing too.
If you have leftovers there is no harm storing them in an airtight container in the refrigerator to enjoy another bite the next morning. But that’s probably the end of it.
More Strawberry Recipes You’ll Love!
- Happy Day Cake with Strawberry Whipped Cream Frosting
- How to Make Strawberry Frosting
- Strawberry Cake
- Strawberry Jam Panna Cotta
- Strawberry Stuffed French Toast
- Fresh Strawberry Pie
- Strawberry Vodka
Try these Recipes too!
- All Butter Pie Crust
- Blueberry Coffee Cake with Crumble Topping
- Lemon Baked Custard with Sponge Cake Top
- Cornbread Recipe - with 6 Variations!
Please SUBSCRIBE and FOLLOW ME on FACEBOOK , TWITTER , INSTAGRAM and PINTEREST !
Recipe
Strawberry Shortcake
Ingredients
For the Strawberry Filling layer
- 2 lbs fresh strawberries hulled and sliced 1/4-inch thick
- ⅓ cup white sugar
For the Cake
- 2 ¼ cups all-purpose flour regular or gluten-free measure-for-measure flour blend
- 2 ½ teaspoons baking powder
- ¼ cup granulated white sugar
- ¼ teaspoon salt
- 1 tsp lemon zest
- ½ cup shortening
- 1 egg
- 1 cup whole milk
- 1 tsp vanilla
- 2 cups heavy cream whipped
Instructions
- Preheat the oven to 425 degrees. Grease a 9” round cake pan.
- Place the strawberries in a medium bowl, toss with ⅓ cup white sugar. Set aside.
- In a large bowl, stir together the flour, baking powder, ¼ cup white sugar, salt, and lemon zest.
- Cut the shortening into the flour mixture using a pastry blender or forks until it resembles coarse crumbles.
- In a small bowl, mix together the egg, milk and vanilla. Pour this mixture into the flour mixture. Stir to combine. The mixture will be dough-like and thick.
- Spread the batter into the greased pan. Spread it to the edges of the pan in one even layer. Bake for 15 - 20 minutes, until a toothpick comes out clean and the top is lightly golden brown. Let the cake cool 15 minutes in the pan on a wire rack.
- Let the cake cool 15 minutes in the pan on a wire rack. Remove shortcake from the pan and place directly on cooling rack for an additional 10 minutes.Use a sharp knife to slice it in half horizontally across the middle (to make two cake layers). Gently move the top layer to the cooling rack. Cool both layers completely (aproximately 15 minutes).
- Whip the heavy whipping cream using a mixer until stiff peaks form.
- Spread the bottom half of the cake with half of the whipped cream. Using a slotted spoon, spoon on half of the strawberries. Add the 2nd layer of cake and top with the remaining whipped cream and strawberries.
- Serve within an hour of making for best results.
Becky says
Sounds so delicious!! I’m at high Altitude, are you? Just wondering if I need to make adjustments for that and would you know what those are?
Thank you!
Becky
Toni Dash says
I’m in Boulder at 5,400 ft. If you normally adjust for whatever altitude you are (if higher than 5,400 ft) you should probably do that. I wouldn’t have advise on baking at higher altitude unfortunately.