

Stained Glass Cookies are the Christmas cookie showstoppers! They are gorgeous and eye catching. The buttery sugar cookie with a thin layer of edible candy stained glass are a delicious holiday dessert or make them into ornaments!
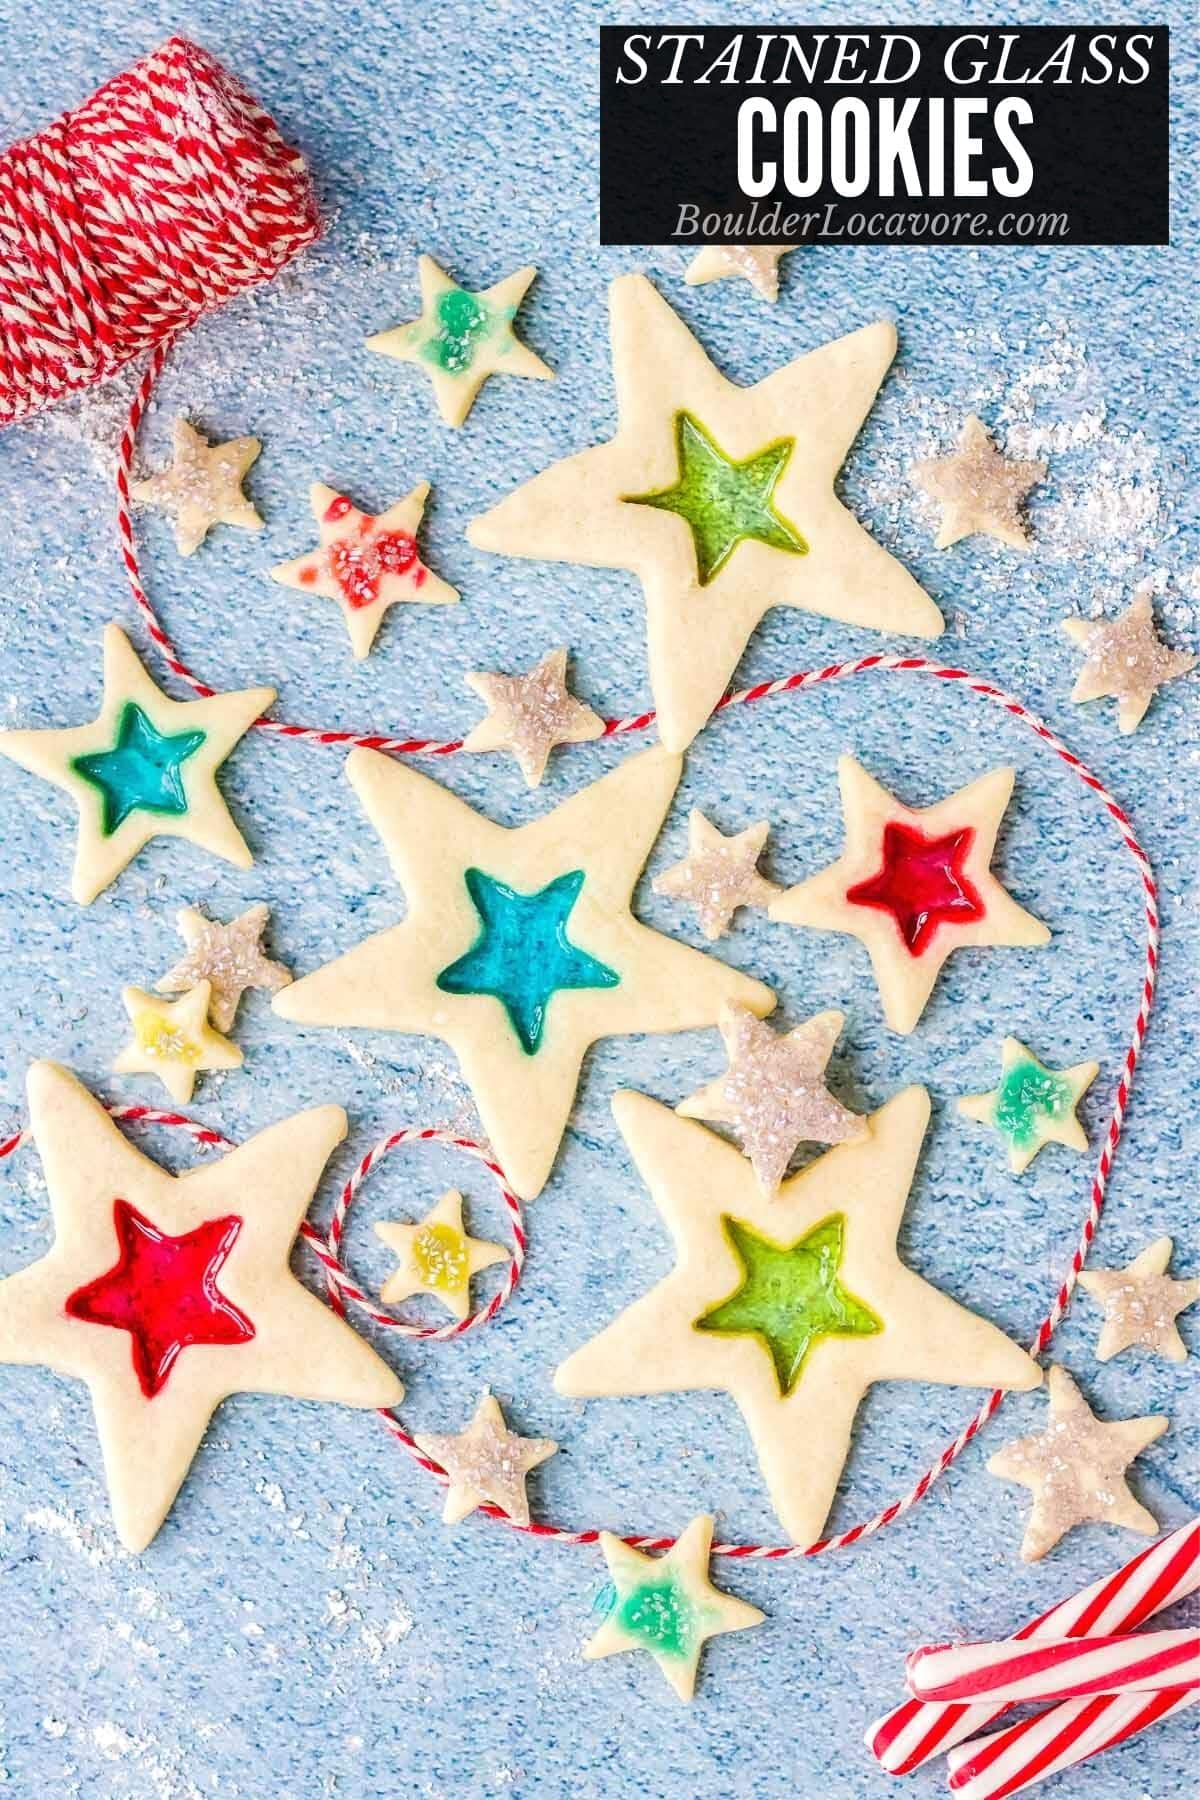
Part baking, part craft project, these colorful cookies will be a highlight of your holiday season!
Jump to:
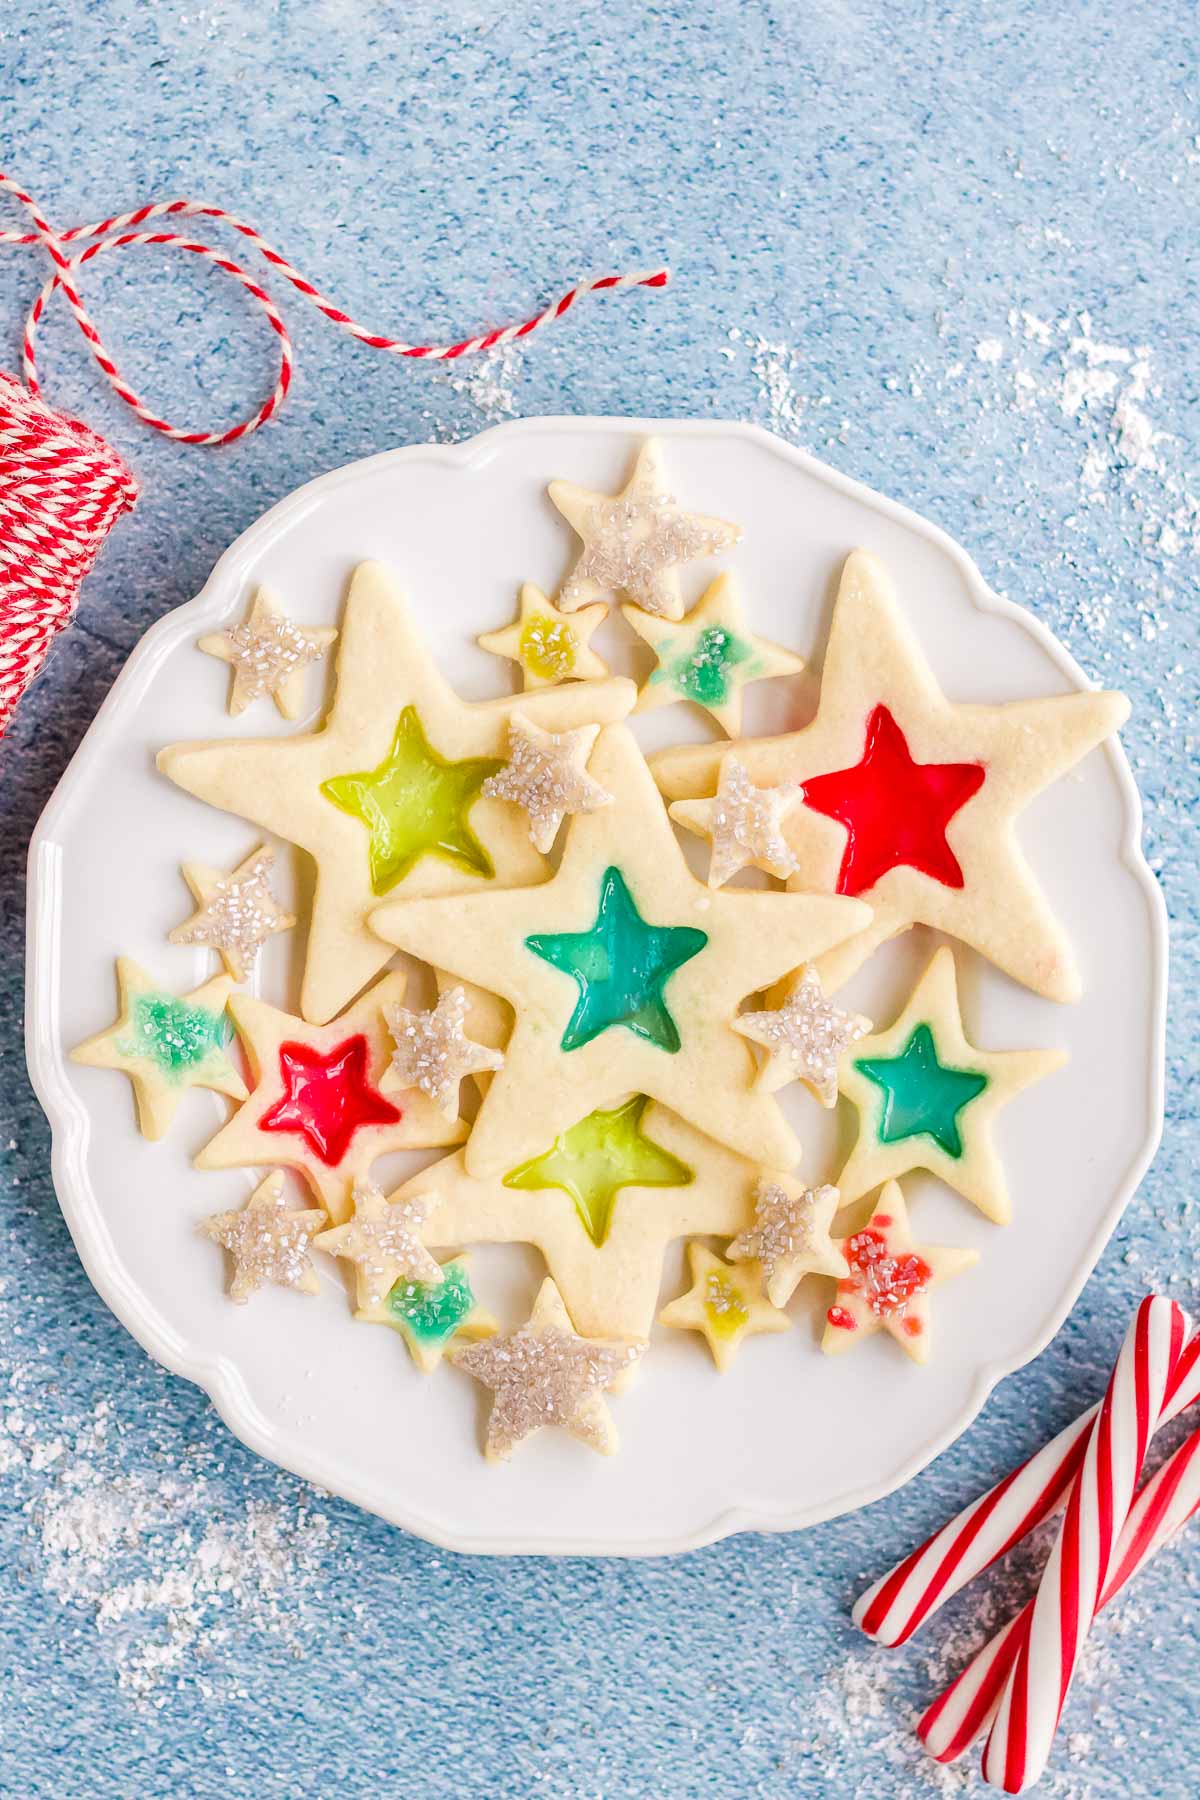
Festive Stained Glass Cookies
Christmas Cookies are always a favorite baking project. And with these cookies there is no doubt why!
They are beautiful, delicious and fun to make.
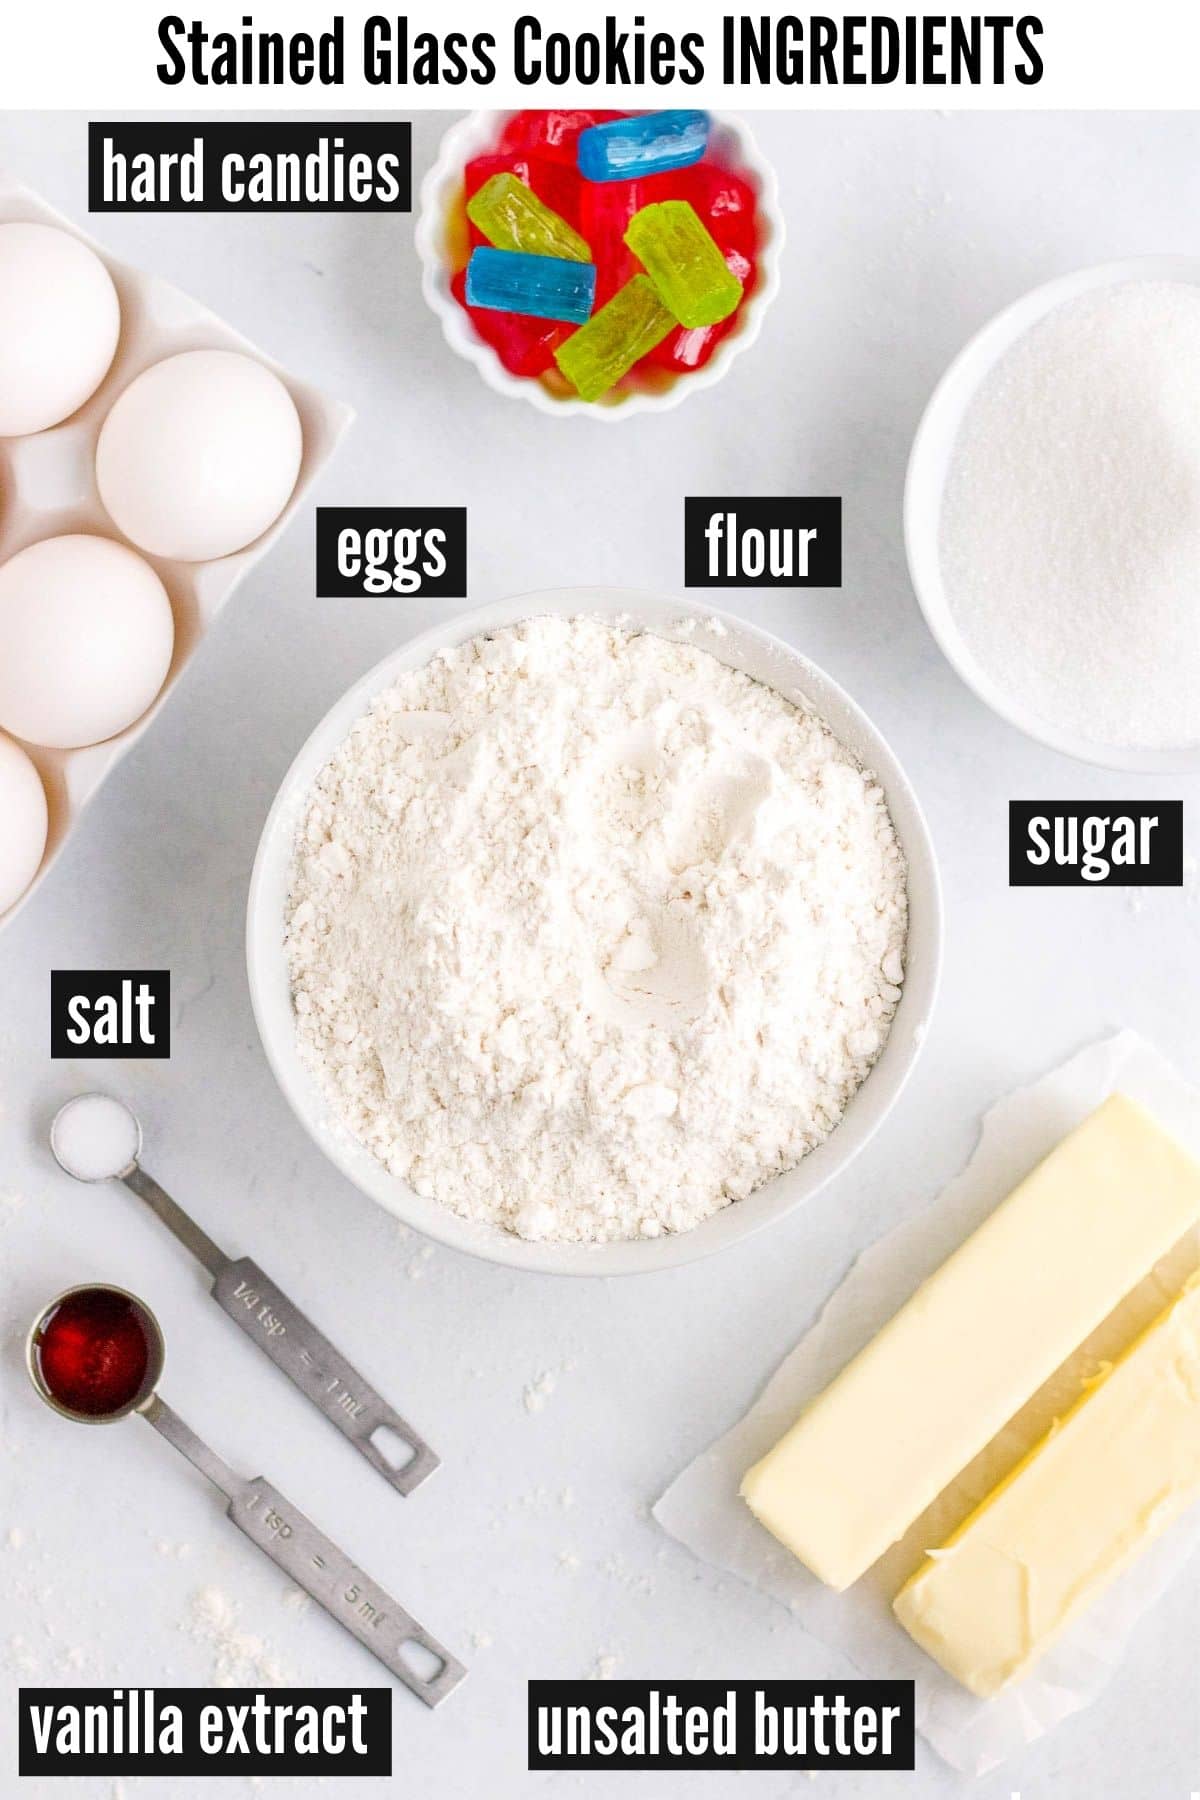
Recipe Ingredients + Notes
Unsalted Butter. The butter should be room temperature or softened. We recommend unsalted butter for the flavor.
Granulated Sugar. Adds the sweetness to the cookies!
Salt. We recommend kosher salt which is a less salty tasting salt.
Eggs. The eggs should be room temperature when starting the recipe.
Vanilla extract. Adds a wonderful flavor to the cookies.
All-Purpose Flour. Regular or gluten-free measure-for-measure flour blend may be used. We tested ours with Bob’s Red Mill Gluten-Free 1-to-1 Flour Blend.
Colored Hard Candies. Jolly Rancher candies are our preferred hard candies based on our recipe testing. They have a brilliant color after baking, melt evenly and harden as the cookies cool. More notes on hard candy options can be found below.
Powdered Sugar. This is optional and used if desiring to glaze the cookies after they cool.
Milk. Milk is used to turn the powdered sugar into the glaze so is only needed if glazing the cookies.
Best Hard Candies to use to make the edible Stained Glass?
Jolly Rancher brand candies are highly recommended. Our test batches demonstrated Jolly Ranchers are far superior in terms of baking behavior, color and hardening.
Lifesaver candies are a second choice. Our tests showed they did not have the vibrant color Jolly Ranchers did and they melt very quickly.
We also tested off brand hard candies and found a number of problems with bubbling when baking.
We hoped butterscotch candies would work but the color was very dull when set (they do work though).
Supplies Needed
Cookie Cutters. You’ll need at least two cookie cutters one larger than the other. The shapes can be the same but don’t have to be.
Here are the star cookie cutters I used for making the cookies shown here. The set has 5 stars in different shapes giving lots of flexibility to your designs.
Rolling Pin. To roll out the dough before cutting out the shapes.
Baking Sheet. For baking the cookies. I recommend rimmed baking sheets so there is no chance of anything slipping off the side.
Silicon Baking mat (preferred) or Parchment Paper. To line the baking sheet.
Silver Sprinkles. These are optional but I’ll include a link to them. I used these sprinkles on the smaller star cookies (in the photos) cut out of the center of the large star shapes.
They also can be added on the shortbread stars next to the stained glass center for a bit of sparkle.
How to Make them into Ornaments
If you’d like to hand them as ornaments use a toothpick to make a small hole at the top before baking.
When they are completely cooled an ornament hook or piece of string can be used to make a hanger.
How to Make it – Step-by-Step
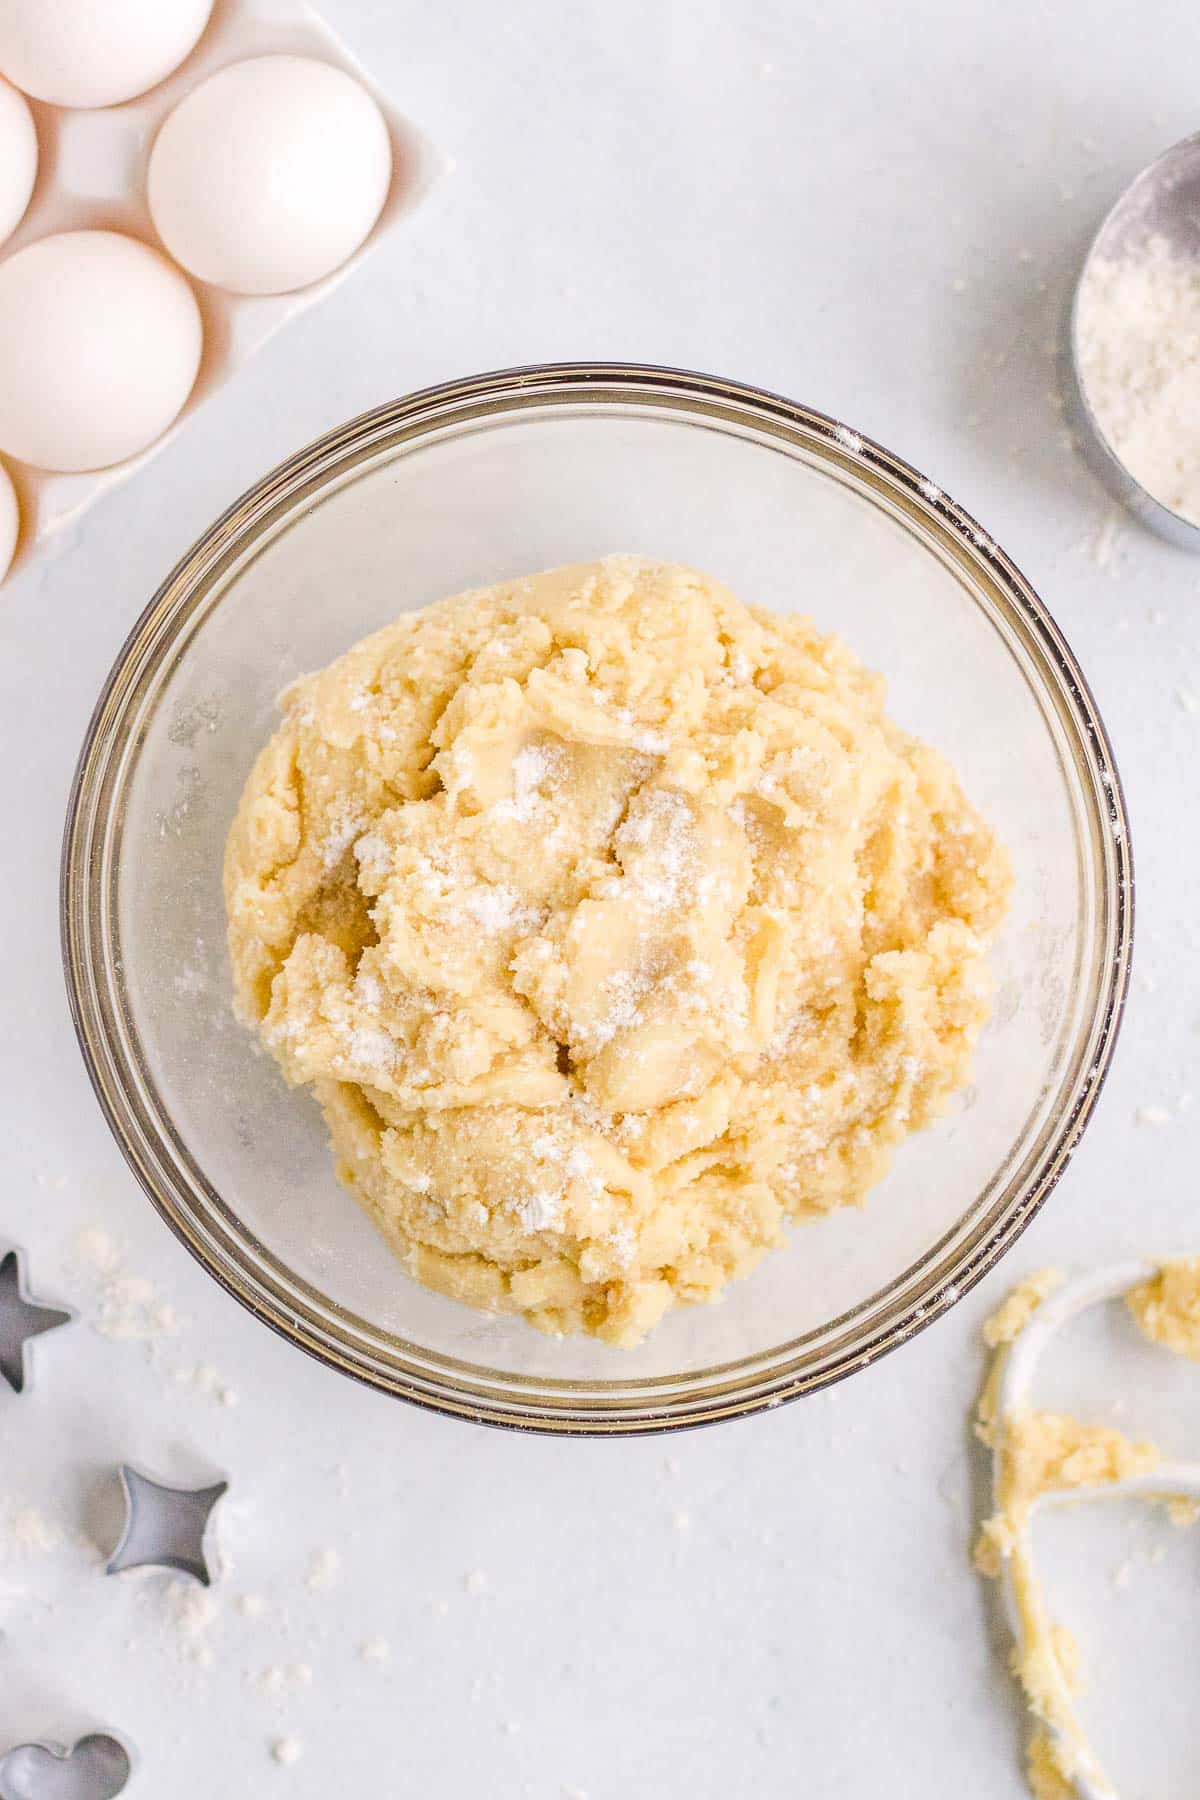
STEP 1. Make the Cookie Dough.
In a large bowl or bowl of a stand mixer beat together the butter and sugar. Use a mixer on medium speed.
Add the eggs, vanilla extract and salt. Mix to fully combine.
Slowly add flour and mix just until combined (do not overmix).
STEP 2. Chill the Dough.
Cover the dough and chill for 1 hour.
While the dough is chilling:
Preheat the oven to 350 degrees F.
Line a baking sheet with a silicon baking mat or parchment paper.
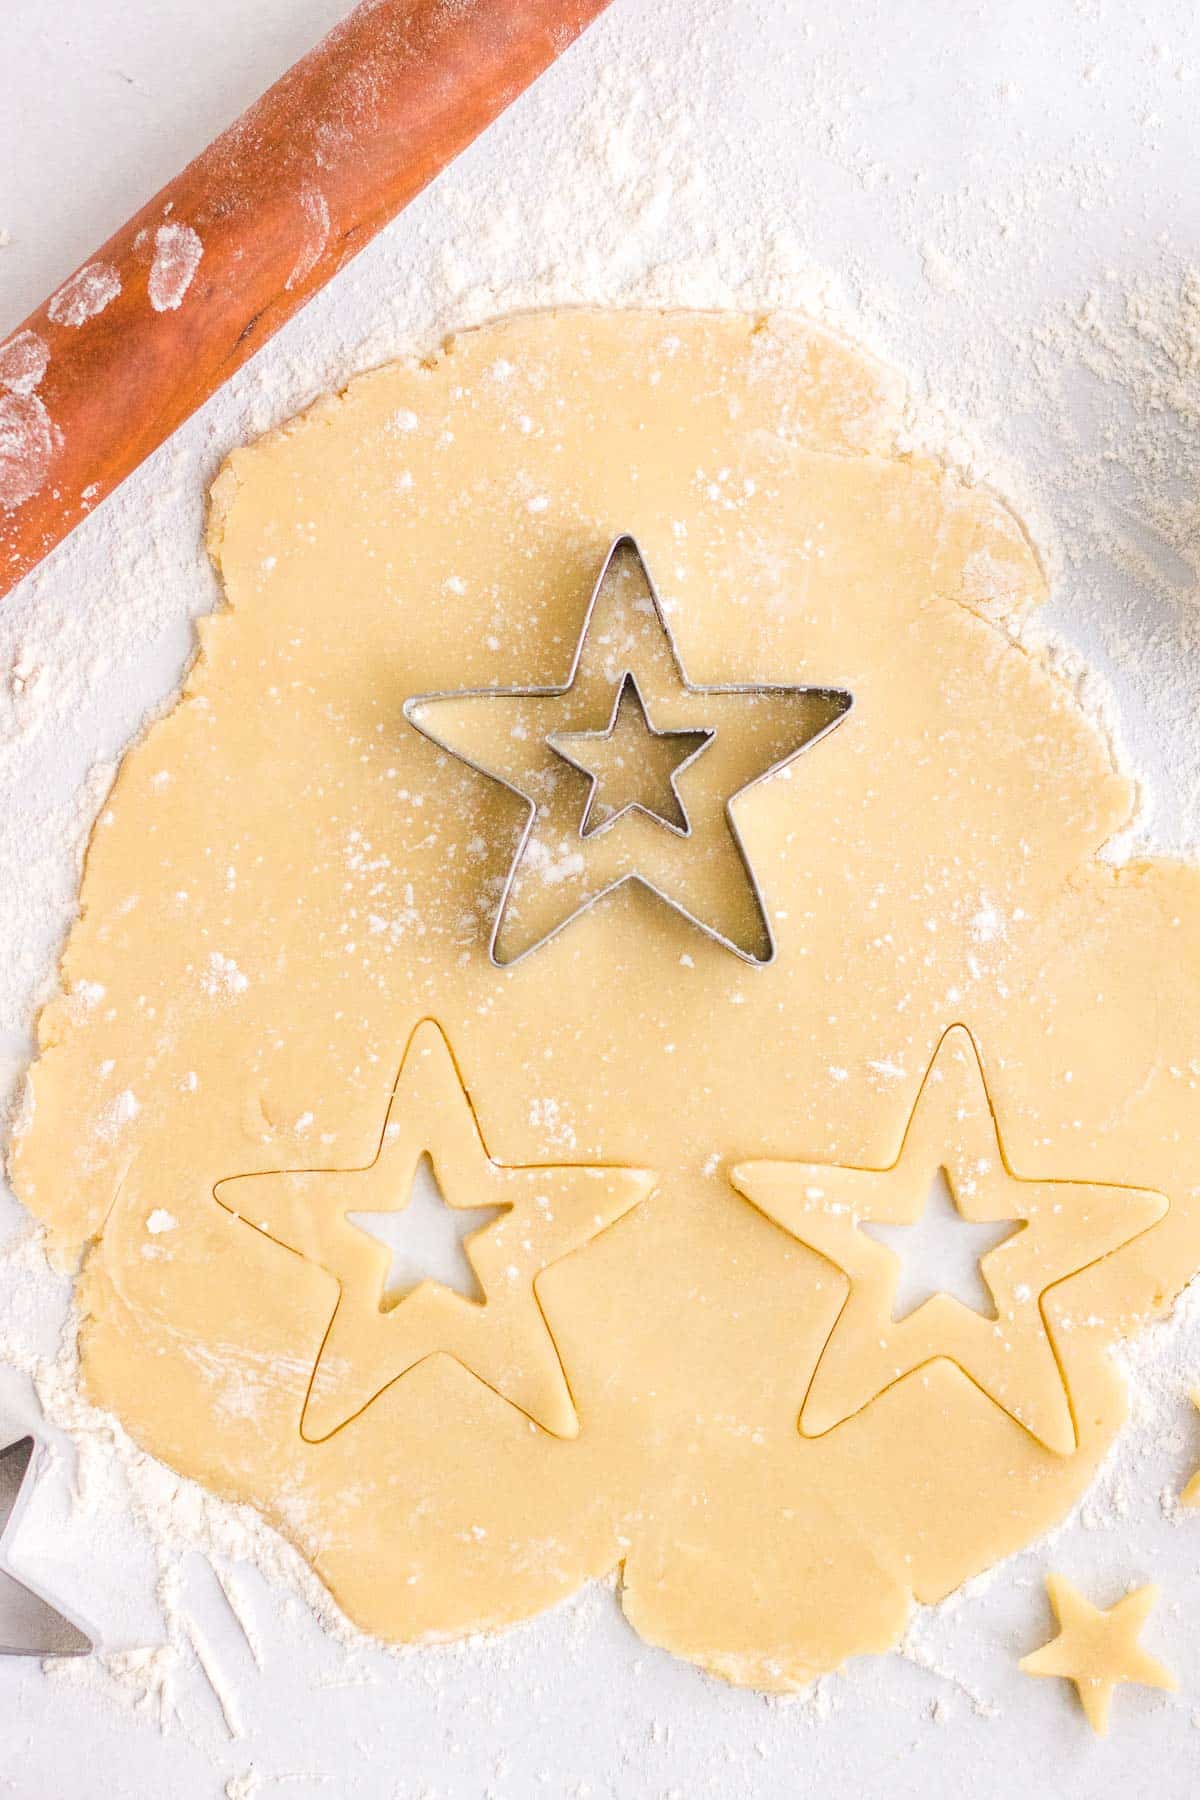
STEP 3. Cut out the Cookies.
Roll the chilled dough out on a lightly floured surface to 1/2-inch thick.
Cut out the desired shapes ensuring a large shape. Use a smaller cookie cutter to cut out the space for the stained glass.
Place shapes onto the prepared baking sheet.
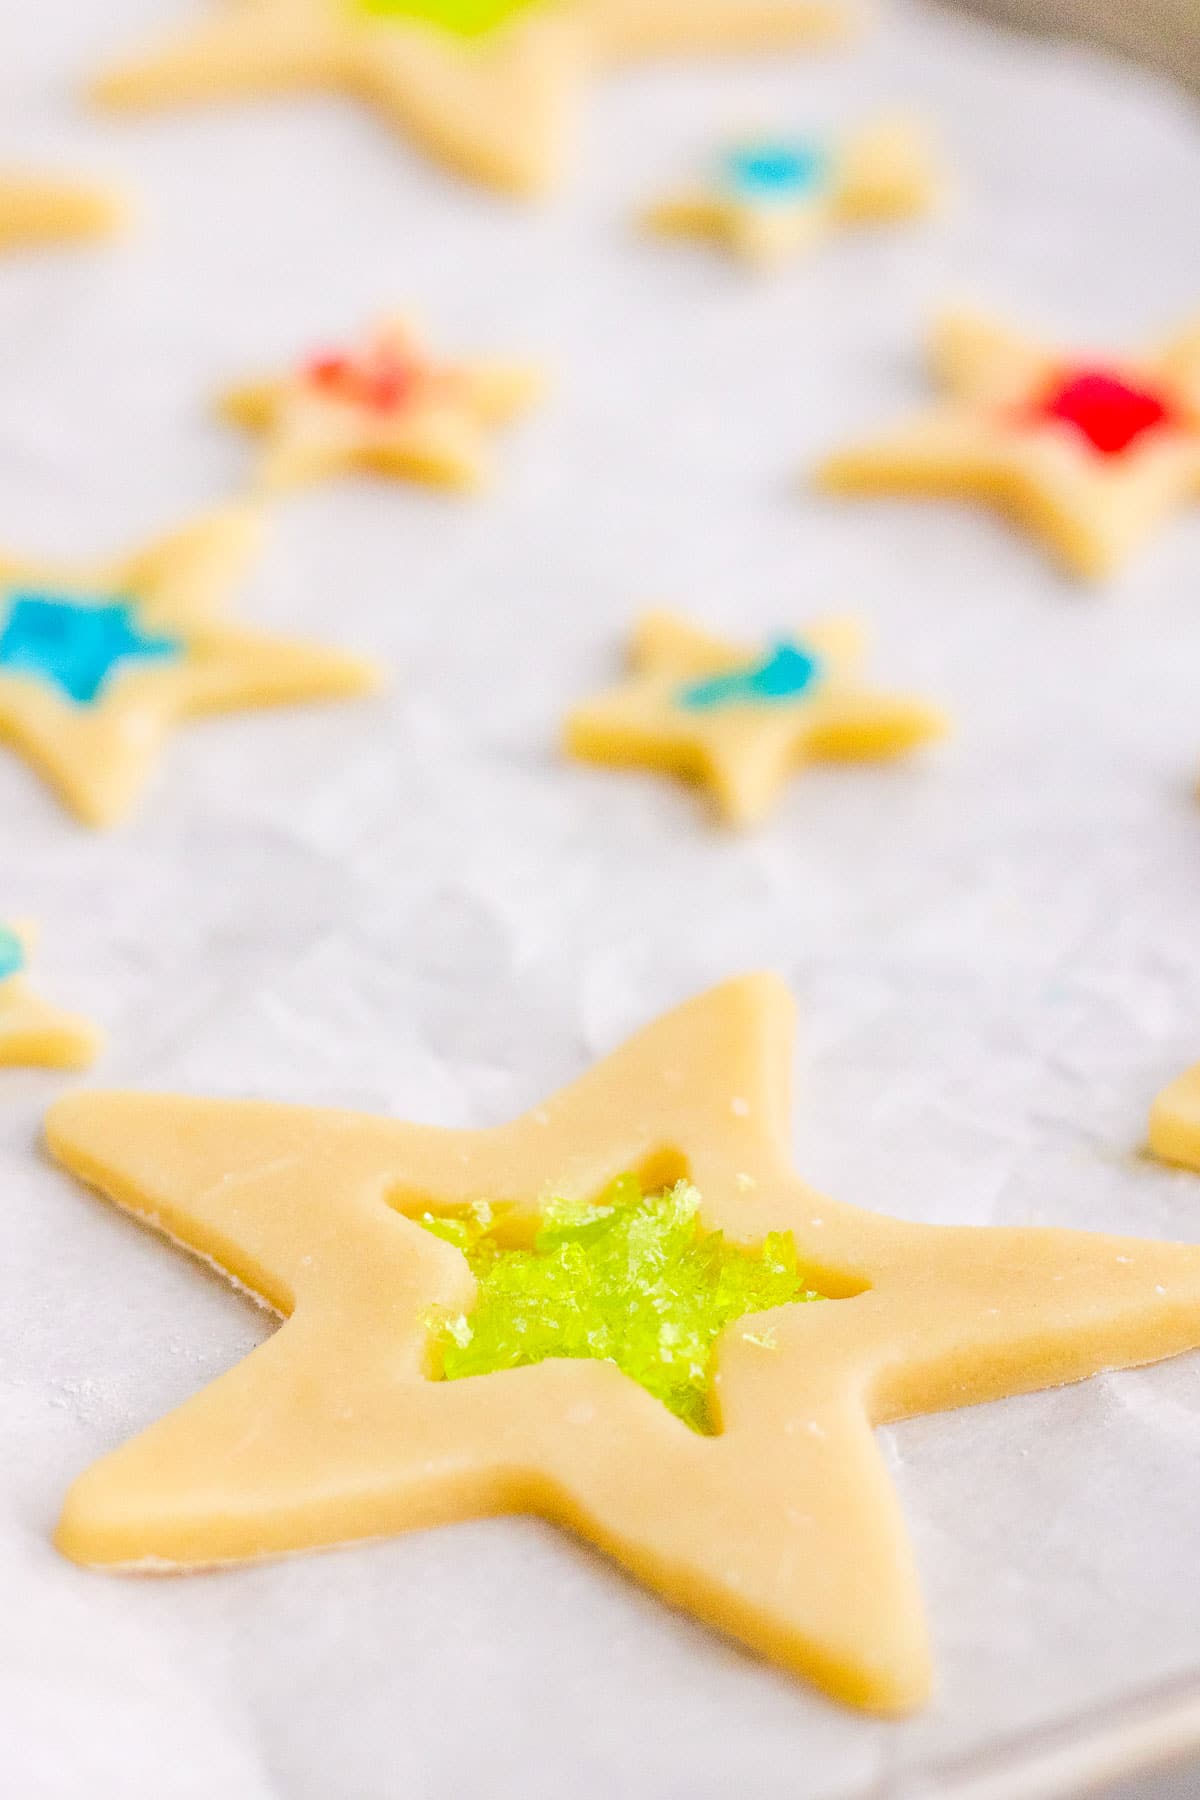
STEP 4. Add the Candy for the Stained Glass.
Separate the unwrapped candies by color. Place each color in a separate sealed plastic bag.
Wrap the plastic bag in a kitchen towel.
Using a rolling pin or meat mallet break the candy into small pieces but not into pulverized dust.
Add the crushed candy pieces into the center of the cookie where the shape is cut out.
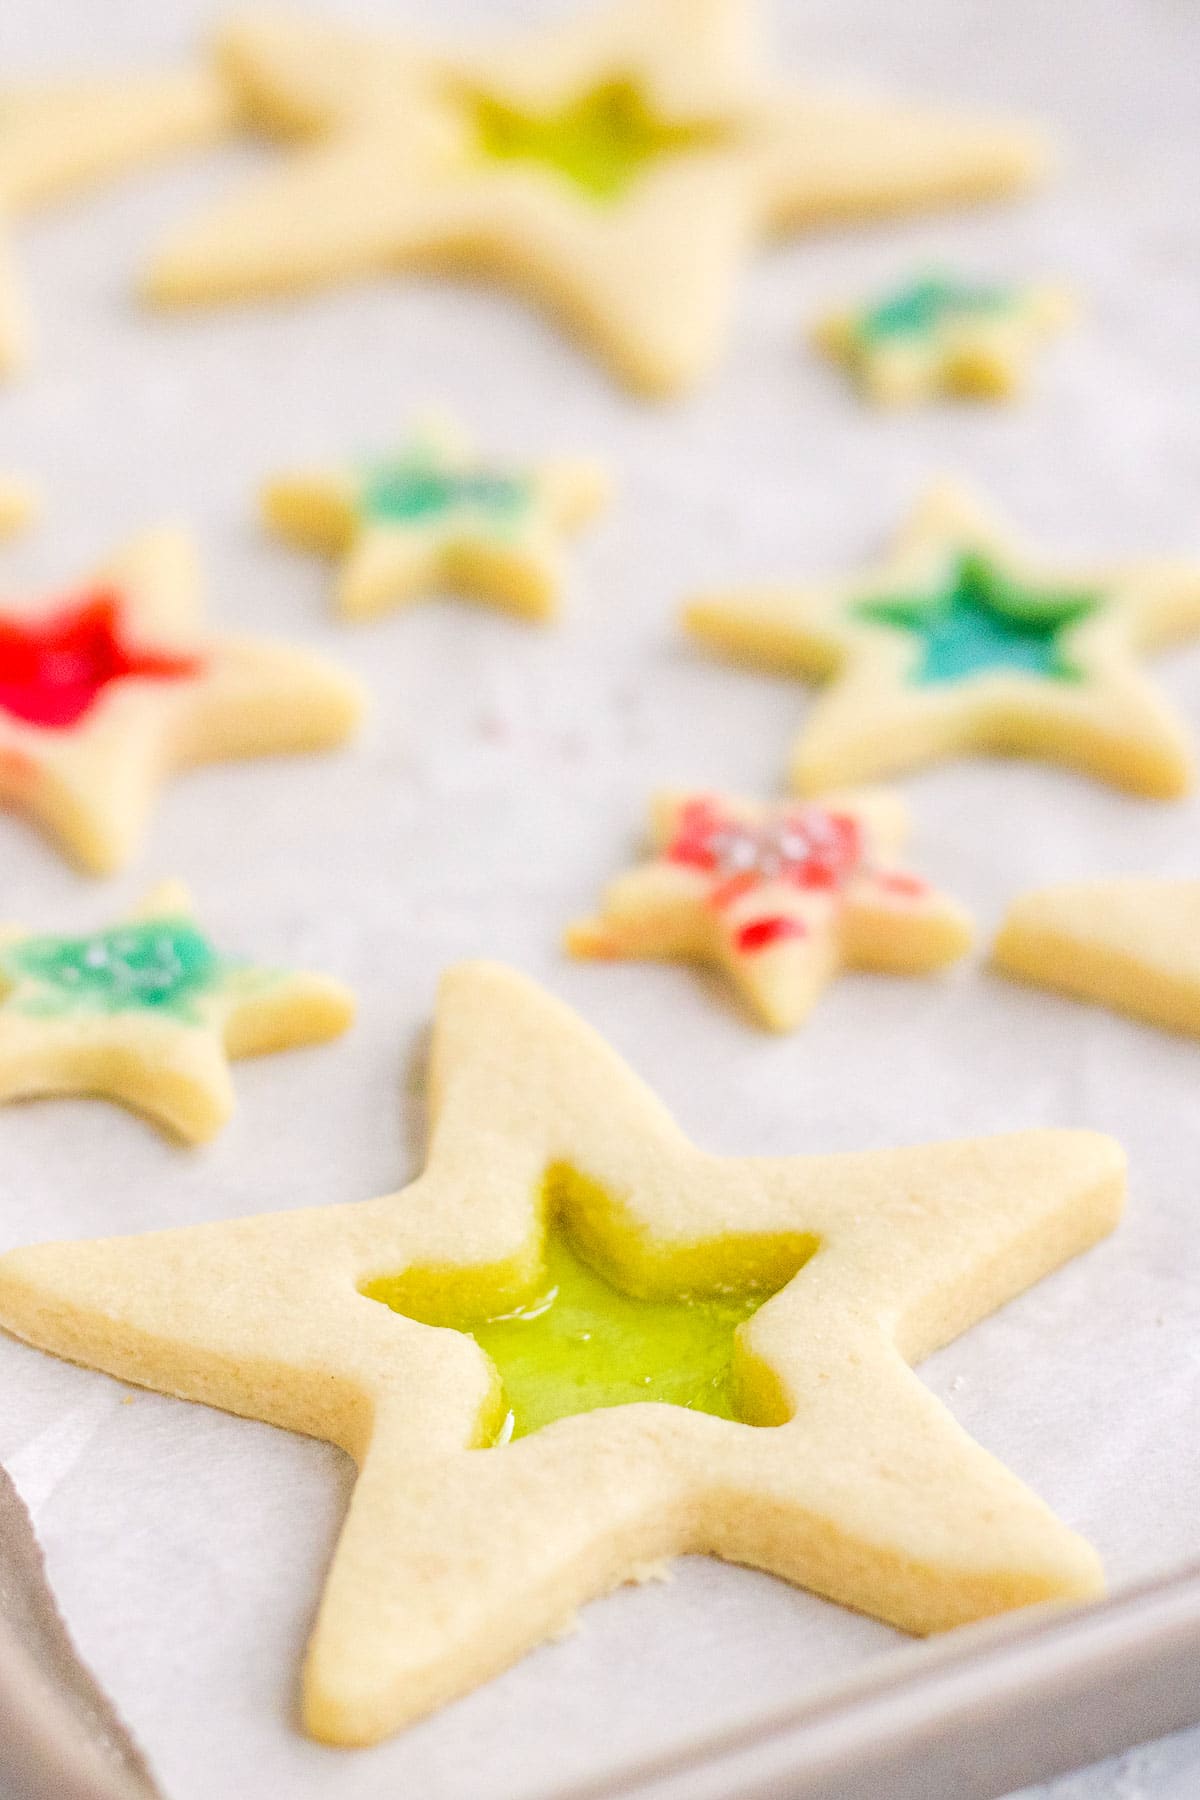
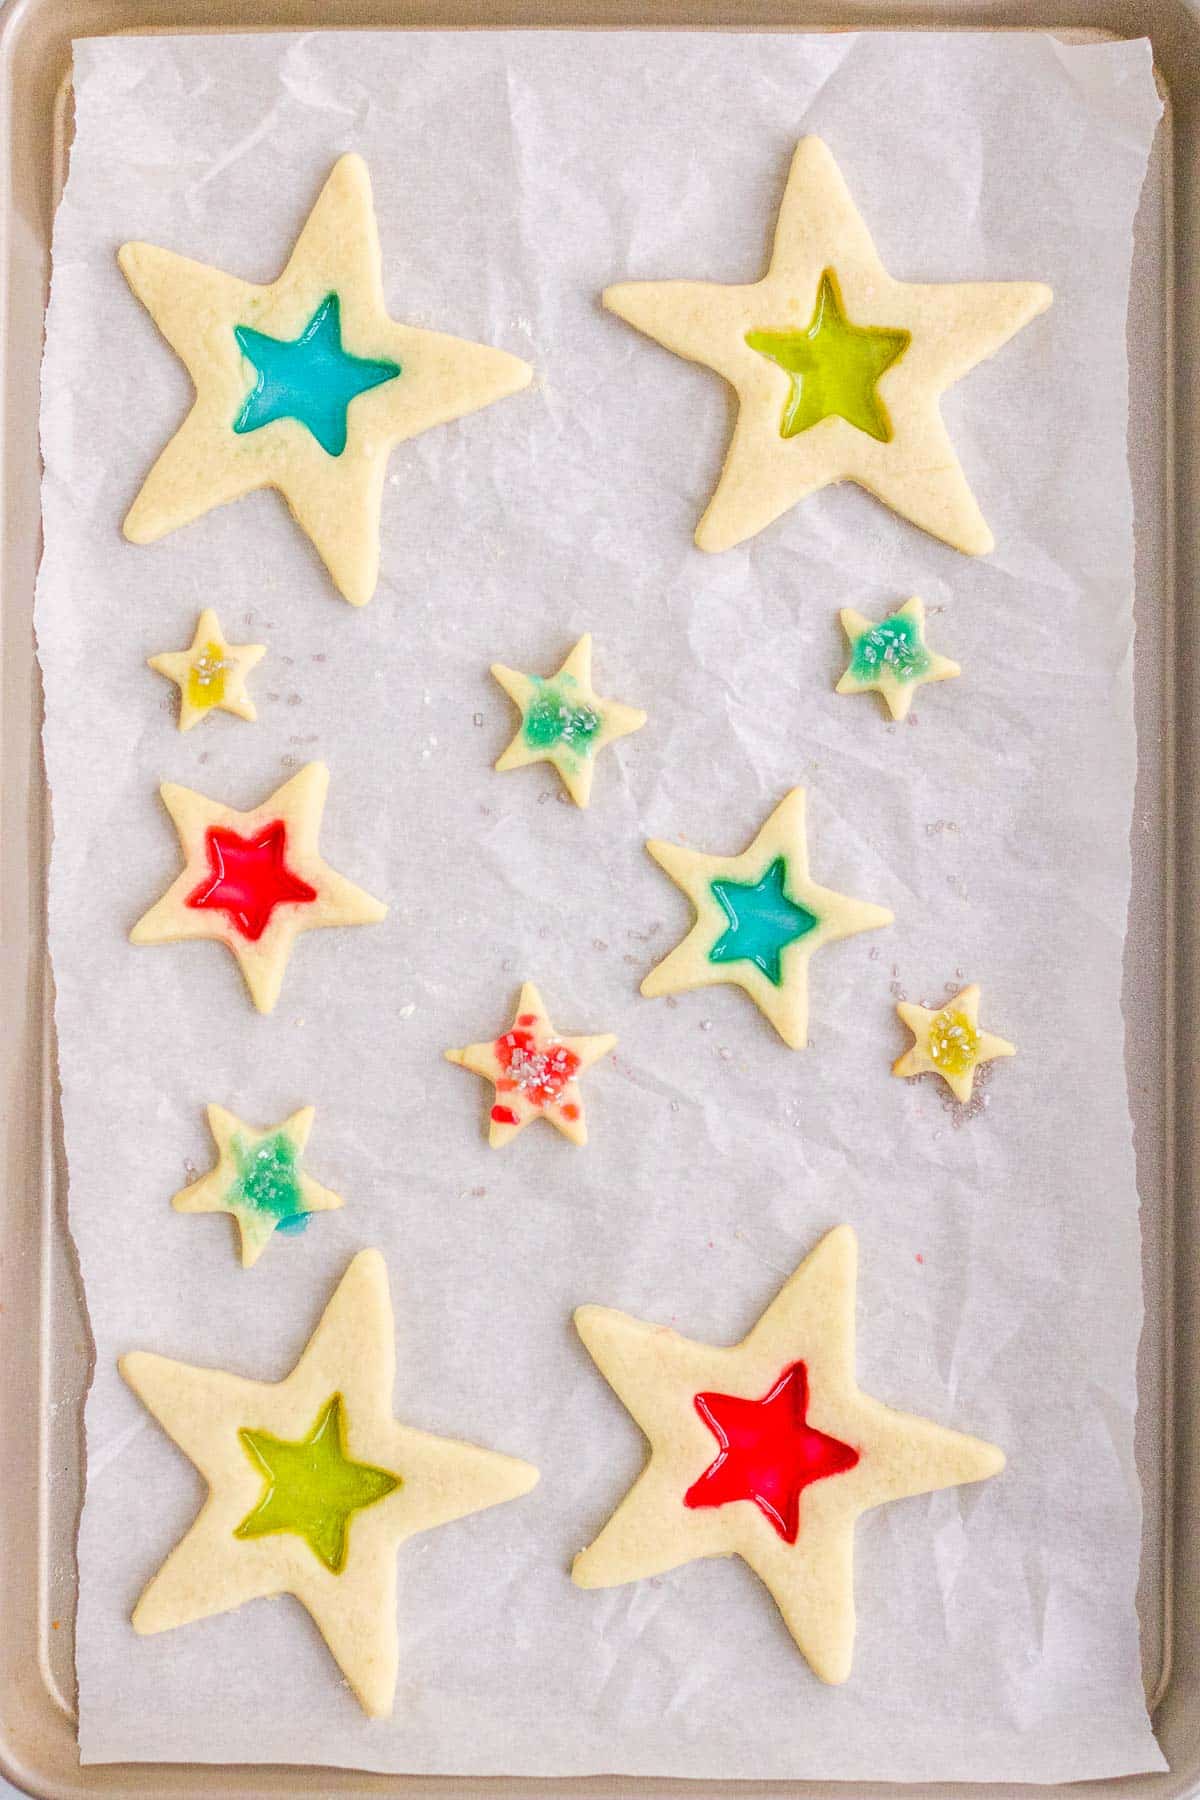
STEP 5. Bake the Cookies.
Bake the cookies for 10-12 minutes until the shortbread is no longer shiny and the hard candy pieces have completely melted. Do not allow the cookies to brown!
Cool completely on the baking sheet until the candy centers have hardened before moving the cookies.
Storing the Cookies
Store at room temperature (in a cool, DRY location) for 2 days in a sealed container. Separate layers with parchment paper or wax paper.
Do not store them in the refrigerator. The moisture can cause the hard candy center to become sticky.
Pro Tips
Break the hard candy into small pieces not dust. Don’t pulverize the candy as this can cause it to overcook and become grainy. Break into small pieces only.
Use Jolly Ranchers for the hard candy. You’ll be pleased with the color and how well they work.
Keep the dough cold. If you feel it will take some time to roll out the dough and cut the shapes, only remove part of the dough from the refrigerator at a time (one third to one half).
Line the baking sheet. To ensure easy removal of the cookies from the baking sheet with no sticking, line the pan. Do not bake on an unlined pan.
A silicone baking mat works best with parchment paper a close second.
Do not over bake the cookies. They should not reach the golden brown stage or they are overcooked. When the dough is set and no longer shiny they are done. Do not wait for the edges to turn color.
Cool the cookies on the baking sheet completely before moving them. This will ensure the best end result.

Recipe FAQ’s
How Can I keep the Cookie Dough from Sticking?
If the cookie dough is sticking when it’s rolled out try these ideas:
Make sure it’s very cold. If it begins to warm up chill it longer in the refrigerator and only use part of the dough at a time.
Use a silicon pastry mat and rub a bit of flour onto the rolling pin.
Place it in between two layers of wax paper or plastic wrap. If using wax paper a bit of flour may be needed between the paper and dough. Roll over the top layer.
What do I do if there are bubbles in the candy center?
You shouldn’t experience this if using Jolly Ranchers but if you do, use a pin to pop the bubble as soon as the cookies come out of the oven. This should allow them to cool and harden with the candy portion clear of bubbles.
Can I make these with store bought sugar cookie dough?
Cut and bake dough is usually soft and may not cook in a way that allows the candy to adhere to it. You could try a sugar cookie mix.
NOTE: we have not tested these methods to be able to comment on whether they will work as a substitute or not.
Are Stained Glass Cookies hard to eat due to the hard candy?
Since you’ll just be filling the cavity with a small amount of crushed candies it should bake to a thin layer. This will break easily when eating.

More Recipes You’ll Love!
- How to Make Homemade Marshmallows
- Lemon Cake Mix Cookies
- Pumpkin Spice Cookie Dough Dip
- Banana Bread Cookies
Recipe

Stained Glass Cookies
Ingredients
Cookies
- 1 cup unsalted butter softened
- 1 cup granulated sugar
- 1/2 teaspoon salt
- 2 large eggs room temperature
- 1 1/2 teaspoons vanilla extract
- 3 1/2 cups all-purpose flour regular or gluten-free measure-for-measure flour blend; additional flour will be used to roll out the dough
- 24 Clear Hard Candies in desired colors
Glaze
- 1/4 cup powdered sugar
- few drops of milk
Instructions
- In a large bowl, cream together the butter and sugar with an electric mixer on medium speed.
- Add the eggs, vanilla and salt and continue blending until thoroughly combined.
- Slowly add the flour, mixing just until combined. DO NOT OVERMIX.
- Cover the dough and chill in the refrigerator for one hour.
- While the dough is chilling, preheat the oven to 350 degrees. Line a baking sheet with a silicon baking mat (preferred) or parchment paper.
- Remove dough from the refrigerator and roll out onto a floured surface about a half of an inch thick.
- Cut Into desired shapes, being sure to cut out hollow areas to place candy.
- Place shapes onto the prepared baking sheet.
- Unwrap the hard candies and place into separate plastic bags by color (don't mix the colors in one bag).Cover the bag with a kitchen towel and break into small pieces using a rolling pin or other heavy tool. DO NOT crush the candies into a powder.
- Place the candy pieces in the hollowed out areas of the cookies.
- Bake for 10-12 minutes or until the cookies are set and the candy centers are melted.
- Allow to cool on the baking sheet until the candy 'glass' has completely cooled.
- OPTIONAL: Glazing the cookies. Combine the powdered sugar and just enough milk to allow the glaze to be drizzled. Drizzle over the cooled cookies and allow to set.
Erin says
My kid helped me make these and we had so much fun! They are super tasty, too. Thank you!
Laura Reese says
These cookies are amazing! The candy windows are so cool, my kids went crazy making them! It is just hard to eat them because they are so cute!!