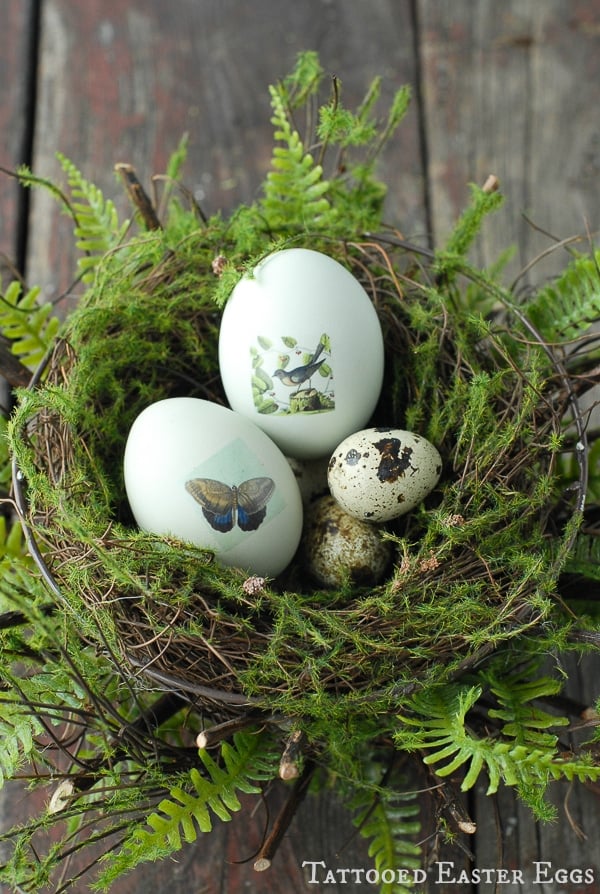
Growing up my household was like everyone else's, dying Easter Eggs with small dye pellets dissolved in water and vinegar. It was always so exciting to watch the pellets begin to fizz with such fury eventually creating sublime spring tones on our hard-boiled eggs.
A few years ago I decided to finally try a method I had been anxious to do for some time; using natural vegetables and spices to create Naturally Dyed Easter Eggs. I was amazing to behold, especially for the eggs dyed blue, which were dipped in a red cabbage mixture to emerge the same blue as an early summer night sky. This sparked my creative juices to try new and different methods ever since. The following year I used an old family method belonging to one of my daughter's Middle School teachers; Silk Tie Dyed Easter Eggs. She explained the method was not traditionally confined to Easter, but whenever there was a special occasion or event year round.
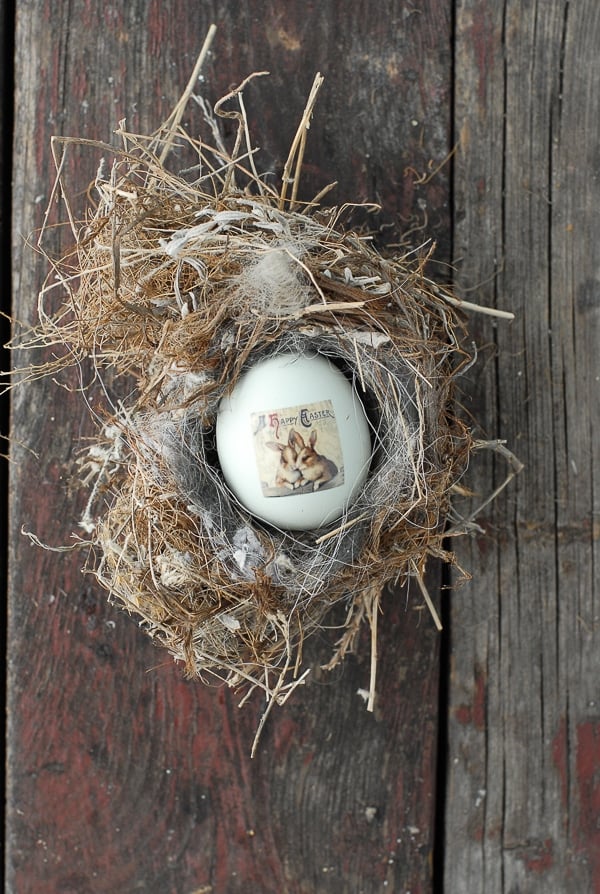
Last year I experimented with artisan tissue paper to create Stained Glass Eggs. They were very easy and fun, especially when adorned with sticker-backed gems. Poor Girl's Faberge Eggs! This year I had the idea to tattoo eggs, in the same spirit kids use temporary tattoos. I wanted to make my own using fun vintage images to give the eggs a retro feel. I used undyed eggs, blue chicken eggs, ecru duck eggs, brown and speckled chicken eggs as well as the traditional white. The process was easy and fun. For a shortcut purchased temporary tattoos could be substituted for making your own too.
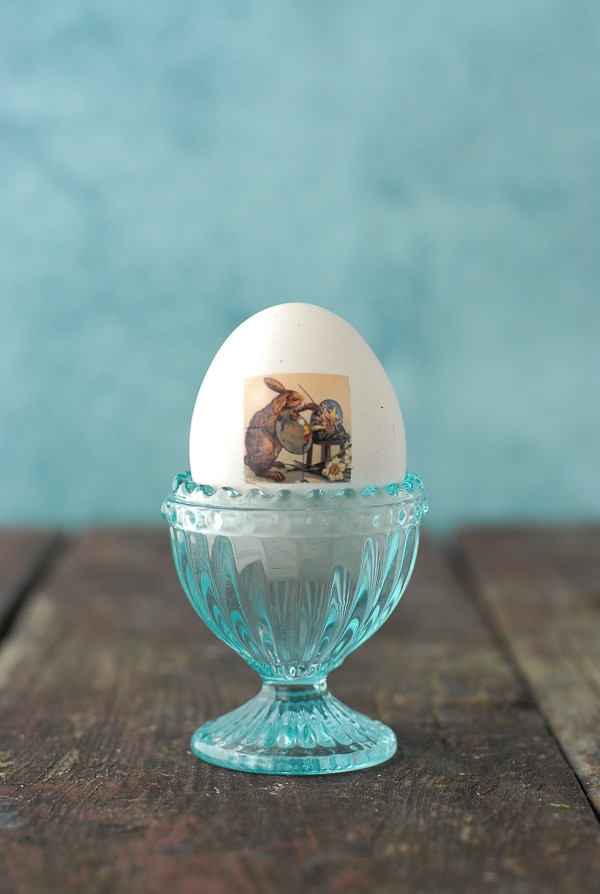
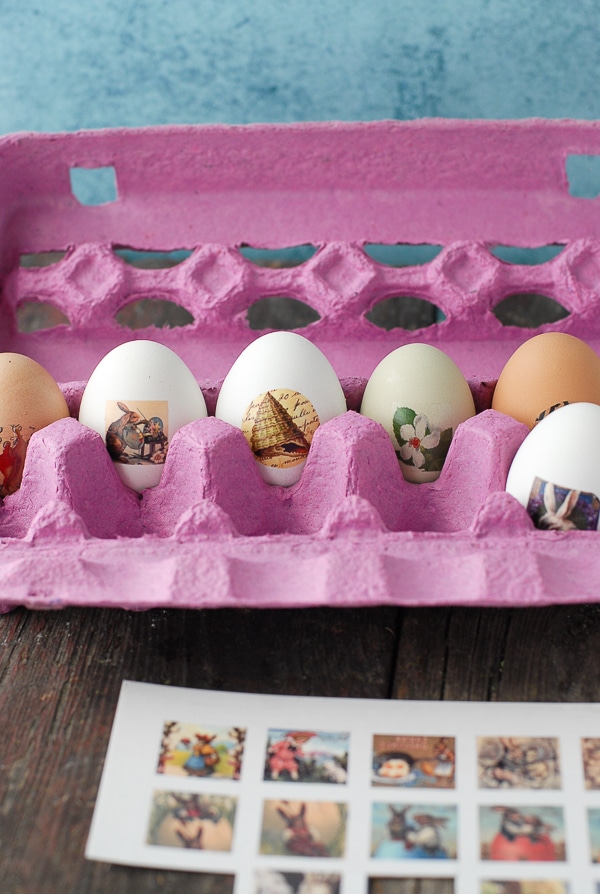
I will share my sources in the instructions below however I found a very fun collage art store on Etsy from which I downloaded a number of images, already sized perfectly for this project (about 1 inch in diameter); vintage shells on music paper, vintage Easter images, nature drawings, vintage Alice in Wonderland images, travel tiles and more. They are inexpensive (a full sheet runs between $1.99-$3) and downloaded to your computer for any use. Dyed eggs could also be used however I wanted the most natural look so elected the naturally colored eggs. There are so many possibilities with this method; the fun to be had is only limited by your own creativity!
A note about Temporary Tattoo paper: It is not cheap and only a few sheets come in a package. That alone scared me into fearing I'd do it wrong. The package details are very clear and there are videos on YouTube to watch as well. I’ve summarized the general steps below though I recommend following the package instructions that come with the paper you purchase. The key thing I found was to print a practice sheet of your tattoo images on regular paper before running the tattoo paper through the printer to ensure they appear as you want them before using the tattoo paper.
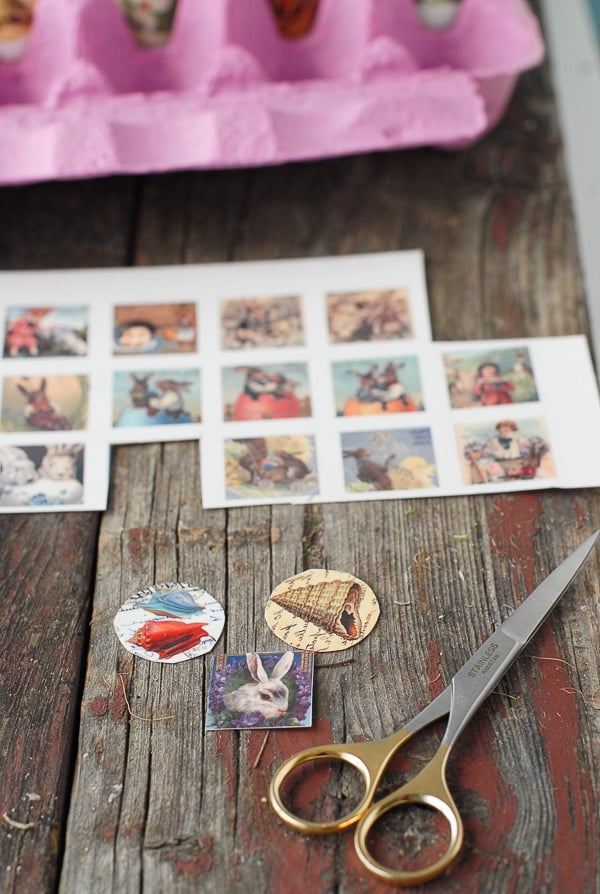
SUPPLIES:
- Hard-Boiled Eggs (natural or dyed and dried if desired)
- Images for Tattoos (1 inch diameter work best to avoid wrinkling when applied to egg;
my Etsy source(Link Removed)) - Temporary Tattoo printer paper (multiple brands are available online; the paper I used does not require a Silhouette machine though can be used with one)
- Printer
- Computer
- Sharp small scissors
- Paper Towel or clean rag/towel
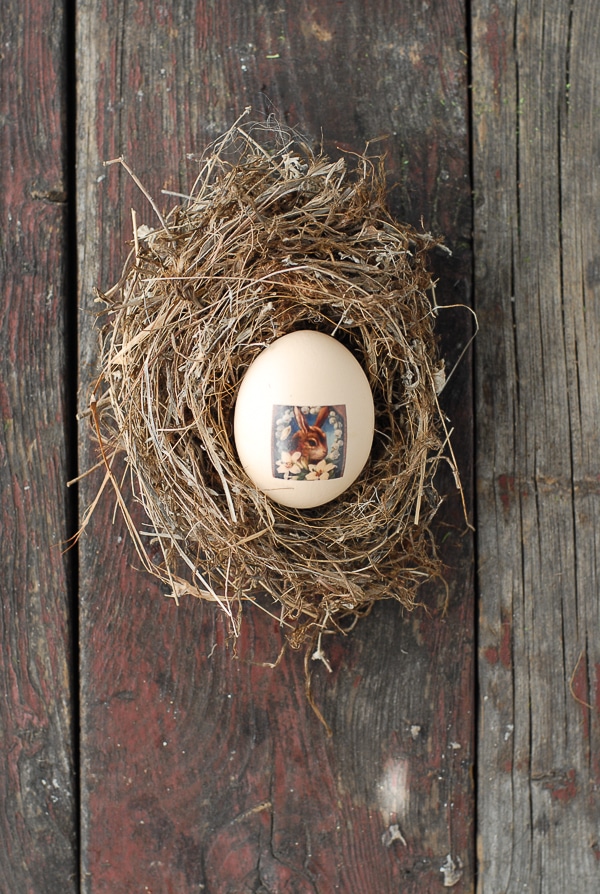
1. Create an 8″ by 11″ page of images for tattoos (photos, graphics, scans of favorite pics, etc). I used PowerPoint. Sizing them to be about an inch in diameter works well to fit on the egg without wrinkling.
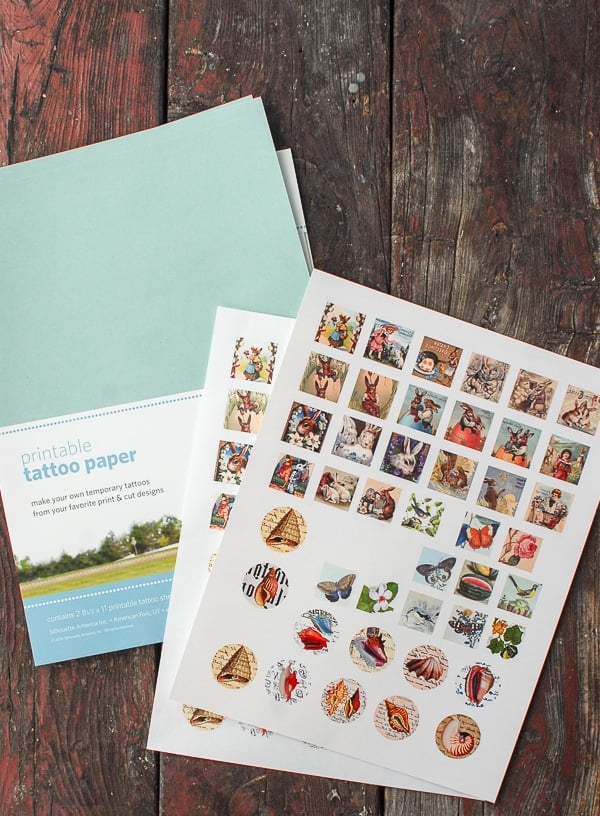
2. Print a test page selecting 'mirror image' or 'reverse' to flip your images if they include text. This will ensure when the tattoo is placed it will read correctly.
3. Following the instructions with your tattoo paper kit, print the tattoo images onto the provided paper (usually the instructions suggested to use print settings for premium glossy photo paper and high resolution on your printer settings). Again, be sure to select 'mirror image' in your printer settings to ensure any text will come out properly or that images will be identical to how they appear normally.
4. Work in a clean environment to avoid particulate from getting on the adhesive sheet. Allow the paper to dry fully then apply the adhesive sheet. In my kit it has a green backing. Align it with the very top of your photo image sheet, remove the backing at the top to affix it to the photo side of the paper and press down. Slowly unpeel the backing pressing the adhesive to the photos as you unpeel it. When the adhesive is affixed to the photo images, in good light gently press out any bubbles which may have formed. I found a small amount of pressing made them go away.
5. Using sharp scissors, cut out the tattoos.
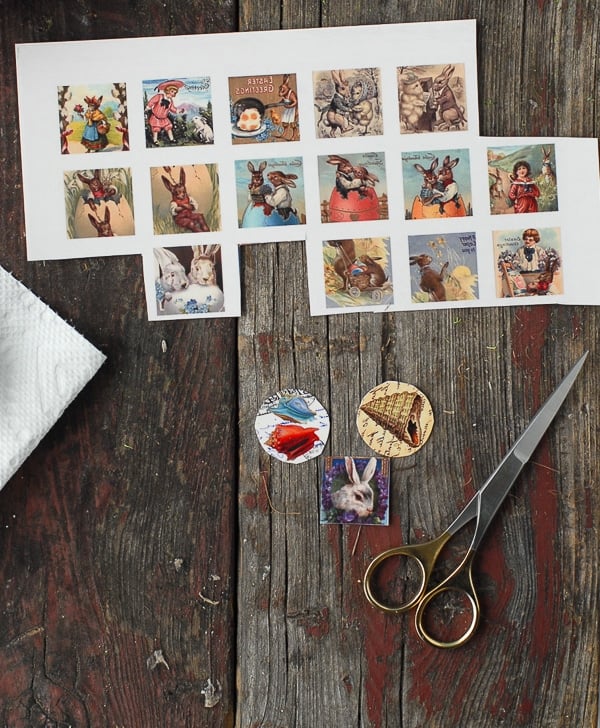
6. Gently peel off the plastic protective backing from the tattoo before placing it on the egg.
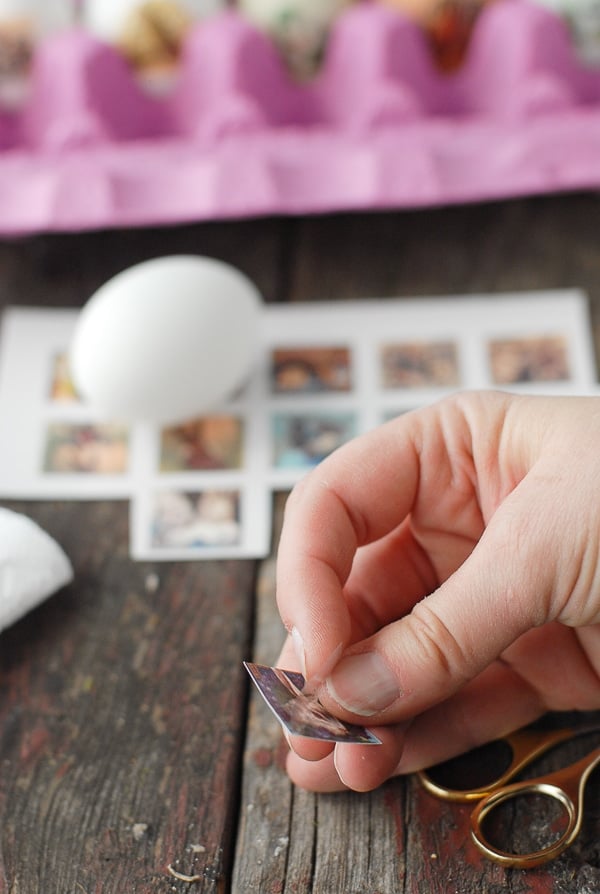
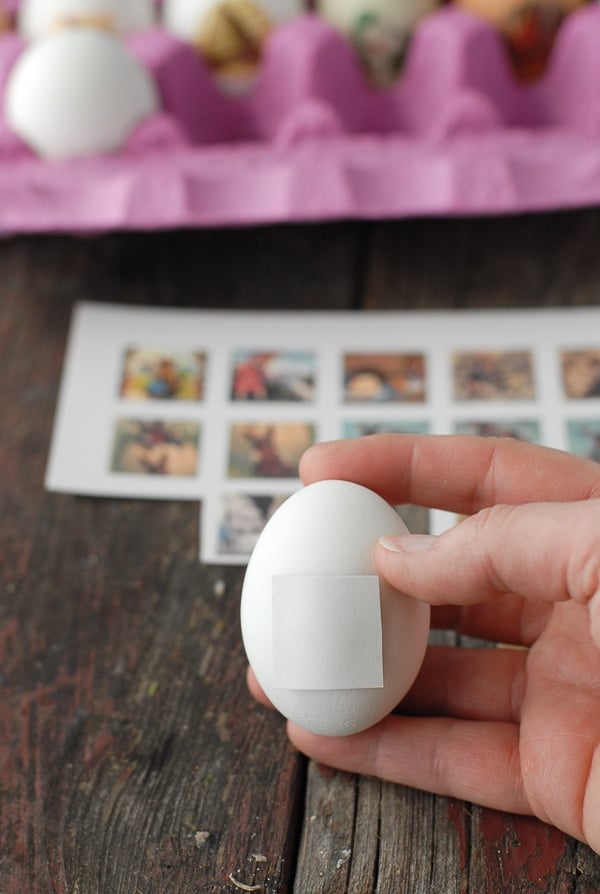
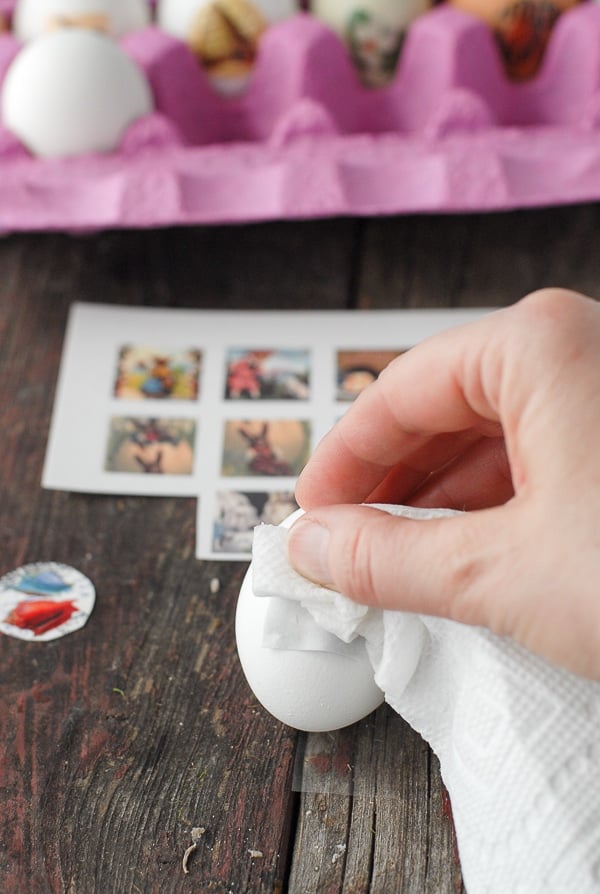
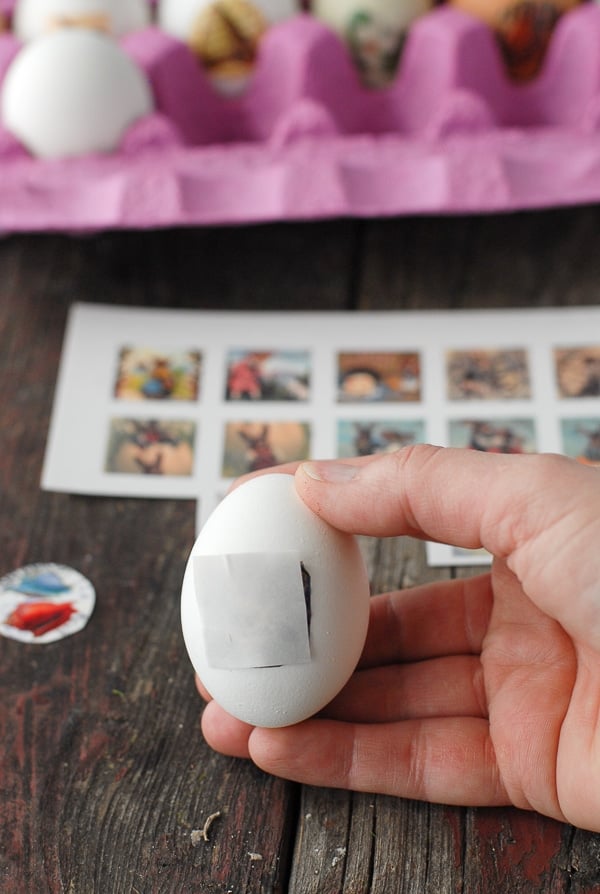
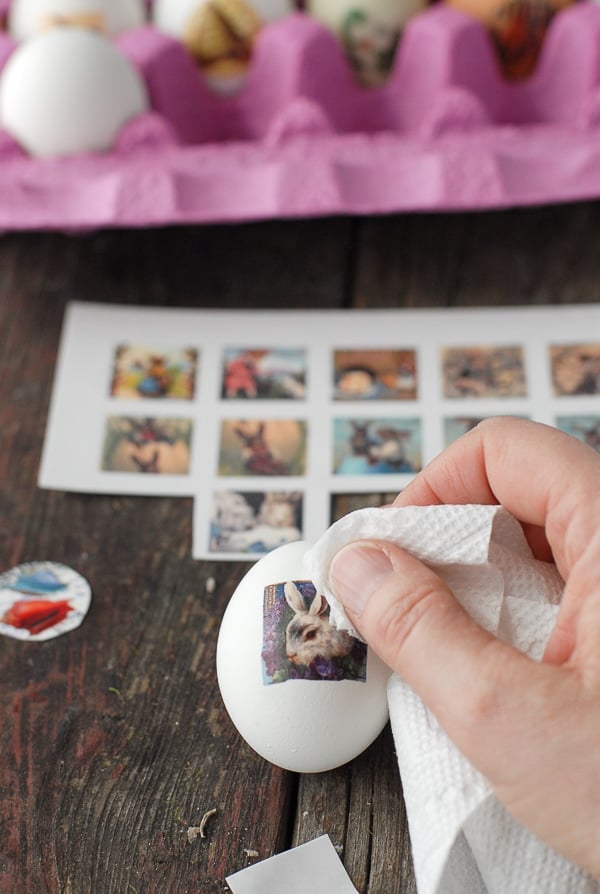
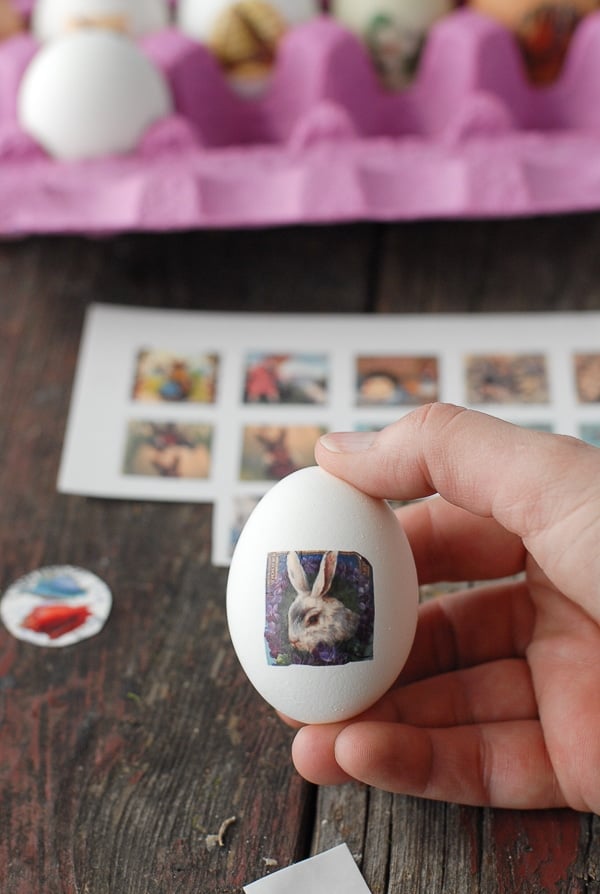
7. Place the tattoo, photo side down, onto the egg. With a very wet paper towel, clean rag or sponge, dab the paper side of the tattoo. Once the paper is fully saturated, the paper backing will begin to slide away from the tattoo which will be affixed to the egg. Discard the backing and allow the egg to dry.
Need Ideas for all those Hard Boiled Easter Eggs? Have you covered!
SweetJ says
This post has been featured! Happy Easter and keep on crafting!
Kirsten/ComfortablyDomestic says
One day I hope to be as crafty as you are, Toni. I love how sweet and vintage the tattoo eggs look.
Adelaide says
That’s tattoo beauty eggified 🙂 and a great way to introduce children to tattoo art. The butterfly caught my attention since I have one too on my neck. Thanks for the feel good post!
Michelle @ My Gluten-free Kitchen.com says
Love, love these Easter eggs! So pretty, and much more interesting than traditionally dyed eggs!
Dawn Lopez says
What an adorable idea! I’ve seen so many ways to decorate eggs, but this is unique! My mom would really adore the designs you chose too, will have to share this 😉
Jessica (Savory Experiments) says
I really love this idea. Classy, adult Easter eggs.