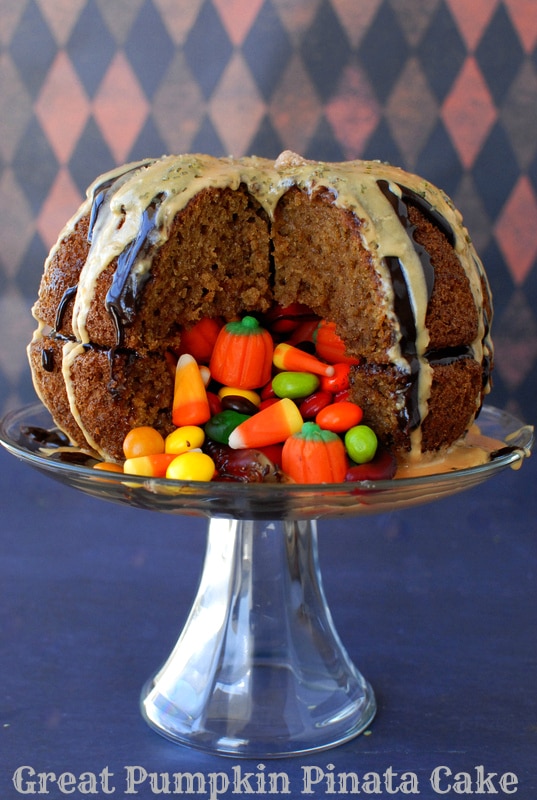
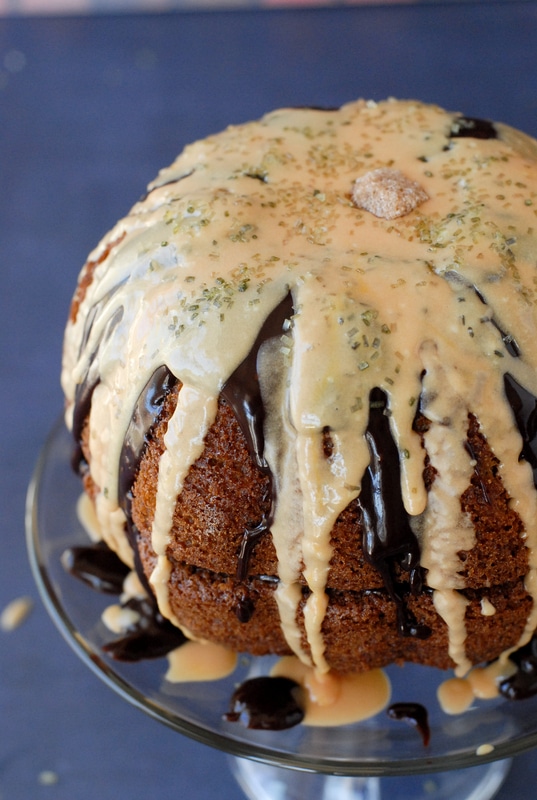
Though I love tradition as much as the next girl, I strive to come up with a new surprise dish every holiday. Something that will really 'wow' my family and friends, and be unexpected. I love a good surprise and finding a treasure so the idea sprang to mind to hide something inside a pumpkin cake!
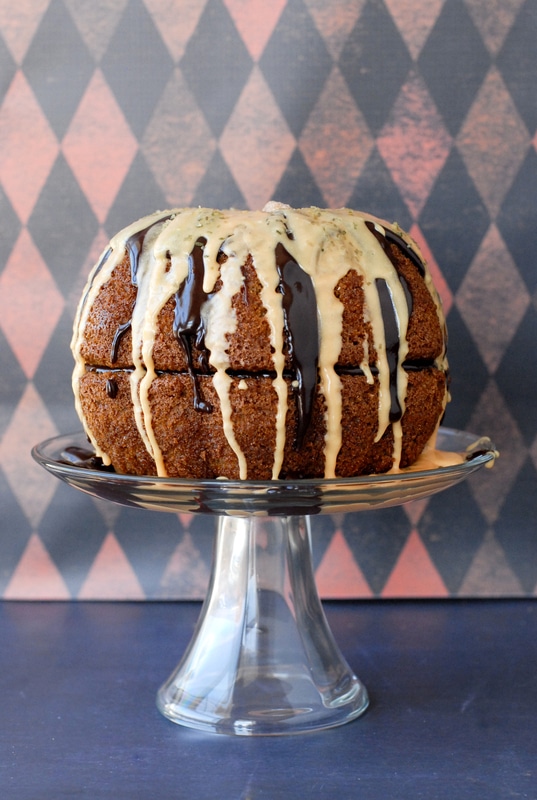
When we became gluten-free over 8 years ago I purchased a number of specialty cake pans. Gluten-free cakes were not to be found at local bakeries and there truly weren't gluten-free cake mixes readily available either. Since I'd be making all my kids' birthday cakes I found myself with a great supply of whimsical pans from both Wilton (great themed pans for birthday cakes) and Nordicware. Nordicware makes loaf pans, sheet cake pans with designs and eccentric themed Bundt style pans. Some of the first I purchased were for Halloween when I bought mini Pumpkin Patch cake pans (the volume of a cupcake shaped like a pumpkin) and a Great Pumpkin Pan.
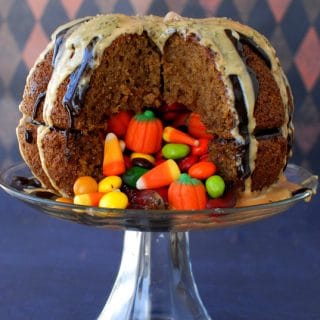
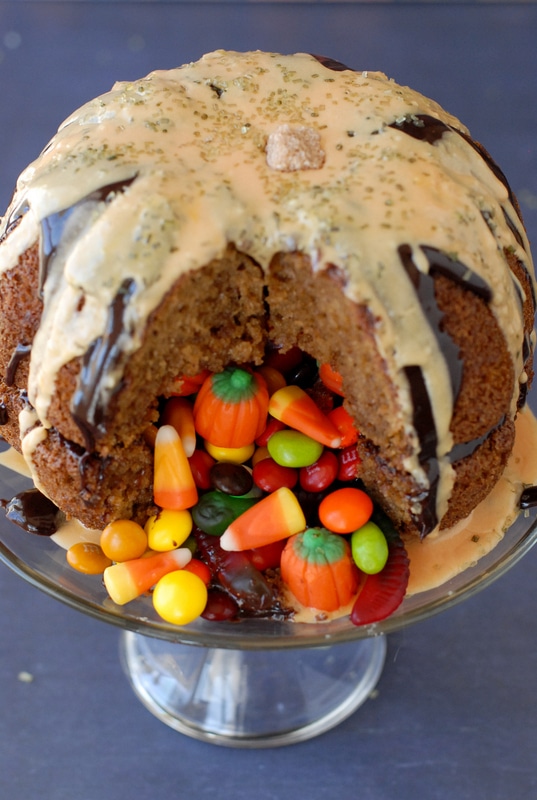
I could imagine my kid's faces when cutting into the Great Pumpkin cake to find it spilling with Halloween candy! I love to engineer these types of baking projects, thinking through every step and testing to my 'hypothesis'. Early this year I made a Hidden Heart Valentine's Cake and Hidden Rainbow Easter Egg Cake that were great fun. Now I'll be adding this Great Pumpkin Piñata Cake to the holiday mix!
This cake is easy to make. It uses a normal recipe or box mix for a 2 layer cake to fill the pumpkin pan halves. The steps to stuff it are easy as well. I think the most difficult challenge you'll have is picking a mix from all the Halloween candy available! Also should you not wish to purchase this cake pan, I did see a cute pumpkin cake on Pinterest that was supposedly made using cake baked in two ridged Bundt pan. If using Bundt pans do not use the type with a large hole in the middle as you won't easily be able to close them off to hide the candy safely inside.
Recipe
Great Pumpkin Pinata Cake
Ingredients
Ingredients for the Pumpkin Cake:
- Favorite scratch recipe or box mix for Spice or Pumpkin Cake for a 2 layer cake.
Ingredients for Orange-colored Vanilla Glaze:
- 1 cup confectioner’s sugar
- 3 tablespoons Milk
- 1/8 teaspoon Vanilla Extract
- 1 tablespoon unsalted Butter , melted
- Food Coloring (I prefer India Tree Dyes which are all natural and plant-based)
Ingredients for Chocolate Ganache glaze:
- 8 ounces Semi Sweet quality Chocolate Chips
- ½ cup Heavy Whipping Cream
Ingredients for the cake Filling:
- 2 cups Halloween Candy see notes
- Garnish (if desired): Colored sprinkles (I used India Tree Dye green) and a turdinado sugar cube for the stem
Instructions
Instructions for the Pumpkin Cake:
- Preheat oven to temperature specified in the recipe being used (generally 350 degrees). Prepare the pumpkin pan as instructed on package. Though it is a non-stick pan, I recommend preparing it with no stick spray. I would not grease and flour it so the flour does not show on the outside of the cake.
- Prepare cake batter as instructed. Pour half of the batter into each pumpkin half pan and insert into the oven. Bake as specified in recipe being used for layer cakes. Note: mine baked 35-40 minutes at 350 degrees. When cake is golden on top and toothpick comes out clean, cake is done.
- Place cake on a cooling rack for 15 minutes. Place a cooling rack right side facing the opening of the pumpkin pans. Gently invert the rack and pan so the rack is on the bottom and the cake pan on top. Gently shake the pan and rack allowing the cakes to release onto the rack. Allow to cool fully. Note: when I made my cake I allowed the cake to cool too long in the pan and could not release it. I stuck it back into the oven for 3-4 minutes at 350 degrees and was able to release it from the pan.
- While the cake is cooking, prepare the Vanilla Glaze and Chocolate Ganache.
To prepare the Chocolate Ganache:
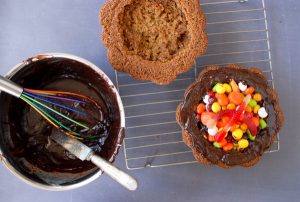
- Using a double-boiler or a large pan of boiling water and a heatproof metal boil placed in it, combine the cream and chocolate chips. Stir or whisk frequently as the chocolate begins to melt. Whisk well at the end to form the creamy ganache. Reduce heat of boiling water to very low and allow the ganache to remain in the boil until using so it remains able to be drizzled.
*To prepare the Vanilla Glaze
- Combine all ingredients EXCEPT food coloring, in the bowl of a freestanding mixer (or a mixing bowl if using a handheld mixer). Mix on high to fully combine. Glaze should be a medium texture allowing drizzling. If desired, add food coloring to tint the glaze orange (1 part red to ¾ parts yellow).
- Once the cake is fully cooled, if the flat sides of the cake halves are very uneven, a serrated knife can be used to make each flat side of the cake even.
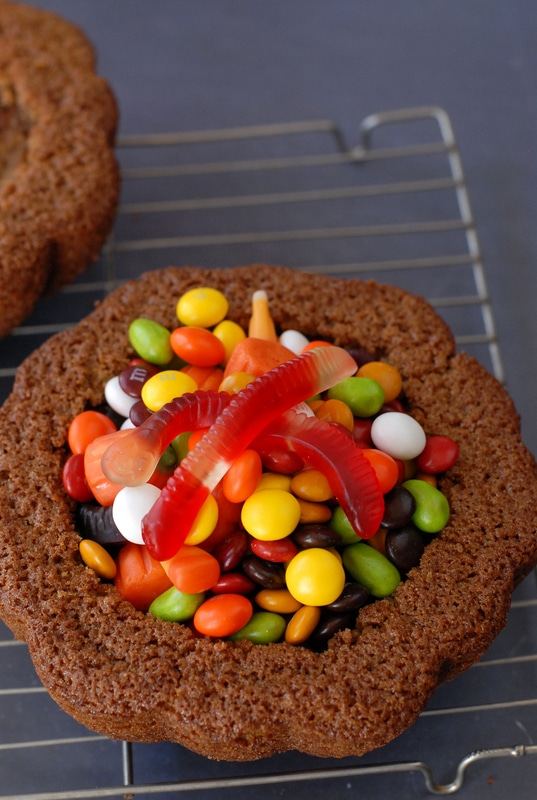
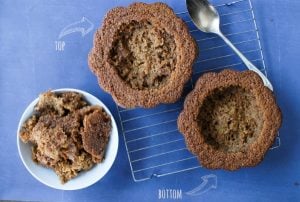
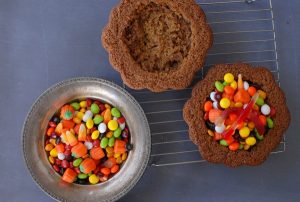
- Place the bottom half of the cake on a firm surface with the decorative side facing down (the flat inside half facing upwards). With a large spoon, gently create a hollow in the bottom half of the cake (from the flat side) leaving a boundary of 1 1/2 inches around the sides and bottom of the cake to maintain the structure (or is could break). {see photo below}
- Place the top half of the pumpkin on a firm surface with the decorative side down (the flat half of the cake facing upwards). With a large spoon, create a hollow out an inch indentation in the top of the cake. The candy inside the cake will be rounded at the top and having a portion of the top of the cake scooped out will allow more candy to fit inside the cake.

- In a mixing bowl, combine all selected Halloween candy and mix well!
- Place the bottom of the cake, decorative side down on serving plate. Scoop candy into the indentation of the bottom pumpkin half, mounding the candy at the top.

- With a kitchen knife or frosting spreader, spread a layer of chocolate ganache along the flat edge of the bottom half of the pumpkin cake. This is designed to seal the cake so the ganache layer does not need to be overly thick. My goal was to not see it. Gently place the top of the pumpkin, flat side down, on top of the ganache careful to match the outside pattern of the pumpkin between the top and bottom layers.

How to Glaze the Cake
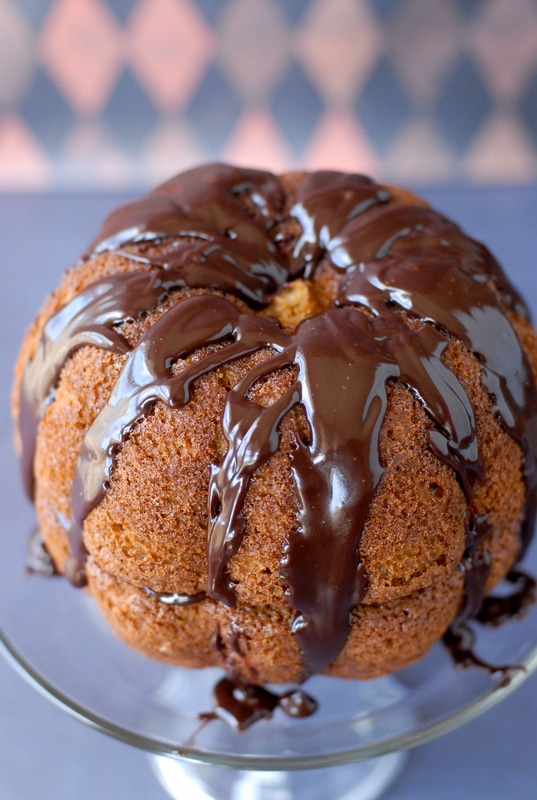
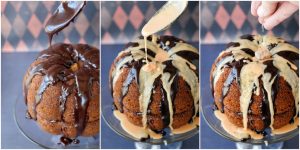
- Drizzle the chocolate ganache and vanilla glaze over the pumpkin, beginning at the top allowing it to drip down the height of the pumpkin. Additional sprinkles may be used if desired and I used a natural turbinado sugar cube (rustic and brown) as a small stem. Allow glaze to fully set before cutting the cake!

Notes
Nutrition
Roshani Khanna says
This looks great! Thanks for sharing it and the other recipes at the Pinterest Power Party – we’ll be featuring this in tomorrow’s party!
carol says
Onde eu posso encontrar esses tipos de formas para fazer esses bolos ??
Toni Dash says
Desculpa Carol , eu não tenho certeza se entendi . A maneira de fazer o bolo está listado neste blog .
Dina says
what a cool serving idea!
Viviane Bauquet Farre - Food and Style says
I love it, Toni! Your kids are very lucky indeed 🙂
Denise says
Hello,
Someone just turned me on to your blog and also “Cooking With Mr. C.” on Facebook (also a blog). I’m so excited to look through your recipes. Denise
Toni Dash says
Hi Denise! So glad you found Boulder Locavore. Thanks for the tip on Cooking with Mr. C; always love discovering new blogs myself. Hope you’ll find some things you’ll love here and be back! Thanks.
Amanda says
I just put candied pumpkin seeds in mine, but I am obsessed with candy corn so totally wish I had used them instead now! 🙂
Toni Dash says
Did you make a Piñata Cake too Amanda? I want to see it! I popped on your site but didn’t see it. Loved the Boo Skull Cake though!
Jen @JuanitasCocina says
I’m a grown adult…and I squealed a little when seeing this! LOOOOVE!
Toni Dash says
I so glad! Don’t you love a fun surprise? There aren’t enough of them in life!
Dorothy at Shockingly Delicious says
Well how clever is THAT!
Toni Dash says
Thank you Dorothy! I was pretty excited once I figured the whole thing out. Such a great surprise. Thanks for popping by!