There is nothing better to start the morning than ruby red Strawberry Jam that tastes like summer. Making it at home is not difficult and we have two methods you’ll love.
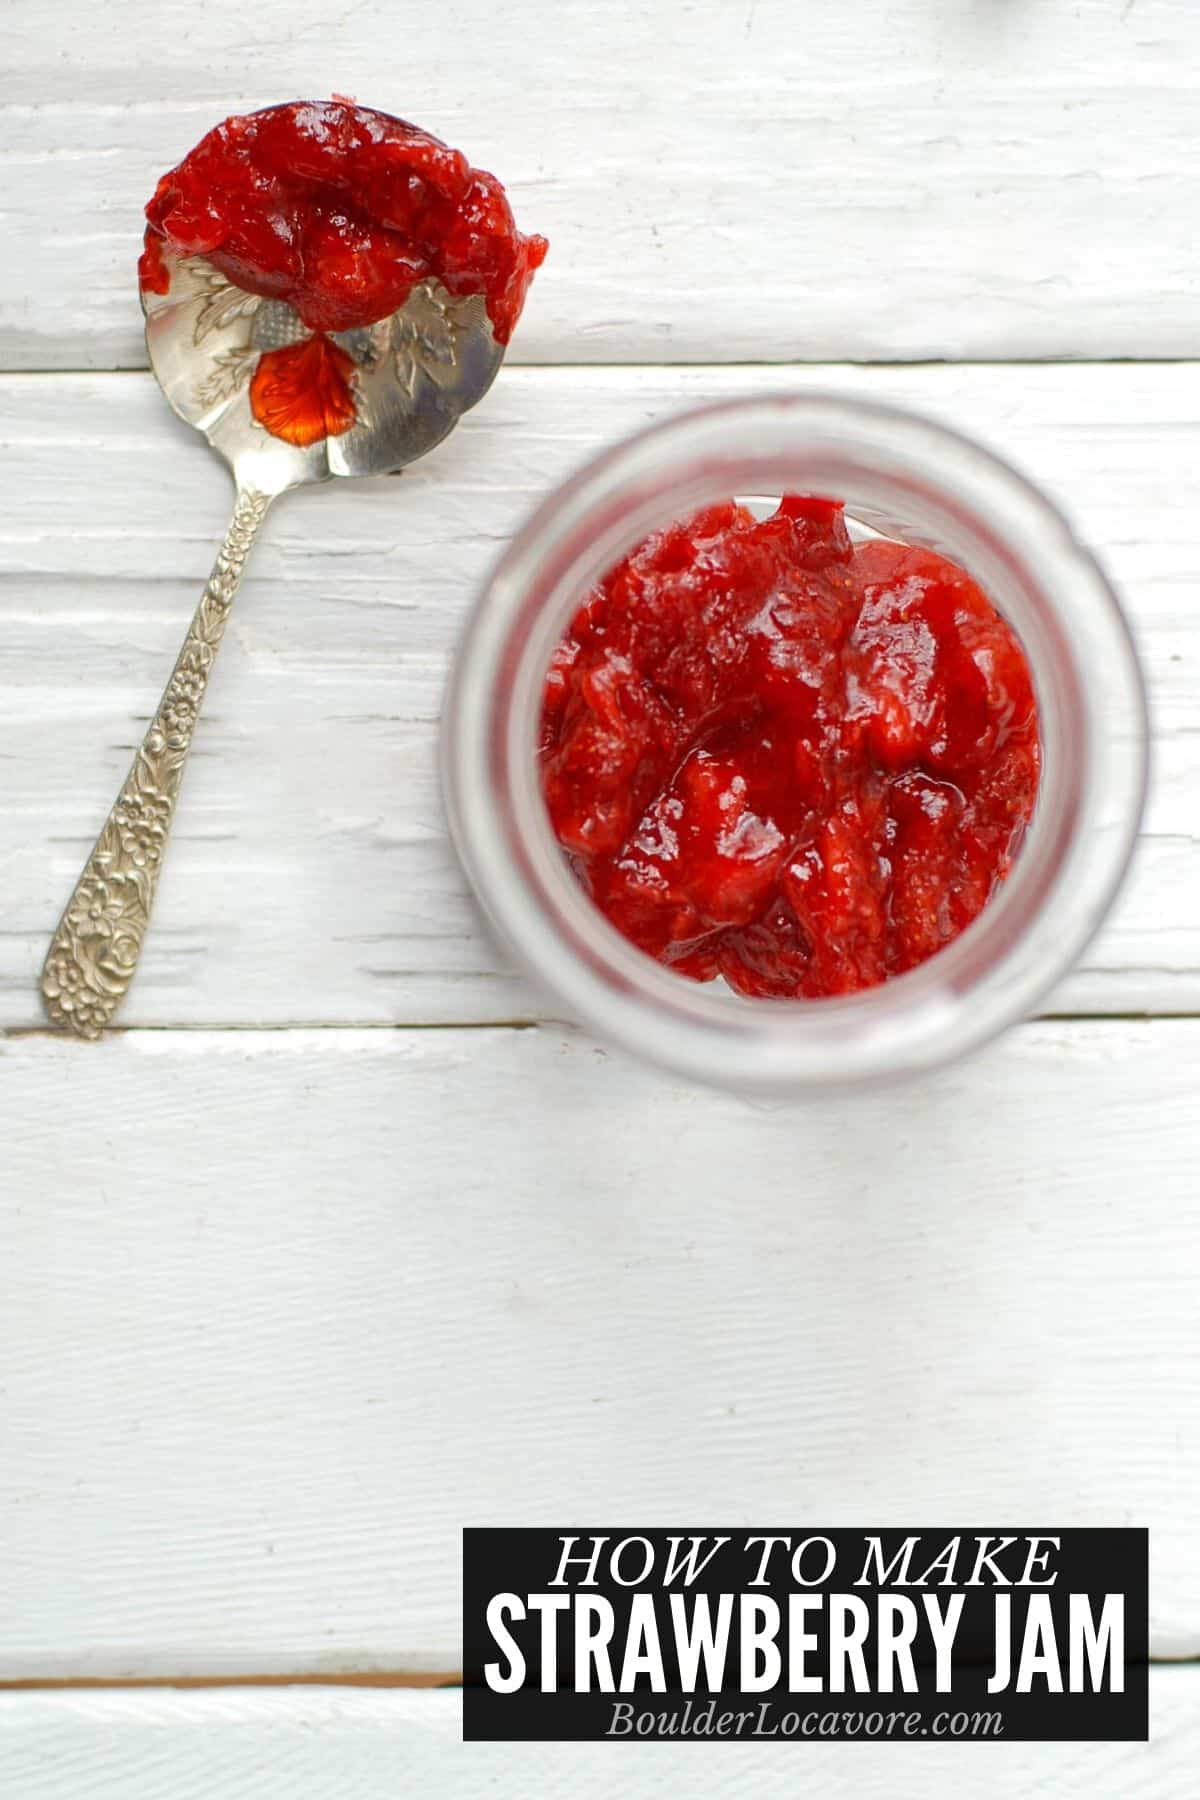
The only thing better than starting the day with a piece of crusty toast smeared with sweet strawberry jam is spreading it with jam you made yourself!
We are sharing two ways how to make strawberry jam. One using a water bath canning method and one making refrigerator jam.
Which ever you choose the end results will be delicious.
Jump to:
- The Secret to easy jam making
- What is Pectin?
- Making Strawberry Jam with honey
- Strawberry Jam Recipe – Two Ways
- Making Refrigerator Jam
- Water canning method
- How to Make it – Step-by-Step
- Canning Supplies needed
- Pro Tips – Jam
- Pro Tips – Canning
- How to long to keep canned Strawberry Jam?
- More Recipes You’ll Love
- Recipe
The Secret to easy jam making
A few years ago when I got into canning the thing that really bothered me was that so many jam recipes include more sugar than berries.
The fruit that I can is organic, picked by me at the perfection of ripeness and I want to taste the fruit; only.
After some research I learned about Pomona's Universal Pectin. It completely changed canning and jam making for me and I think you’ll love it too.
The difference with this type of pectin is it allows using far less sugar than any other pectin.
It also allows using honey, alternative sweeteners like Truvia or Stevia, and different types of sugars.
The jam tastes like the fruit used not loads of sugar.
For specific questions about this pectin consult their FAQ page.
What is Pectin?
Pectin is a naturally occurring starch in fruits and vegetables. It is the substance that causes the jam to gel.
Making Strawberry Jam with honey
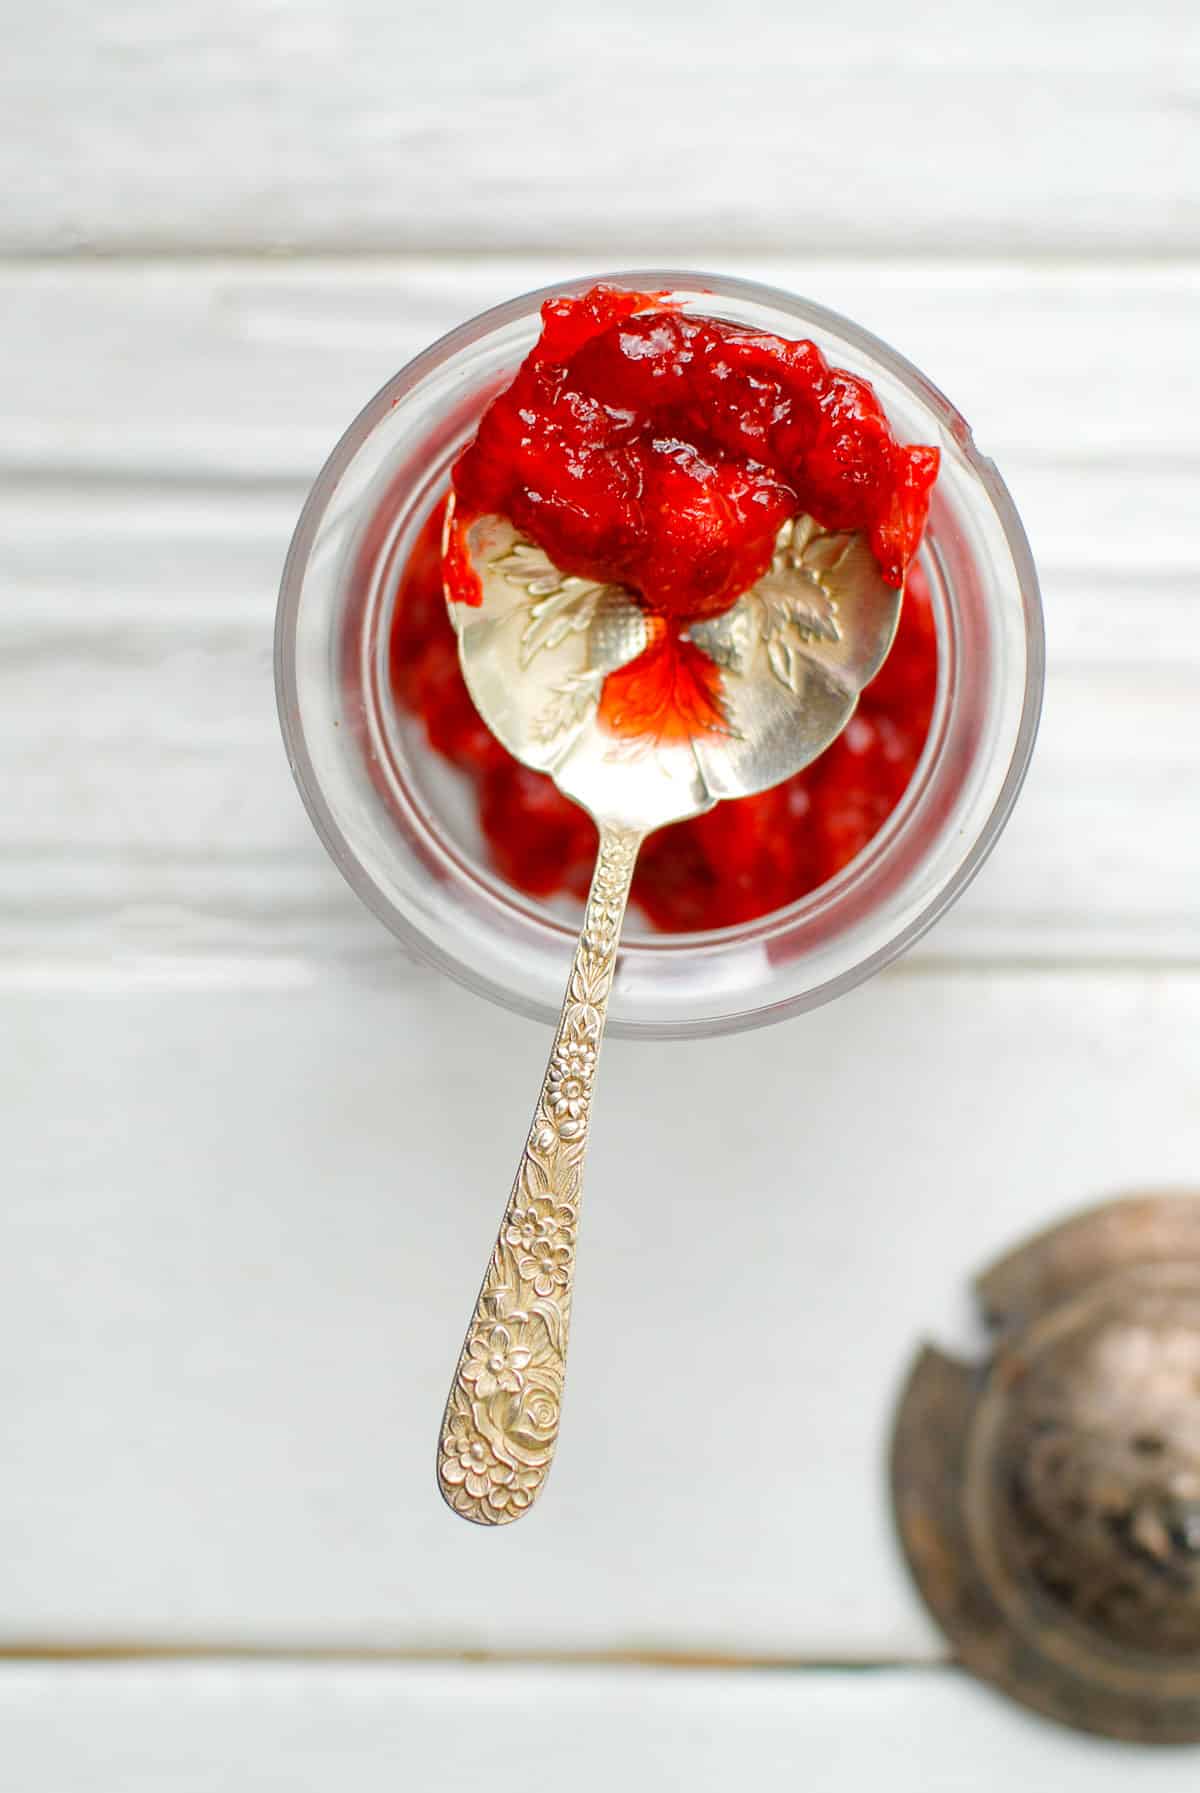
I have made strawberry jam with this pectin using honey instead of sugar. Though it was delicious, the color of the jam was very gray, making it less visually appealing.
Sugar does act to preserve the color of the jam better. So when substituting sweeteners the end color may vary.
Strawberry Jam Recipe – Two Ways
The two methods for how to make strawberry jam are water bath canning or refrigerator jam which does not require a cooking cycle in the jars.
Making Refrigerator Jam
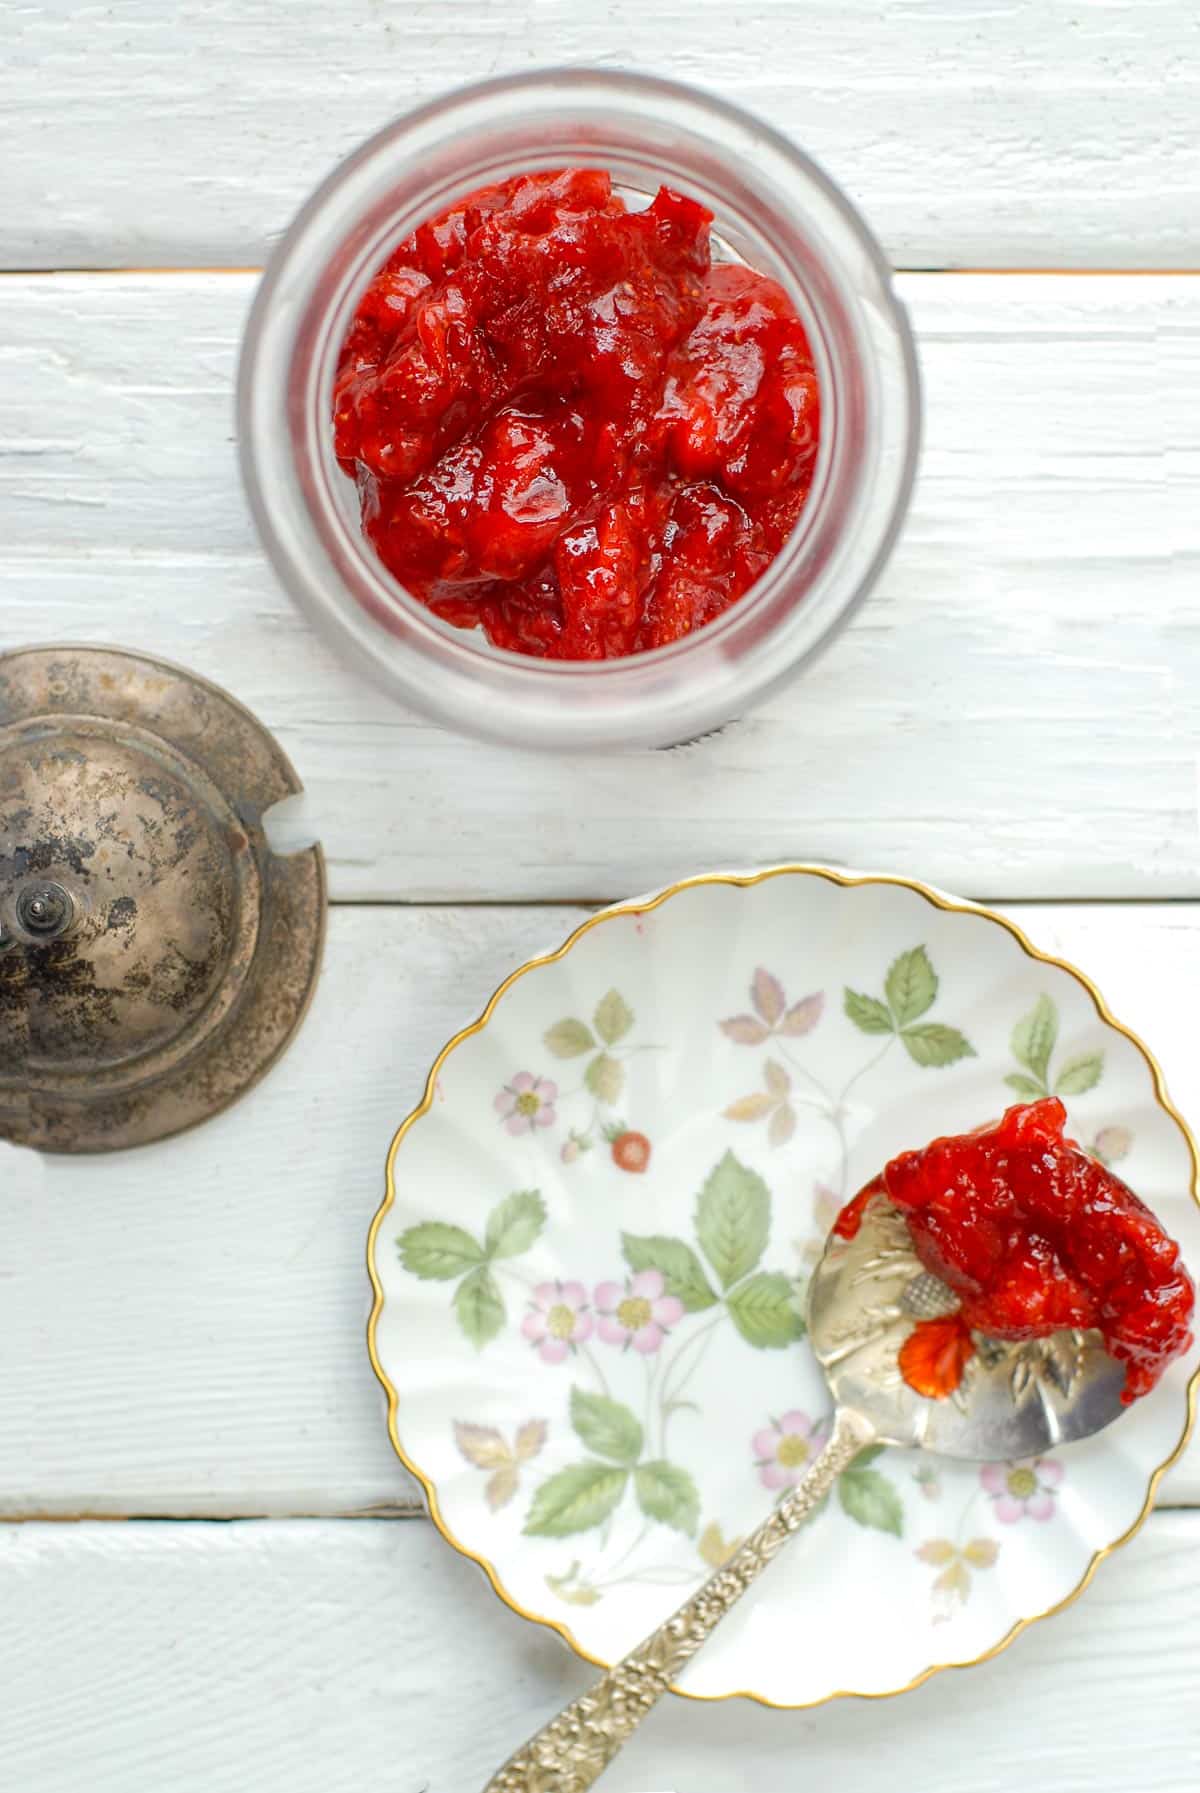
When making jam to be stored in the refrigerator instead of being canned it’s a faster process but the jam will not last as long.
The refrigerator temperature is what will keep the jam fresh rather than being sealed as in the canning process.
Here are a few differences when making refrigerator jam:
- The jars and lids should be clean when starting but don’t necessarily need to be sterilized in the same way. They can be run through the dishwasher.
- Once the jam is ladled into the jars regular twist on lids can be used if desired versus canning lids.
- Allow the jam to cool slightly and place into the refrigerator to store it.
- Homemade refrigerator jam can be kept in the refrigerator for up to 1 month.
Water canning method
To keep the jam longer using a water bath canning method is an easy way to do it.
Sanitation and cleanliness are critical when canning to avoid botuliam
NOTE: This recipe is not intended as a canning primer.
If you have never done any canning I recommend some basic research before beginning to familiarize yourself with canning basics.
This canning tutorial for beginners is a good resource.
How to Make it – Step-by-Step
STEP 1. Sterilizing the jars and lids
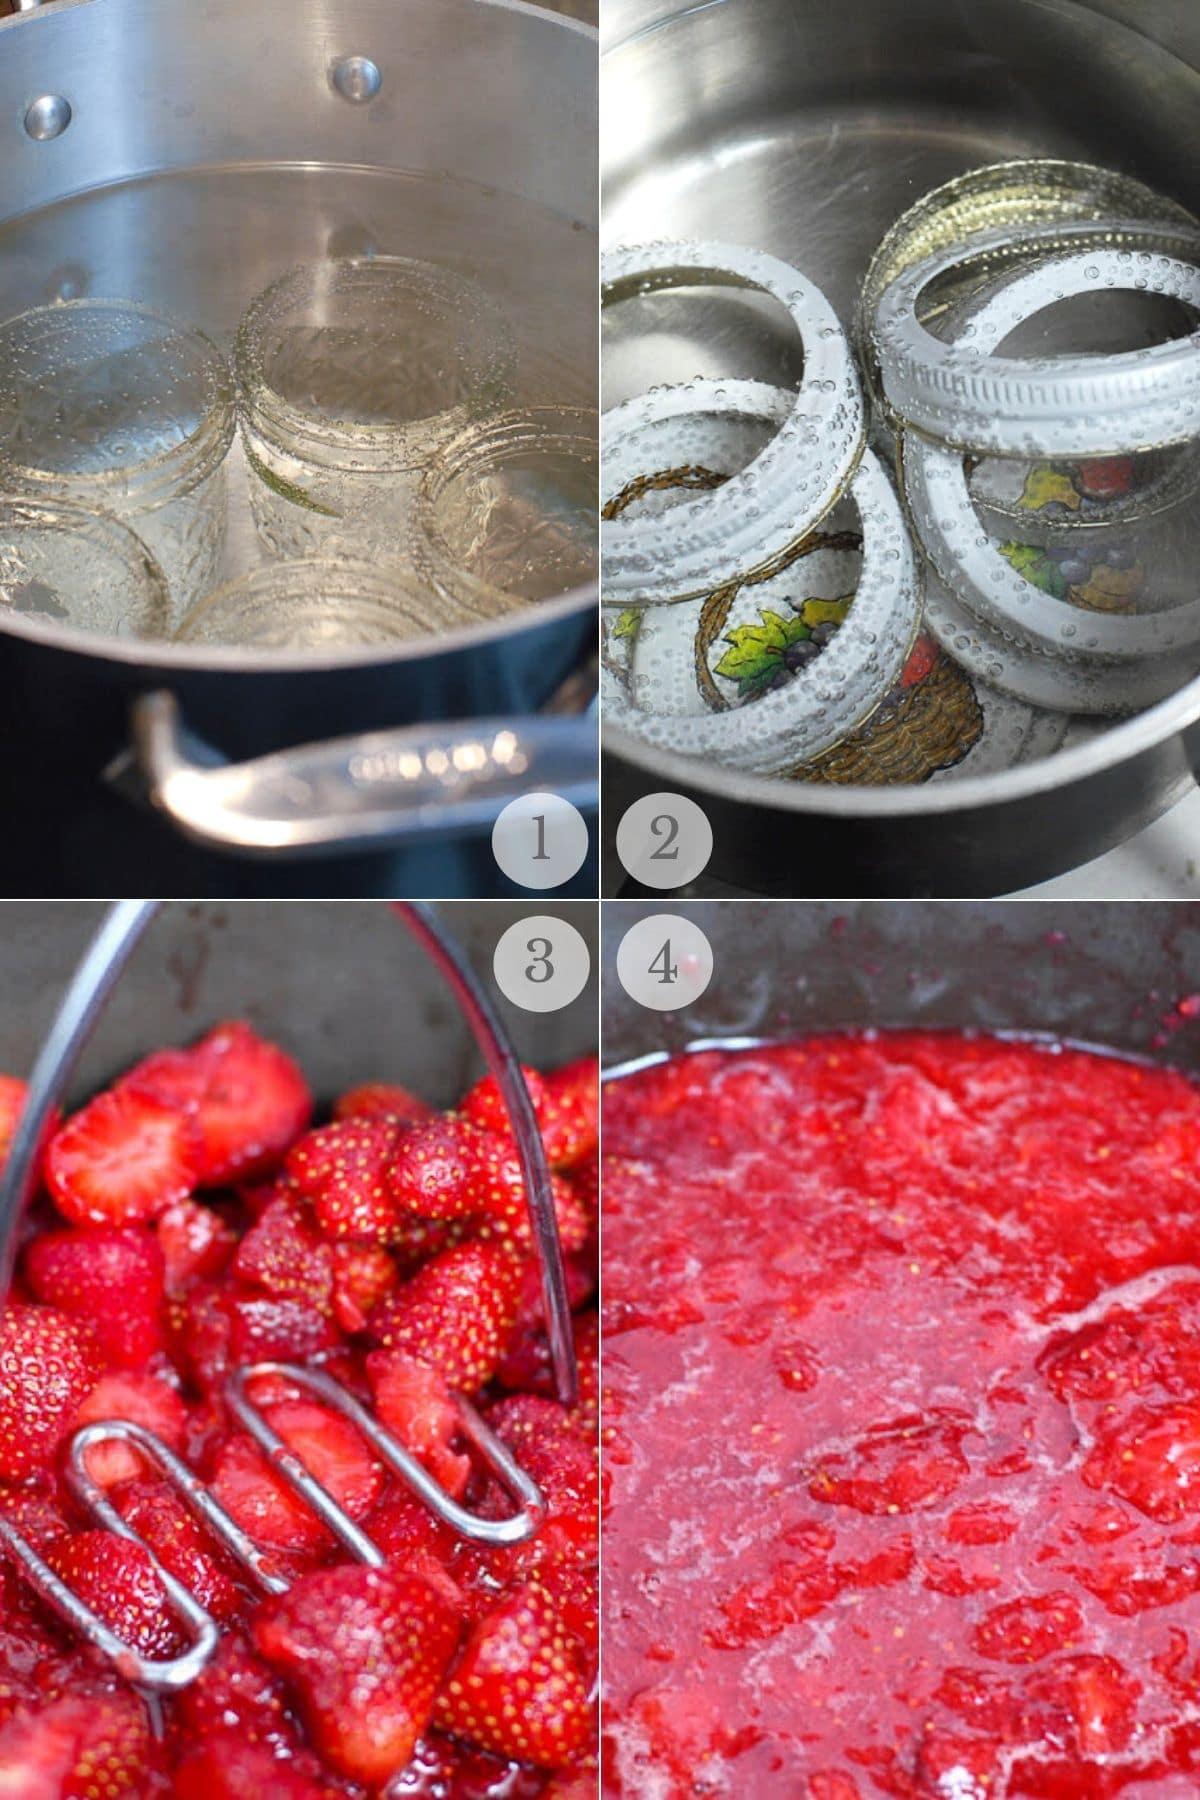
Bring a large pot of water to a boil. Boil the jars to sterilized them (photo 1).
Bring a smaller pot of water almost to a boil to sterilize the jar lids and rings (photo 2).
Leave the jars and lids in the hot water until ready to fill them with jam.
Fill the water canner and bring to a boil. Ideally the water will be boiling when the jam is ready to be placed in the jars.
STEP 2. Make the strawberry jam
Add the strawberries to a large saucepan and mash to desired consistency (photo 3).
Prepare and add the calcium water (included with the Pomona’s pectin).
In a separate bowl combine the sugar and pectin.
Bring the strawberries to a boil, stirring constantly (photo 4).
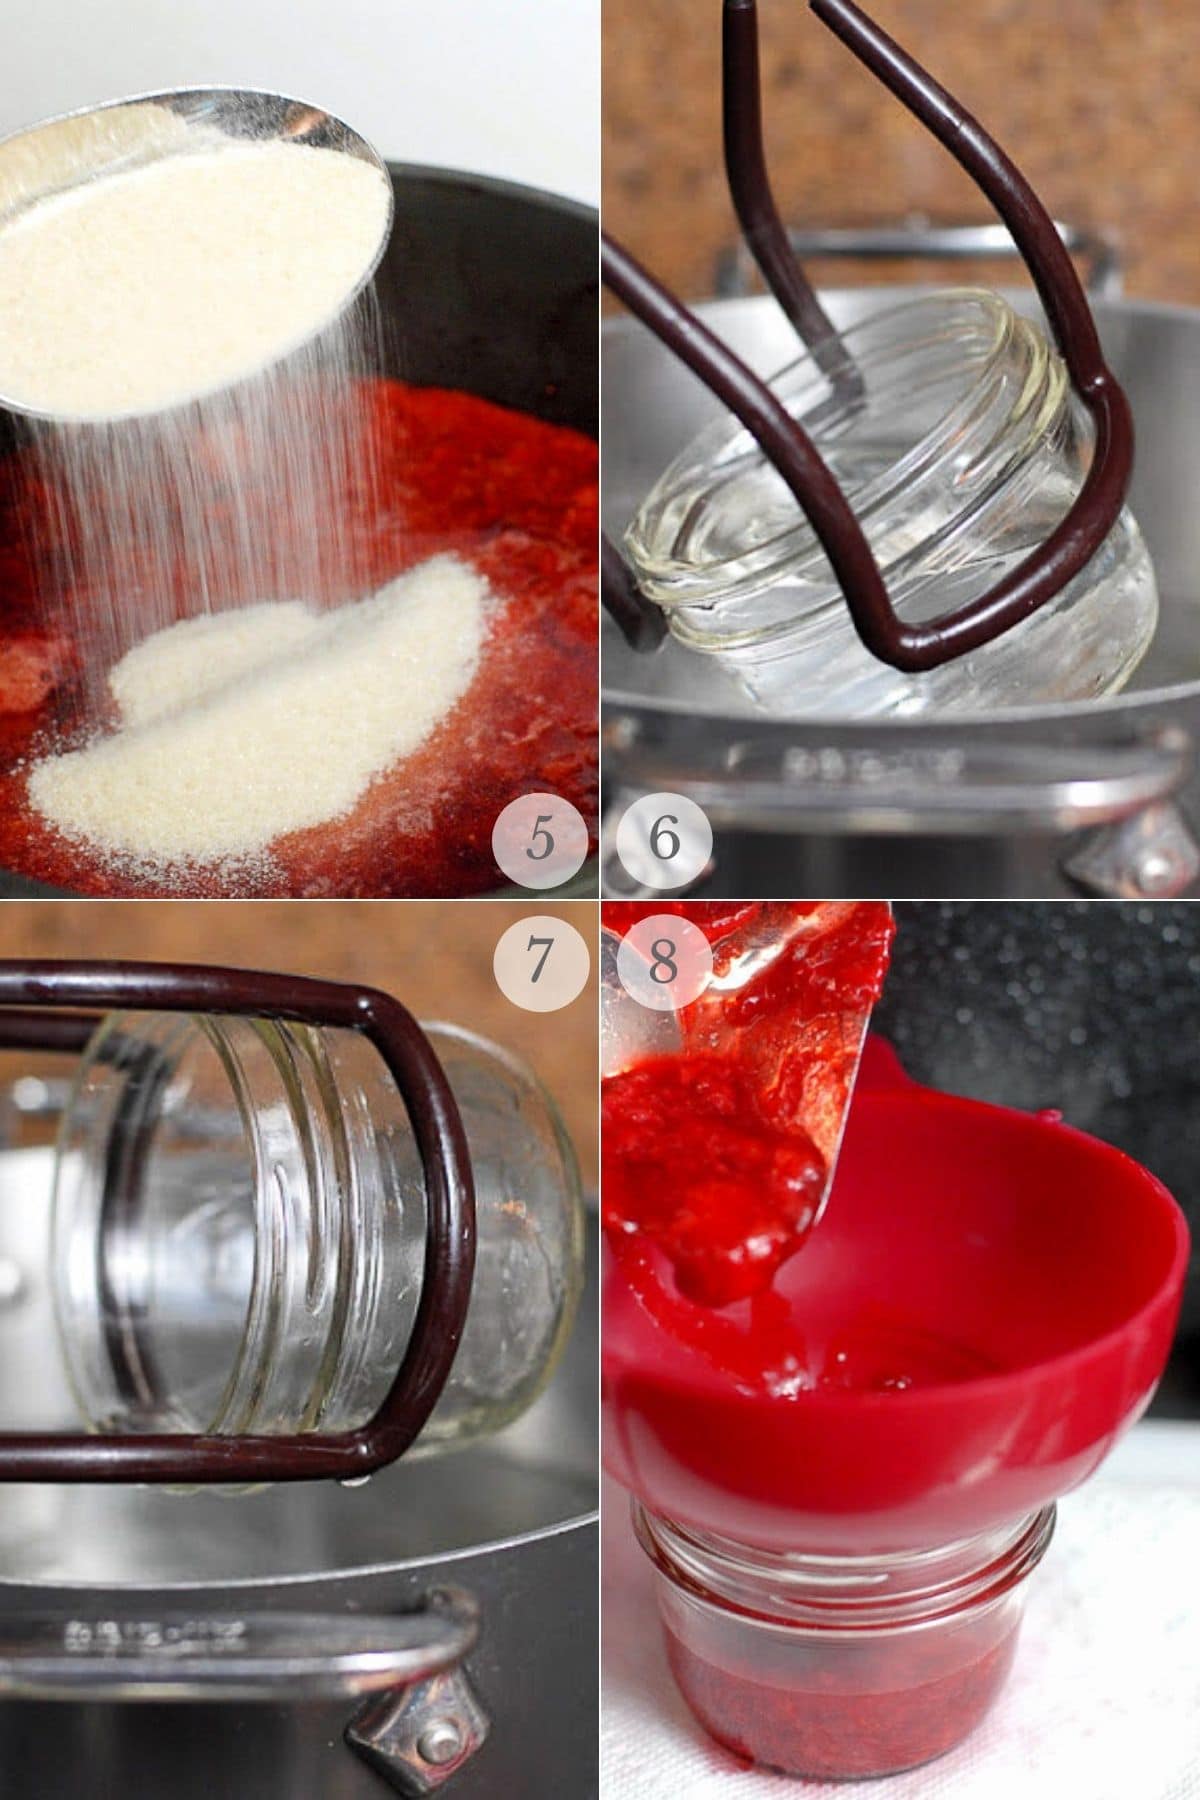
Add the sugar-pectin mixture (photo 5); stir constantly for 2 minutes to dissolve the mixture.
Allow strawberries to return to a boil and remove from heat.
STEP 3. Filling the jars with jam
Carefully remove the jars from the water (one at a time) allowing excess water to drain back into the pot (photos 6-7).
Fill with jam leaving 1/4-inch head space between the surface of the jam and top of the jar (photo 8).
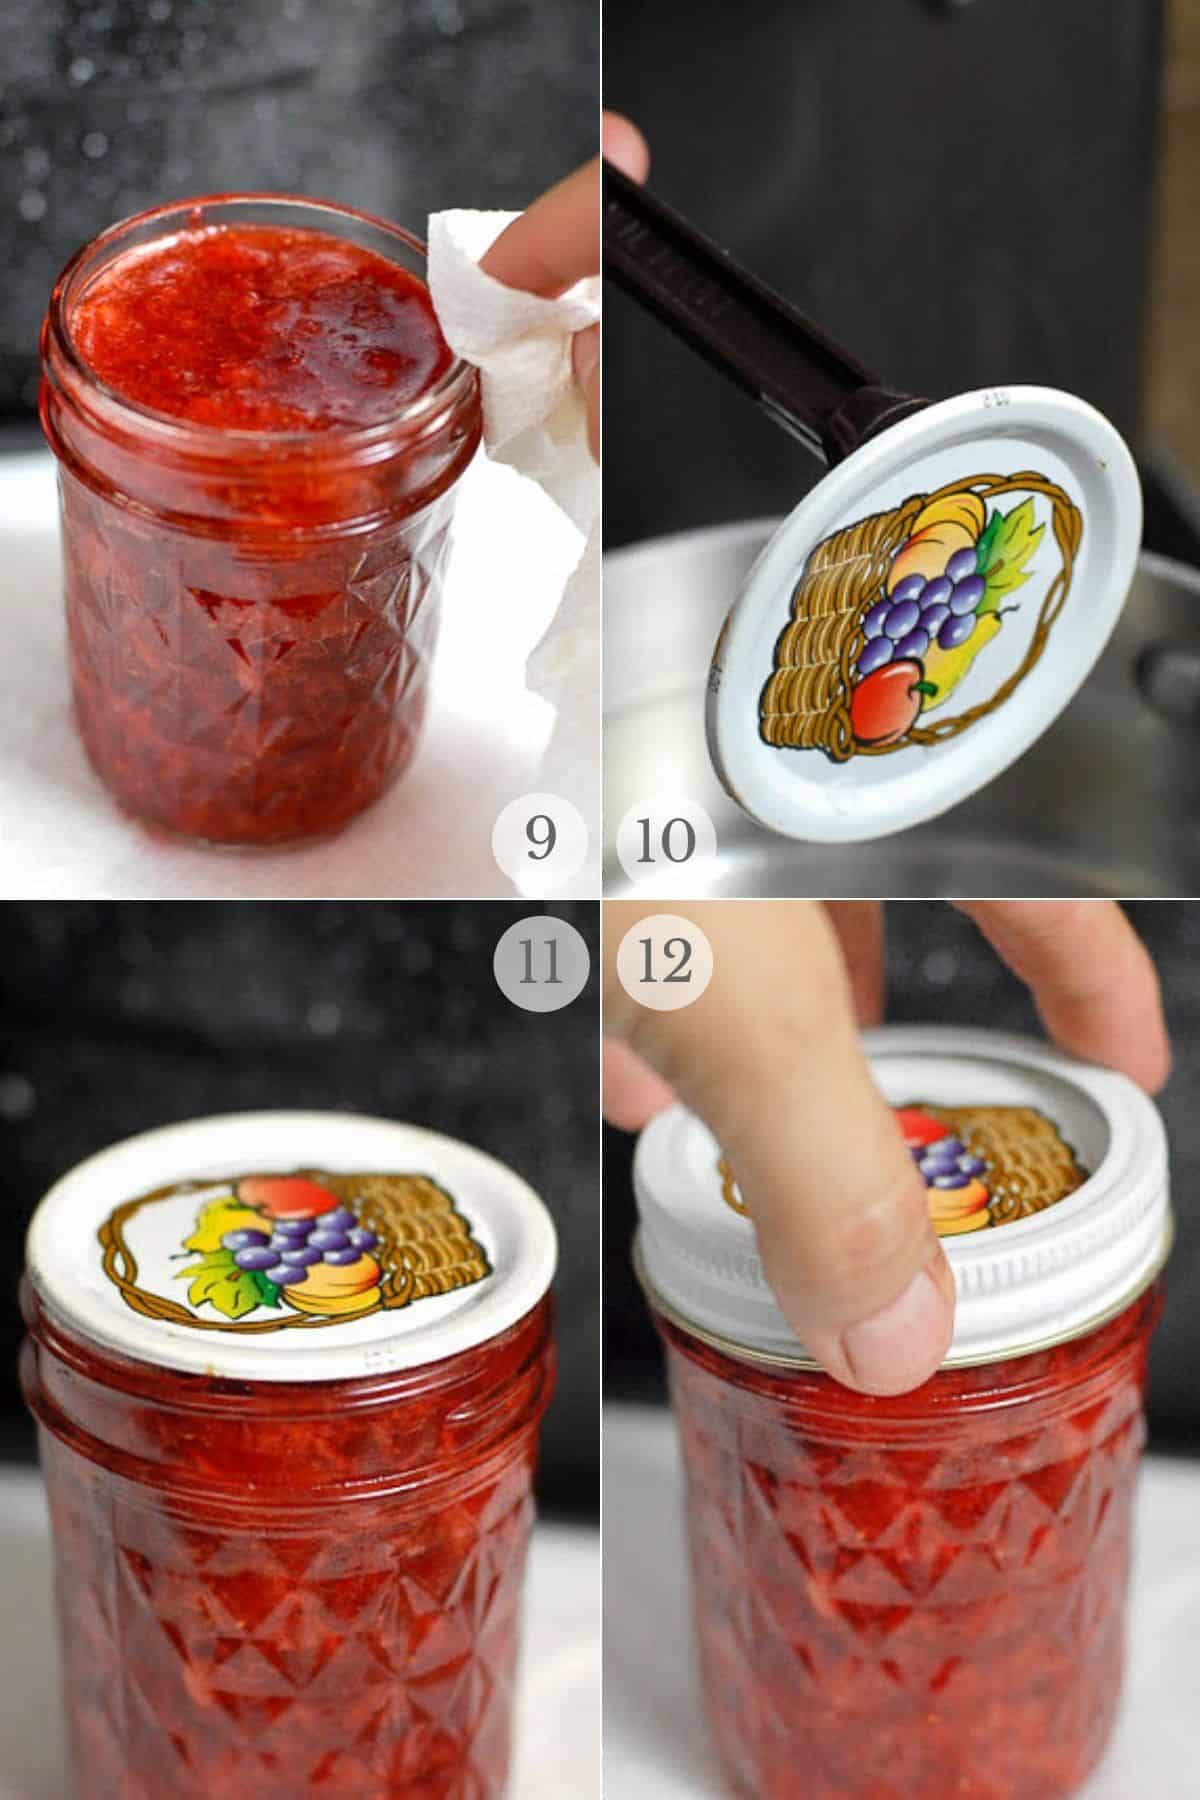
Wipe the top of the jar to ensure no jam (photo 9).
Remove a lid from the hot water and place onto the jar (photos 10-11). Add a ring and seal (do not overtighten) (photo 12).
STEP 4. Water canning the jam
Place the prepared jars of jam in the water canner. Ensure the water level is at least 1-inch of water over the top of the jars.
Process the jam for 10 minutes plus 1 minute for every 1000 feet above sea level.
Example: I’m in Boulder CO which is 5,400 feet. I process the jam for 15 minutes total.
Remove the jars and place on a cooling rack covered by a kitchen towel. Allow to sit for 24 hours.
NOTE: there will be a pop sound after the jam is removed from the canner indicating the jar has sealed (don’t worry if you miss the sound; you’ll check the seal later).
Test the jar seal by pressing the center of the lid (which should be indented). You should NOT experience any movement of the lid.
Canning Supplies needed
There are some basic canning supplies that make the process much easier. They can be used for refrigerator jam too.
Jar Lifter. Use it for lifting jars easily in and out of hot water (photos 6-7 above).
Magnetic Lid Lifter. Use to get the lids and rings out of hot water (photo 10 above).
It’s a stick with a magnet on the end that will attach to the metal when in the water.
Canning ladle or scoop. This spoons the jam mixture into the jars. Using a canning funnel too is suggested.
Canning Funnel. Make quick work and less mess of getting the jam into the jar (photo 8). It can be used for other kitchen tasks too.
Jars with lids. 8-ounce jars are the recommended size for this recipe.
Water Bath Canner. If you plan to can the jam you’ll need this. This is not necessary for refridgerator jam.
Pro Tips – Jam
Use ripe berries. They will have the best flavor and will mash the easiest.
Remove any white portions of the strawberries. These unripened spots are usually hard and tasteless. Discard that portion (but the rest of the berry is fine to use).
Mash the berries more than once if needed. You’ll start with mashed strawberries but if they aren’t really soft they won’t mash completely. Mash again while cooking them and after when they’ll be the softest.
Pro Tips – Canning
Chill extra jam. If you’ve filled your canning jars and have some left over, put it in a jar and in the refrigerator. Use it as refrigerator jam.
Be sure to have 1/4-inch head space. This spacing is not random. It’s the amount of space needed to get a good seal. Too much or too little space won’t work.
Jars and rings can be reused; lids cannot. Once you’ve open the jam the jars and lid rings can be saved and reused. The inner lid that seals the jar cannot be used for canning more than once.
It can still be used to seal the jars in the refrigerator. Instead I prefer to use these twist on plastic lids for canning jars after the jam has been opened. They are great to use the jars for other purposes too.
How to long to keep canned Strawberry Jam?
If you water bath canned the jam, it can remain on the pantry shelf unrefrigerated for up to a year.
Once opened it should be refrigerated after opening and eaten within two to three weeks.
Always inspect stored canned goods when opening for a good seal, any growth inside the jar or odd smell.
Discard in any of these cases.
More Recipes You’ll Love
Recipe
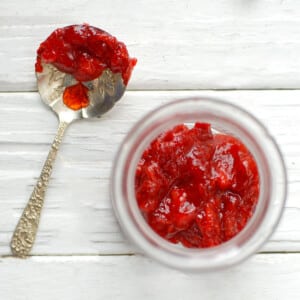
Simple Organic Strawberry Jam
Equipment
Ingredients
- 4 cups mashed strawberries (hulled, stems removed)
- ¾ cups granulated sugar*
- 2 teaspoon Pomona's pectin powder
- 2 teaspoons calcium water (comes with the Pomona's Universal Pectin; you mix at home with water before starting this recipe per the package instructions)
Instructions
Sterilizing the jars and lids
- If canning, begin to heat water bath canner, pans with cleaned jars and lids and rings. I do this in three pans. The water canner takes longest to boil due to water volume and I like that to be close to a boil then starting to cook the fruit. The pan with rings and lids does not need to boil but be just under a boil. The pan with the jars should boil and be kept in hot water until filled.
- Refrigerator jam: use clean jars. They do not need to be sterilized as above. Twist off lids (versus canning lids) may be used).
Prepaing the jam
- Add strawberries to a large pan. Mash to desired consistency. NOTE: using a potato masher makes it easy.
- Add the calcium water and stir to combine.
- In a separate bowl combine the sugar and pectin. See NOTES below regarding sugar quantity.
- Bring the strawberries to a boil. Add the sugar-pectin mixture and stir constantly for 2 minutes to dissolve.
- Allow strawberries to return to a boil (they will almost instantly) and remove from heat. The jelling will occur when the jam is cooled.
Filling the jars
- Remove jars from hot water. Do this carefully as jars will be hot.
- Fill jars with jam leaving ¼ inch head space (the room at the top between the fruit and top of the jar required for a good seal when canning).
- Wipe the top of the jar to ensure nothing between the lid and the jar for a good seal.
- Remove the lids from the hot water. Place the lid on the jars.Add the ring to secure the lid.
- Refrigerator jam: Fill the jars leaving some space at the top (does not have to be 1/4 inch). Add the lid.Allow to cool before placing in the refrigerator.
Water Bath Canning
- Place jars in a water canner with at least an inch of water above the top of the jars. The water should be boiling.Process for 10 minutes adding 1 minute per every 1,000 over sea level.* I process mine in Boulder for 15 minutes.
- Remove jars onto a cooling rack. Cover with a kitchen towel and leave undisturbed for 24 hours. NOTE: You will hear a 'pop' when the seal happens after removing from the water canner. Don't worry if you miss it; just check to ensure it has happened as the jars cool.
- Test the seal by pressing on the center of the lid which should be sucked in.
Storing the jam
- Store the canned jam in a cool, dark location for up to 1 year. After opening the jam, store in the refrigerator for up to 3 weeks.
- Refrigerator jam: store in the refrigerator for up to 1 month.
Notes
- I prefer to use the absolute minimum. This recipe can use up to 2 cups of sugar.
- If you enjoy a sweeter jam or have berries that might not be fully sweet, feel free to add more sugar/sweetener to suit your taste.
- I'd recommend beginning with the specified amount (3/4 cups), taste and add more if you like to suit your taste.
- If desiring to use honey: use ½ to 1 cup.
- Using sugar also preserves color so when making jam with alternative sweeteners the berry color may not be as brilliant in hue.
- Since I made this jam using Pomona's Universal Pectin I am replicating their steps for the jam (in my own wording and with my own notes).
- The pectin is available at many stores and can also be purchased from online.
- The recipe insert in the pectin box allows for a variety of sweeteners like Splenda, fructose, xylitol as well.
- The jars should be clean but can be run through a dishwasher instead of sterilizing them as done for the canning method.
- Make the jam and seal (a twist on lid can be used)
- Allow to cool before placing in the refrigerator.
Nutrition
Originally published: July 9, 2011
Michelle Wells says
Do you have a blueberry jam recipe?
Toni Dash says
I don’t! Maybe I need one?
Andrea Wells says
What is Calcium water? How do you get this?
Toni Dash says
It comes in the pack with Pomona’s Pectin. You’ll mix the powder with water and use it as part of the recipe.
Sandra says
Thank you so much for the tips! You recipe is really easy to follow! I loved it!
Cathy says
I love the idea of using honey as a sweetener!
Beti says
Oh my goodness, this organic Strawberry Jam is amaaaazing!!
katerina says
I love how easy and delicious this is!!