Chocolate and mint layered Grinch Cakes are a deliciously fun way to celebrate the holiday season. Rich, decadent and whimsical for all ages! Great gifts too.
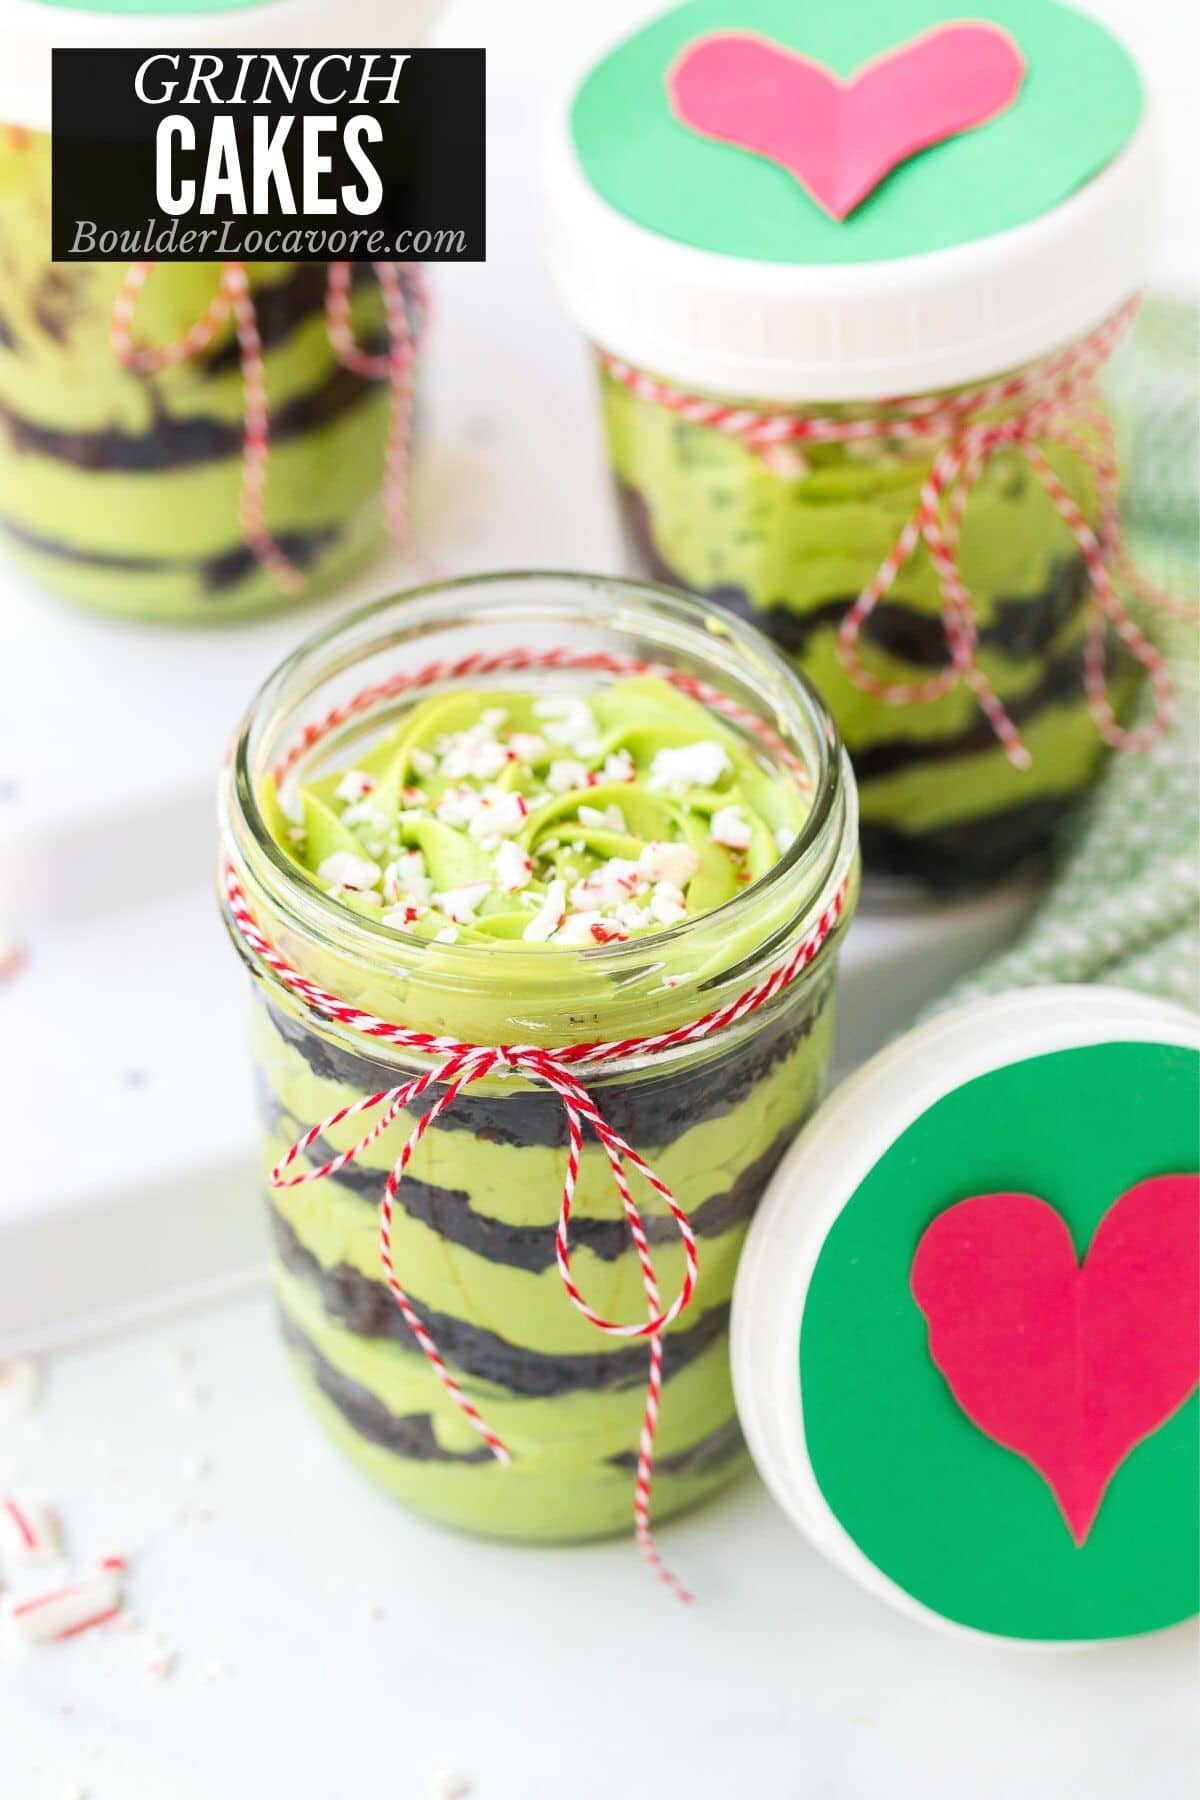
These are a showstopper dessert. Fun for Christmas Eve, while watching holiday movies, enjoying by the Christmas tree or for a Christmas party. This dessert makes us love the Grinch even more!
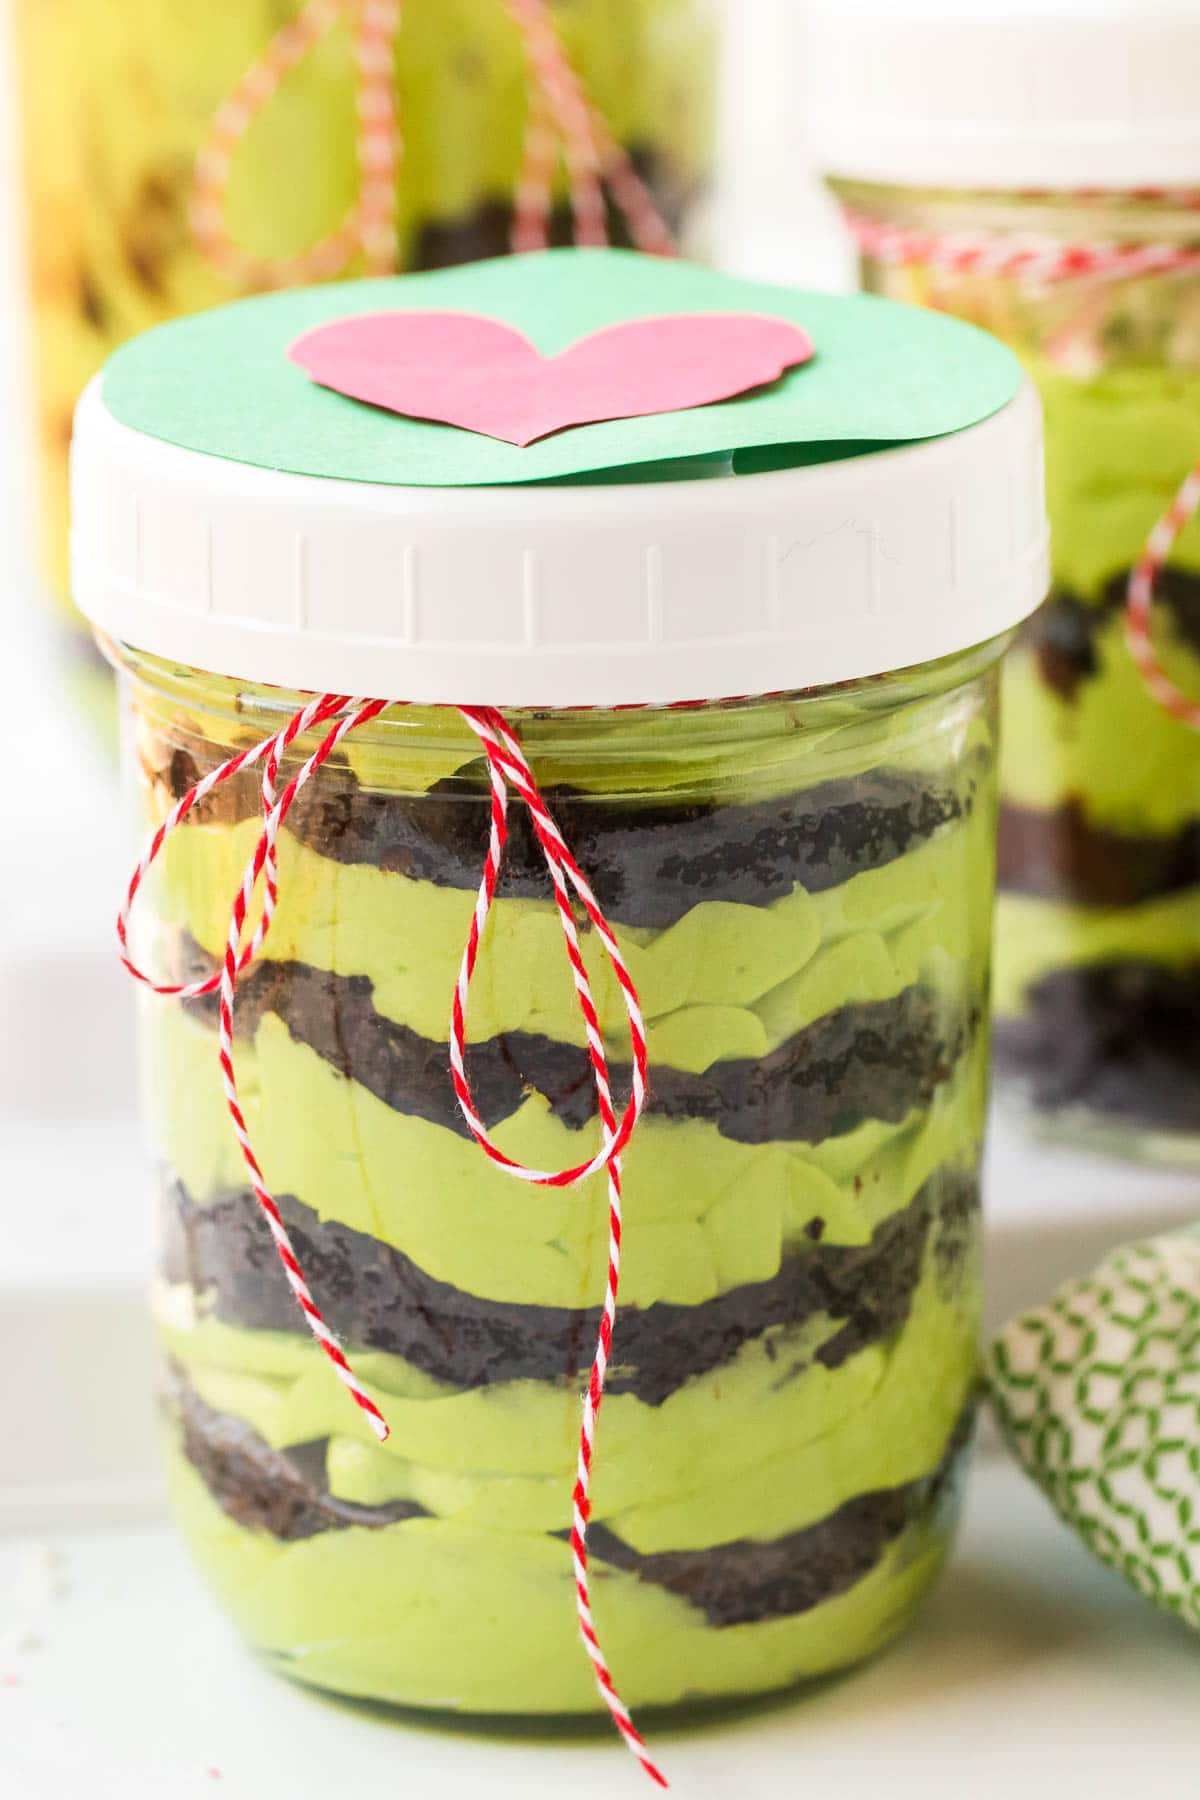
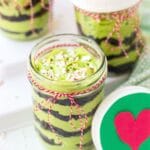
Layers of green frosting between fudgy brownie circles look exciting and taste fantastic.
Word has it the Grinch’s heart grew ten time larger the day he tried this namesake layered dessert! Add these easy Grinch Snacks for a full Grinch-themed experience.
Jump to:
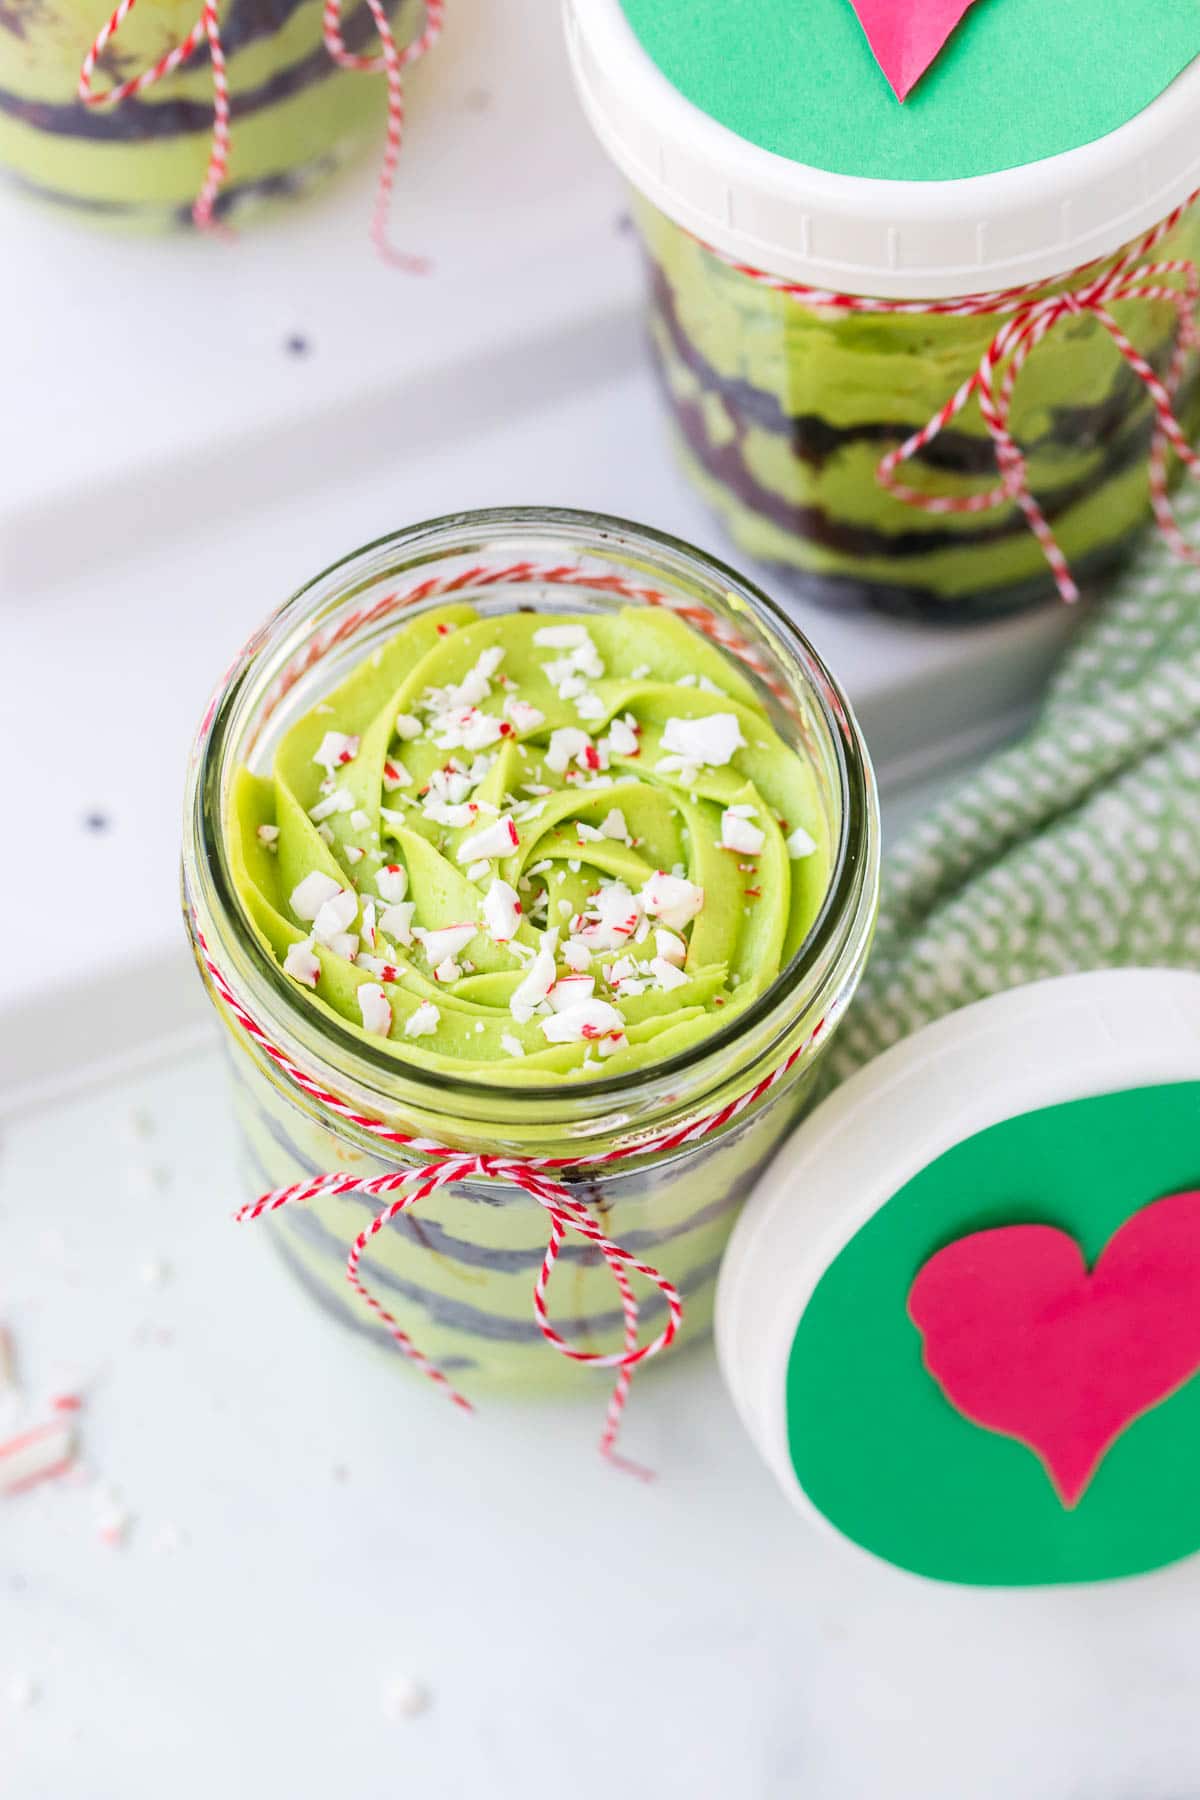
Grinch Cakes in Jars
Rich, fudgy brownies and green layers of mint buttercream frosting make for an exciting and delicious holiday dessert.
We used pint size Mason jars but you could use half pint jars for smaller desserts and to double the yield.
Brownie mix is used for the brownie layer. This let’s you pick the mix you love (regular or gluten-free) AND saves some time.
The recipe is flexible to make the frosting layers as thick as you like too.
It’s a fun dessert recipe to celebrate the holidays.
Recipe Ingredients + Notes
Brownie Mix. Regular or gluten-free brownie mix can be used. You’ll also need any ingredients called for in the mix you use.
Use a regular brownie mix versus one with extra chocolate mix-ins. These can be harder to handle.
Powdered Sugar. This will be used to make the mint buttercream frosting to layer in between the brownie circles.
Unsalted Butter. Be sure the butter is at room temperature or softened before beginning the frosting for best results.
Mint Extract. Mint or peppermint extract can be used. It will flavor the frosting.
Heavy Cream. This is used to thin the frosting if needed. You’ll only need a few tablespoons. Milk or half and half can be substituted.
Green food coloring. Any green food coloring can be used. Gel food coloring is more vibrant in color. Grinch green hasIt will color the frosting.
Crushed peppermints. These are optional as a final topping on the Grinch cakes.
Variations
Use cake mix instead of brownie mix. We used brownie mix because it’s thicker and fudgy brownies are easier to work with.
You could use cake batter and bake it similarly into a thinner layer to cut out. You could even make green cake!
Use half pint jars. These desserts are large and rich. Half pint jars have a 1 cup volume so would make have the size but also double the yield (so 6 Grinch cakes).
Supplies Needed
3 wide mouth pint sized jars. Wide mouth pint size (16 ounce) jars come in multiple brands. Any will work you’ll just need to verify the width before cutting the brownie circles to ensure they’ll fit.
They can be purchased at most grocery stores, larger stores like Target or Walmart or online.
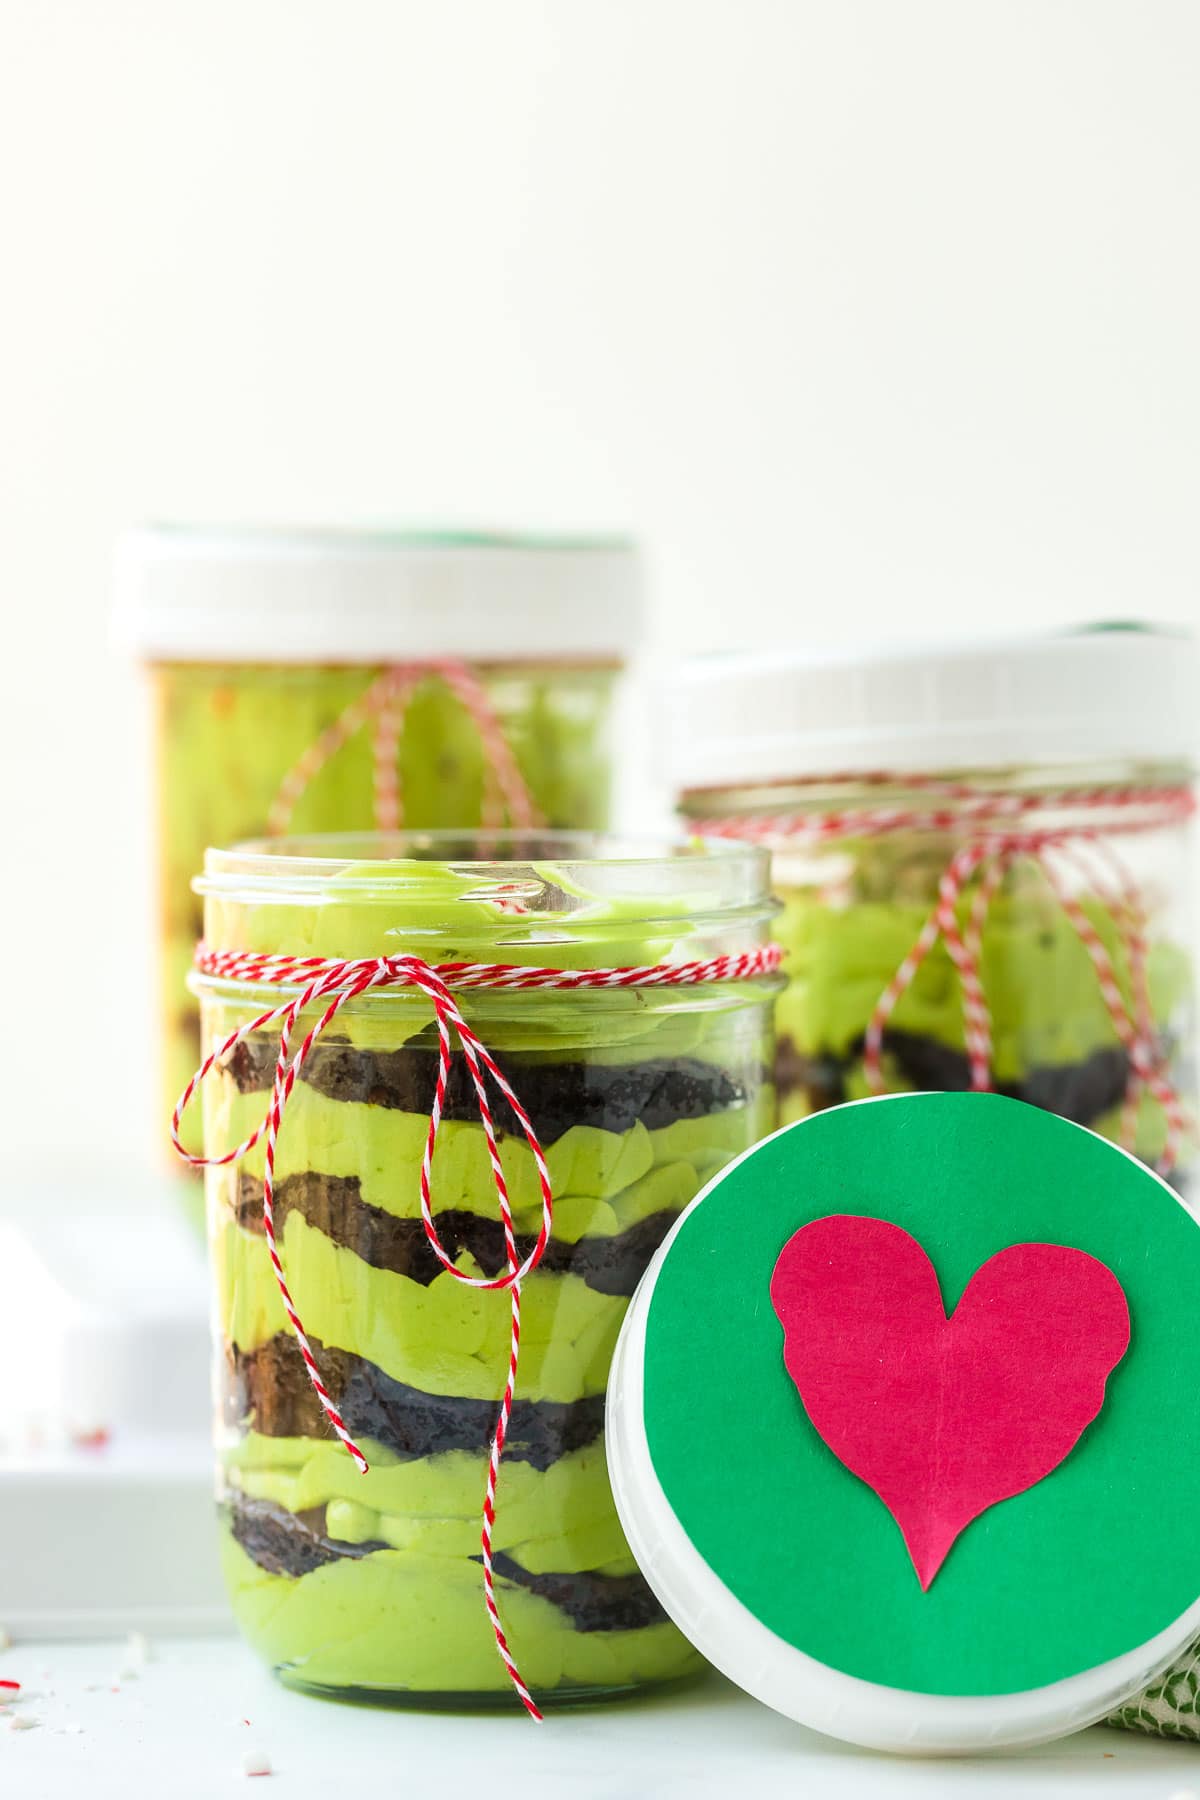
Lids for the jars. Two piece canning lids come with the jars. If you’d like to decorate the lids I like using these lids instead (see the photo below).
They are intended for canning jars after they are unsealed and come in white and other colors. Either lid type will work!
3-inch Biscuit Cutter. This is used for cutting the brownies to size. I have this set which has three sizes. That works if making these Grinch cakes in a smaller (in diameter) jar.
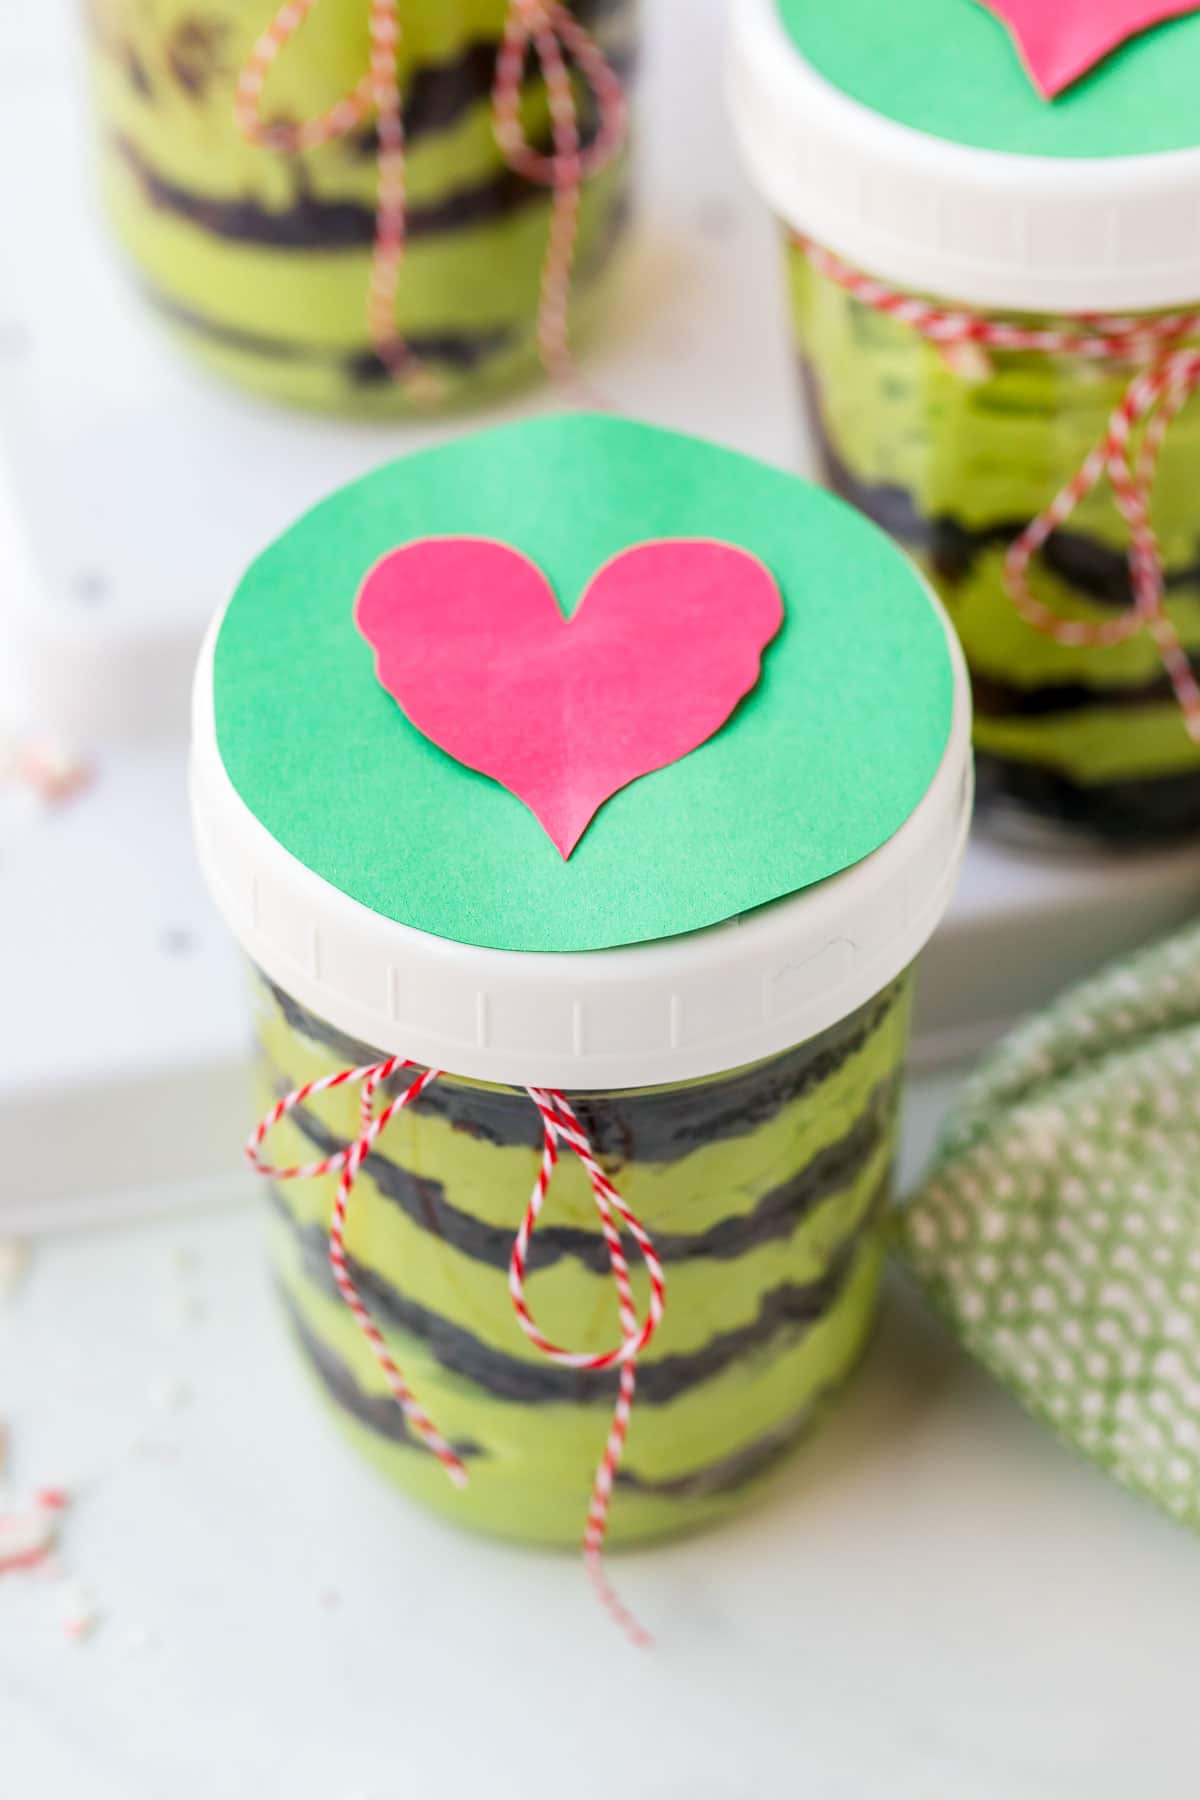
Construction paper or cardstock (red and green). This is optional and would be used to decorate the lids of the Grinch Cake jars if desired.
How to Make it – Step-by-Step
STEP 1. Making the Brownie layers.
Prepare the brownie mix and spread it onto a rimmed baking sheet lined with parchment paper. It should be 1-inch thick.
Bake at 325 degrees F for 15 minutes and cool completely.
Cut out circles using a 3-inch diameter biscuit cutter.
STEP 2. Make the Mint Buttercream Frosting.
Using a mixer cream the butter until smooth (30-60 seconds).
Add 4 cups of powdered sugar, mint extract and food coloring (this can be adjusted after it’s mixed in to be darker if needed.
Beat slowly on low speed to incorporate the ingredients. Beat on high speed for 3 minutes or until the frosting is fluffy.
STEP 3. Assembling the Grinch Cakes.
Add the frosting to a piping bag with a 1M tip or preferred tip. Note: you can carefully spoon the frosting in too if preferred.
Pipe/spoon a small layer of the frosting into the bottom of the jar.
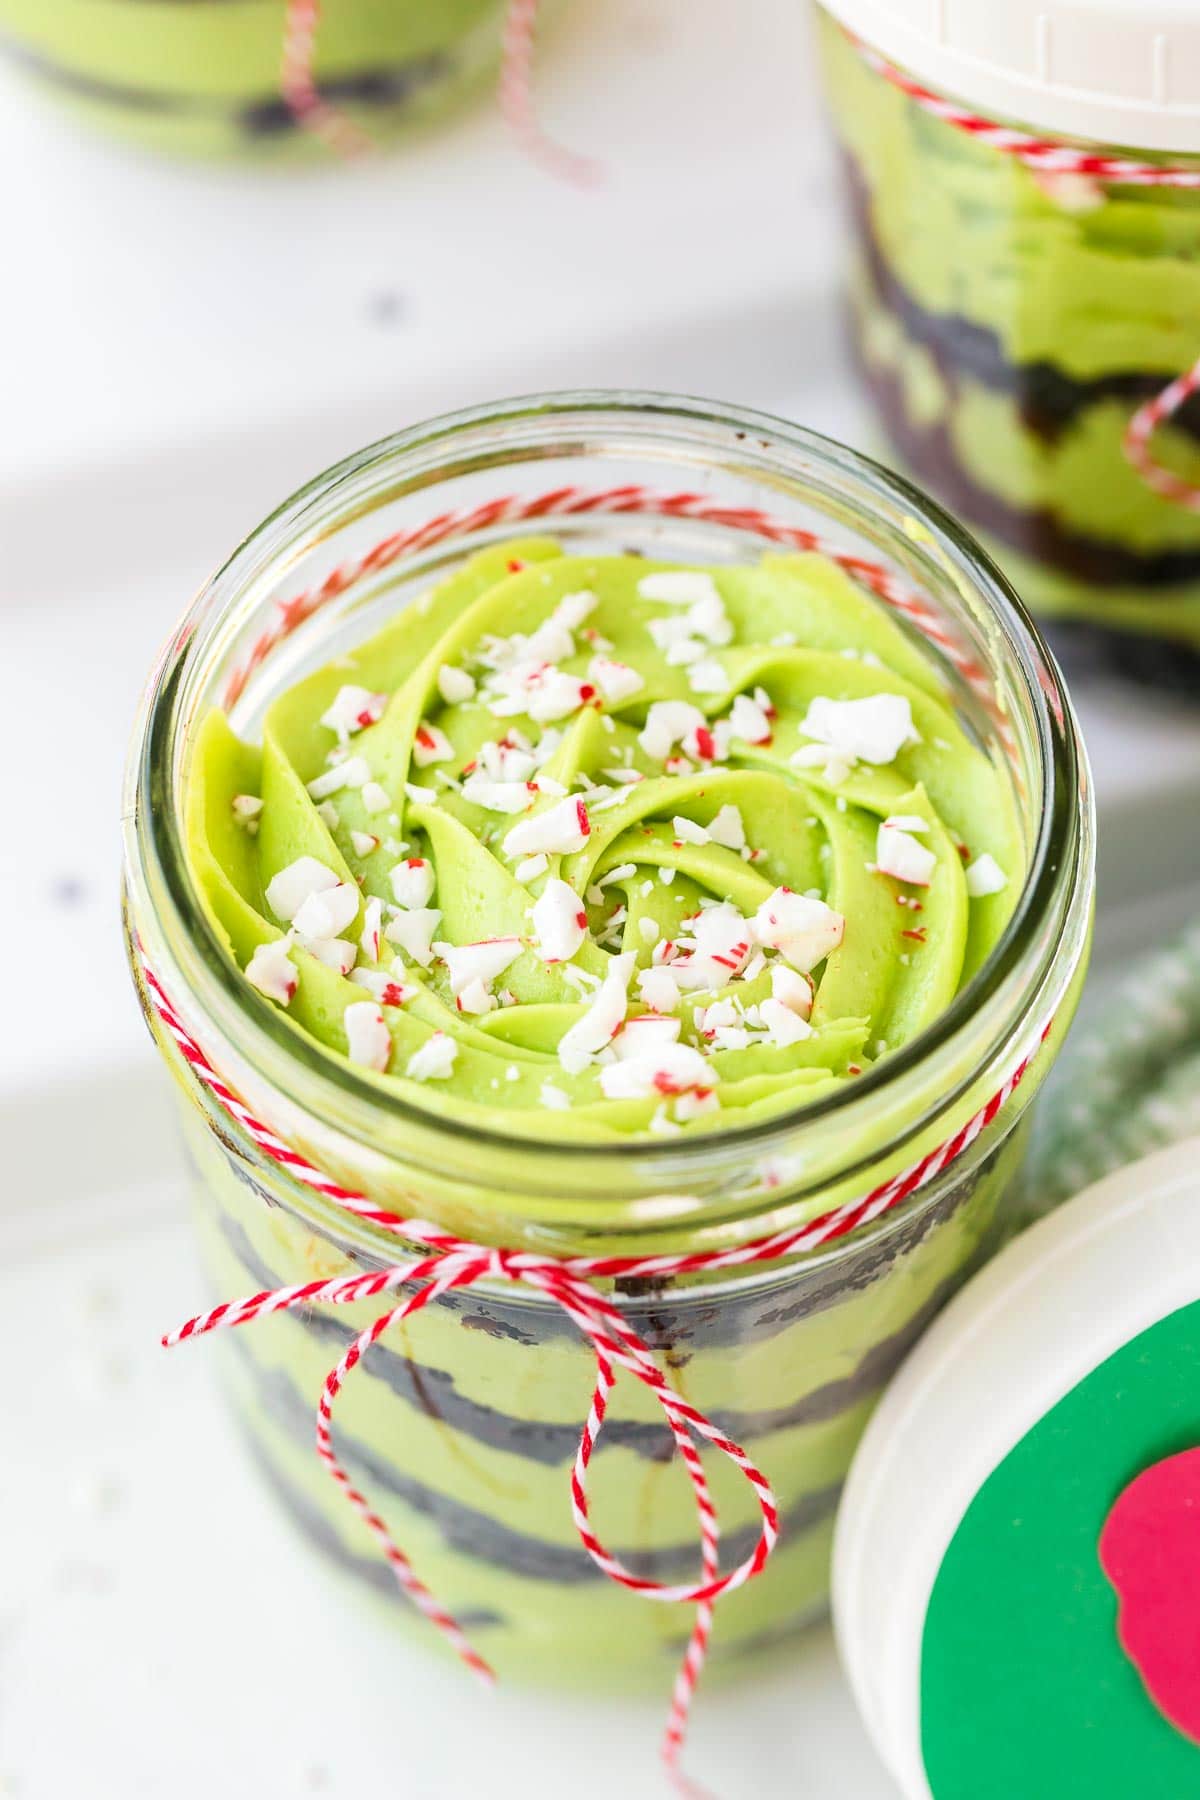
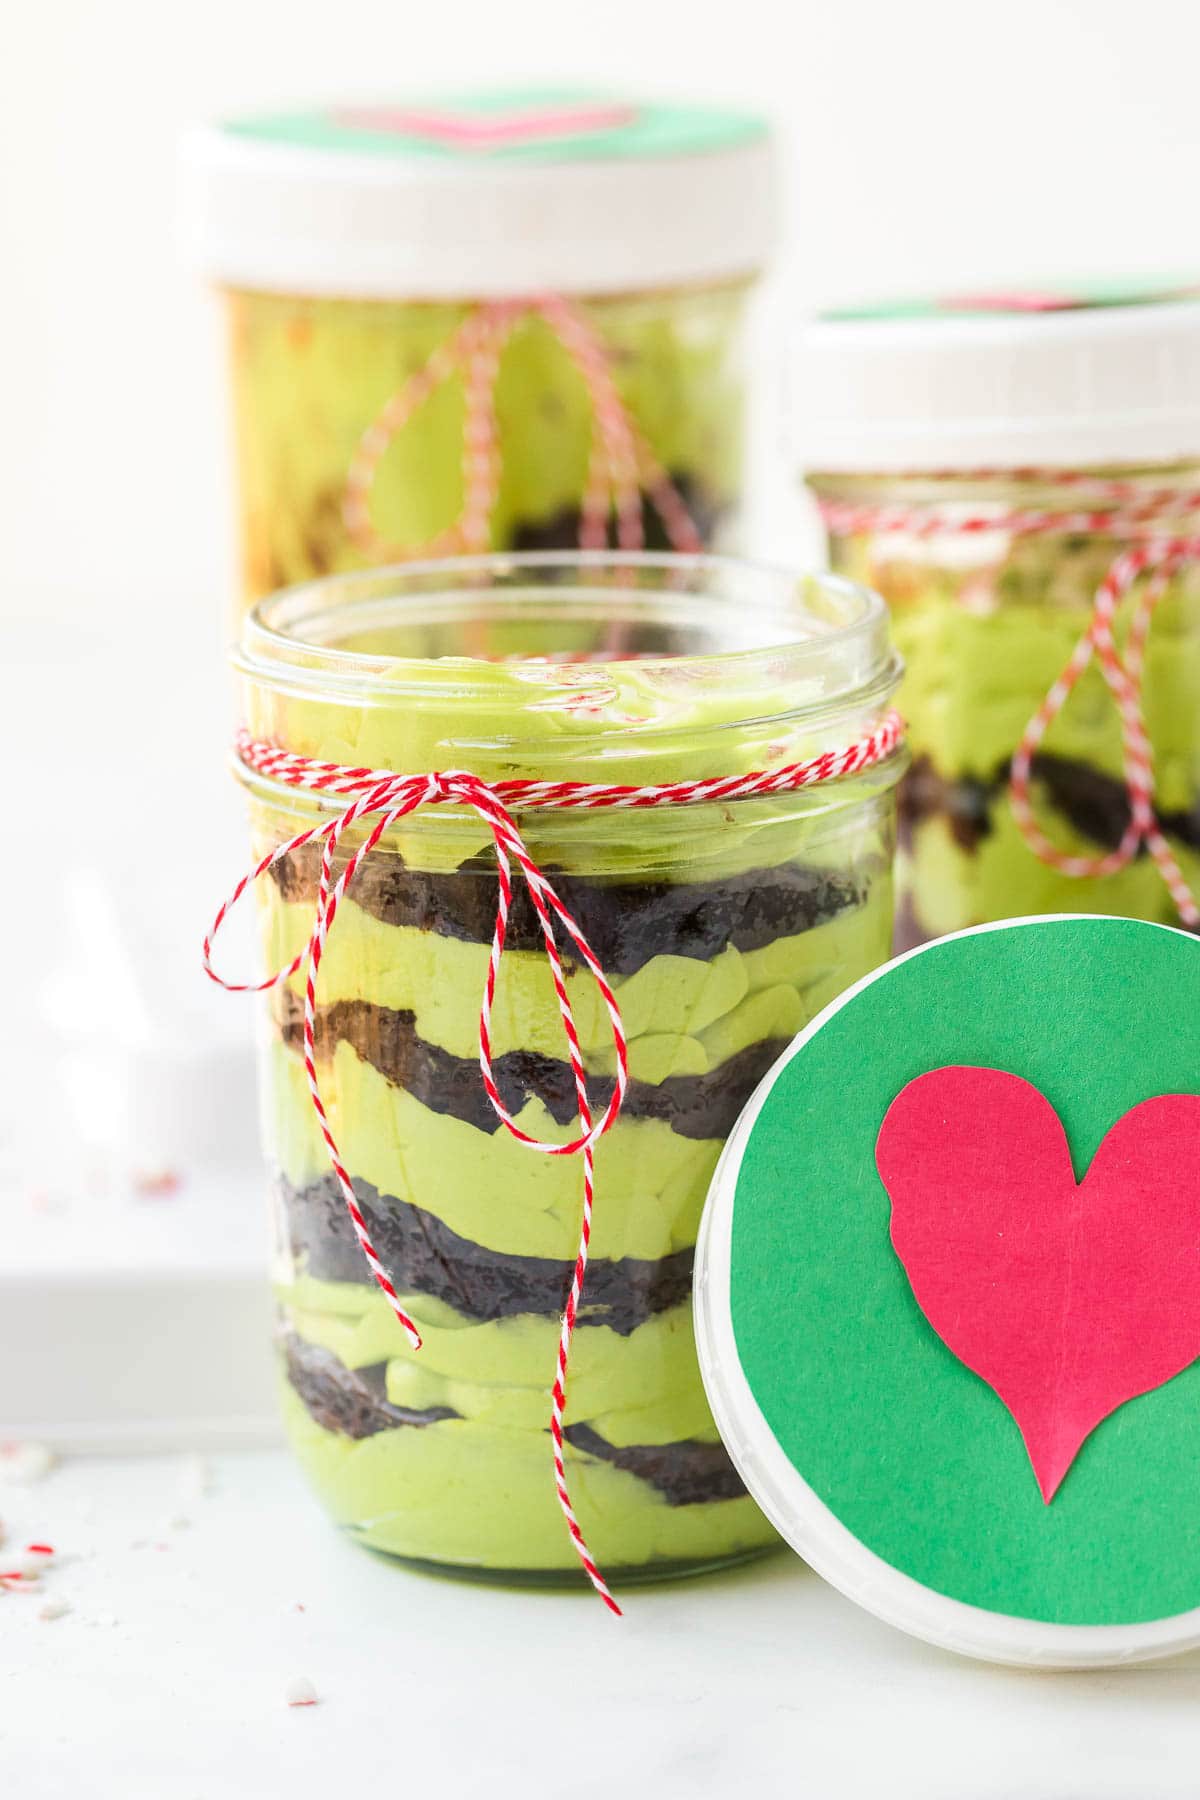
Add a layer of brownie. Pipe on some more of the frosting. Repeat layers until the jar is full.
Top with crushed peppermints if desired.
Optional: decorate the jar lid with a circle of green paper and a red heart.
Recipe FAQs + Pro Tips
Use a regular brownie mix. In our testing we found brownie mixes with extra chocolate bits added were often richer in flavor but they tended to fall apart more easily for our recipe. Stick to a basic mix you love.
Do not overbake the brownies. They should be fully cooked but not over cooked. This can cause them to be drier and fall apart when cut and moved.
Allow the brownies to cool completely. Let the brownies cool completely. If when cutting the circle they still feel warm, let the circles cool completely before assembling the jar cakes.
Can I spoon the frosting into the jar instead of piping it?
Yes! It’s a bit harder to control the frosting placement without piping it but do whatever works for you.
Storing Them
Store in the refrigerator with lids on for up to 1 week. Moisture from the refrigerator can change the texture so be sure that lids is on snugly!
More Recipes You’ll Love!
- Mummy Cherry Hand Pies
- Rich Chocolate Cherry Brownie Pots
- Chocolate Peppermint Oreo Brownies
- Gingersnap White Chocolate Truffles
Recipe
Grinch Cake in Jars
Equipment
Ingredients
- 1 Brownie Mix with any ingredients specified on package
- 4 1/2 cups powdered sugar
- 1 cup (2 sticks) unsalted butter softened
- 1 teaspoon mint extract
- 2 tablespoons heavy cream
- green food coloring
- Crushed peppermints optional topping
- Wide mouth mason jar with lid
Instructions
Brownie Instructions:
- Prepare the brownie batter as instructed on the package.
- Line a rimmed baking sheet with parchment paper. Pour brownie batter onto the sheet pan. NOTE: The batter should be about 1 inch thick. It does not need to reach the edges (and it’s actually better if it doesn’t so that your layers aren’t too thin).
- Bake brownie mix at 325 for 15 minutes, or until cooked through. Cool completely.
- Once cooled, use a biscuit cutter and cut brownies into rounds that will fit inside a wide mouth pint size mason jar. Make sure to use a biscuit cutter or circle cookie cutter that is the same size or slightly smaller than your jar.*
Frosting instructions:
- In a large mixing bowl or the bowl of a standing mixer, cream the butter until smooth (30-60 seconds).
- Add 4 cups of the powdered sugar, mint extract and food coloring (more can be added after the frosting is blended if needed). Beat slowly until all ingredients are blended.Beat on high speed for 3 minutes to make the frosting fluffy.
- Adjust the frosting consistency if needed. If too thick, add some of the heavy cream. If too thin, add more powdered sugar. If too sweet add a pinch of salt.NOTE: the frosting should be thick enough to hold its shape, but thin enough that it’s easy to work with and squeeze through a piping bag.
Assembling the Grinch Cakes
- Place frosting into a piping bag with a 1M tip (or use your favorite large tip). Pipe some of the frosting into the bottom of the jar.
- Add one cut out brownies to the Mason jar, followed by more frosting. Repeat layers until the jar if filled.
- Beginning with brownie, alternate between placing brownie and frosting layers until mason jar is filled.
- Sprinkle crushed peppermints on top (optional).
- You can cut out the “grinches heart” with construction paper and tie a ribbon around the outside to make these more festive.
Video
Notes
– These are very rich, so make sure to eat these with a glass of milk!
– I used a brownie batter with chocolate chips in it (LINK to what I used). The extra chocolate in the brownie mix made these even more tasty, but it did make it a little harder to work with because it fell apart more easily. You may want to use just a regular brownie mix with no additional add-ins to make it easier to place the brownie into the jar.
– You don’t have to use the white plastic jars for this. You can use the metal jar lids if you would like to. I love how simple and easy those white plastic lids are and use them for just about everything!
– These make great fun Christmas gifts! Feel free to use different flavors of cake or frosting to switch things up! These are easy to give as gifts and store because the jars and lids make this so easy!
Juli says
These are so CUTE! I love the colors and how festive they are. I always need more delicious recipes that can be made ahead so I can enjoy the holiday.
Andrea says
Super fun and festive! The grandkids loved making these.
Sara says
These are too cute and delicious! Fun to make too.
Sara Bowness says
Oh I love these and so will the kids at Christmas! And so simple to make!
MJ says
I made this with cake batter since we didn’t have brownie mix, as you suggested, and it turned out great! Such a yummy & fun holiday treat!
Jill says
What a cute idea. The Grinch is always a must-watch at this time of year. I’d love to be digging into one of these cakes while watching!
Steve O says
Awesome! Very easy and fun to make. We served to our extended family during a xmas movie watchathon and they were a hit.
Betsy says
These are incredible! I saw your post about these on facebook and just had to check it out. These things are so good and so perfect to serve with our yearly Grinch movie night! Kids LOVE this! So awesome!
April says
SO STINKING CUTE. My kids had a lot of fun putting it all together! We’re passing them out to the neighbors. 🙂
Susan W says
Such a fun recipe! I made these with my kids and then we watched the Grinch movie. It’s going to be an annual tradition in our house. Thank you!