• Skip to primary navigation
  • Skip to main content
  • Skip to primary sidebar
  • Home
  • Recipes
  • Free Bonus
  • About
menu icon
go to homepage
  • Home
  • Recipes
  • Free Bonus
  • About
    • Email
    • Facebook
    • Instagram
    • Pinterest
    • RSS
    • Twitter
  • subscribe
    search icon
    Homepage link
    • Home
    • Recipes
    • Free Bonus
    • About
    • Email
    • Facebook
    • Instagram
    • Pinterest
    • RSS
    • Twitter
  • ร—
    Home ยป Recipes ยป Desserts (No Bake) ยป No Bake Peanut Butter Bars recipe

    No Bake Peanut Butter Bars recipe

    Jump to Recipe

    This post may include affiliate links. As an Amazon Associate I earn from qualifying purchases.

    peanut butter bars with title

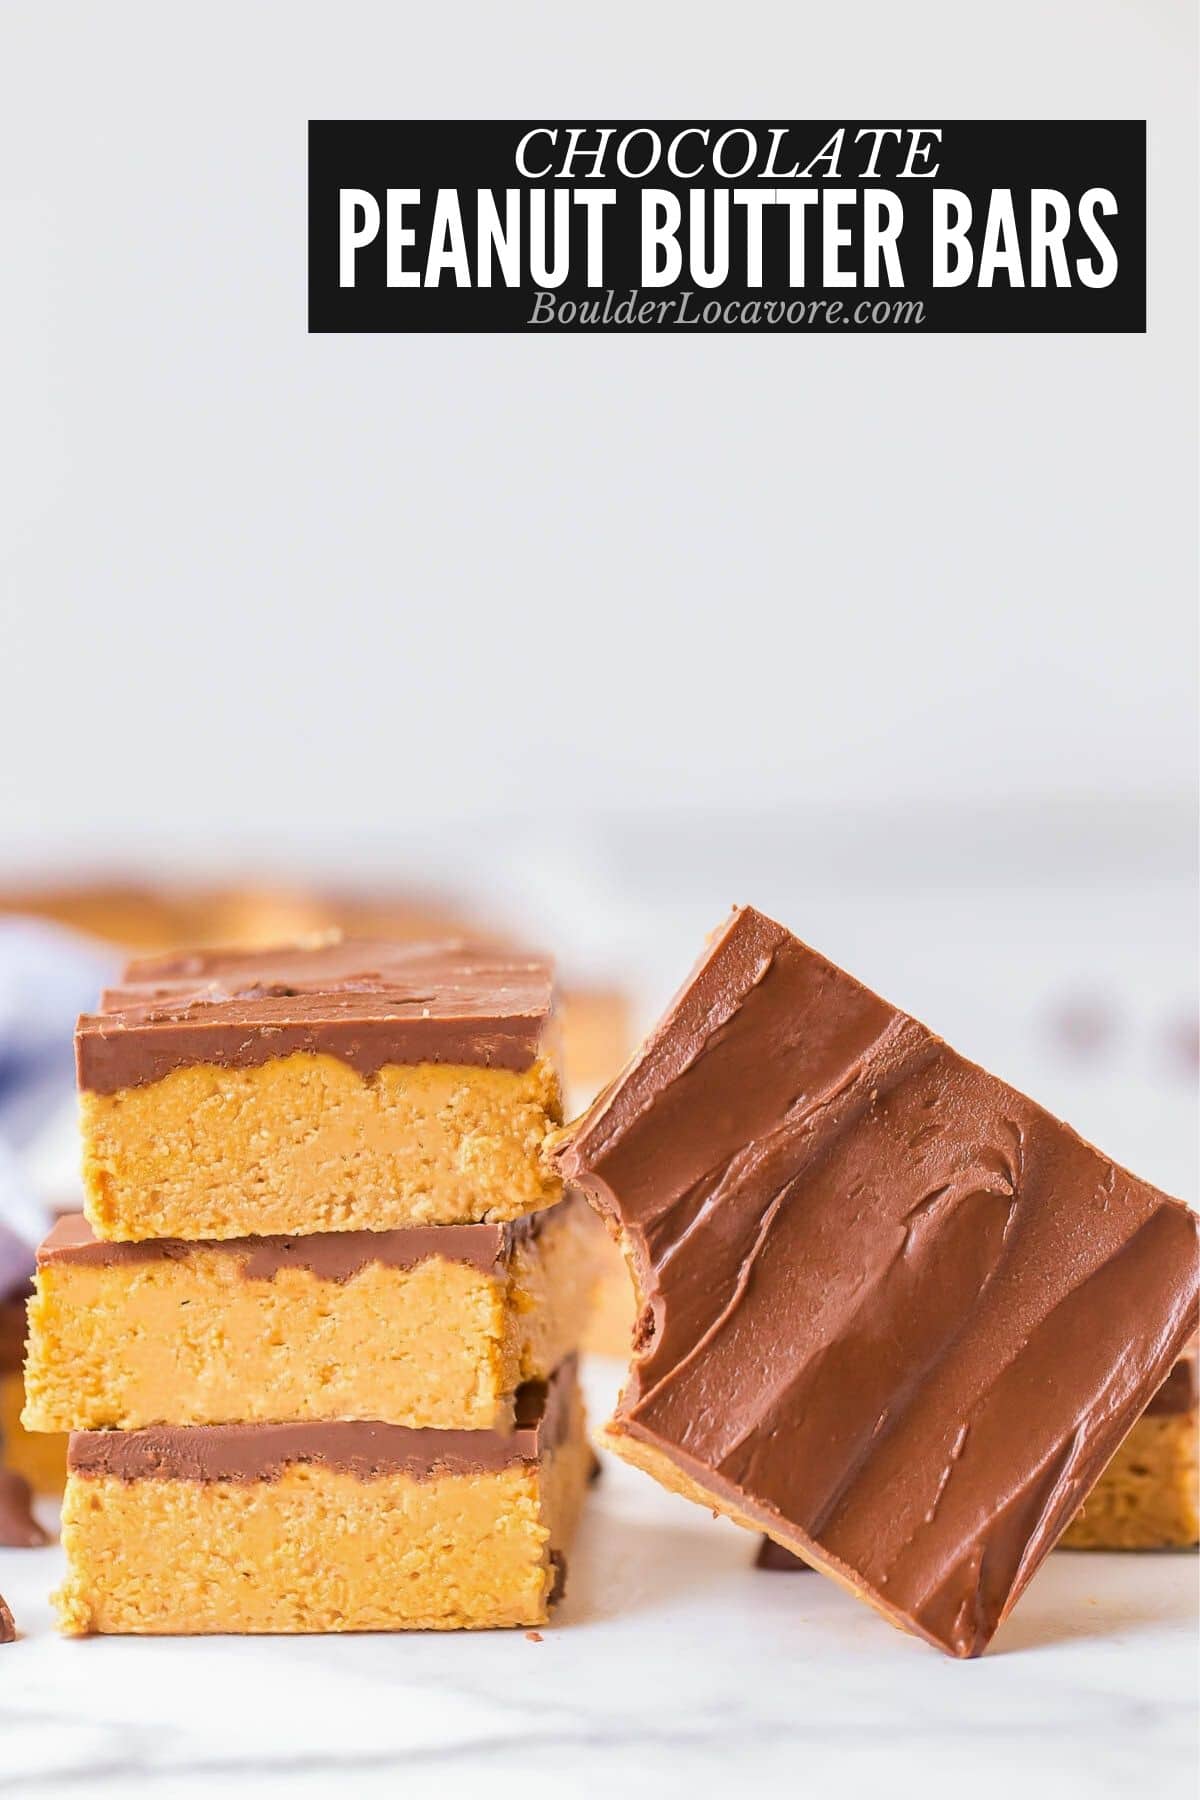
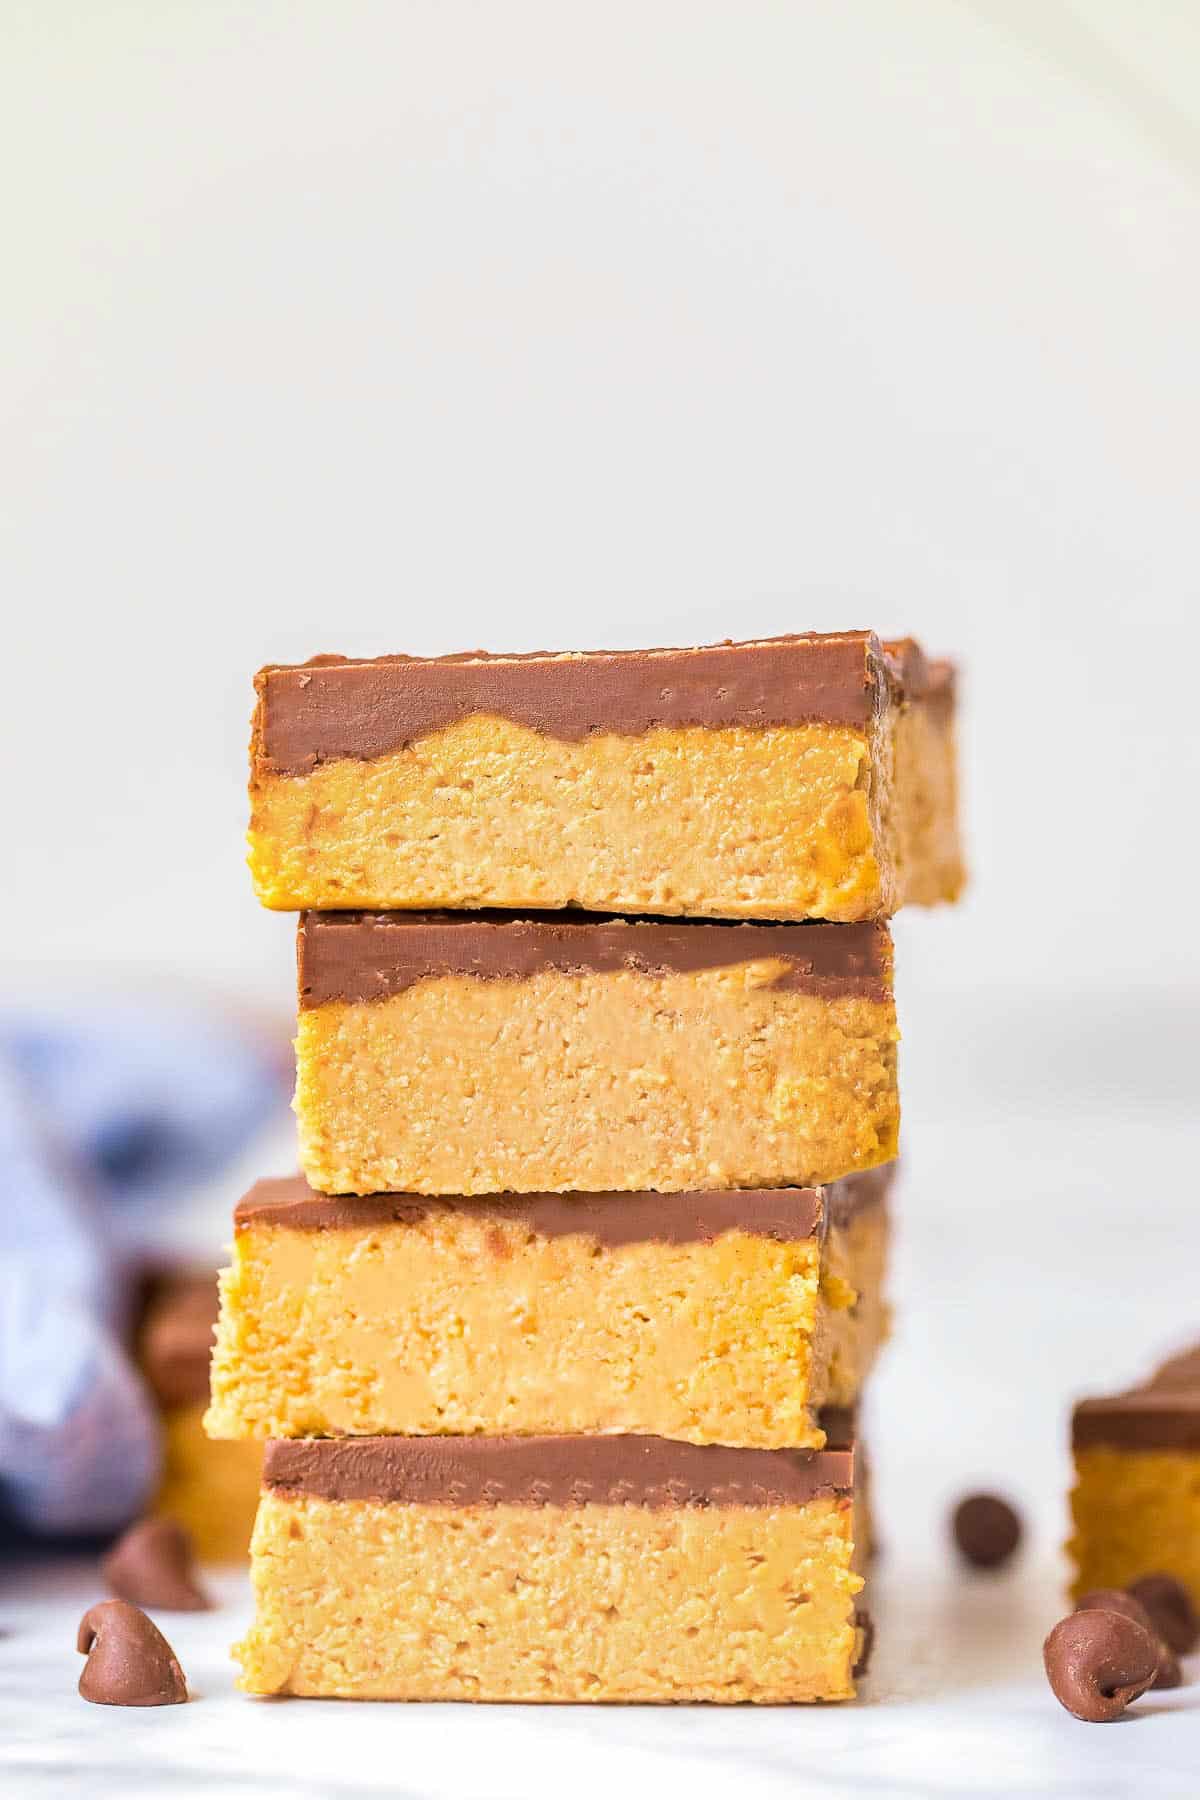
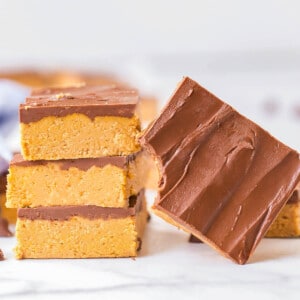
    Chocolate Peanut Butter Bars are an easy no bake dessert recipe everyone loves. Creamy peanut butter combined with cookie crumbs makes a delicious peanut butter layer topped with melted chocolate and more peanut butter!

    peanut butter bars with title
    WANT TO SAVE THIS RECIPE?
    Enter your email below and we'll send the recipe straight to your inbox (and more recipes every week)!
    Please enable JavaScript in your browser to complete this form.
    Loading
    peanut butter bars with title

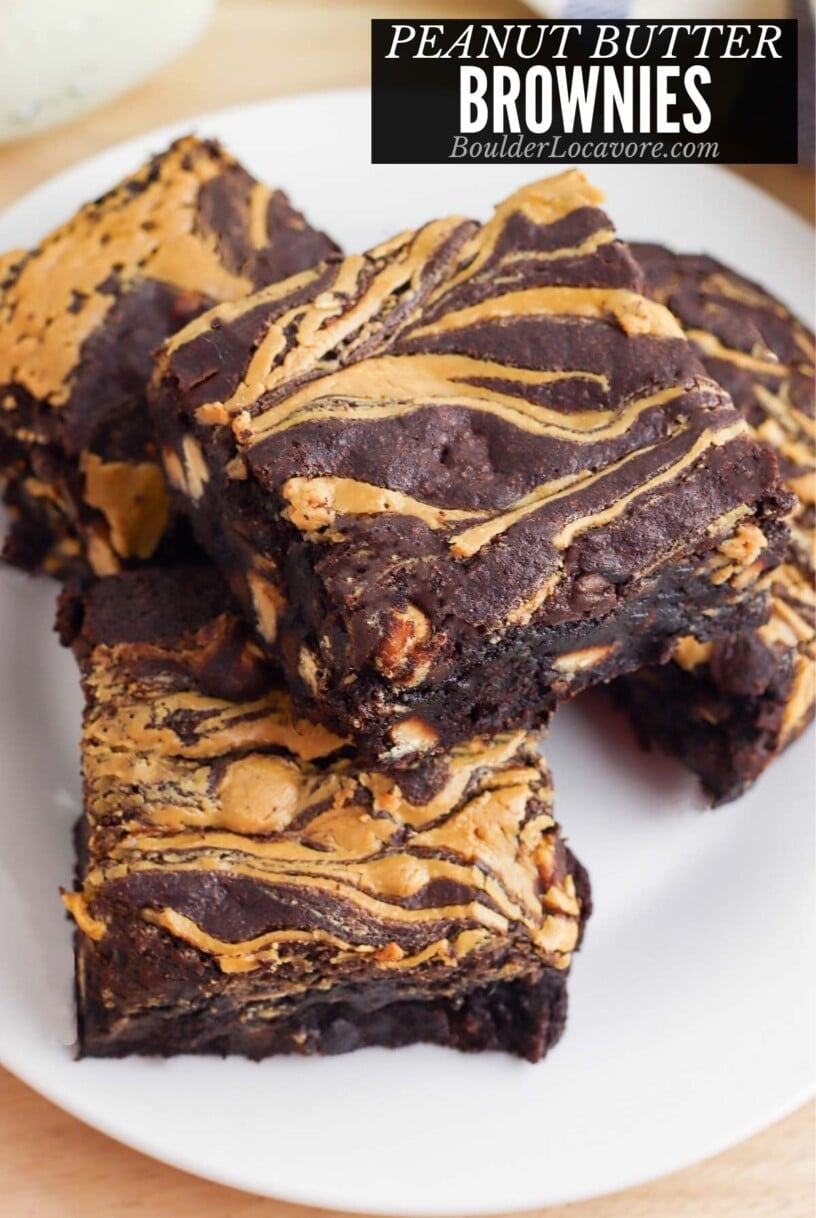
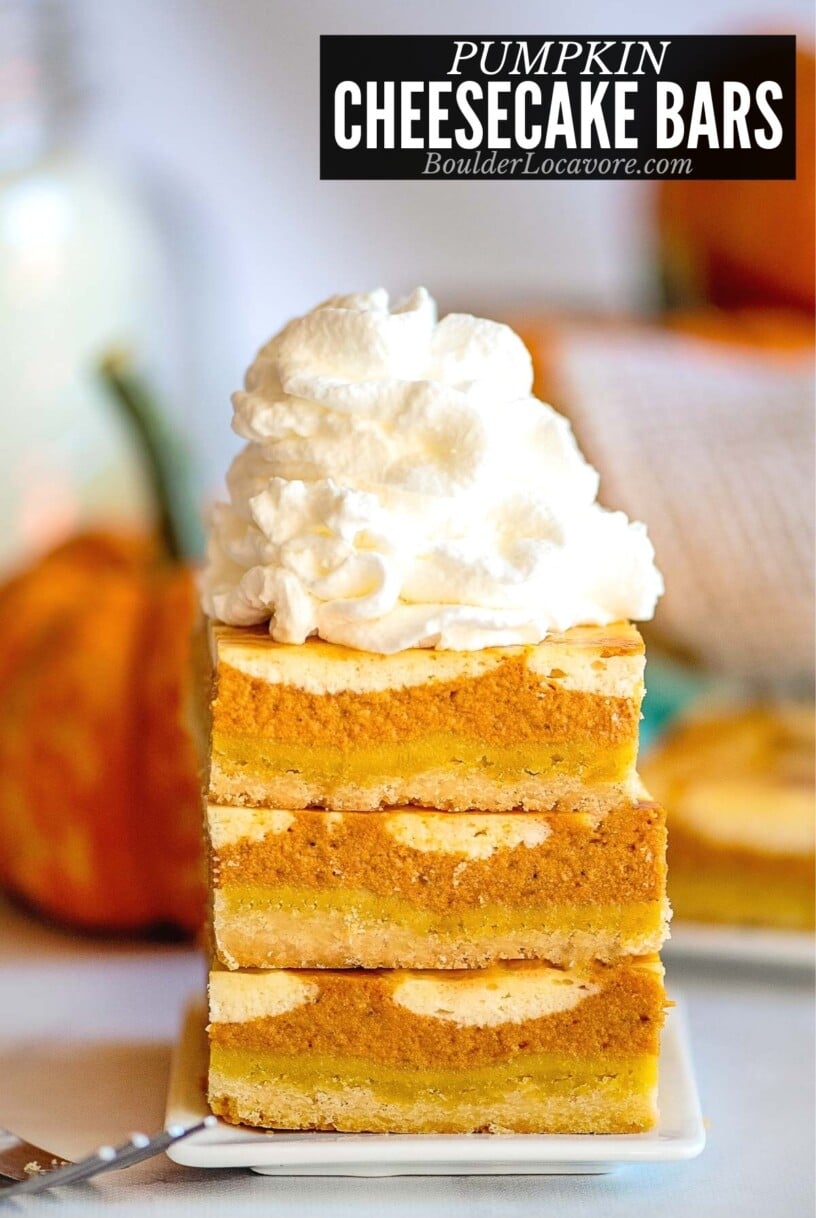
    These delicious Peanut Butter Bars are a classic and peanut butter lovers favorite. The combination of chocolate and peanut butter is irresistibly good just like our Peanut Butter Brownies or Peanut Butter Chocolate Cupcakes.

    Such an easy dessert! The bottom layer of the no-bake peanut butter bars is a made with simple ingredients for a sweet nutty flavor. Topped with a combination of chocolate and peanut butter they taste like Reese’s peanut butter cups (maybe even better).

    Jump to:
    • Why youโ€™ll love this recipe
    • Recipe Ingredients Notes
    • How to make them Gluten-free
    • How to make Peanut Butter Bars โ€“ Step-by-Step
    • Pro Tips
    • Frequently Asked Questions
    • How to store
    • How to freeze them
    • More recipes youโ€™ll love!
    • Recipe

    Why you’ll love this recipe

    • Chocolate + peanut butter (is there anything better?!)
    • No baking
    • Easy recipe
    • They freeze well
    • Can cut the bars into any size
    • Easy to make regular or gluten-free (we’ve made them both ways)
    • Most peanut butter bars just use graham cracker crumbs. We split the crumbs between graham cracker and vanilla wafer crumbs giving them a homey sweetness with the vanilla flavor.
    • Because peanut butter is mixed in with the chocolate layer the tops won’t crack when cut

    Recipe Ingredients Notes

    peanut butter bars labelled ingredients

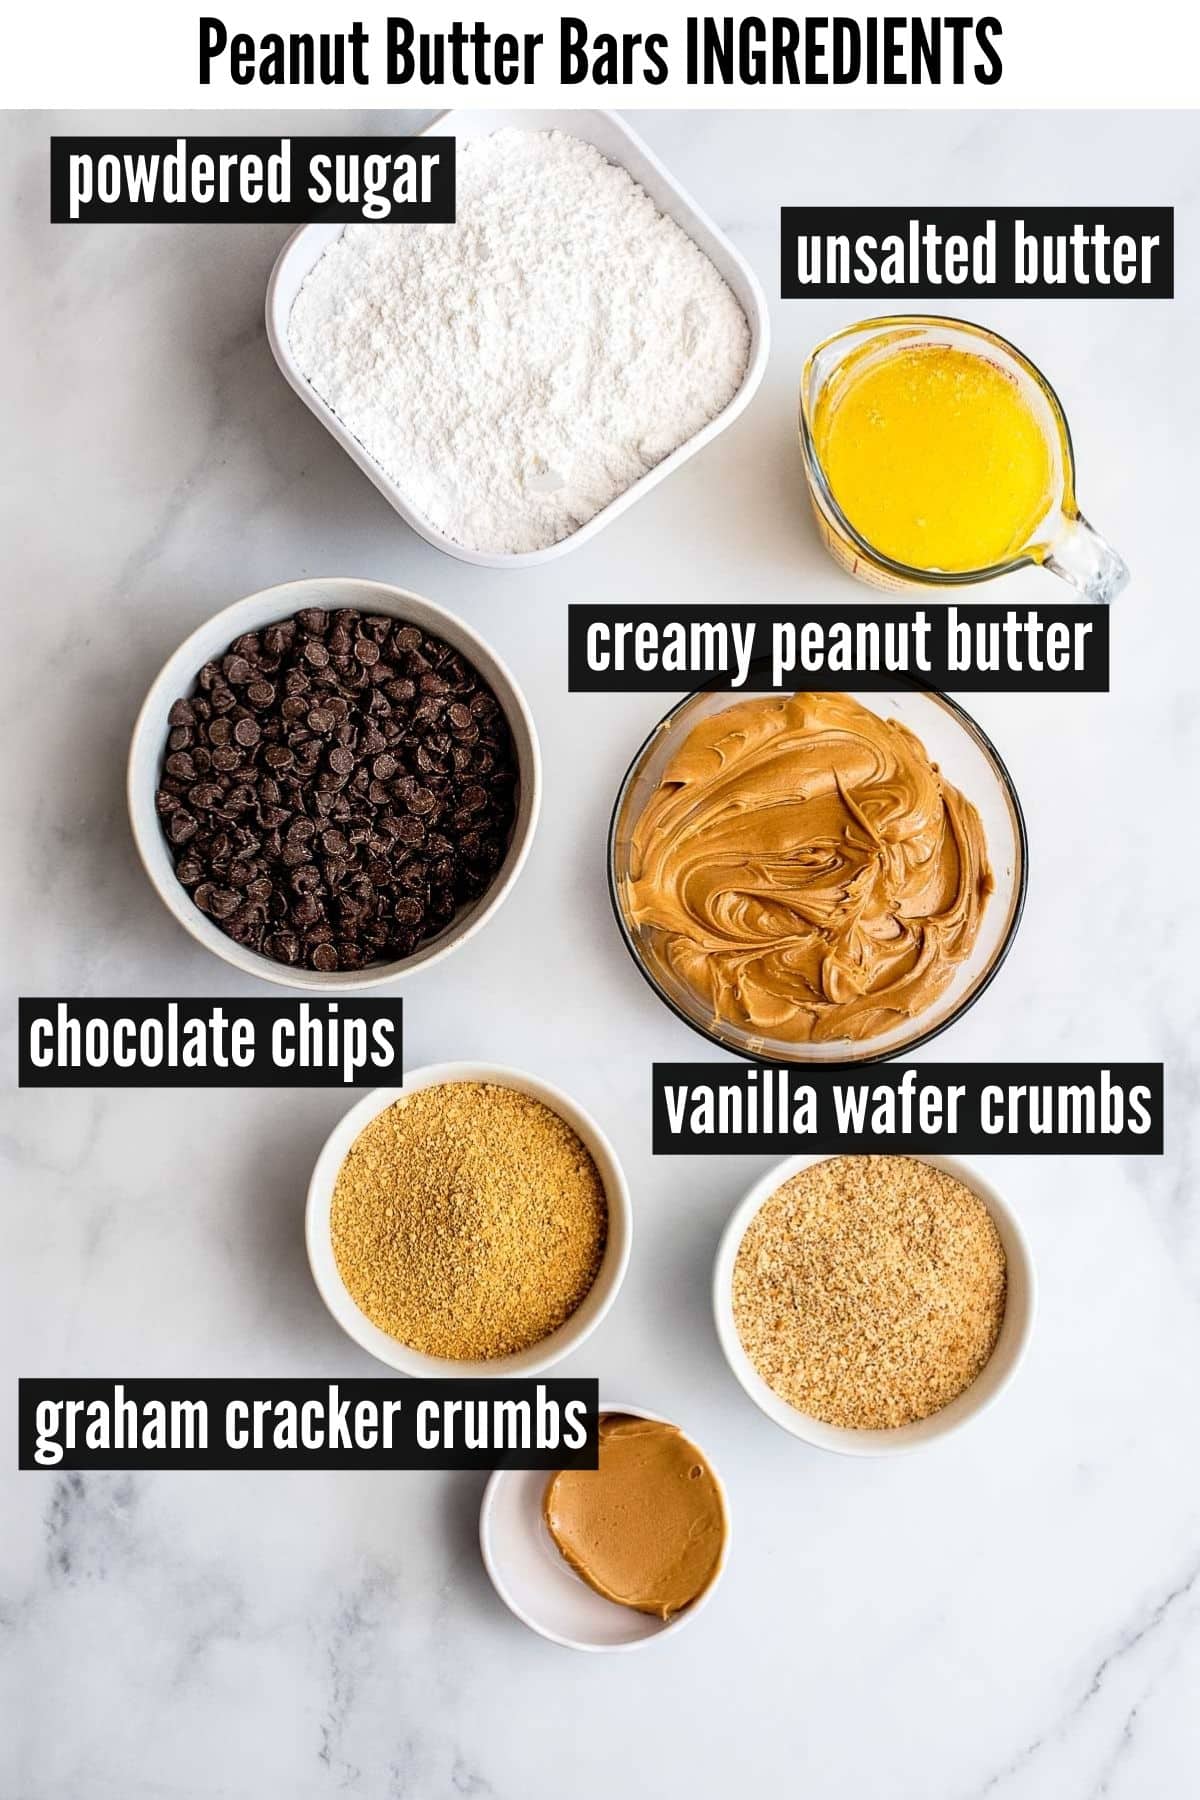
    Graham cracker crumbs. These can be regular or gluten-free, store bought or homemade. To make them yourself add the graham crackers to a mini chopper or food processor and process into crumbs.

    Vanilla wafer crumbs. As with the graham cracker crumbs these can be regular or gluten-free, and made using a mini chopper or food processor.

    Unsalted butter. Be sure to use unsalted butter and melt it before starting the recipe.

    Creamy peanut butter. No not use natural peanut butter that separates. Crunchy peanut butter can be used but we recommend smooth peanut butter for the best texture.

    Chocolate chips. Use semi-sweet chocolate chips.

    How to make them Gluten-free

    Be sure to use gluten-free graham cracker crumbs and gluten-free vanilla wafers. There are multiple brands of GF graham crackers. We personally love Schar’s Honeygrams which have a grainier texture more like a digestive biscuit.

    We used Kinnikinnck’s Vanilla Wafers for the gluten-free version.

    How to make Peanut Butter Bars – Step-by-Step

    STEP 1. Preparation

    Line a 9-inch by 13-inch pan with parchment paper. Leave some overhanging the sides for easy removal after chilling.

    Melt butter and prepare the cookie crumbs with a mini chopper or food processor.

    peanut butter bars recipe steps 1-4

    STEP 2. Make the peanut butter filling

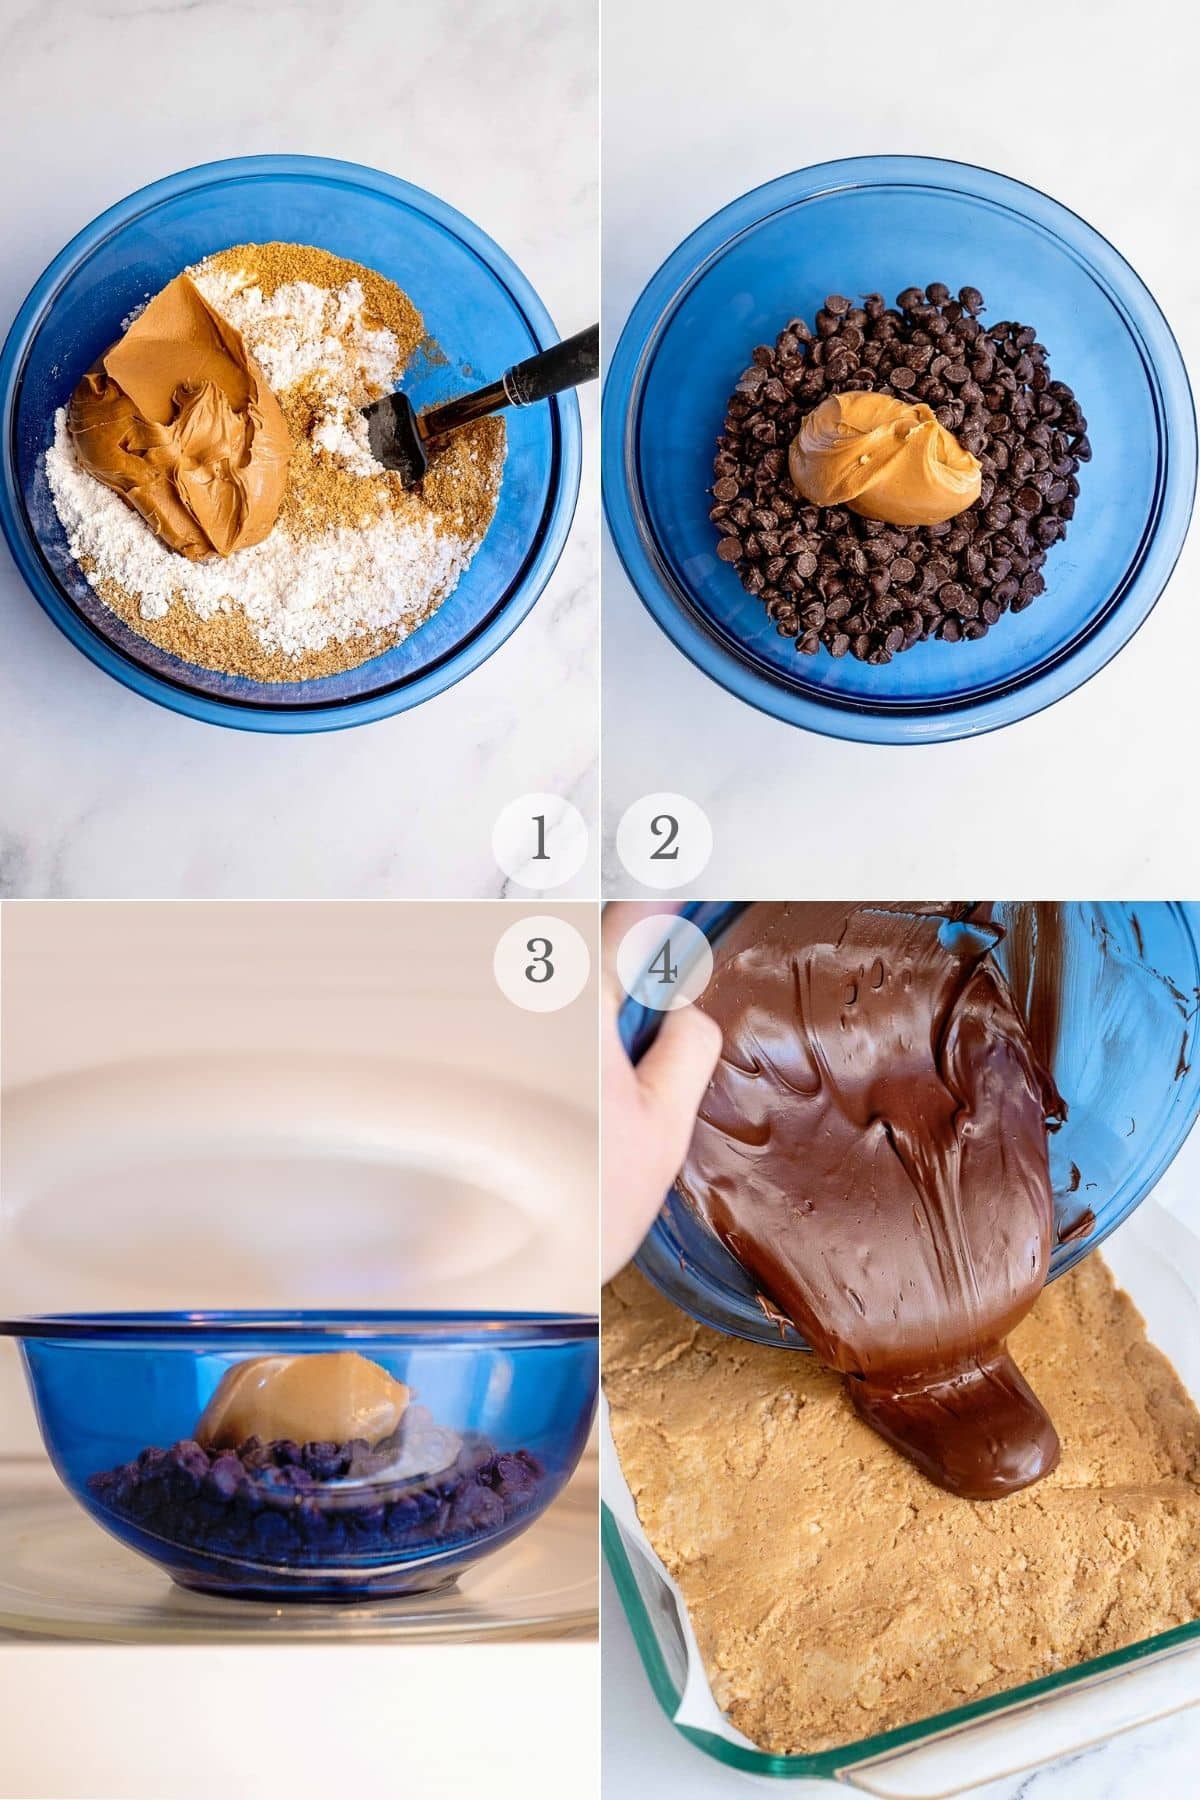
    Stir together melted butter, graham cracker crumbs, vanilla wafer crumbs, confectioner’s sugar, and 2 cups peanut butter until combined (photo 1).

    Press peanut butter mixture into the prepared baking dish and smooth the top. Set aside (can see the layer in photo 4).

    STEP 3. Chocolate layer

    Place the chocolate chips and peanut butter in a microwave-safe bowl, and microwave per the chocolate chip package instructions until ingredients are melted together (photos 2-3).

    Usually microwave on high for 30 seconds, stir well, and continue for 15-second intervals, stirring in between, until the mixture is fully melted. until ingredients are melted together.

    You can also use a double boiler for this. 

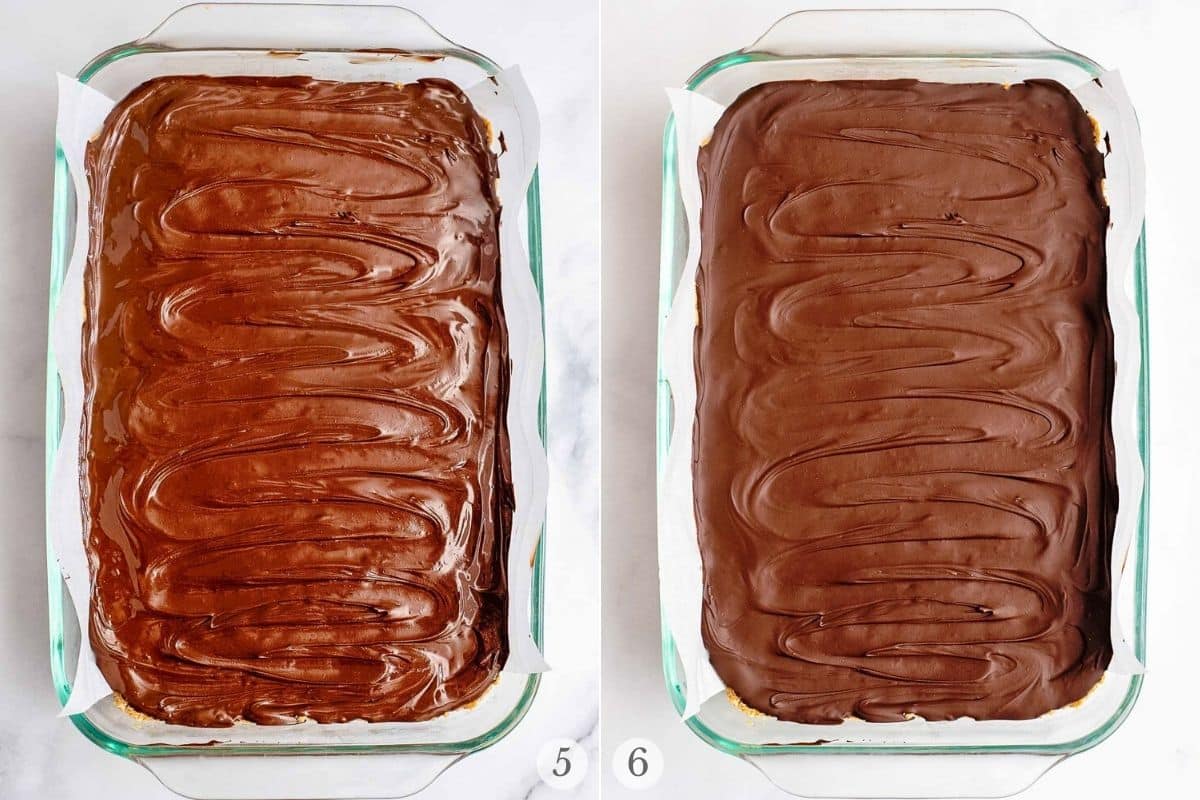
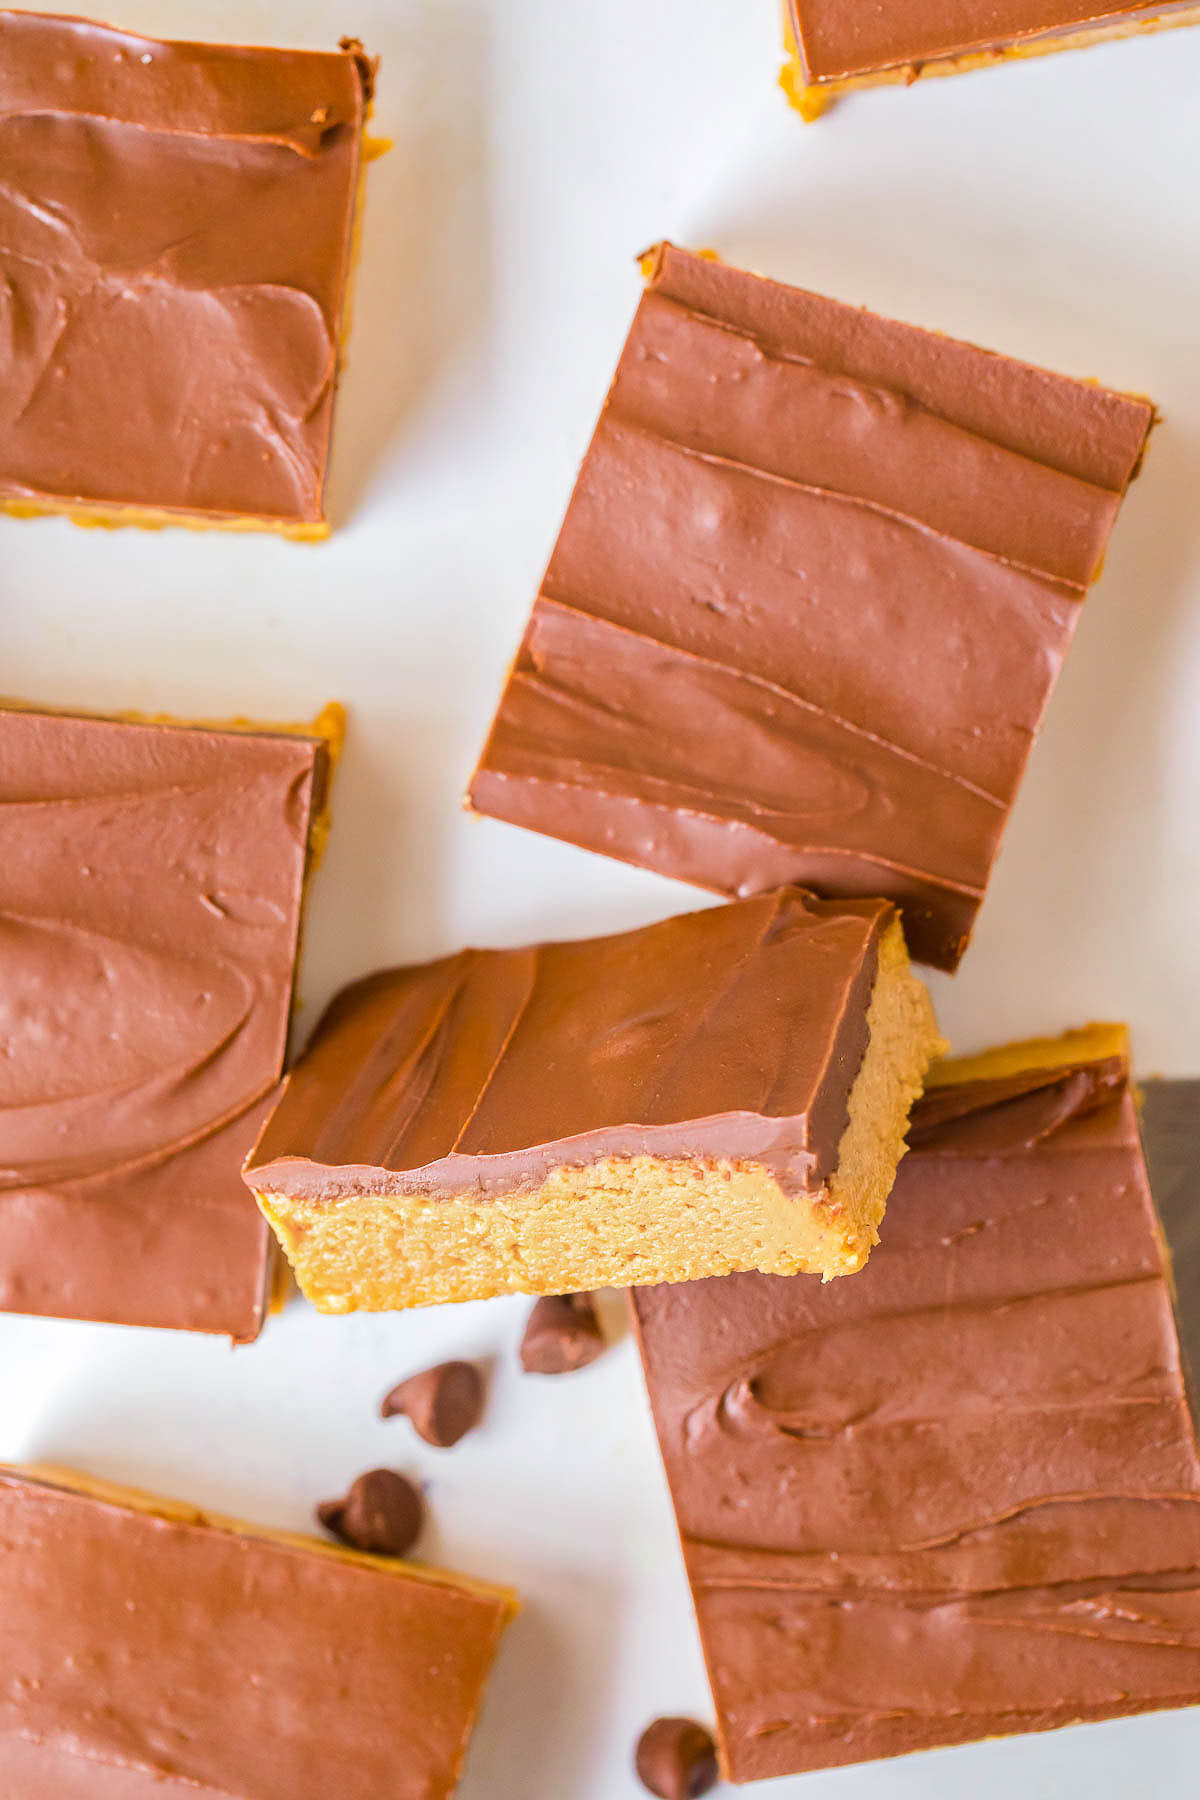
    Pour melted chocolate over peanut butter filling and smooth it out to the edges (photos 4-5).

    peanut butter bars recipe steps 5-6

    STEP 4. Chill

    Chill in the refrigerator until set, about 1-2 hours (photo 6). Cut into bars and serve. Enjoy! 

    peanut butter bars stacked

    Pro Tips

    • Allow some of the parchment to overhang the pan to easily lift the peanut butter chocolate bars out of the pan to cut them.
    • Do not use natural peanut butter. The oil separates which does not mix the same way in the bars.
    • Chill for the full time to get firm bars when cutting them
    • Use a large sharp or serrated knife to cut the bars

    Frequently Asked Questions

    Can I just use graham crackers?

    Yes! We love the mix of the vanilla flavor with the vanilla wafers but using just graham crackers works great too. Use 2 cups.

    Can I make this in advance?

    Yes! Because they need to chill make them a day ahead. Keep them tightly sealed so no moisture gets in.

    How long to chocolate peanut butter bars last?

    They can be kept in the refrigerator up to 1 week, tightly sealed or in an airtight container.

    How to store

    Store in an airtight container (or sealed with plastic wrap if kept in the pan) in the refrigerator for up to 1 week. If layering in a container, place a sheet of parchment paper or wax paper between the layers. Do not keep the bars at room temperature.

    How to freeze them

    Place in a freezer-safe container, again placing parchment between layers. Freeze for up to 3 months. Thaw in the refrigerator.

    peanut butter bars from above

    More recipes you’ll love!

    • peanut butter brownies with title overlay
      Peanut Butter Brownies recipe
    • pumpkin cheesecake bars title image
      Pumpkin Cheesecake Bars recipe
    • Magic Bars with pineapple and coconut title image
      Magic Cookie Bars with a Tropical Twist!
    • pumpkin blondies title image
      Pumpkin Blondies recipe with Chocolate Chips

    Did you make it? Please RATE THE RECIPE below!

    Please SUBSCRIBE and FOLLOW ME on FACEBOOK, INSTAGRAM, TWITTER and PINTEREST!

    Recipe

    peanut butter bars stacked with bite sq

    Peanut Butter Bars

    Luscious no bake Peanut Butter Bars are full of peanut butter flavor with sweet buttery cookie crumbs topped by a chocolate peanut butter layer. This is an easy dessert recipe for chocolate peanut butter lovers!
    5 from 24 votes
    Print Save Recipe Recipe Saved! Pin Rate
    Course: Dessert
    Cuisine: American
    Prep Time: 10 minutes minutes
    Cook Time: 4 minutes minutes
    Chilling Time (approximate): 2 hours hours
    Total Time: 2 hours hours 14 minutes minutes
    Servings: 40 1-5/8 x 1-3/4 inch bars depending on how they are cut
    Calories: 189kcal
    Author: Toni Dash
    Prevent your screen from going dark

    Ingredients

    Bars

    • 1 cup (2 sticks) unsalted butter melted
    • 1 cup graham cracker crumbs regular or gluten-free
    • 1 cup vanilla wafer crumbs regular or gluten-free
    • 3 1/2 cups powdered sugar
    • 2 cups creamy peanut butter do not use natural peanut butter

    Peanut Butter Chocolate topping

    • 1/4 cup creamy peanut butter
    • 1 12-ounce bag semi-sweet chocolate chips approximately 2 cups

    Instructions

    • Stir together melted butter, graham cracker and vanilla wafter crumbs, powdered sugar, and peanut butter until fully combined.
    • Line a 9-inch by 13-inch baking pan with foil or parchment paper. Press bar mixture into the prepared pan and smooth the top. Set aside.
    • Place the chocolate chips and 1/4 cup peanut butter in a microwave safe bowl. Follow the instructions on the chocolate chip package or microwave on high, stir, and microwave in 15 second intervals stirring in between until the chocolate is fully melted.
      Stir to fully combine.
      NOTE: A double boiler may also be used for this step.
    • Spoon the melted chocolate over peanut butter bar layer. Smooth it out to the edges for an even layer.
    • Chill in the refrigerator until set, about 2 hours.
    • Cut into bars and serve. Enjoy!

    Notes

    Pro Tips
    • Allow some of the parchment to overhang the pan to easily lift the peanut butter chocolate bars out of the pan to cut them.
    • Do not use natural peanut butter. The oil separates which does not mix the same way in the bars.
    • Chill for the full time to get firm bars when cutting them
    • Use a large sharp or serrated knife to cut the bars
    How to store
    Store in an airtight container (or sealed with plastic wrap if kept in the pan) in the refrigerator for up to 1 week. If layering in a container, place a sheet of parchment paper or wax paper between the layers. Do not keep the bars at room temperature.
    How to freeze them
    Place in a freezer-safe container, again placing parchment between layers. Freeze for up to 3 months. Thaw in the refrigerator.

    Nutrition

    Calories: 189kcal | Carbohydrates: 17g | Protein: 4g | Fat: 13g | Saturated Fat: 5g | Trans Fat: 1g | Cholesterol: 13mg | Sodium: 137mg | Potassium: 109mg | Fiber: 1g | Sugar: 13g | Vitamin A: 148IU | Calcium: 12mg | Iron: 1mg
    peanut butter bars with title
    WANT TO SAVE THIS RECIPE?
    Enter your email below and we’ll send the recipe straight to your inbox (and more recipes every week)!
    Please enable JavaScript in your browser to complete this form.
    Loading
    Did you make this recipe?Mention @boulderlocavore or tag #boulderlocavore!
    « Homemade Spiced Apple Vodka (with printable gift tags)
    Green Bean Casserole with Bacon »

    Reader Interactions

    Comments

    1. Amy says

      July 16, 2022 at 1:59 pm

      5 stars
      These were excellent because I can control the amount of sugar (I used 1 cup confectioners sugar). Is the microwave increments a misprint? 15 minutes seems like an awfully long time. I got it done in less than 5 minutes.

      Reply
      • Toni Dash says

        July 16, 2022 at 11:03 pm

        So glad you enjoyed them Amy! And YES in the recipe card it should have read (and does now) 15-second intervals. The detailed instructions with images is correct and the recipe card has been updated; thank you!

        Reply
    2. Natasha says

      November 08, 2021 at 7:00 am

      5 stars
      It was easy to make and the result is amazingly good! My kids loved these peanut butter bars, I think they just found their new favorite

      Reply
    « Older Comments

    Leave a Reply Cancel reply

    Your email address will not be published. Required fields are marked *

    Recipe Rating


    Primary Sidebar

    Picture of Toni

    Welcome! Iโ€™m Toni Dash. Iโ€™m a Certified Nutrition Coach and the professional writer/blogger, photographer, recipe developer and creator of Boulder Locavoreยฎ. Iโ€™m so glad you are here!

    More about me โ†’

    Featured on....

    BoulderLocavore.com Featured By Press

    Grilling Recipes

    • Ultimate Burger Grill Guide title photo with burgers on a charcoal grill Ultimate Burger Grill Guide: How to Grill the Perfect Burger
    • steak on grill with flames How to Grill Steak Perfectly: Everything You Need to Grill Like a Pro
    • grilled porterhouse steak title Perfect Porterhouse Steak on the Grill
    • Grilled Kabob Recipes on grate (titled image) Grilled Kabob Recipes: 20 Must Make Recipes for Summer
    • bruschetta chicken title image Bruschetta Chicken recipe โ€“ Baked, Grilled or Stove Top
    • Chicken Shish Kabobs title Easy Grilled Chicken Shish Kabobs

    TRENDING RIGHT NOW

    • Ultimate Burger Grill Guide title photo with burgers on a charcoal grill Ultimate Burger Grill Guide: How to Grill the Perfect Burger
    • How to Make Moist Homemade Shredded Chicken Breast title How to Make Moist Homemade Shredded Chicken Breast Recipe
    • Instant Pot Jambalaya Instant Pot Jambalaya Recipe: Quick & Easy Comfort Food
    • Sparkling Cranberry Vodka Punch Sparkling Cranberry Vodka Punch Recipe
    • homemade ketchup title image The Best Homemade Ketchup โ€“ Made with Fresh Tomatoes!
    • Instant Pot Smoked Paprika & Garlic Chicken Legs with lime wedges on a pewter platter Instant Pot Smoked Paprika & Garlic Chicken Legs

    Footer

    • Facebook
    • Twitter
    • Pinterest
    • Instagram

    Contact | About | Privacy Policy | Disclosure Policy | Accessibility Statement | Cookie Policy


    SIGN ME UP to get FREE recipes directly to my inbox!

    Don't miss our TRAVEL SECTION!


    Copyright ยฉ 2010-2025 All Rights Reserved

    Boulder Locavore is a participant in the Amazon Services LLC associates program, an affiliate advertising program designed to provide a means for sites to earn advertising fees by advertising and linking to amazon.com.

    Rate This Recipe

    Your vote:


    A rating is required
    A name is required
    An email is required