

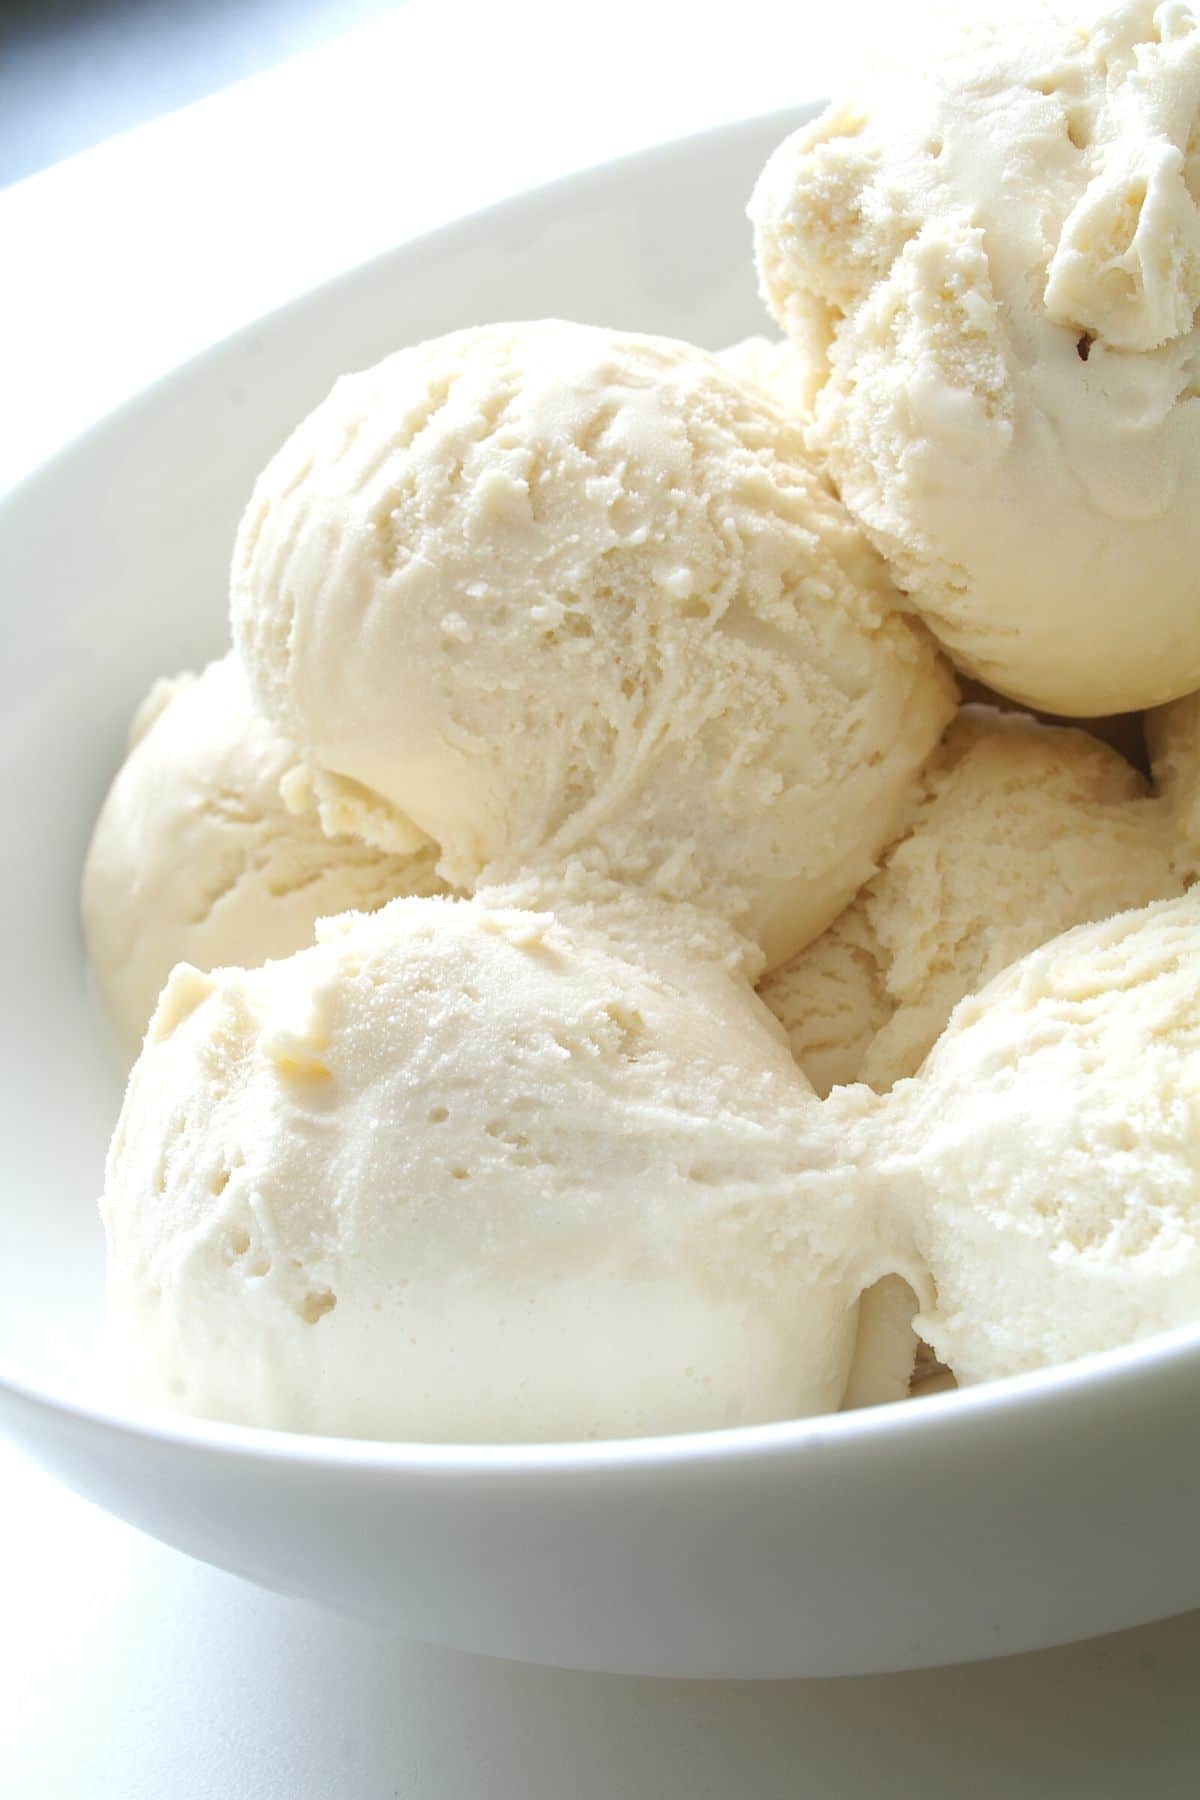
Only 2 ingredients, no machine and no cooking to make this easy homemade No Churn Ice Cream! It takes minutes to whip up and you can flavor it in a hundred different ways!
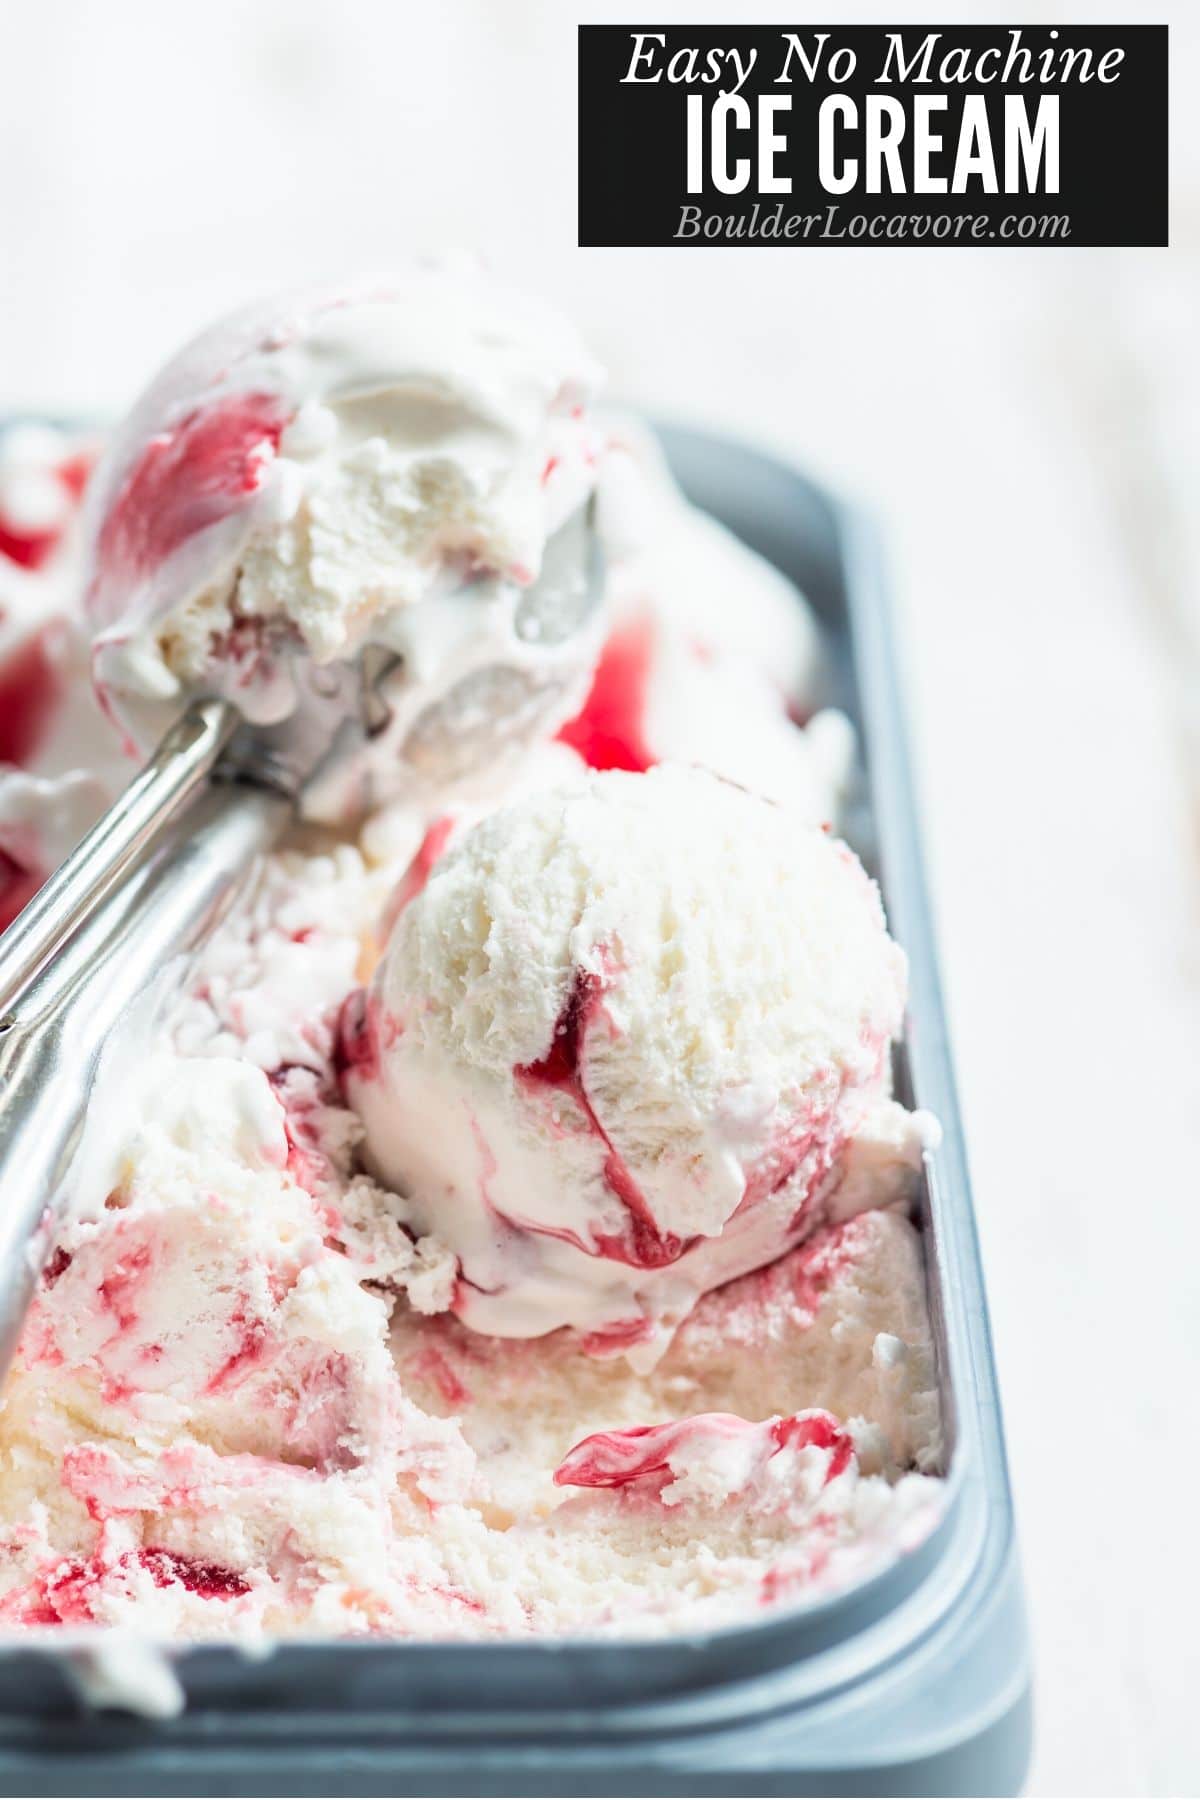
This ultra-creamy ice cream recipe is SO easy and delicious!
Its fun to make with kids and adults love it.
Add favorite mix-ins to give it a signature flavor!
Easy Homemade Ice Cream Recipe
Making ice cream at home gives total flexibility to create whatever flavor you love.
It usually requires an ice cream machine.
It also often requires some heating of the ingredients on the stove top and maybe even straining it for custard style ice cream.
This recipe throws all of that out the window.
With just 2 main ingredients it’s fast and easy to put together.
The hard part is waiting for it to freeze to take the first bite!
What’s No Churn Ice Cream?
No churn ice cream is made without ‘churning’ the ice cream.
These days that is done with an ice cream machine.
In the ‘old days’ it was done with manual churning of a cylinder that had ice and rock salt packed on the outside to make it freeze.
This recipe doesn’t use any churning. You’ll just need a mixer.
Only 2 Ingredients Needed!
Unlike regular ice cream that is made with a machine, this recipe doesn’t need eggs or for anything to be heated on the stove.
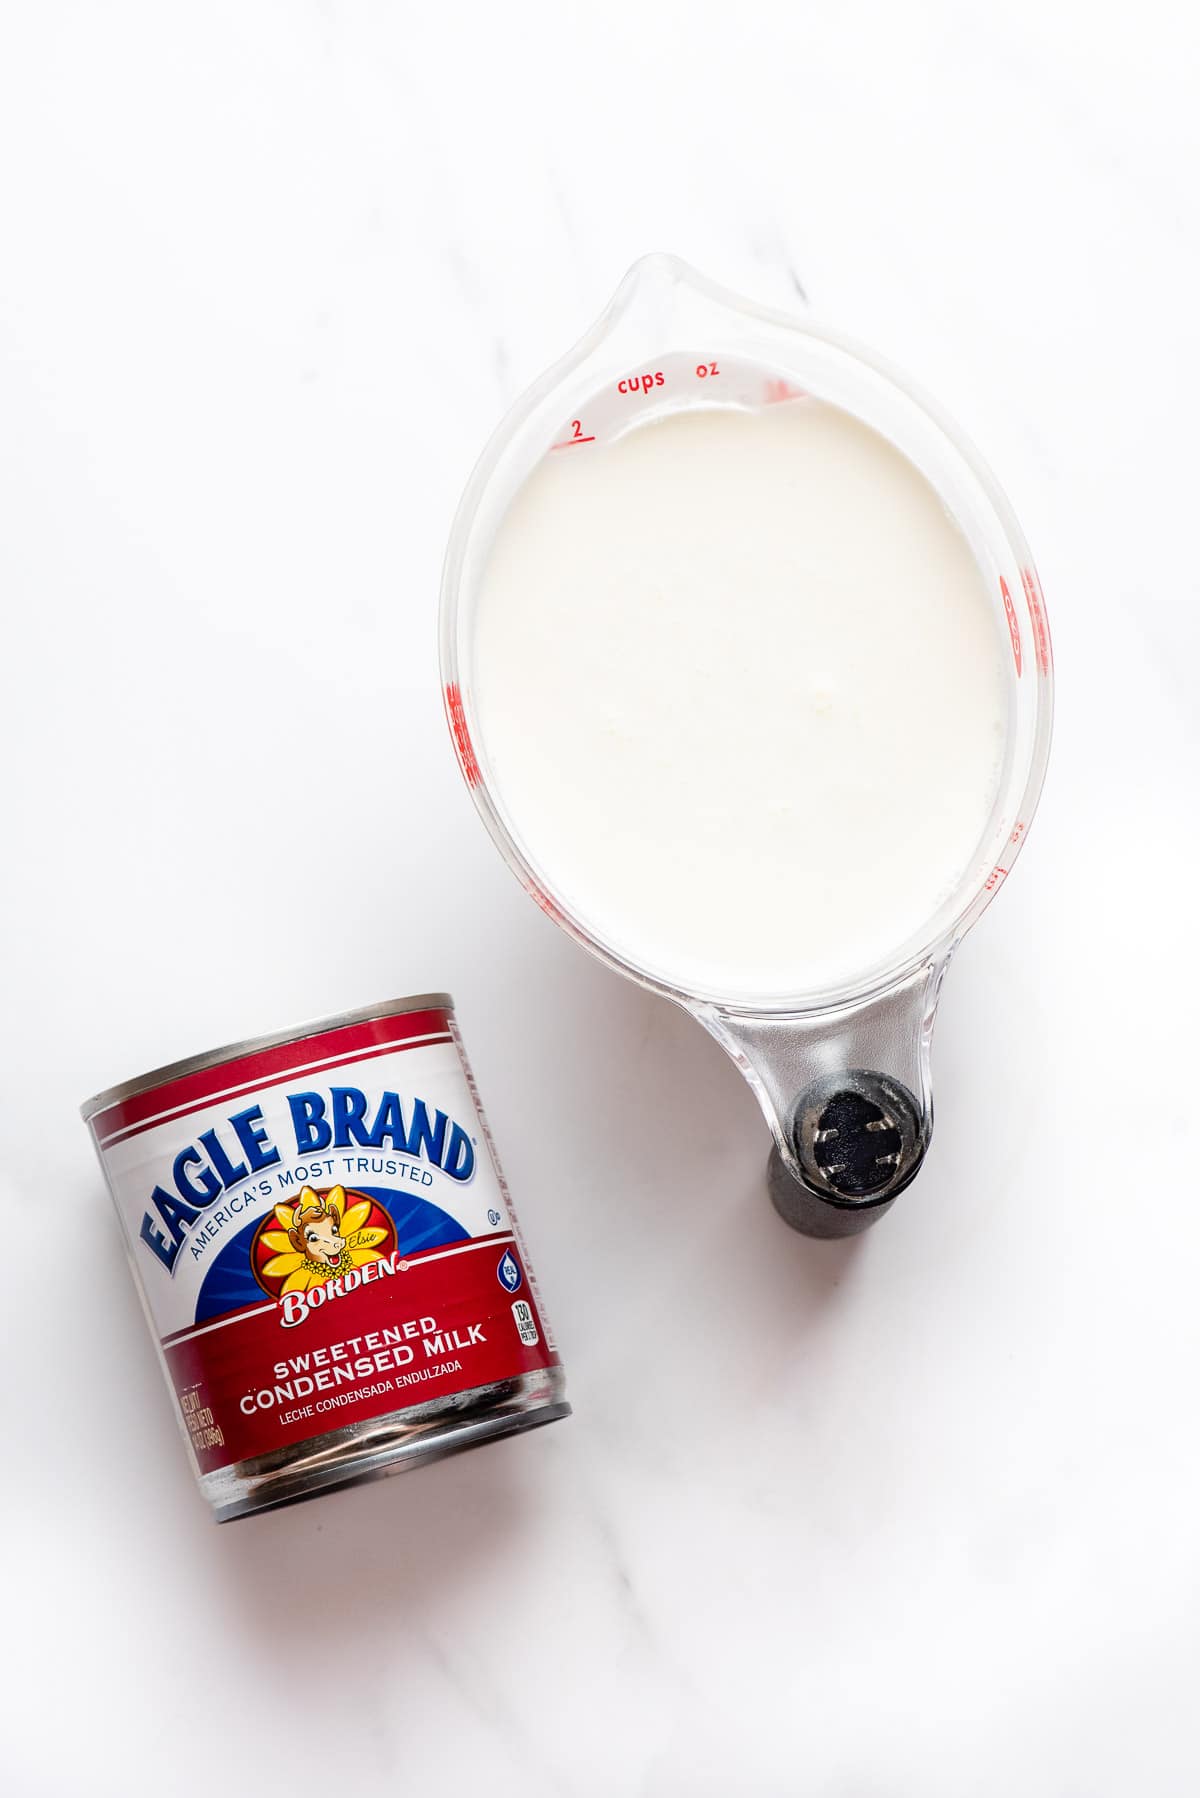
Only 2 main ingredients are needed:
- Heavy Whipping Cream
- Sweetened Condensed Milk (any brand)
The last ingredient is whatever you’ll use to flavor it.
How to Make Flavored Ice Cream
There are multiple ways to flavor this easy ice cream recipe.
The main ways are to either mix in a flavor ingredient OR stir it in after the ice cream is made.
Here are some ideas:
Use an Extract
Add 1 teaspoon of your favorite flavor extract when adding the sweetened condensed milk. Try Vanilla, Lemon, Orange, Coffee, Almond, Mint, Cherry.
Taste it and add more for a stronger flavor if desired before freezing it.
Infuse the Whipping Cream
For a rich organic flavor or when using a flavor ingredient that isn’t an extract, you can infuse it.
I’ve done this with traditional machine ice cream with delicious results for cinnamon ice cream or fresh mint ice cream.
This takes a bit longer but the flavor is fantastic.
- Pour the whipping cream (unwhipped) into a sauce pan.
- Add the flavor ingredient: 1-2 cinnamon sticks, some sprigs of mint or other herbs, or a vanilla bean slit down the middle.
- Gently warm the cream; do not allow it to simmer or boil.
- Remove from heat and let it sit for 20-30 minutes or until you like the flavor.
- Strain or remove the flavor ingredient.
- Chill the cream again (it needs to be cold to whip well) and proceed with the recipe as written.
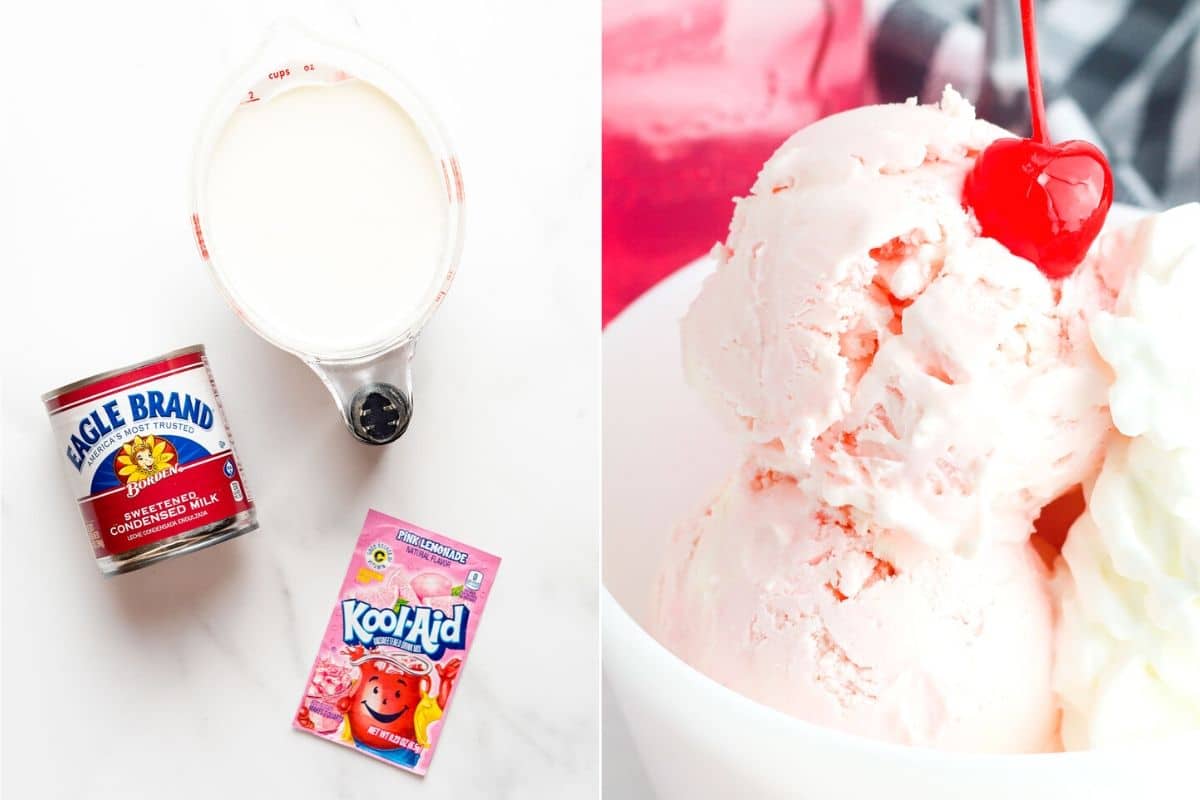
Use a Drink Mix
This method is really fun especially for kids.
Select a drink mix that does NOT have sugar in it already.
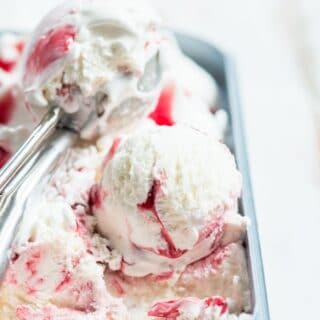
The recipe in the photos is a Pink Lemonade Ice Cream using Koolaid drink mix.
Use a 0.23 ounce drink packet. If using an alternative drink mix use 1 3/4 teaspoons.
Use Mix In Ingredients
When transferring the homemade ice cream to a freezer container, light weight ingredients can be stirred in.
For heavier stir-in ingredients, allow the ice cream to chill until a soft serve stage (1-2 hours).
Then gently stir in the ingredients and allow the ice cream to fully freeze.
Examples: Add a cup of Mini chocolate chips, crushed cereal, 10-12 cookies crumbled, toffee bits, thinned jam, salted caramel sauce, etc.
How to Color It
Food coloring can be uses when adding the sweetened condensed milk to give the ice cream a color if desired.
Add it at the end of mixing the ingredients.
How to Make it – Step-by-Step
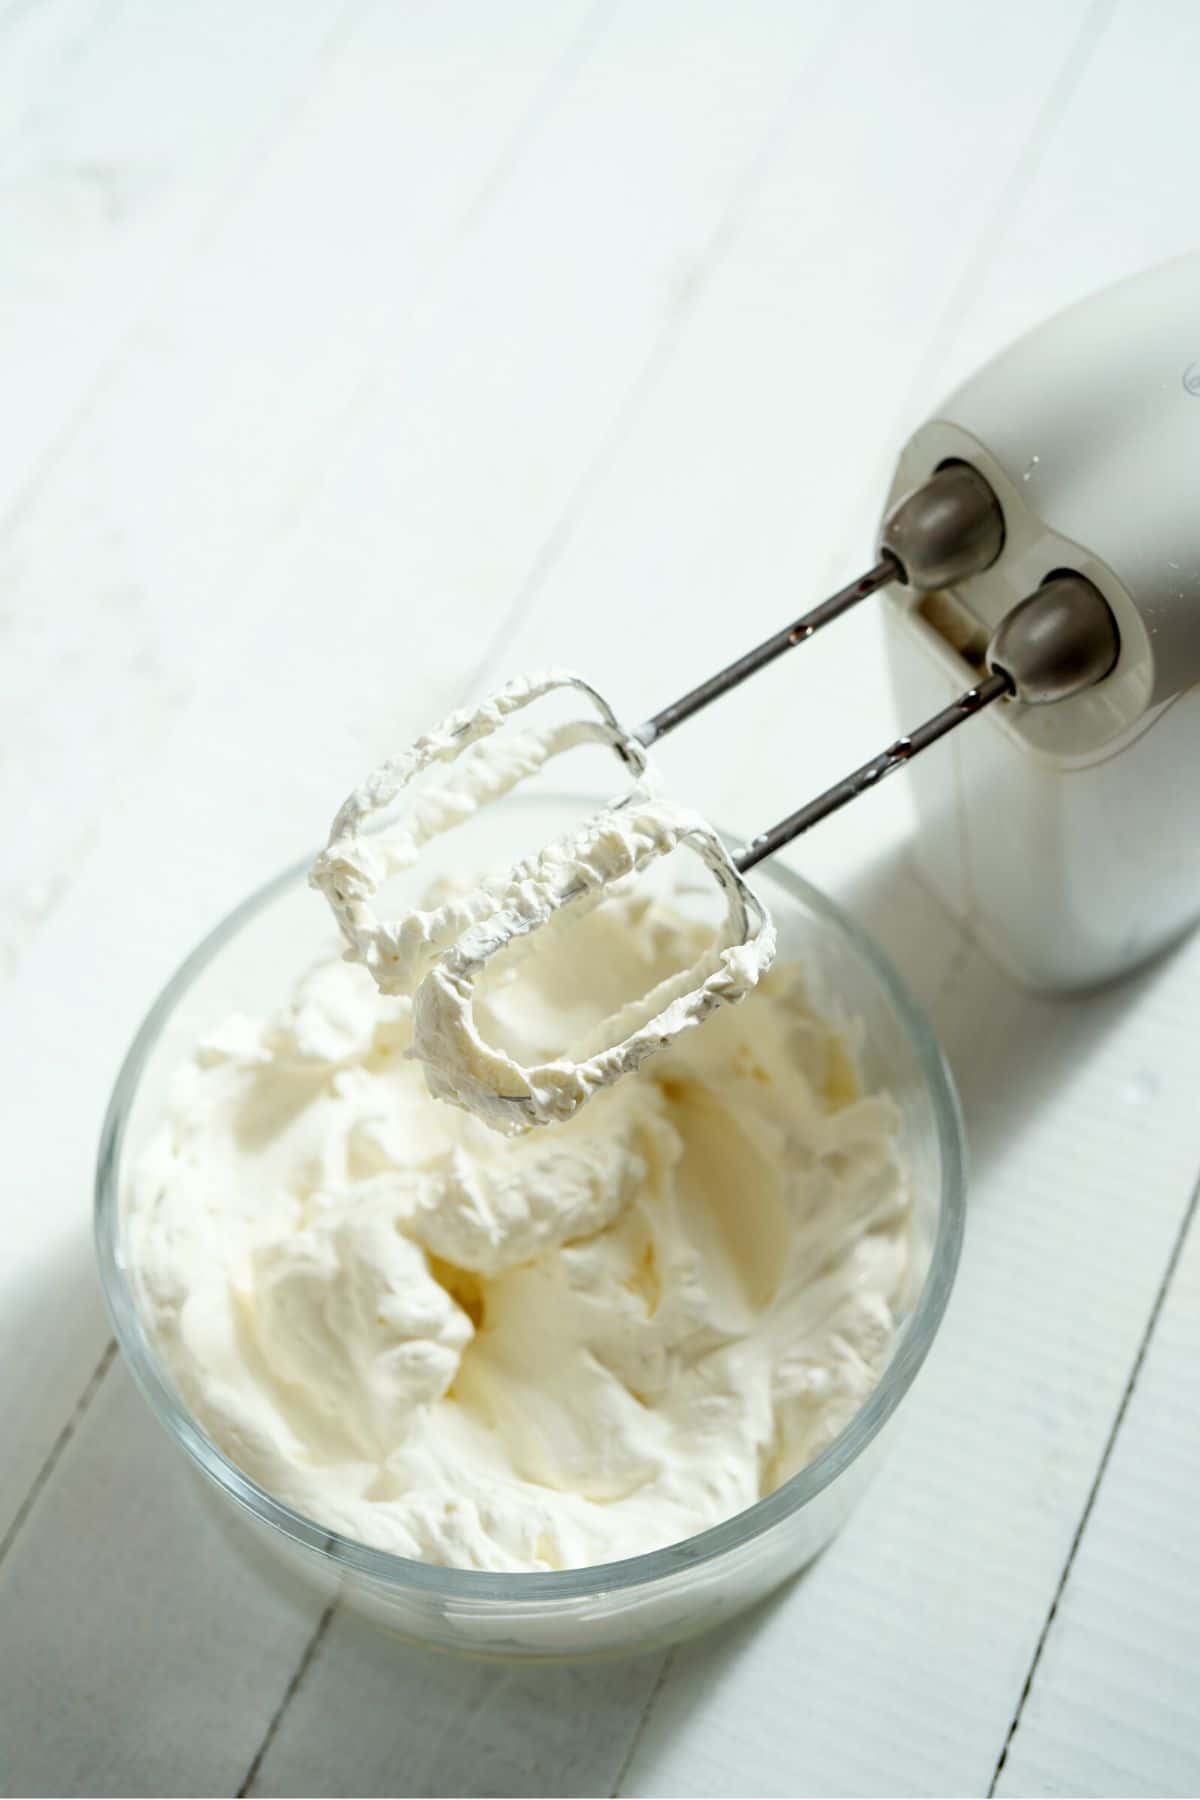
STEP 1: Using a standing mixer (recommended) or a hand held mixer, beat the whipped cream until soft peaks begin to form.
STEP 2: Slowly pour in the sweetened condensed milk while continuing to beat with the mixer. Turn mixer to high and beat until stiff peaks form.
NOTE: if using an extract or drink mix for flavor, it would be added here too.
STEP 3: Spoon into a loaf pan and spread evenly. Cover with plastic wrap and place in the freezer for at least 6 hours.
Before serving allow the ice cream to sit out at room temperature until it’s scoopable.

Pro Tips
Store in a Freezer Safe Container
The ice cream can be frozen in a loaf pan.
If you plan to have it longer or to retain a better texture use an ice cream freezer container.
I recommend homemade ice cream specific containers especially if you’ll make the ice cream often.
These containers are designed to have a gap between the inner container, where the ice cream is, and the exterior.
This helps keep the ice cream softer with a creamier texture.
Mine is made by Tovolo and fit into the door of the freezer.
More Dessert Recipes You’ll Love
- Magic Cookie Bars with a Tropical Twist!
- Chocolate Raspberry Trifles
- Strawberry Jam Buttermilk Ice Cream– no machine
- More Ice Cream and Sorbet recipes
Try these Recipes too!
Please SUBSCRIBE and FOLLOW ME on FACEBOOK , TWITTER , INSTAGRAM and PINTEREST !
Recipe
No Churn Ice Cream
Equipment
Ingredients
- 2 cups Heavy Whipping Cream cold
- 1 15-ounce can Sweetened Condensed Milk
Flavoring (if desired) - Select One
- 1 0.23-ounce packet Kool Aid drink mix
- 1 teaspoon flavor extract
- 1/2 cup Mix In ingredients see notes
Instructions
- Add the heavy whipping cream to the bowl of a stand mixer. Whip using the whisk attachment until thickened and stiff peaks just begin to form. NOTE: hand held mixer may also be used though will take slightly longer.
- Slowly pour in the sweetened condensed milk while continuing to mix.
- Turn the mixer to high and whip until thick and cream and large peaks form.
- Add the flavoring ingredient (extract or drink mix) and fold in until well combined.
- Pour the mixture into a large loaf pan and spread evenly.
- Freeze for 6 to 8 hours. Before serving, allow the ice cream to sit at room temperature for five to 10 minutes to soften enough to scoop.
For Mix Ins
- Allow ice cream to chill 1-2 hours until soft serve consistency.
- Gently stir in mix in ingredients. NOTE: if adding thinned jam or a sauce, pour on top of ice cream and use a dinner knife to drag into the ice cream.
- Allow to fully freeze before eating.
Notes
- Pour the whipping cream (unwhipped) into a sauce pan.
- Add the flavor ingredient: 1-2 cinnamon sticks, some sprigs of mint or other herbs, a vanilla bean slit down the middle.
- Gently warm the cream; do not allow it to simmer or boil.
- Remove from heat and let it sit for 20-30 minutes or until you like the flavor.
- Strain or remove the flavor ingredient.
- Chill the cream again (it needs to be cold to whip well) and proceed with the recipe as written.
Kevin says
Love that this is no churn! So much easier to make!
katerina @ diethood.com says
My kids are gonna LOVE this ice cream!! It looks incredibly delicious!!
katerina @ diethood.com says
Now this is my kind of ice cream!! I can’t wait to try it!
Erin says
What a fun recipe to make for these summer months! I have never made my own ice cream before, but this looks easy enough I will have to try this!~
Catalina says
Love the idea to use only a mixer for ice cream. My family will love it!
Catalina says
I made this ice cream and now it’s our favorite ice cream recipe. Thank you for the recipe!
Fatima Torres says
This ice cream recipe reminds me of the one my dad and I would make as a kid. Such wonderful memories.
Erin | Dinners,Dishes and Dessert says
This Churn Ice Cream looks absolutely delicious! Yummy!
Heather says
We love making no churn ice cream! It’s super easy and I love that it’s not a ton of work.
Brianne says
Oh yum! That looks absolutely delicious! I love how simple this recipe is AND how tasty it is, too. Time for some sweet treats this weekend!
Amy Desrosiers says
This ice cream looks amazing!! I just made some in my ice cream maker. I need to try this no-churn style.