
Being a food blogger, I had to find the food aspect to feature with relationship to this book. Eggs seemed apropos, after all the book is about the Easter BunnIES (yes according to this there are multiple bunnies and traditionally all male) and delivering eggs.
I've always been intrigued by the notion of naturally dyed Easter eggs so felt this to be a perfect chance to experiment.
It would be impossible for me to be any more excited about my natural dye endeavor; so rife with chromatic opportunity and exploration.
I researched like a mad woman to find the best method of dying eggs. I put a few techniques together and had a very successful experience.
Supplies for Making Natural Dye Easter Eggs
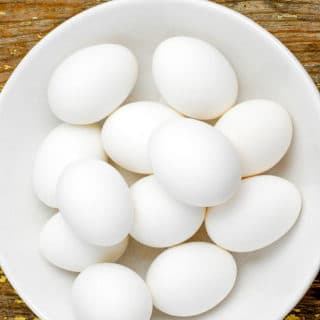
- Eggs (I recommend white) in the amount you'd like to dye
- Containers for the eggs to soak in the dye; one per dye color depending on the amount you'll dye (I finally settled on quart size Mason jars with lids)
- White vinegar
- Natural food and spice items to create the dye (see below)
- Pans

Hard Boiled Egg Recipe
The eggs will need to be hard-boiled before dying.
The following recipe is a good one to cook them well, low amount of cracking and easy peeling.
This recipe for How to Make Perfect Instant Pot Hard Boiled Eggs is a favorite too.
Recipe
Hard Boiled Eggs
Ingredients
- 12 Eggs (choose desired number of eggs not to exceed pot size)
- Water for boiling the eggs
Instructions
- Place eggs in a large pan and fill with cool water. NOTE: if eggs have been at room temperature make the water warmer.
- Place on the stove top and bring to a boil.
- Once the water in the pan has begun to boil, turn off heat. Let sit for 15 minutes.
- Place pan under cool running water (don’t dump out water the eggs cooked in) over the sink allowing the water to become fully cool in the pan gradually. This will cool the eggs slowly preventing cracking, but also makes them easier to peel.
Nutrition
Natural Egg Dye Supplies
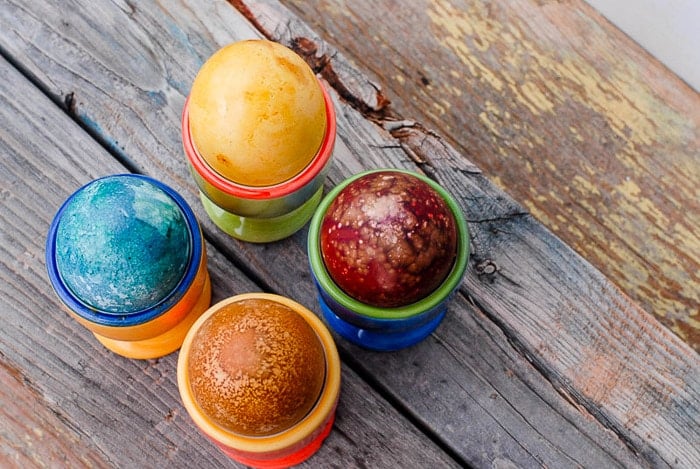
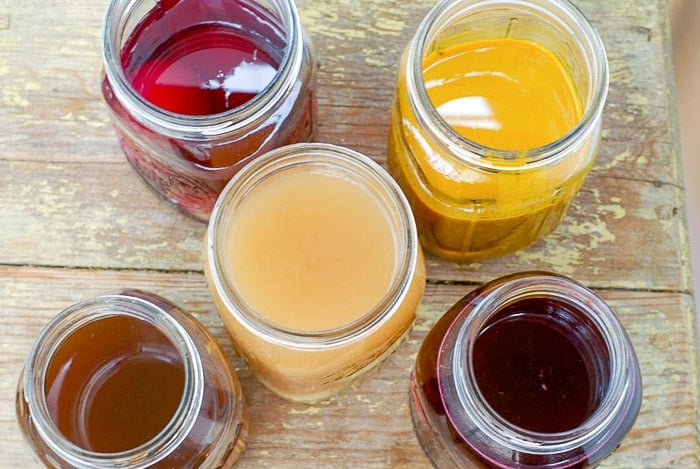
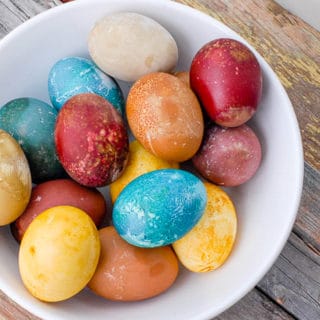
These are the ingredients and colors used to make the natural dye Easter eggs shown here:
- Red (made with beets)
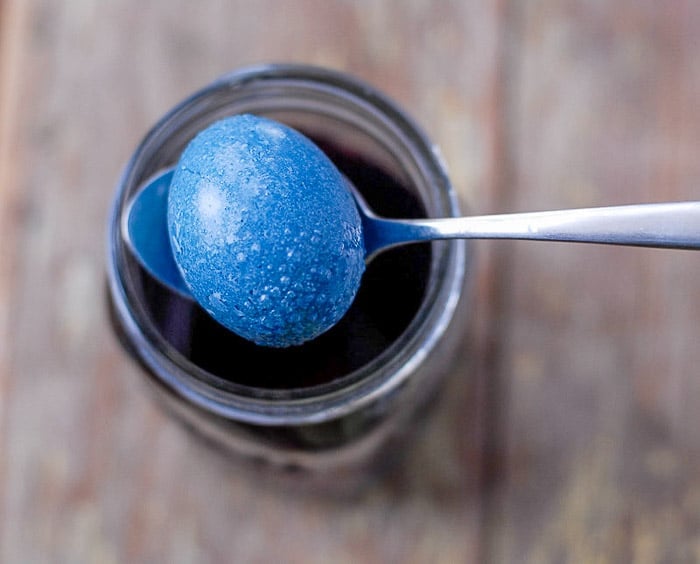
- Blue (made with red cabbage….yes, really)
- Green (made with spinach)
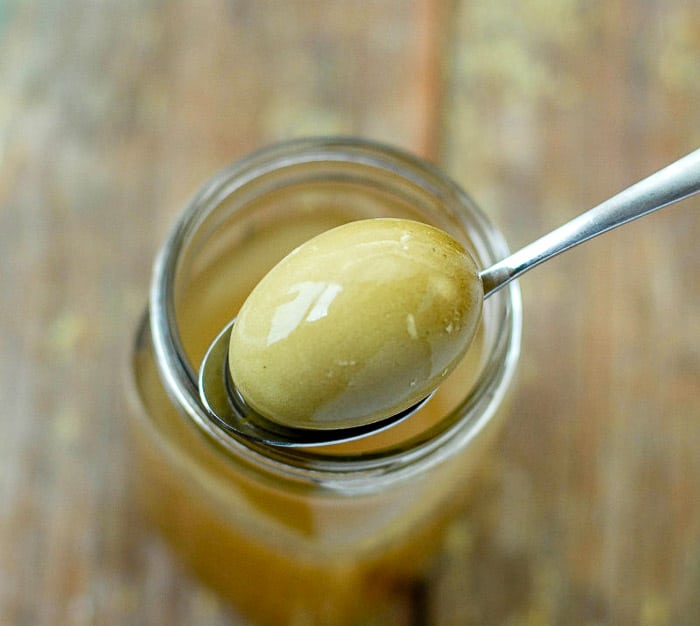
- Golden Brown (made with dill seeds)
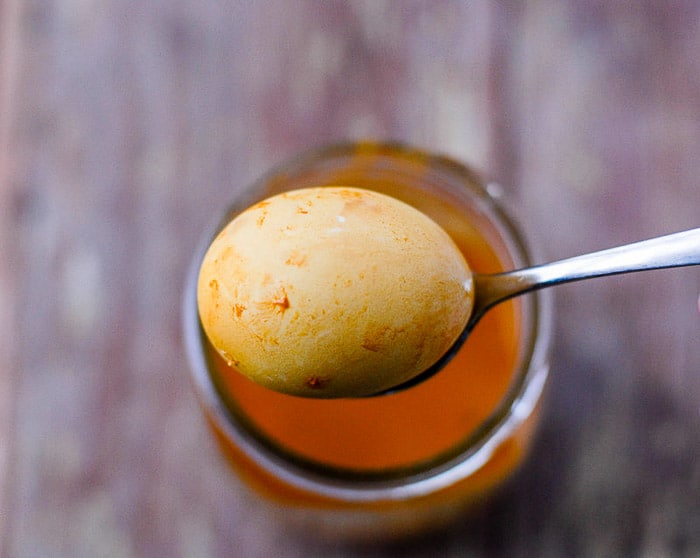
- Yellow (made with turmeric)
Color Notes about Natural Egg Dyes
You will notice all ingredients create dyed water at very different rates.
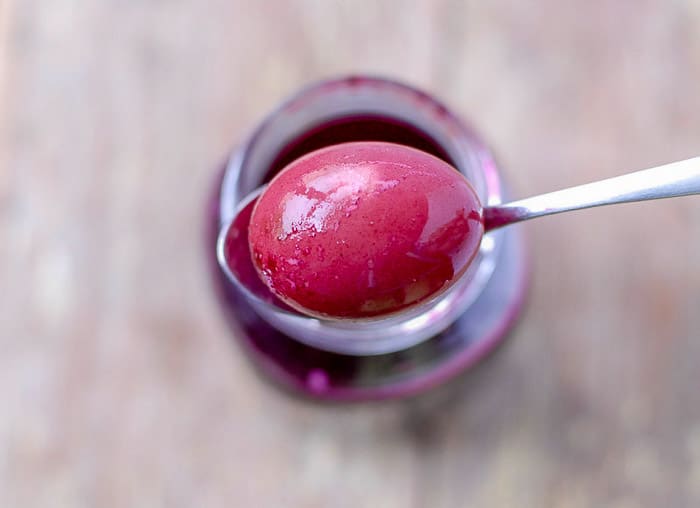
Beets were very fast; maybe 10 minutes. Spinach took a very long time; a few hours. I wanted my dyes very intense so simmered them for a few hours.
Note about Red Cabbage
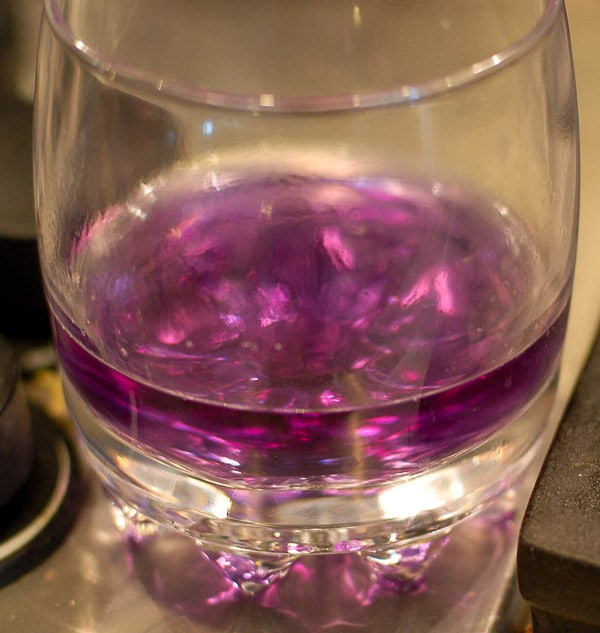
This almost drove me mad so I'm going to break the code on this for you now. Red cabbage DOES make the eggs a blue color.
I'll spare you the chemistry about it (which I did research) but trust me, your egg sitting in a gorgeous purple dye WILL come out blue.
This dye took longer to set in but was very blue when I took the eggs out after soaking overnight.
Note about Spinach
This natural egg dye does make the egg green but a very earthy, bottom-of-a-pond green.
If you are looking for something that would match a leprechaun's coat, this is not it.
Note about Turmeric
When mixed with water it becomes very silty.
I just wiped any excess off once the egg completed dying and drying.
How to Make Natural Dye Eggs – Step by Step:
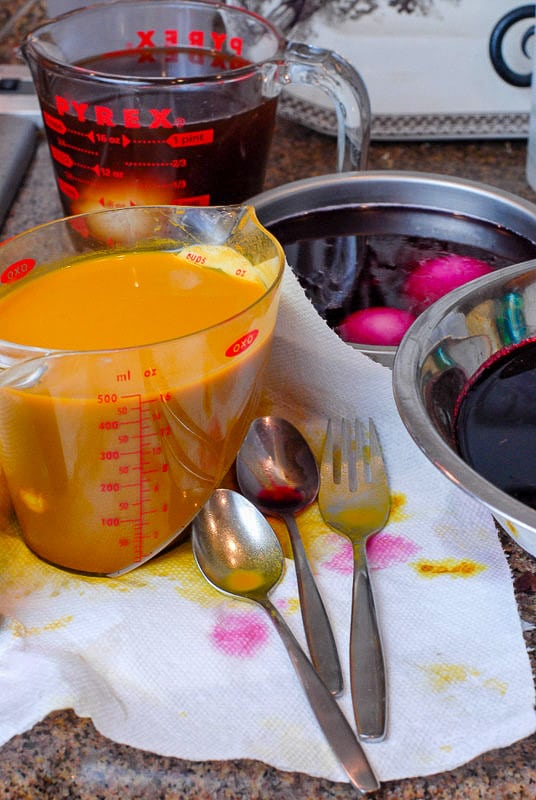
Natural Egg Dye: Set Up
I began using bowls but quickly switched to quart volume Mason jars with wide mouths (wide mouth if possible, makes it easier to get the eggs in and out).
Starting Set Up:
Final and Recommended Natural Egg Dye Set Up:
The other thing is I recommend soaking these overnight for optimum color transfer.
If so, and if you plan to eat them, you'll need to store them in the refrigerator.
Having a jar with a secure lid is the way to go (no one wants to stage a scene looking like a remake of the movie Carrie happened in your fridge were the beet dye to spill).
How to Natural Dye Easter Eggs
Instructions can be printed via the recipe card below.
There is some personal discretion with the amount of the natural dye ingredient.
Part of what you can consider is the depth of the dye color; for more dye or darker dye, use more of the item. Adjust for your needs.
Ingredient Quantities I Used:
- RED: 6 small beets (chopped into four pieces each)
- GREEN: a large bag of spinach leaves, about
- GOLDEN BROWN: 1 cup of dill seeds
- ORANGE: ½ cup of turmeric
- BLUE: half of a small head of red cabbage (chopped into chunks)
- In a saucepan add the item which is the source of the dye (e.g. beets, spinach, etc).
- Add water to the pan to reach 1 inch over the top of your dye source.
- Bring the water to a boil then reduce to a simmer. Simmer the mixture until the water is the color you would like for your dye. NOTE: The eggs will be lighter than the dye so bear this in mind when picking how dark you want it.
- After having reached the desired color, carefully strain the dye mixture into a glass measuring cup and discard the dye source material (e.g. beets, spinach, etc).
- Add 1 tablespoon of white vinegar per 1 cup of liquid.
- Allow the mixture to cool before adding eggs to avoid cracking.
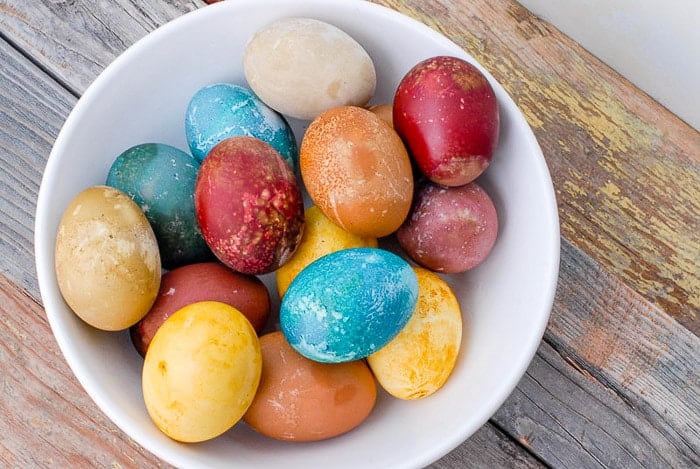
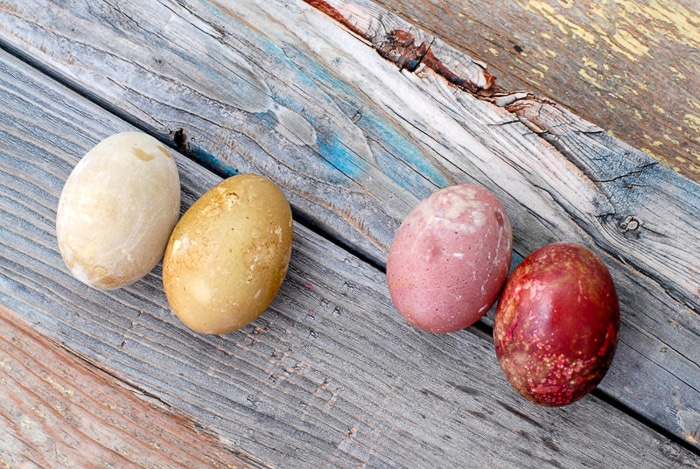
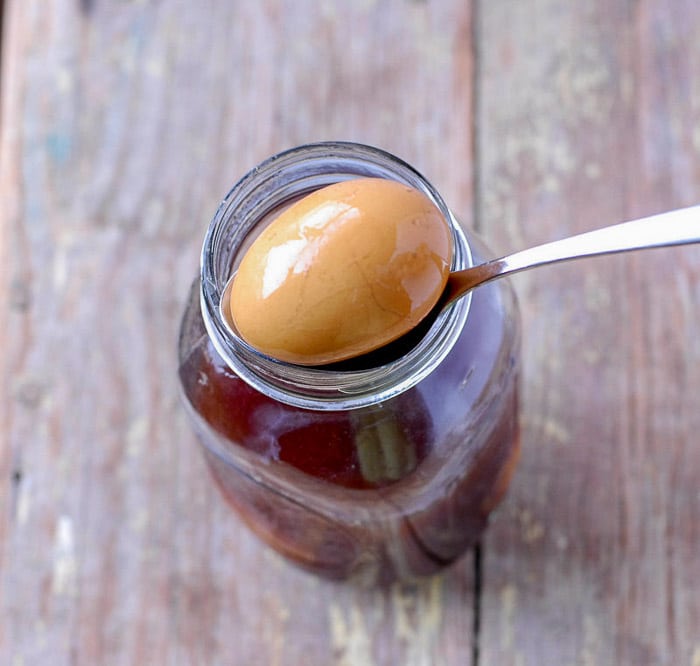
- Allow eggs to soak until desired color is achieved. I immersed mine in dye in the afternoon and put them in the fridge overnight. Not only was I surprised and delighted about the colors but they also took on some interesting textures.
- Remove eggs from the dye and put them in an egg carton to dry.
Oiling the Natural Dye Easter Eggs
The eggs appear chalky when dried so I rubbed some canola oil on them with a paper towel which worked great (it may take multiple coats and don't rub hard or the dye will rub off). If you will eat them remember to keep them refrigerated.
More Natural Egg Dye Color Options
This chart offer more ingredient ideas for making natural dye Easter eggs! Print here.

Recipe
How to Natural Dye Easter Eggs
Ingredients
Supplies for Making Natural Dye Easter Eggs
- White Eggs (hard boiled) the amount preferred to dye
- Dye Containers (jars or bowls) quart-size Mason jars with lids recommended
- White vinegar
- Natural food and spice items to create the dye see below
- Pans
- Canola Oil Optional
Natural Egg Dye Supplies (ingredients used to color eggs in this post; suggested amounts included)
- 6 small Beets for Red eggs
- 1 small head Red Cabbage for Blue eggs
- 1 large bag Spinach for Green eggs
- 1 cup Dill Seeds for Golden Brown eggs
- 1/2 cup Turmeric for Yellow eggs
Instructions
- In a saucepan add the item which is the source of the dye (e.g. beets, spinach, etc). There is some personal discretion with the amount:for more dye or darker dye, use more of the item.
- Add water to the pan to reach 1 inch over the top of your dye source. Bring the water to a boil then reduce to a simmer.
- Simmer the mixture until the water is the color you would like for your dye. NOTE: The eggs will be lighter than the dye so bear this in mind when choosing how dark the dye is.
- After having reached the desired color, carefully strain the dye mixture into a glass measuring cup and discard the dye source material (e.g. beets, spinach, etc). Add 1 tablespoon of white vinegar per 1 cup of liquid.
- Allow the mixture to cool before adding eggs to avoid cracking.
- Let the eggs soak until desired color is achieved. NOTE: I immersed mine in dye in the afternoon and put them in the fridge overnight.
- Remove eggs from the dye and put them in an egg carton to dry.
Oiling the Eggs (optional)
- The eggs appear chalky when dried so I rubbed some canola oil on them with a paper towel which worked great (it may take multiple coats and don’t rub hard or the dye will rub off).
- Keep dyed eggs in the refrigerator if you plan to eat them.
Notes
Christine's Pantry says
Love the post! Thanks for sharing!
Kimberly says
Those are gorgeous, what a unique idea. I love the antique look of these eggs!
Belinda @zomppa says
Simply brilliant! Will definitely pass the word along – thank you so much. I admit – I far prefer these colors. They make the eggs so gorgeous and magical.
Angela FRS says
So beautiful–the red cabbage ones, especially.
Jennifurla says
This has been informative, LOVE the color and texture…and I laughed at the green discription (bottom of the pond green! ha)
Amy's Cooking Adventures says
What beautiful eggs! I love the Country Bunny! It is my favorite Easter story, too!
Toni (Boulder Locavore) says
Thank you everyone for your uplifting comments! I'm so happy to hear others HAVE read this great book! I read it first thanks to my grandparents but feel it's a treasure for all.
I too am a free range egg girl so this method was perfect for my 'sensibilities'. I was so pleasantly surprised at the outcome, especially the red cabbage making blue eggs (I was a doubter on that,I'll admit).
Jennifer: I DID do some brown eggs too. If you look at the photos of the bowl of colored eggs, there is a teal blue egg toward the left side. That is a brown egg dyed in the red cabbage dye. Dyes that were close to brown did not do much but I'm all for experimentation.
A Spicy Perspective: I L-O-V-E 'chicken colored eggs'! That is actually what lead me to my summer CSA farm after seeing some sitting primly in a porcelain egg holder at a local restaurant they sell to. I channeled Martha Stewart and had to have some. Such a journey from that point to today!
Thanks for starting MY week off so upbeat everyone! Please 'report back' with your experimentations.
hmariek says
SO COOL!!! I am going to mention you and this awesome post with my next recipe blog
Absurd Baker says
This is such a good way of beginning the week: I just can't use artificial colors, and my beloved free-range eggs will love to be dressed like this. And free-range kids will probably have TONS of fun making the colors. Thank you so much, and always count me in to experiment with natural colors – SO BEAUTIFYING!!!
Diann G says
The eggs are beautiful and rustic looking. Since I won't be dyeing eggs with my 20 year old ….reading your blog makes me feel like I have. Thanks.