
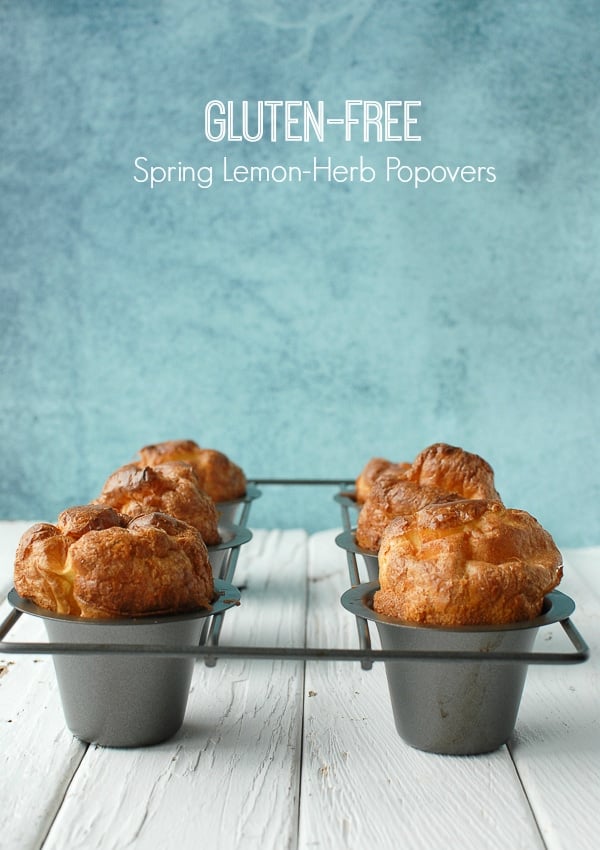
As spring approaches or settles in, I find myself thinking of lighter foods. The idea of a spring popover sprang to mind, also as a consideration for an Easter menu. I've never made a popover and since I've been gluten-free I don't think I've eaten one. I do have fond memories of them at more special meals when I was a child and am fortunate to have both my Grandmother's recipe and her cast iron popover pans. I set to work feeling my spontaneous whim would quickly yield a lovely puffed popover, I'd take a photo and call it a day. Sixteen batches later (note: at the final publication of this post I had lost track of the number of prototype batches) I have mastered a gluten-free popover, at altitude, and feel confident I could teach a PhD course about them for all I learned.
'Have you ever made a popover?' I asked my home-chef husband, about 6 batches in. 'No, I just know they are difficult' he replied. Sadly I never got that memo and was learning on the fly. For a four ingredient recipe, popovers may be the most elusive, mercurial food I've ever tried to master. To make matter worse, every recipe and article I read about them presents equally conflicting information.
For all of those who maintain the popover pan MUST be heated for them to rise, the same number comment they NEVER heat the pan and theirs are always perfect. For all who maintain a true popover pan MUST be used, just as many people claim to never use a popover pan and have fantastic results with a muffin tin. Where does a girl start to climb that mountain?

I began, naïve and excited, with my Nana's recipe. Matching other recipes I researched afterwards, the amount of milk and flour are the same (2 cups) paired with six eggs and some salt. I did see the identical recipe on some recipe websites as I began my science sleuthing out of failure. Nana's recipe also specifies not preheating the pans, mixing the batter and allowing it to sit for 2-3 hours stirring periodically before baking (I did not do that and read that has to do with allowing the gluten in wheat flour to relax before baking). She also advocated pricking the popovers before they are done and letting them continue to cook. I ran into that wisdom in another cookbook about 10 batches in. Not only was it a flop but I could not release the popovers from the cast iron molds despite having prepped them as instructed. I ditched the beloved vintage molds and moved on.
I will not drag you through the play-by-play of every variable I manipulated to reach a successful conclusion. Nor will I detail the deprogramming I now am forced to with our senior Labrador Retriever who is convinced that each time I go to the kitchen or remove a popover pan from the oven, it must be for his benefit. What I WILL share is that in my experience there are some key variables that were critical for my success. I often would go back to test those variables after a successful batch by doing the opposite with an additional batch to be met with failure. I'm sure the fact that I'm baking at 5,500 feet as well as with gluten-free flour entered into my attempts as well.
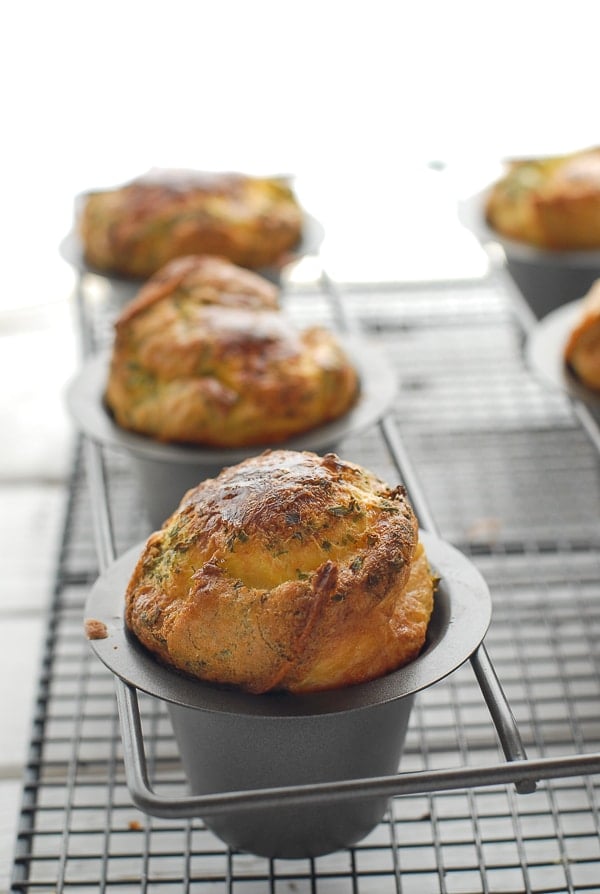
The Anatomy of a Popover: if you have not had the chance to enjoy a popover their outside appearance does not convey fully their charm. Though looking like an inflated muffin they are almost hollow inside. The brown, crisp outer shell yields to a soft eggy lining and a custardy layer on the bottom. It is divine. They are light, airy and a fantastic addition to any meal or holiday celebration.
What I Learned About Baking Popovers:
- Unlike many recipes, everything is deliberate in a popover recipe. Follow the steps and ingredient notes to the letter.
- Use a real popover pan. I was not successful getting my popovers to rise in a muffin tin.
- Preheat the popover pan. I found placing mine in a cold oven and bringing the pan out once the oven reached temperature to add the batter worked best.
- Don't grease the popover pan before preheating. It will smoke and smell and the greasing effect will disappear by the time it's time to add the batter.
- Make sure all ingredients are at room temperature; with the exception of the milk which should be heated as described in the recipe. The heating of the milk really made a difference I noted.
- The cardinal rule: Never, E.V.E.R. open the oven during popovers cooking. It will deflate them.
Recipe

Gluten-Free Spring Lemon-Herb Popovers
Ingredients
- 1 cup Whole Milk
- ¾ cups King Arthur’s Gluten-Free Flour blend*
- 4 large Eggs , room temperature
- ½ teaspoon Kosher Salt
- ½ teaspoon freshly ground Black Pepper
- 1 teaspoon fresh Lemon Zest
- 1 tablespoon fresh Sorrel , finely diced
- 1 ½ tablespoons fresh Chives , finely diced
- 1 teaspoon fresh Thyme leaves , finely diced
- 1 tablespoon fresh Dill , finely diced
- 1 full stick of chilled unsalted butter (for greasing the pan; it will not all be used)
Instructions
- Place a non-stick popover pan in the cold oven and preheat to 400 degrees. While the oven is heating combine the flour, salt and pepper in a small mixing bowl and stir to combine. Also combine the lemon zest and herbs in a separate small bowl and using a dining fork to stir the herbs together.
- When oven has almost reached 400 degrees, place room temperature eggs in a blender, pulse 1-2 seconds only to lightly blend.
- Place the milk in a microwave-safe container and heat on high for 45 seconds. Stir and heat 30 additional seconds on high (alternatively milk may be heated on the stove; it should be very warm to the touch but not simmering as it can cook the eggs).
- Turn blender on a very low speed and slowly pour in milk to combine it with the eggs. Do not over blend.
- Add the flour mixture to the eggs and milk in the blender. Pulse only to combine; it will be a watery batter.
- When the oven reaches 400 degrees, remove the new stick of unsalted butter from the refrigerator. Peel back the wrapping to expose about 2 inches of the butter stick, leaving the wrapper on the opposite end so you may maintain a firm grasp of it when greasing the pan.
- Remove the heated popover pan from the oven and place on a heat proof surface such as a cooling rack. Grasping the butter by the wrapped end, swirl the stick around inside each popover mold a few times to coat the sides and bottom. The butter will melt.
- Pour the fresh herbs into the blender and pulse just to mix up the batter and integrate the herbs. Pour evenly into all of the six popover molds, filling them approximately ¾ full.
- Place the plan in the oven. DO NOT OPEN THE OVEN WHILE THE POPOVERS ARE COOKING! This will cause them to deflate.
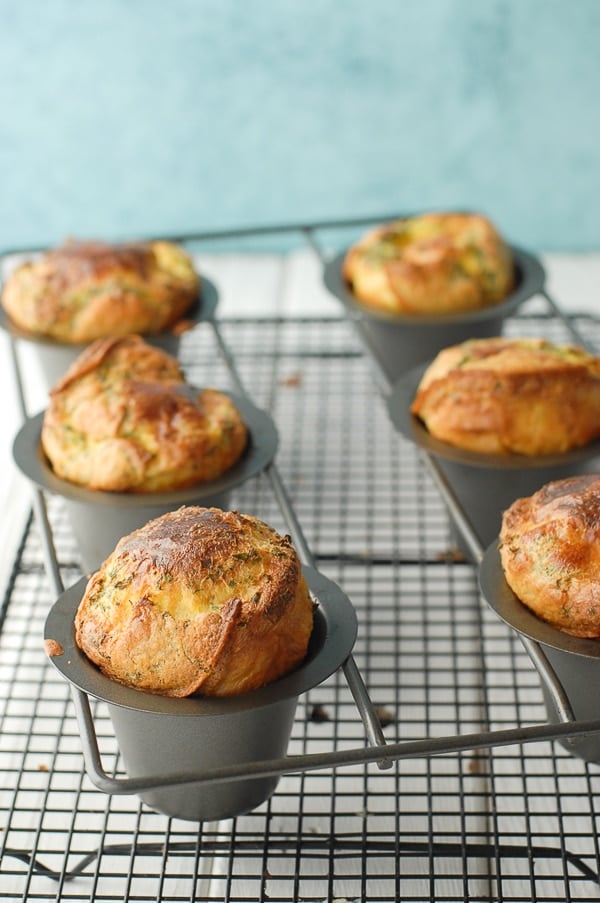
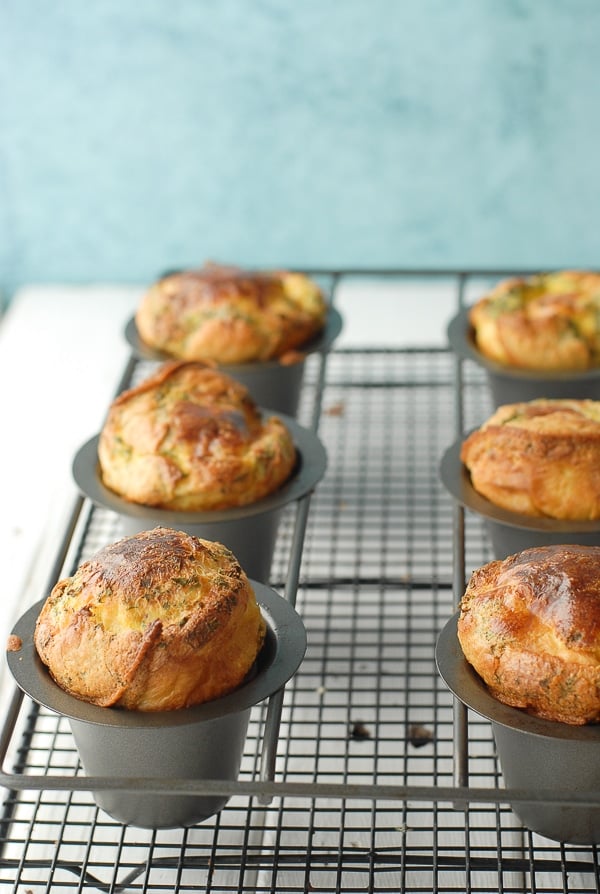
- Cook the popovers at 400 degrees for 20 minutes. Reduce the heat to 375 for an additional 15-20 minutes. Popovers should be expanded over the top of the molds, dark brown and firm when removing from the oven. The longer the popovers cook, the more they hold their form when removed from the oven.
- Remove pan from oven. Remove the popovers from the pan onto a cooling rack. Stick a sharp knife in the side of each popover, making a small slit (1/2 inch) to allow steam to escape. Ensure the slit side of the popover is facing upwards. Allow the popovers to cool to the touch and serve warm.
Denise says
I really love popovers but have never tackled making them. Your post and tips definitely make me feel like I can do it. The addition of lemon is really lovely in this recipe!
Toni Dash says
Thanks Denise. As you got from the post, I stumbled into what I thought would be a slam-dunk recipe; how could it not with only a few ingredients?! What a learning experience! However it was completely worth it for the end result. I’ve received photos and accolades from readers who have made them with great success too. After 20 test batches I’d hope for nothing less!
Brenda@SugarFreeMom says
These look absolutely fantastic Toni!!! I want one now!
SImplyOldSchoolCookingReese says
Great, unique flavor combinations! Looking forward to trying these.
Toni Dash says
I hope you’ll like them!
Colleen says
One thing you did not mention was whether there is an upper limit to how many one is allowed to eat at one sitting? I’m having my breakfast coffee in Malaysia and wishing I had a dozen or two of these to accompany it! And looking forward to cooking them at altitude myself soon. Bravo, and thanks for sticking with it until they turned out perfectly.
Christie - Food Done Light says
We’ve been making popovers or “yorkshire pudding” for years. I always use my Mom’s recipe but it is amazing how different recipes can be. I love all the flavors you have put in them. I will make these for my popover loving family.
Laura Dembowski says
I have always wanted to make popovers! Love the herb combination in these.
Amy @Very Culinary says
I am an absolute sucker for a popover. I make them maybe once a month (?)… they’re my favorite! Seriously impressed you were able to make them gluten-free. Bravo, Toni.
Becca @ Crumbs and Chaos says
I’m ready for anything that screams spring these days 🙂 These look amazing – I’m in love with the first photo in this post {so gorgeous!}
Cate O'Malley says
I could so dig into these – yum!
Amy Stafford says
Toni, this looks like the perfect accompaniment to Easter dinner. Thanks for sharing.