
For as long as I can remember I have loved the combination of chocolate and peanut butter. I truly do not feel there is a more divine match. I remember in fourth grade having to do some sort of performance with a friend and we acted out the TV commercial for Reese's Peanut Butter Cups in which two people are ambling down the street, one eating peanut butter, the other eating a chocolate bar. They collide, complain about the other tainting their treat only to discover they are fantastic together. Now why we'd be acting that out for our class could only be for one reason; to eat chocolate and peanut butter in large quantities under the guise of instructional performance art!

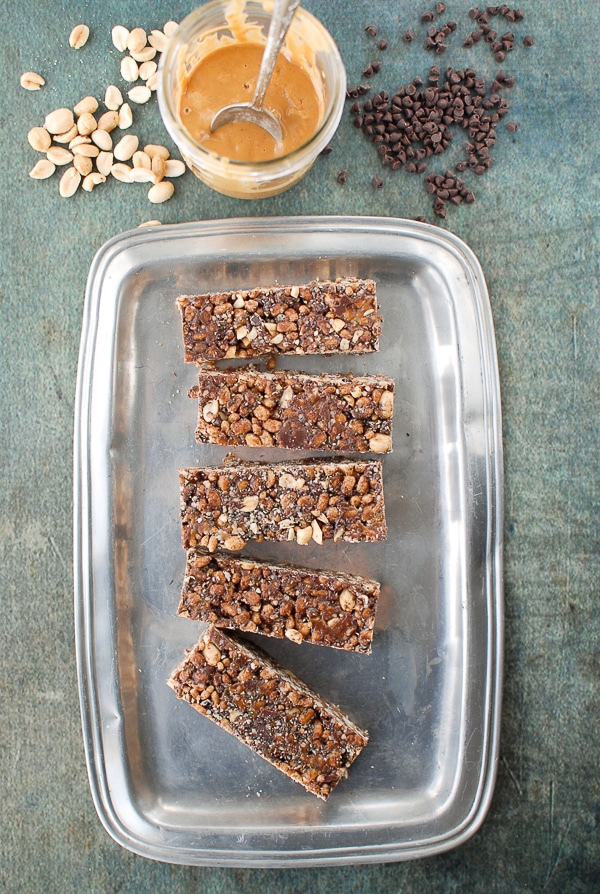
I recently tried my hand at creating some gluten-free high energy bars using puffed rice cereal, nuts, and seeds. They turned out really delicious, providing a great 'go to' healthy snack for my active kids. My son immediately asked if I'd make a version with peanut butter and chocolate. We'd recently discovered an organic, gluten-free puffed brown rice cereal that is chocolate flavored so it seemed a natural starting point. The thing I loved in particular with the energy bars was the texture. They have that 'just right' balance between being soft and firm, chewy and crunchy. They last for a few weeks sealed; maybe longer but were gobbled up by the end of that time!
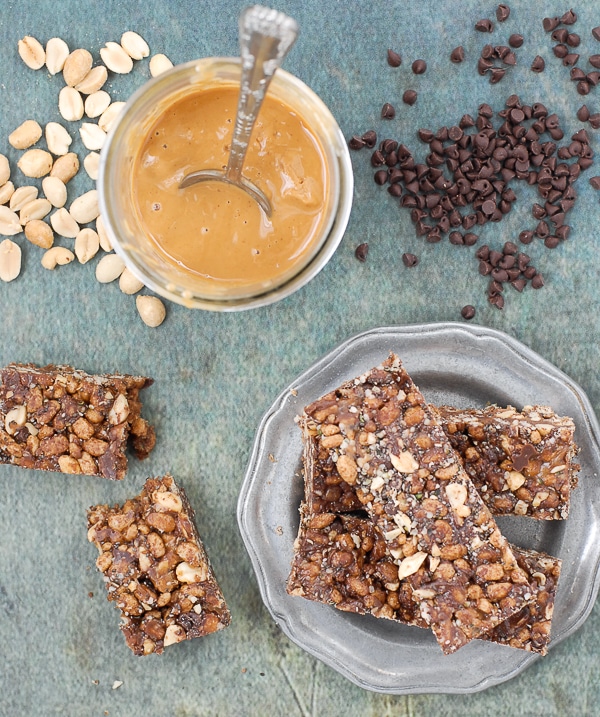
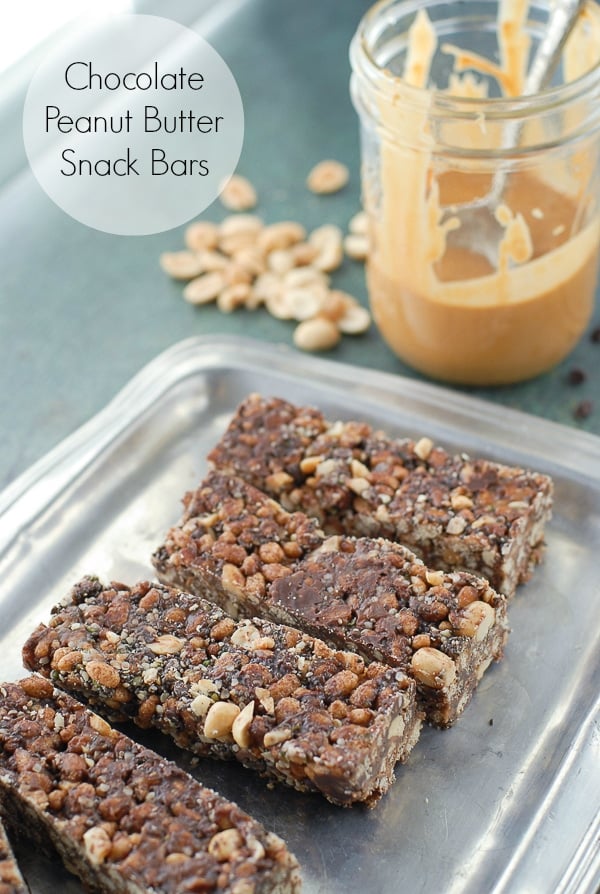
Certainly the energy bars were what I'd consider a healthy snack. These bars are not UNhealthy, but by my definition would be more of a treat bar due to the addition of the chocolate. I only use peanut butter made exclusively from ground peanuts, nothing else added and organic at that. The bars have a a cup of chocolate chips across 24 bars, natural sweeteners, some chia and hemp seeds to add protein and fiber as well as peanuts. They are fantastic in that Do-I-Trust-Myself-Having-A-Batch-Of-These-In-My-Kitchen kind of way. They have been flying off the shelf in our house, bearing a depth of flavor not found in store-bought peanut butter chocolate bars.
Making the bars gave me a chance to experiment with Brown Rice Syrup, a natural, allergen-free syrup I've been reading about. It has a thicker consistency more like molasses or honey, however has a more subtle sweetness than agave syrup (which I also use as it is low on the glycemic index, meaning it does not cause blood sugar to spike then plummet which is helpful especially in kids!). For those concerned about bars being 'too sweet', rice syrup is the way to go though it does make a thicker mixture to stir into the dry ingredients. For an easier compilation and sweeter bars I recommend using agave syrup. When mixing the ingredients some of the chocolate will melt and firm up which adds to the structure of the bars.
Recipe
Peanut Butter Chocolate Snack Bars {gluten-free}
Ingredients
- 4 cups Chocolate Puffed Rice cereal (I used gluten-free One Degree Organic Foods ‘Vegan Sprouted Brown Rice Cacao Crisps’)
- 1 cup Roasted , Salted Peanuts, rough chopped
- ¼ cup Hemp Seeds/Hulls
- ¼ cup Chia Seeds
- ¼ cup Semi-Sweet Chocolate Chips
- ¾ cup Mini Chocolate Chips
- ½ cup Smooth Peanut Butter
- ½ cup Brown Rice Syrup or Agave Syrup*
- ¼ cup Honey
- 1/8 teaspoon Kosher Salt
- 1 teaspoon Vanilla Extract
Instructions
- Line a 13x9 inch baking pan with parchment paper and set aside.
- In a large mixing bowl combine the chocolate rice cereal, peanuts, seeds, chocolate chips and mix together well. NOTE: the small Chia and Hemp seeds tend to migrate to the bottom of the bowl so be sure to stir them into the bar mixture when adding the wet ingredients.
- In a medium saucepan over medium-low heat, combine the peanut butter, brown rice or agave syrup and honey. Stirring constantly, allow the ingredients to melt together and begin to bubble; 3-5 minutes. NOTE: If using agave syrup it will begin to bubble more quickly than the brown rice syrup. Remove from heat and add the salt and vanilla.
- Pour the sweetened peanut butter mixture into the dry ingredients. Quickly stir all ingredients together using a large mixing spoon, ensuring all dry ingredients are coated. If using the brown rice syrup it tends to set up more quickly than agave syrup.
- Turn the bar mixture into the prepared pan and spread the mixture evenly around the entire pan. Using the back of a large mixing spoon, press the mixture down to compress the mixture and flatten the top. Place wax paper over the top of the bars and refrigerate until fully set (approximately 2 hours).
- Slice into bars and keep refrigerated in an air tight container.
Notes
Nutrition
Anne-Marie @ This Mama Cooks! says
These look delicious! And so professional looking – hard to believe they’re homemade. Mine would be all crooked and uneven. How do you cut yours to be so straight? (Don’t tell me you use a ruler!) Band saw? 😉
Toni Dash says
Scalpel and T-square, of course!
Kailley @ Kailley's Kitchen says
These sound great! I’m eager to start dabbling in gluten-free baking and cooking– these are definitely at the top of my list of recipes to try!
Toni Dash says
This is a good starting point Kailley for GF baking (well these are no bake actually). No flours to mix, just straight forward ingredients and great flavors!
Sockmonkey's Kitchen says
oh YUM! I’m another fan of Chocolate and Peanut Butter… and sadly I remember this commercial, and thought they were so cool with their headphones 😉 I love the seed additions – super beneficial! I’ll be sharing this on my fb page today so my readers can also enjoy this great recipe =0)
Toni Dash says
When I looked up the commercial I laughed at the Walkman headphones. A clear indicator of the cool of the time! Despite the funny flashback, I will always love these flavors together. And something I love as a close second is the great texture (and of course that you can make them at home!).