Graham Cracker Crusts are easy to make and the base for many delicious pies. Whether you are baking a pie or making a chilled pie, making your own crust is delicious and affordable.
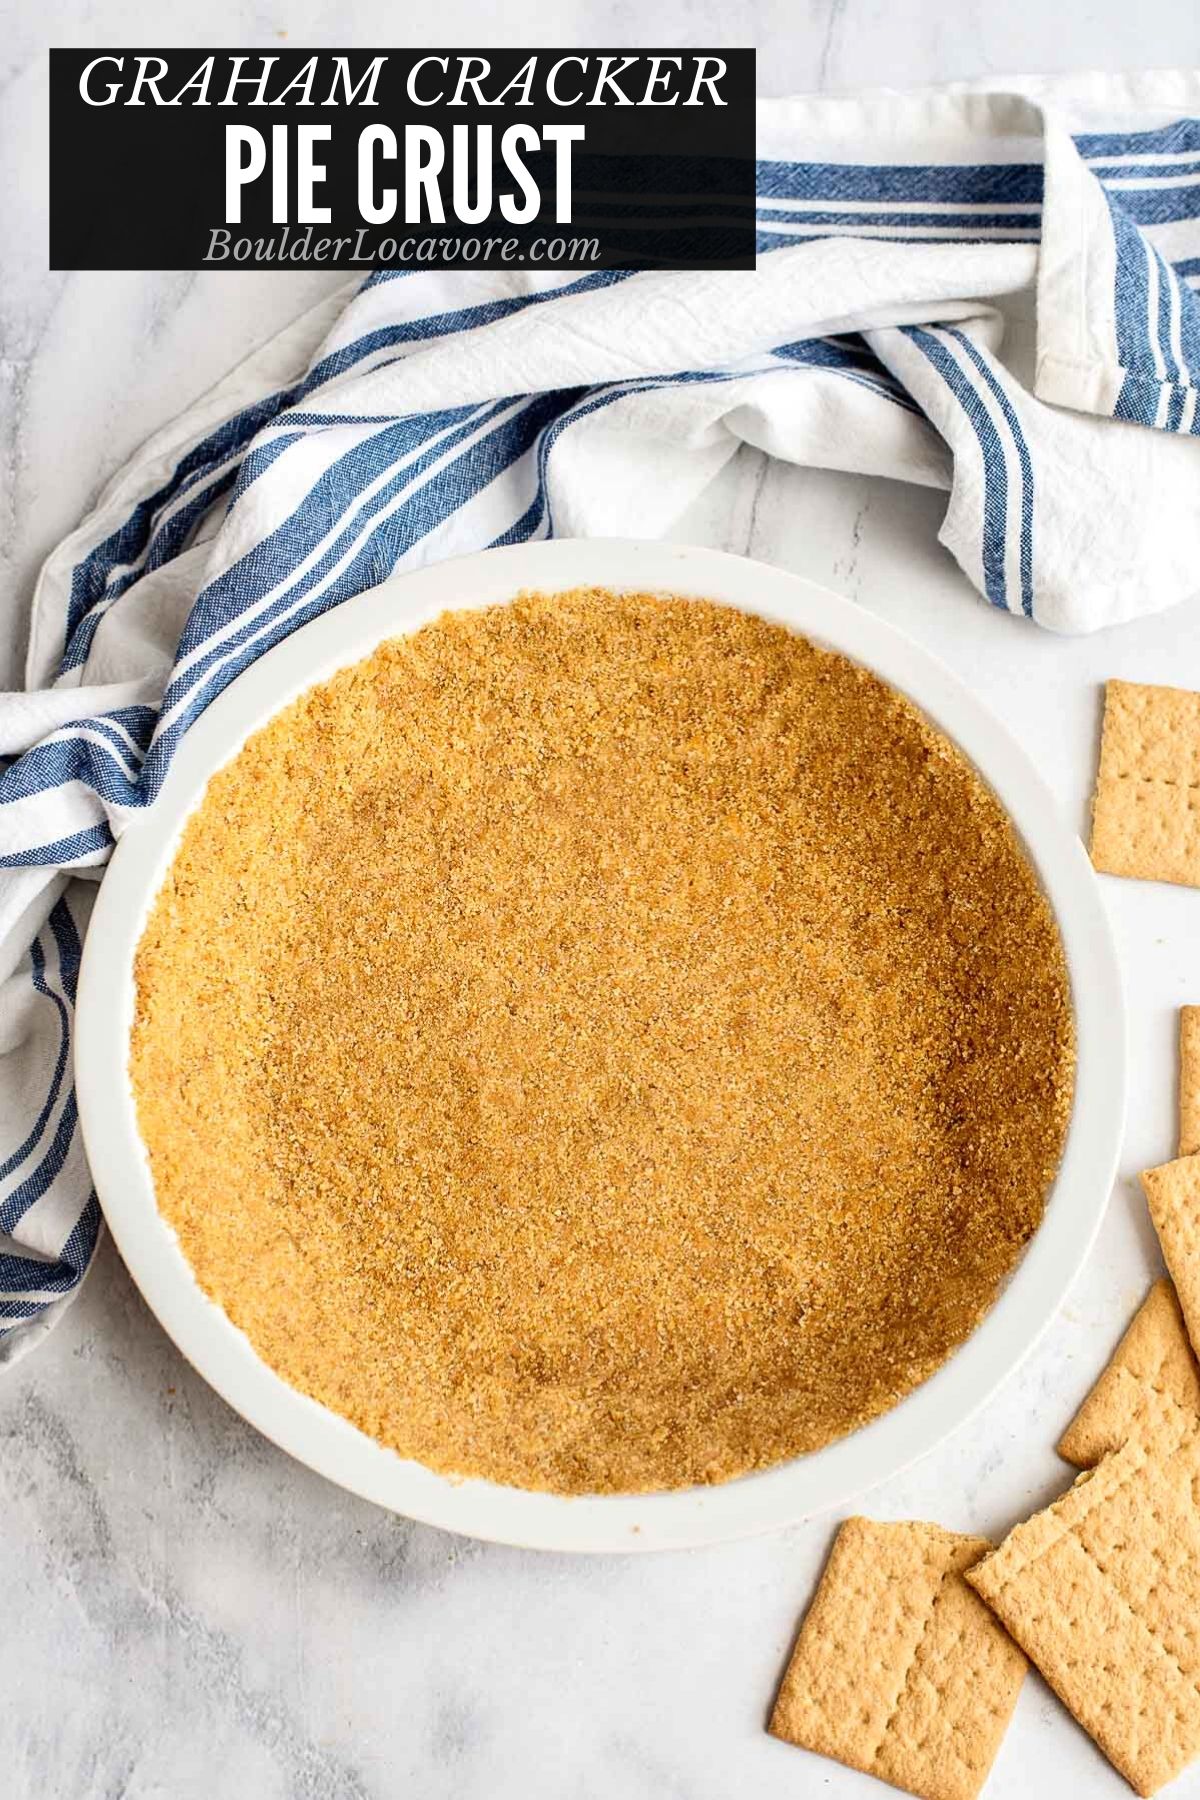
Store bought crusts are an easy choice but once you’ve made this graham cracker crust recipe you’ll be making them yourself!
It’s easy and fast. The type and flavor of the crackers used can be changed up.
There are so many delicious pies waiting for you when you’ve made this recipe!
Recipe Ingredients
Only three ingredients are needed to make this easy pie crust recipe:
- Graham cracker crumbs
- Granulated Sugar
- Melted Unsalted Butter
You can use homemade graham cracker crumbs or store-bought crumbs. Instructions to make your own are below.
Making the crumbs is easy and they’ll always be fresh!

What Size Crust does this Make?
One 9-inch normal depth (not deep dish) crust.
How to Make a Graham Cracker Crust – Step-by-Step
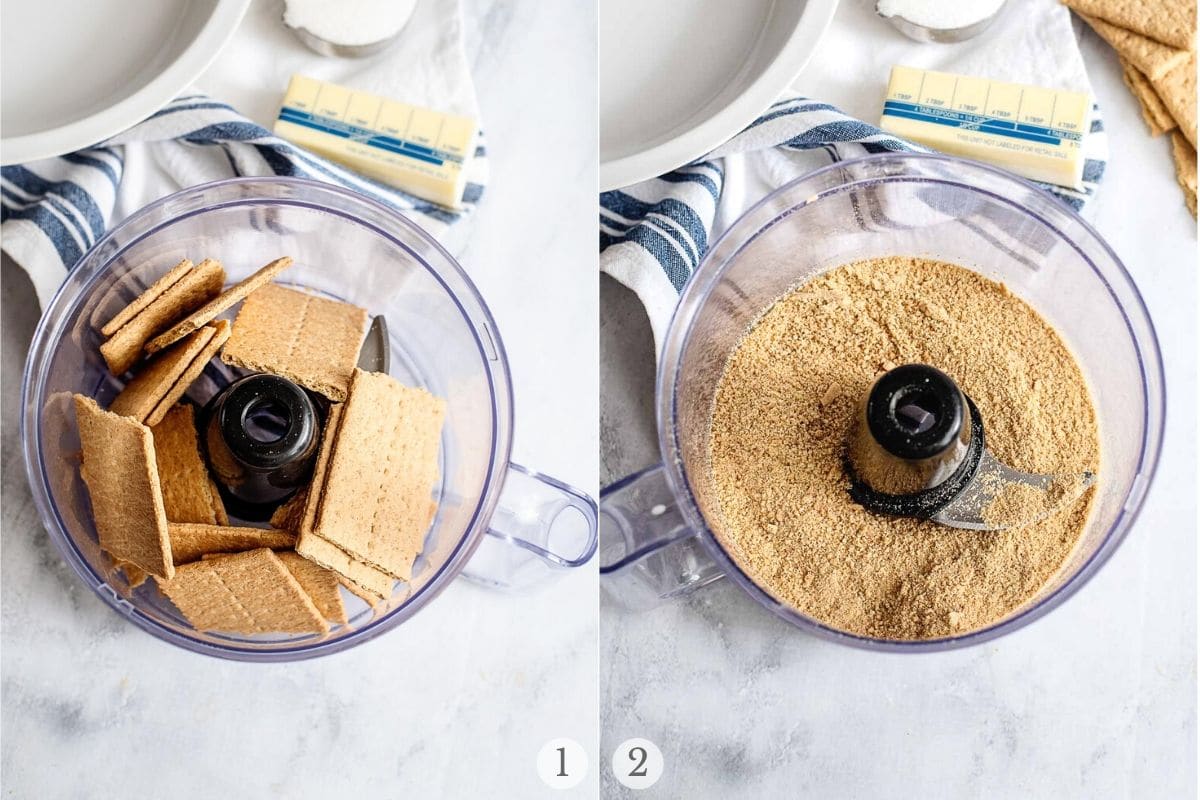
STEP 1: Making graham cracker crumbs. All 10-11 sheets (4 graham crackers attached to each other) or 40 individual graham crackers to a food processor or mini chopper (photo 1).
Pulse until making sand-like crumbs (photo 2). You’ll need 1 1/2 cups of crumbs.
Alternatively the crackers can be placed in a sealed zipper close plastic bag and pounded with a rolling pin to create crumbs of this size.
STEP 2: Combine the graham cracker crumbs, granulated sugar and melted butter in a bowl.
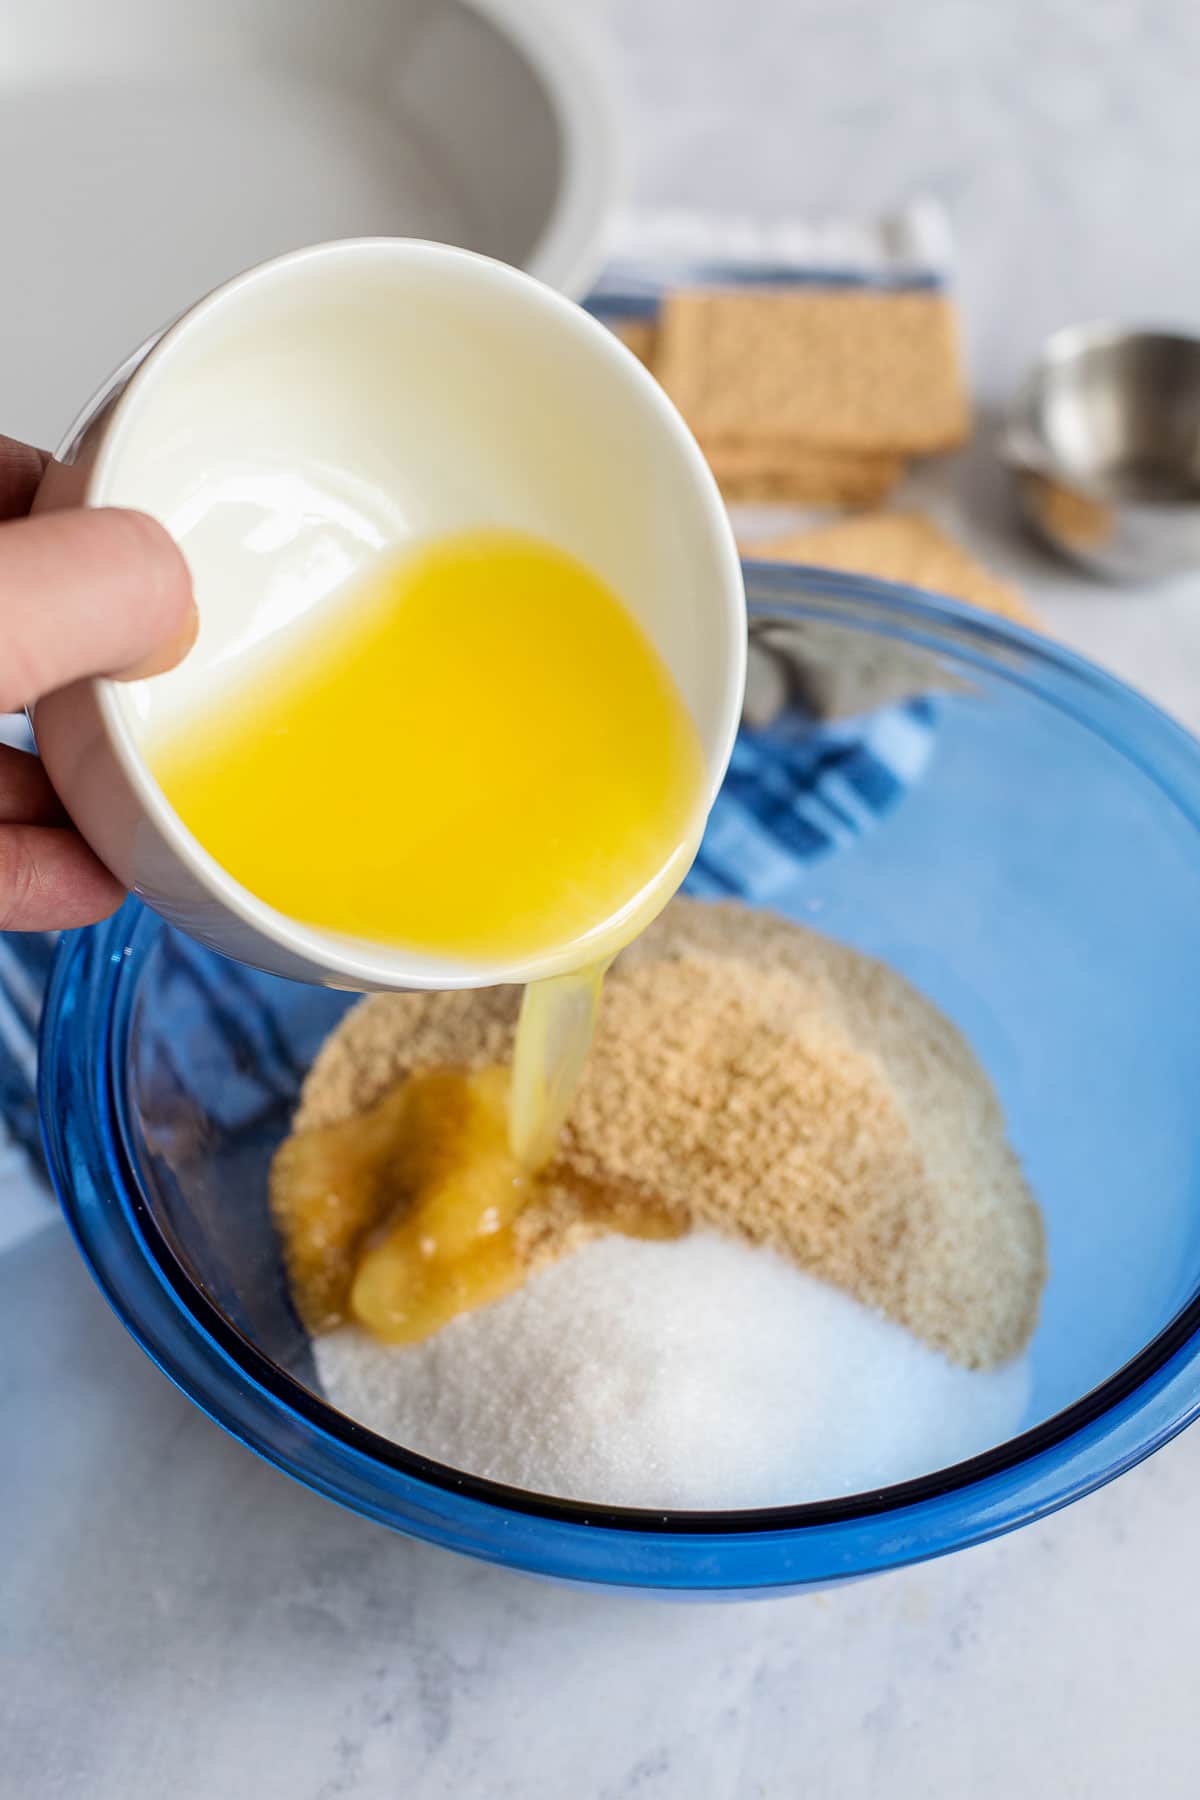
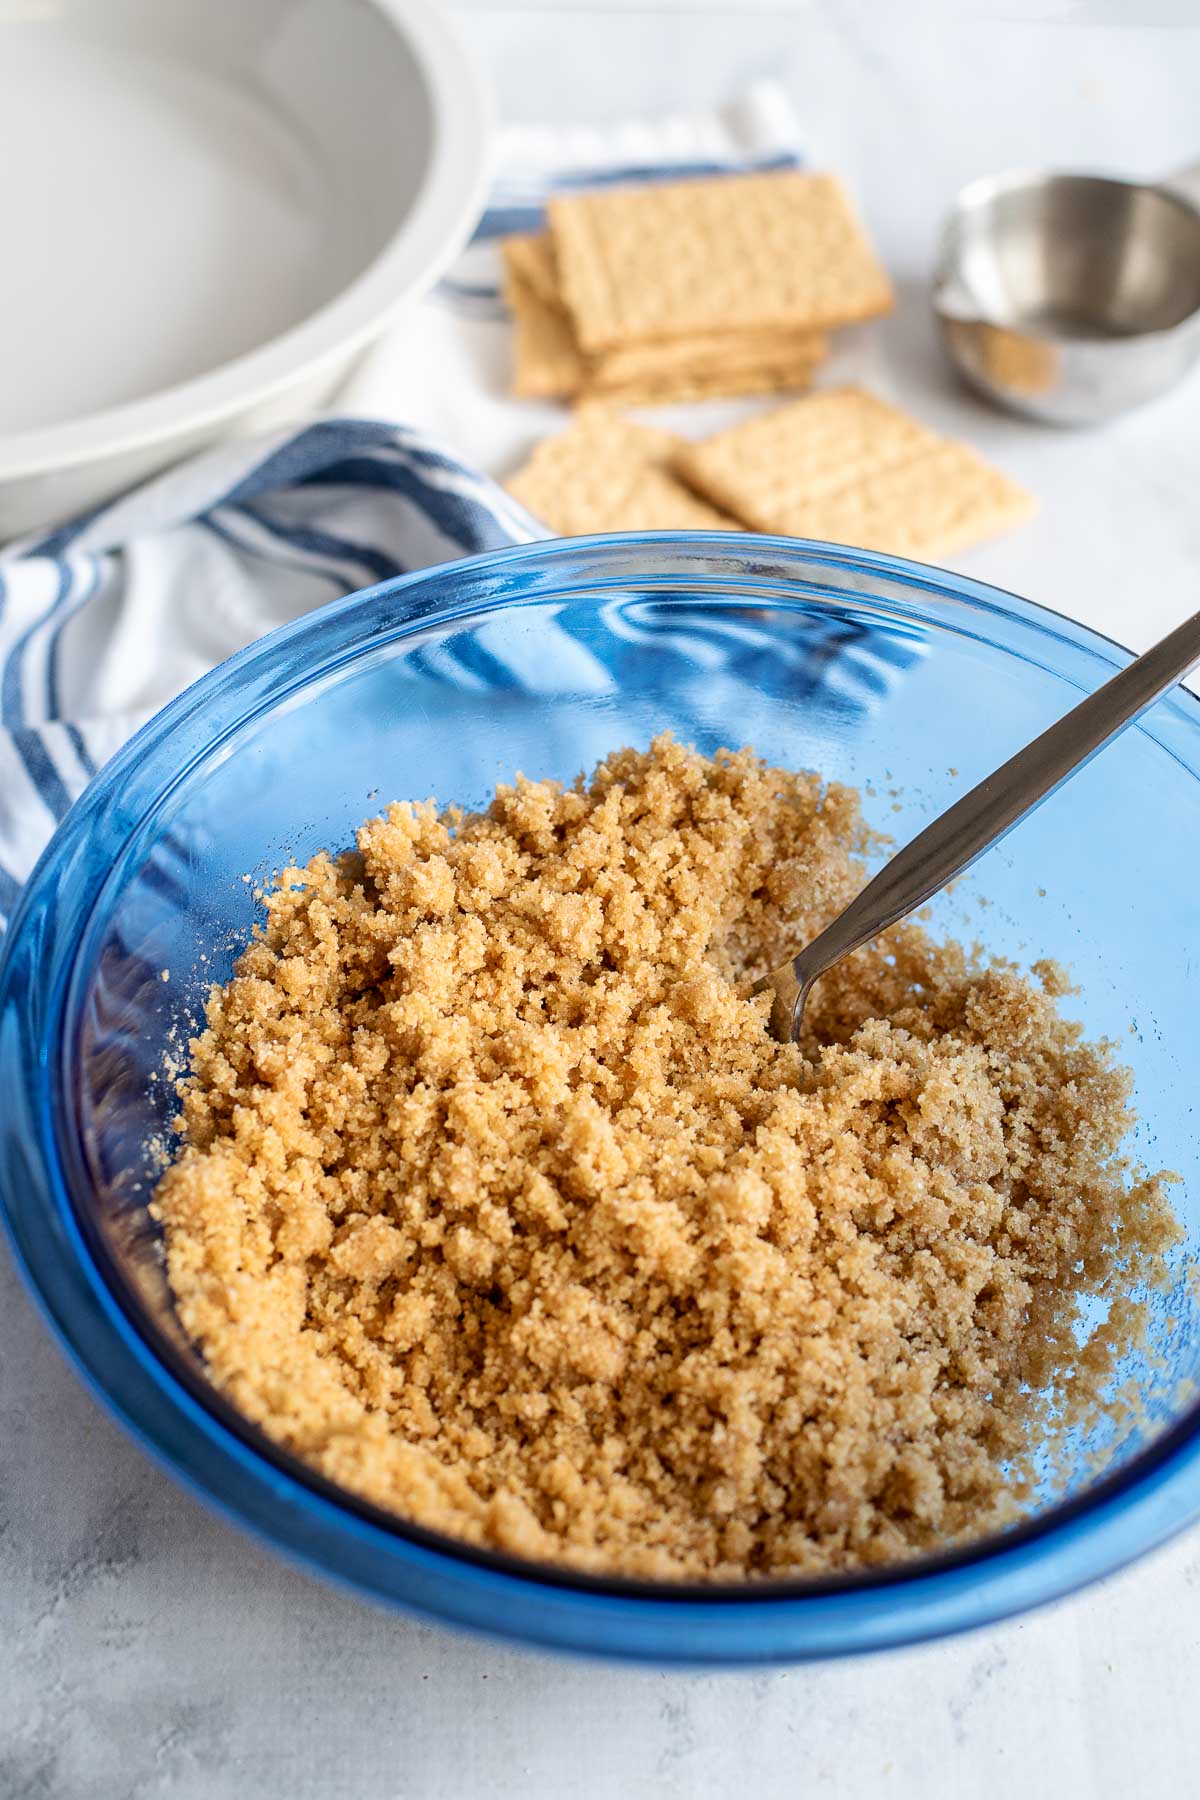
Mix together to form the consistency of wet sand.
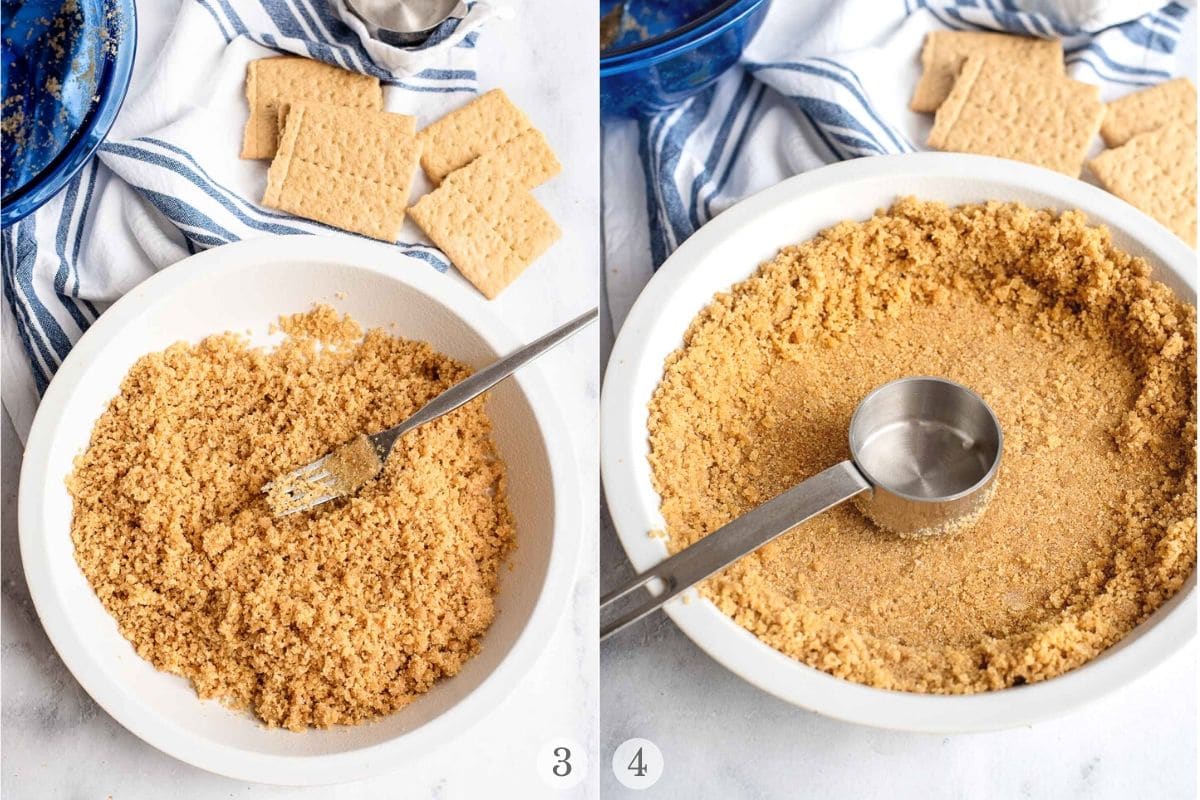
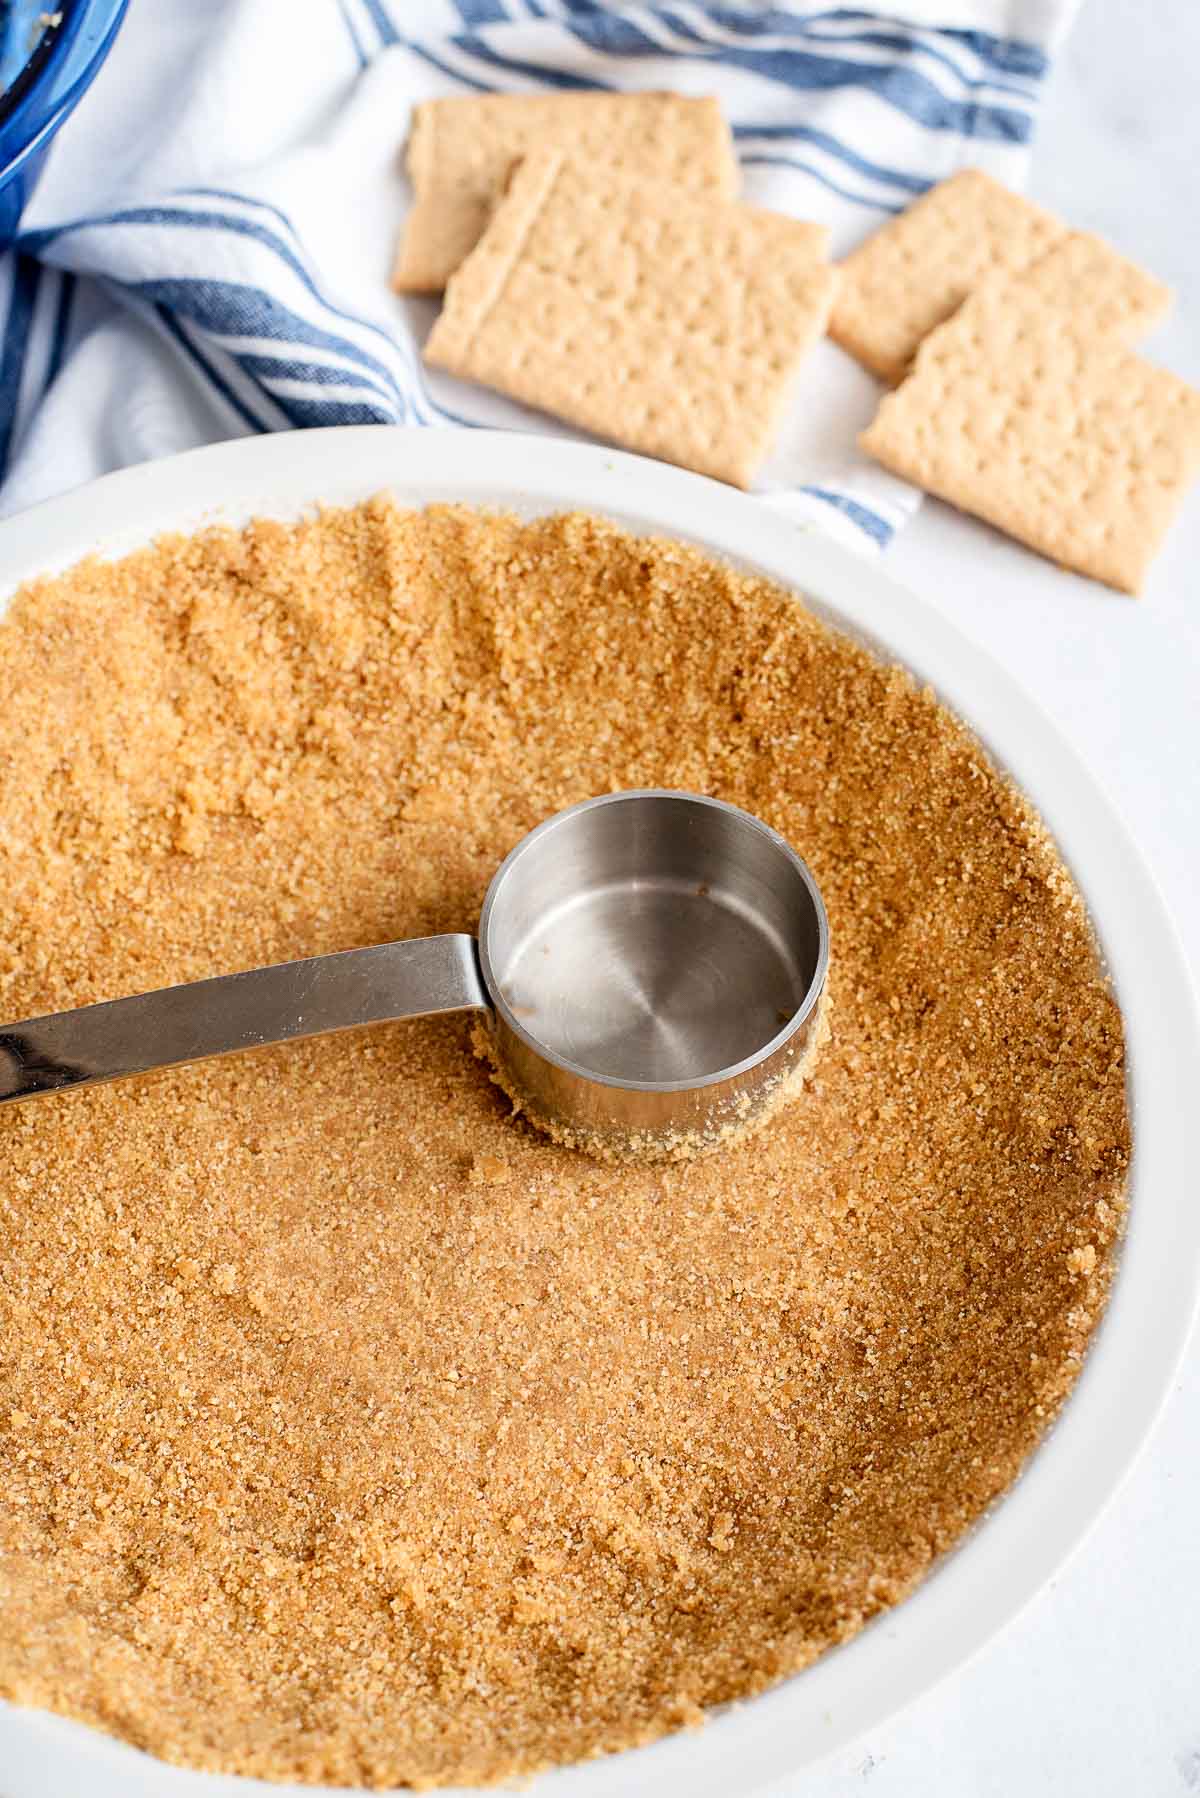
STEP 3: Pour the crumb mixture into the pie plate (photo 3). Press the crumbs firmly into the bottom of the pan using fingers and the bottom of a flat measuring cup (photo 4).
The back of a metal dining spoon may be used to firmly press the sides of the crust for a smooth finish is desired.
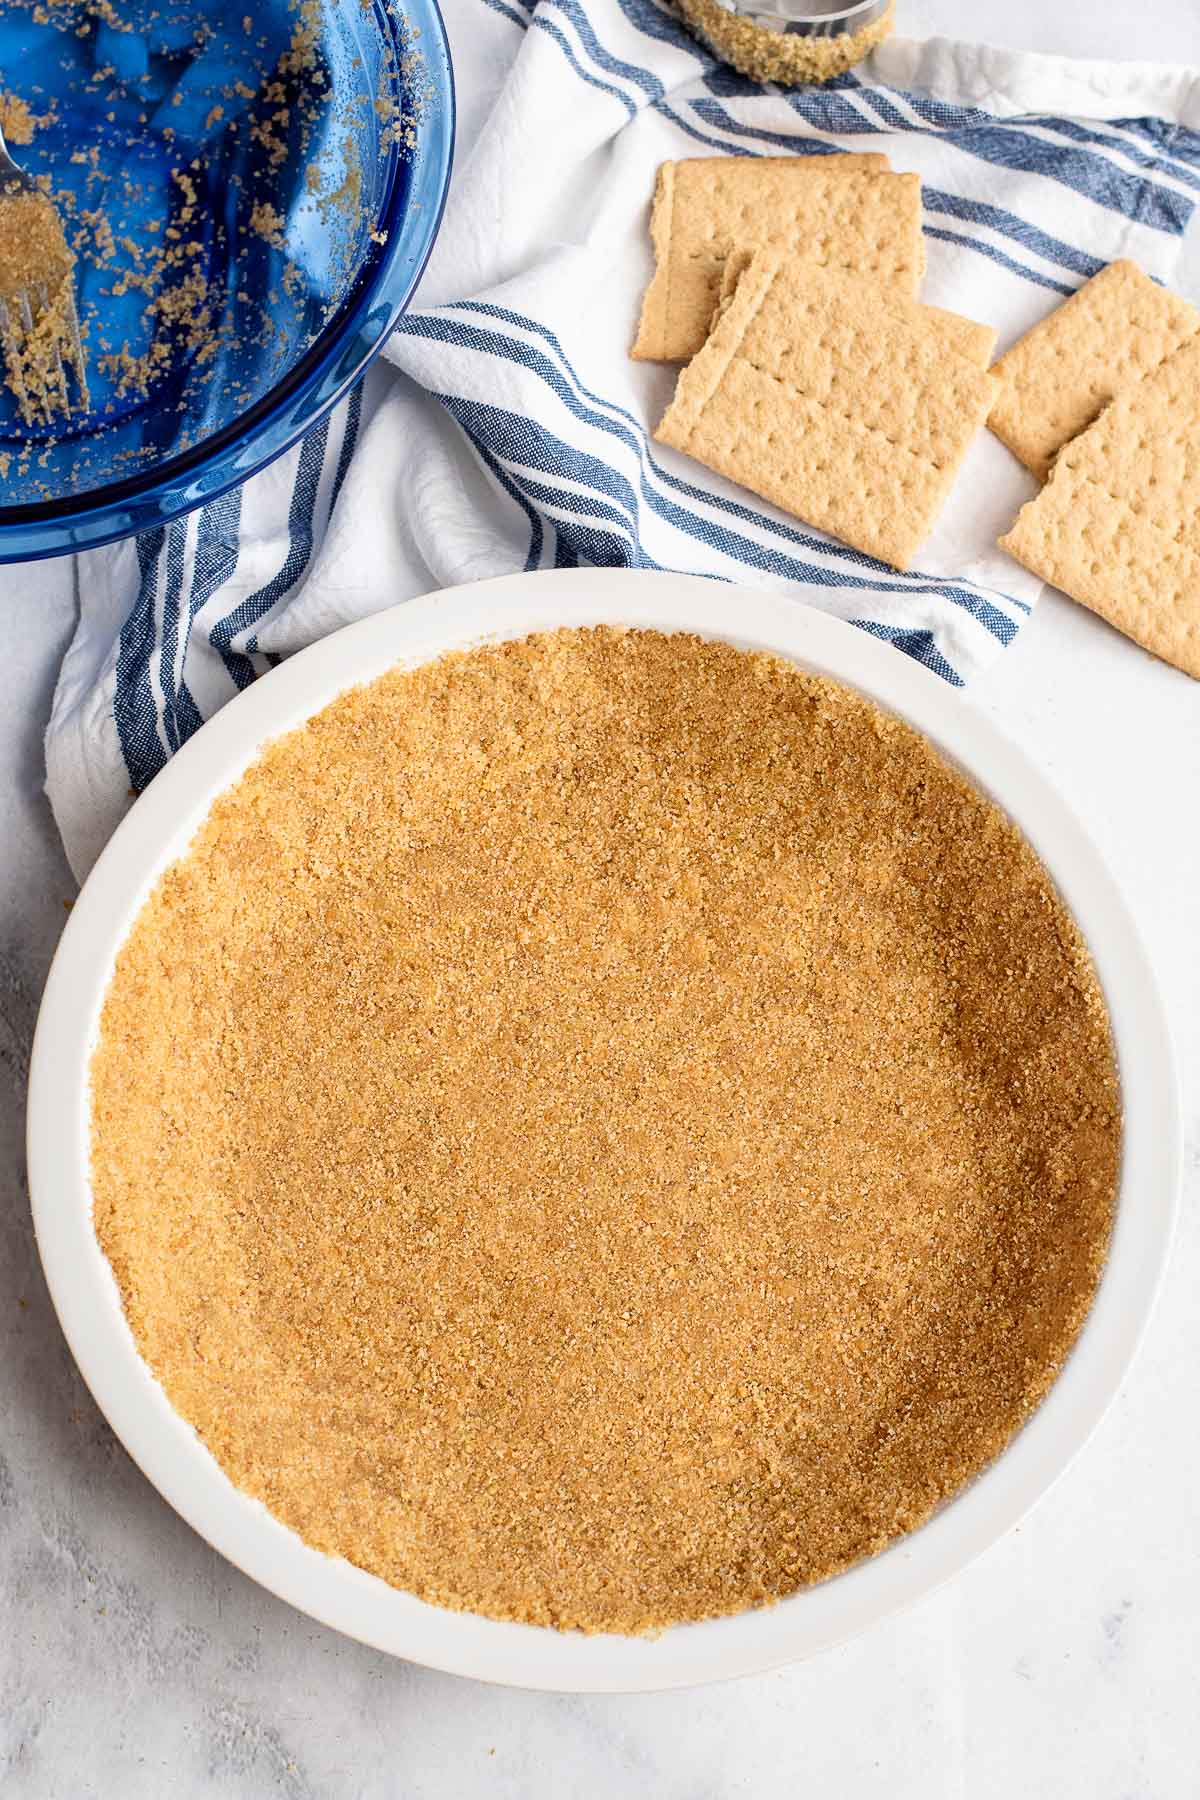
The completed crust should be compacted and not have large pieces of loose crumbs.
How to Use it
Once the crust is made you can either bake it or chill it depending on the pie you’ll be making.
When to Bake a Graham Cracker Crust
If using the pie crust for a baked pie or cheesecake, the crust will need to be baked first.
Note: this recipes makes a pie crust for a 9-inch pie pan. If making a cheesecake the volume of the crust may need to be increased.
How to Bake it
Bake at 350 degrees for 10 minutes then allow the crust to cool fully before filling.
When to Chill it and How
For a no bake pie, simple cover the crust and chill for at least an hour (a few hours is recommended) before filling.
PRO TIP: if in a hurry the pie crust can also be put in the freezer for 30 minutes to speed chilling.
A chilled crust can be kept up to 3 days in the refrigerator before using.
No Bake Pie Recipes
- Cherry Chocolate Chip Pie
- Luscious Lemon Pie
Variations
Use different flavor Graham Crackers. They come in different flavors now such as cinnamon and chocolate that would be delicious!
Use Digestive Biscuits. A favorite cookie from the UK, grainy oat Digestive Biscuits make a delicious crust following this same recipe (try gluten-free digestive biscuits too)!
How to Make a Gluten-Free Graham Cracker crust
Substitute gluten-free graham crackers.
A note about gluten-free graham crackers: each brand has a slightly different absorbency. In general gluten-free flours are not as absorbent as wheat flour.
Start with 1/4 cup melted butter, mix together and add more if needed to create the texture shown in the photos.
Also the amount of gluten-free graham cracker in a package will be different. Both from regular graham crackers and gluten-free brand to brand.
My advice is to buy more than you think you need and use leftovers on S’mores!
Freezing the Pie Crust
To freeze a prepared graham cracker crust wrap snugly in plastic wrap followed by foil.
Freeze for up to 3 months. Thaw in the refrigerator before using.
More Pie Recipes You’ll Love!
- Perfect All Butter Pie Crust
- Breakfast Berry Pie
- Ginger Pear Pie Recipe
- Apple Crumble Pie
- Best Crustless Pumpkin Pie recipe
- Fresh Strawberry Pie
Try these Recipes too!
Please SUBSCRIBE and FOLLOW ME on FACEBOOK , TWITTER , INSTAGRAM and PINTEREST !
Recipe
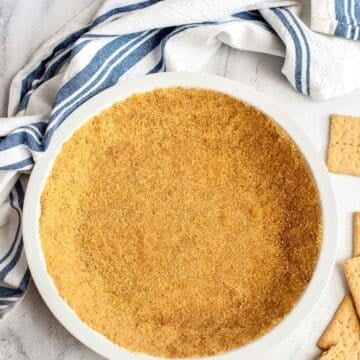
Graham Cracker Crust
Equipment
Ingredients
- 1 1/2 cups Graham cracker crumbs aproximately 10-11 Graham Cracker Sheets (40 individual graham crackers)
- 1/3 cup Granulated sugar
- 6 tablespoon Unsalted butter melted
Instructions
- Using a food processor, grind all of the graham crackers into fine pieces.
- Pour the graham cracker crumbs into a medium sized bowl. Add the sugar and melted butter to the bowl and mix everything together with a fork.
- Pour the crust mixture into a 9-inch pie plate (regular depth; not deep dish) and press the crumbs down firmly along the bottom and sides of the pan. TIP: using the bottom of a flat measuring cup helps!
For a Baked Pie
- If the pie crust is being made for a pie that has to be baked then bake the crust at 350 degrees for 10 minutes and allow the crust to cool for a few minutes before filling. Or follow instructions in the recipe you are making.
For a No Bake Pie
- If the pie crust is being made for a no bake pie then the crust does not need to be baked. Simply cover and chill the pie crust for about an hour before adding the pie filling.
Kevin says
Oh my! I loved thi crust! I cannot wait to make another pie in it!
Tisha says
No bake desserts are one of my favorites to make, this is the perfect crust for those occasions. No guess work just whip it up super quick!
Sherry says
This is so easy! I’ll definitely use a food processor. I did it once with a rolling pin and it took me a bit. I am so picky about the crumbs being the same size.
Toni Dash says
A food processor is much easier, faster and yield more consistent results!
Kita Bryant says
It isn’t as tough as people think. i almost always make my own crusts.
wilhelmina says
Love this crust! It is the perfect base for so many desserts!
Heather says
I just shared our graham cracker crust on the blog too. I use toasted coconut instead of sugar.
Erin | Dinners,Dishes and Dessert says
These Graham Cracker Crusts are mouth watering!
Amanda says
Ah there are so many things I want to try this with!
Brianne says
I love it. I always just buy my crusts, but I’d much rather make my own. I’ll have to give this a try. It sounds much better than storebought.
Jen says
I’ve always been too intimidated to try making this crust but you make it look so easy. Definitely feeling more confident to try with following your tips and tricks. thanks!