I have always wanted to make candied apples. I love the ruby red sheen of a candied apple especially around Halloween when they seem to be available at stores and recipes become readily available online. I have two fears about candied apples, however: 1) I really don’t know how to bite into one, and 2) I’m worried they will pull any fillings out. So really, I think I like the idea of making a candied apple more than I want to eat them.
Before every publication migrated online I had a few magazine subscriptions I really loved. I would tear out recipes that I either found inspiring or which had a beautiful photograph. These have been stashed underneath my bed in a shoe box, and candidly, were forgotten until they popped to mind last week. I had no memory of what was in the box and loved going through them.
I found a torn page for ‘Indulgent Upgrades for Candy Apples’ which seemed to interleave directly with my fantasies of making them. There were a few pages, however the one that sparked interest was for a spin on s’mores, just on an apple.
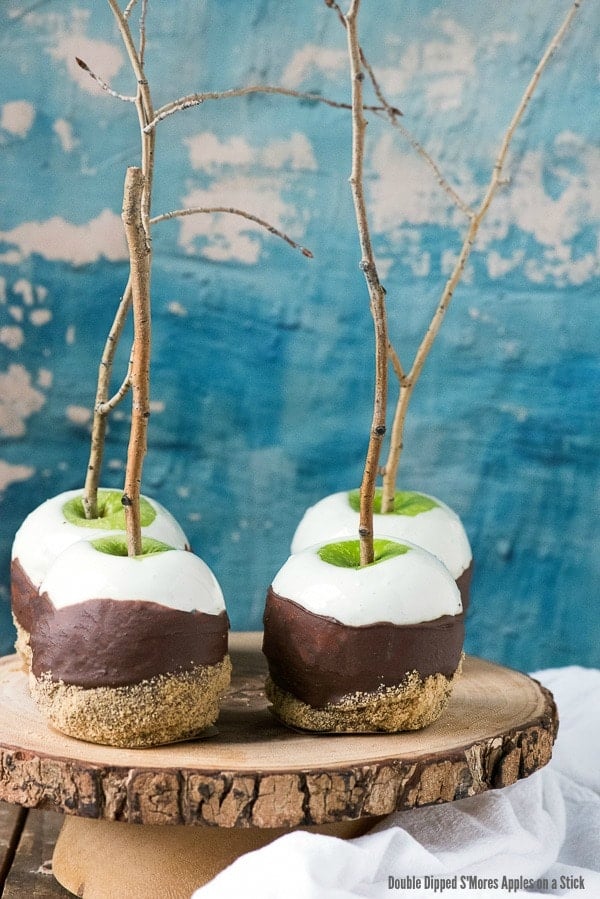
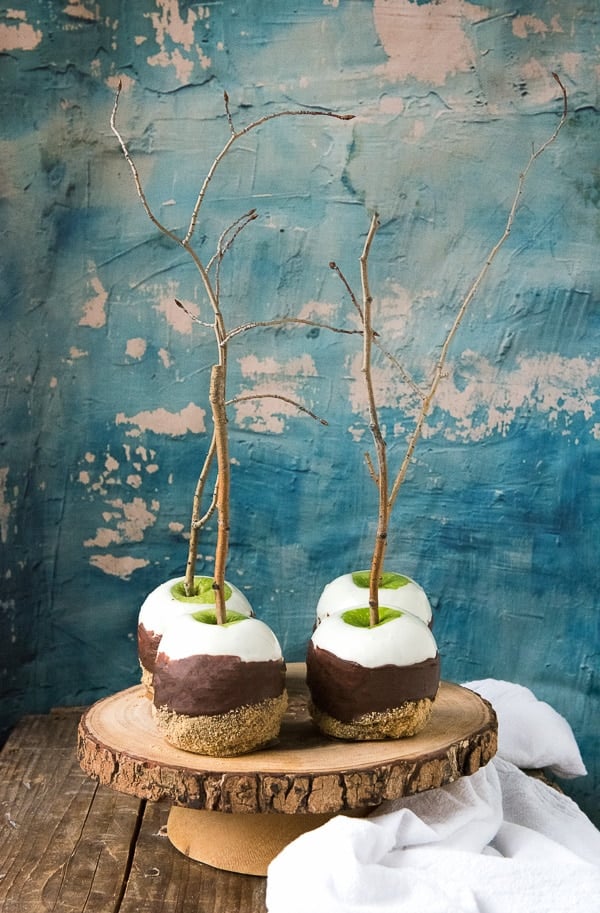
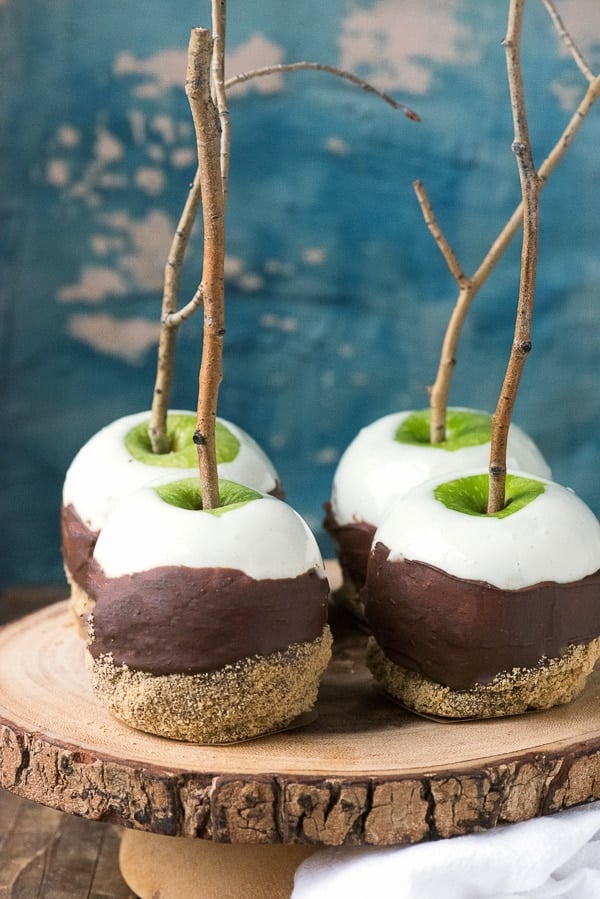
These apples were of course, perfect. Were you to use a level or a chalk line you could not get the line more exact. The division of each portion of each double dipped apple was equidistantly spaced between the exposed creamy white marshmallow, silky chocolate and the graham cracker crumbs. Sitting side by side in the photo the dipped apples also were identical to each other with the layers lining up without flaw.
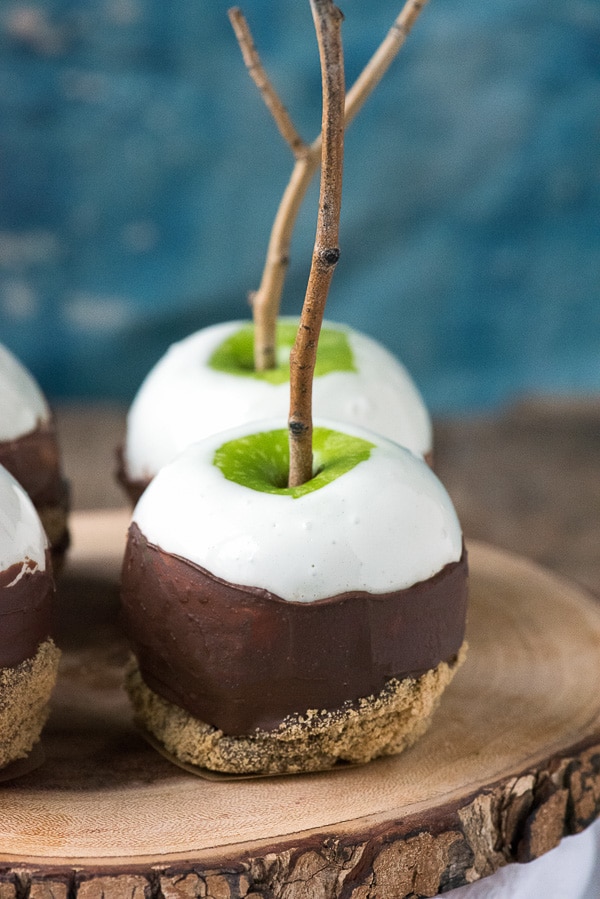
Here’s the deal my friends, I make ‘real people food’. I make lived-in baked goods; homey and rustic. I just don’t think it resides in my DNA to make things that look perfect. They TASTE fantastic which is what I care about and I hope you’ll agree. I will add, at the risk of sounding like I’m rationalizing, that I’ve had people share that when food looks too perfect it’s intimidating and they don’t want to eat it. True or not, these apples make ‘double dipping’ a positive and anyone can make them!
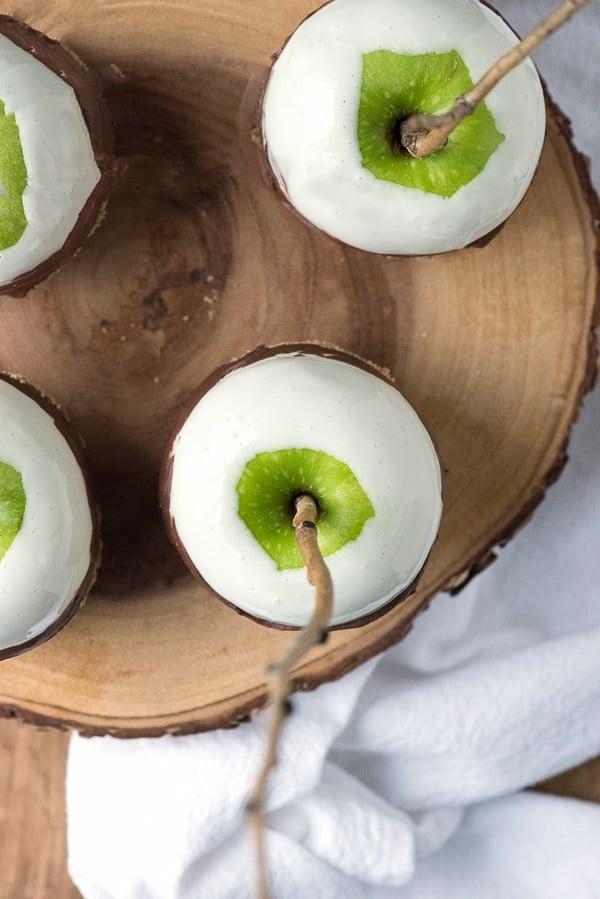
There are a few tips that make this easier:
- When dipping the apples in the marshmallow, be sure the melt marshmallow is kept warm. If off the heat too long it will start to set up making the dip-and-swirl more difficult.
- When working with marshmallows (cutting them, making them from scratch, etc.), spraying any utensils with non-stick spray makes the difference between successful execution and creating a sloppy mess. It allows shears to easily cut through the marshmallow without any sticking.
- Tilting the apple to about a 45 degree angle and swirling or rotating it makes the coating go much more quickly and successfully.
These are easy and fun to make. It would be a great project for kids with some help from parents and they are done in less than an hour (with most of that time used for the two setting up periods).
Recipe
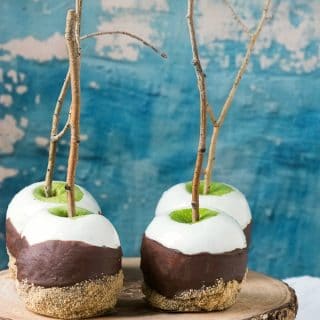
Double Dipped S’Mores Apples on a Stick
Ingredients
- 2 tablespoons Unsalted Butter
- 1 16- ounce package of Marshmallows (large size)
- 1 11.5- ounce bag of Chocolate Chips (dark, semi-sweet or milk chocolate)
- 1 cup Graham Cracker crumbs (I used ½ package Kinnikinnick gluten-free S’moreables ground in the blender to make crumbs), placed in a small bowl
- 6 Granny Smith Apples , washed, dried and stems removed
- Non Stick Spray
- Parchment Paper
- Kitchen shears
- 6 Sticks: lollipop sticks , popsicle sticks, thick bamboo skewers cut to desired length, or twigs (note: if using actual twigs wipe off the end going into the apple and to be safe I would not eat the portion of the apple where the twig was inserted)
Instructions
- Prepare two baking sheets with parchment paper; spray with non-stick cooking spray. Insert the sticks into the stem area of each apple. TIP: if using a larger stick, inserting a metal skewer first and rotating it at a 45 degree angle creates a starter hole making the stick insertion easier.
- In a medium to large saucepan over low heat, melt the butter and add the marshmallows. Spray a silicon spoon with non-stick spray and stir the mixture, folding the butter into the marshmallows. Continue until the mixture is melted, smooth and creamy.
- Tipping the saucepan at an angle, insert an apple and rotate it using the stick to fully coat the apple. Lift from the marshmallow mixture and allow excess marshmallow to drain back into the saucepan. TIP: keep the marshmallow mixture warm or it will begin to set up making the dipping more challenging.
- Place the dipped apples on one of the prepared baking sheets and allow the marshmallow to set (about 15 minutes). If making these in a hot or humid climate, placing them into the refrigerator will allow them to set.
- While the apples are ‘resting’, melt the chocolate chips by following the microwave melting directions on the bag, in a double boiler or in a metal mixing boil placed over a saucepan of boiling water. Stir during the melting process to ensure all the chips melt making a smooth mixture.
- If there is a large amount of puddled marshmallow at the base of the apples, spray kitchen shears with non-stick spray and trim the excess (and discard).
- Dip the coated apples, one by one, into the melted chocolate, swirling them to cover about 2/3’s of the apple. Immediately dip the apple into the graham cracker crumbs, rotating the apple to cover the bottom 1/3 in graham cracker crumbs. TIP: Using your fingers, fluff up the crumbs in the bowl between apples. The dipping compresses them making the next apple harder to coat without fluffing the crumbs first.
- Place the dipped apples on the second prepared baking dish and allow to set (about 15 minutes). They may also be placed in the refrigerator (if in a hot and/or humid climate definitely put them in the refrigerator).
Notes
Nutrition
Michelle @ My Gluten-free Kitchen says
You’ve outdone yourself with these! Drooling here!
Amanda says
Oh my! These looks so pretty and so yummy! I’d love to make these!
Candy O says
Oh my goodness these apples look amazing! What fabulous idea thanks for sharing your recipe!