

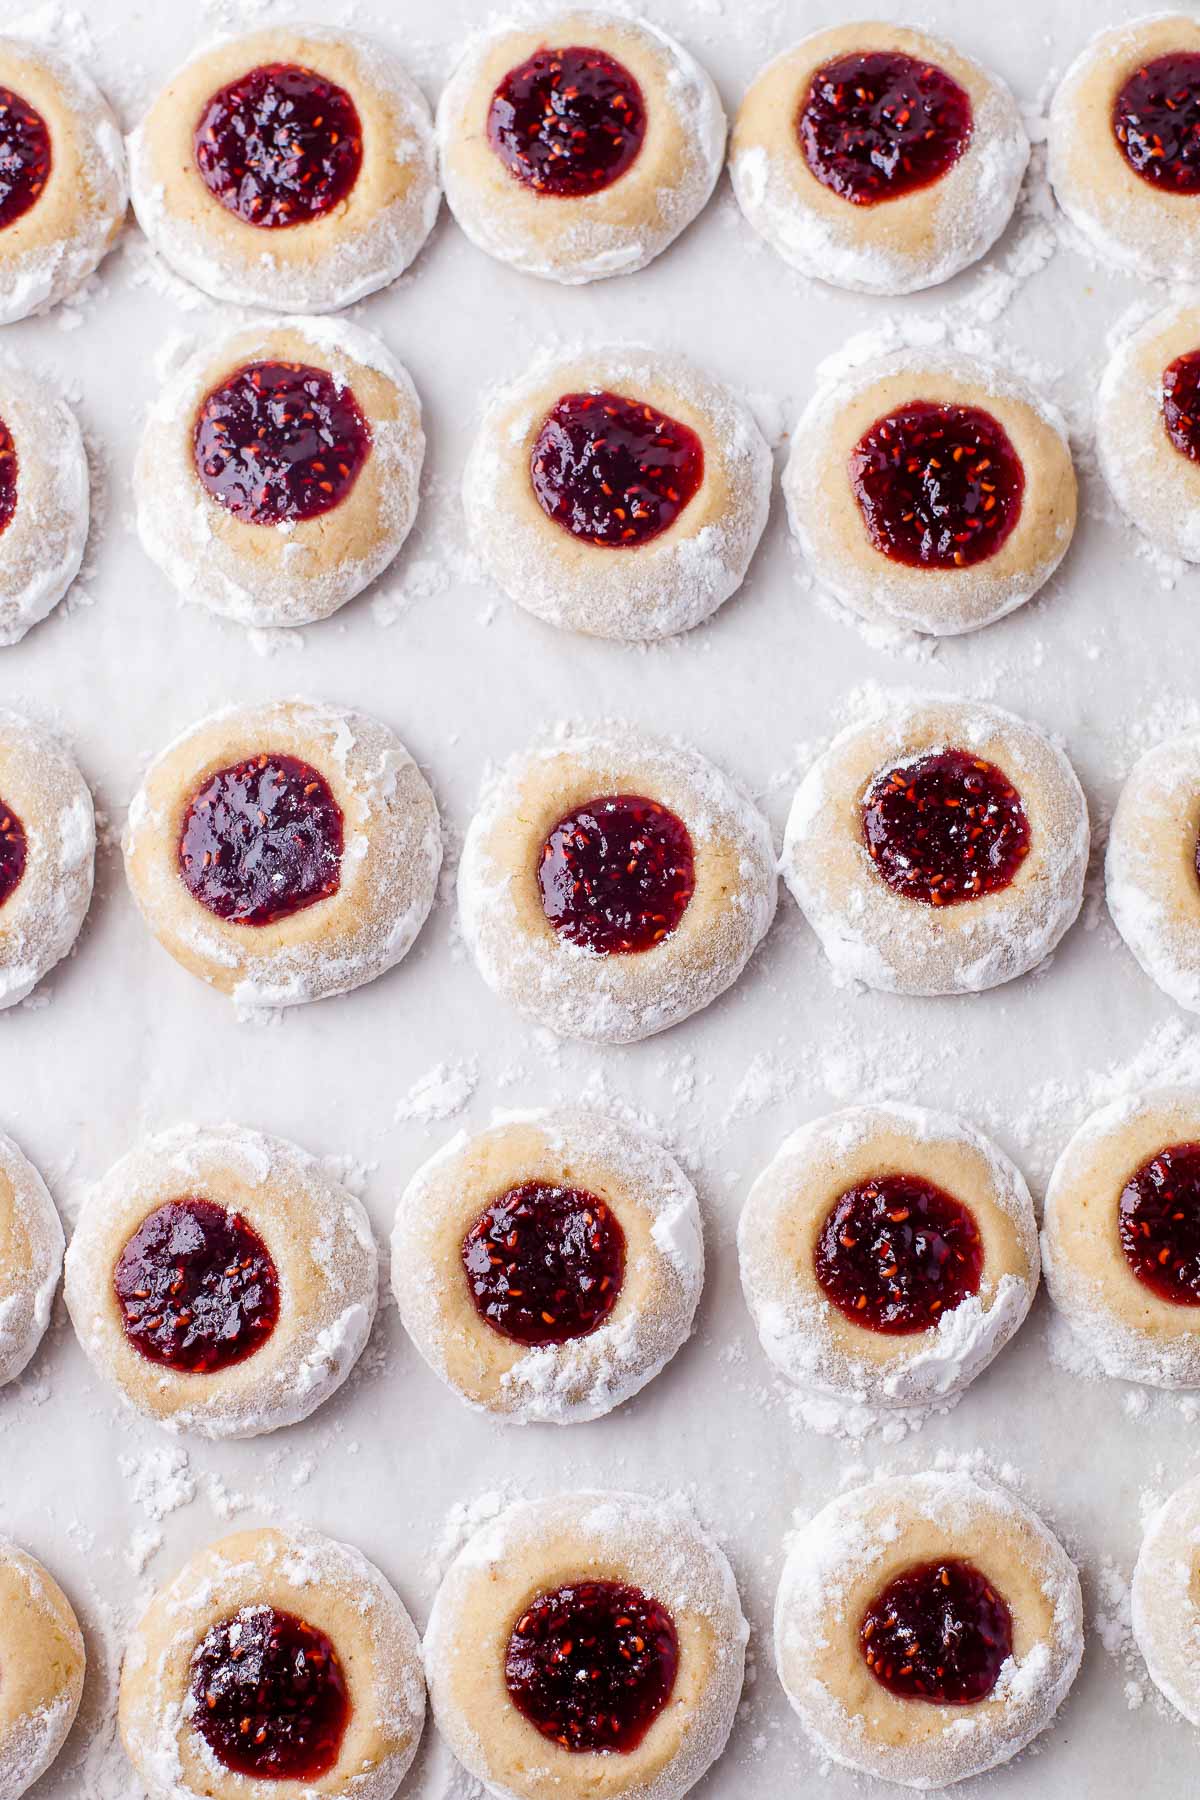
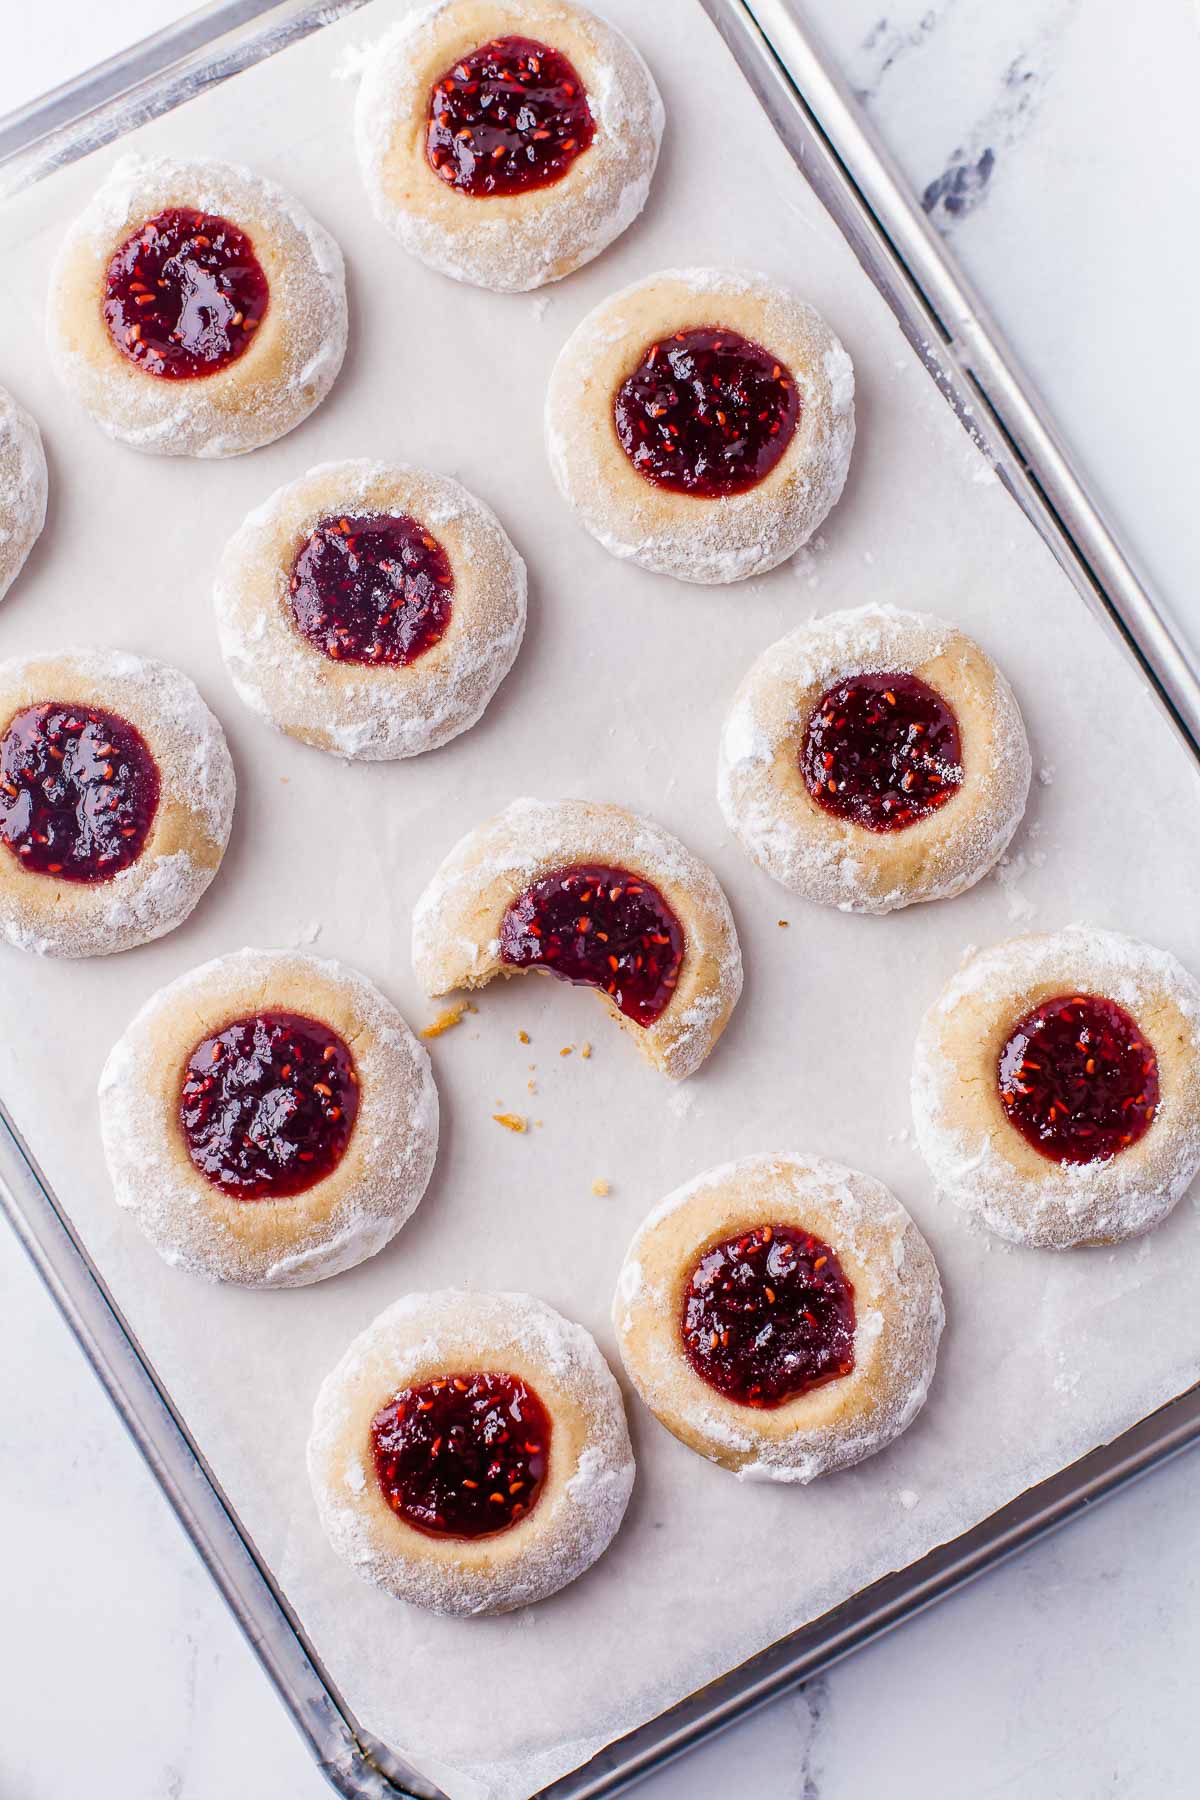
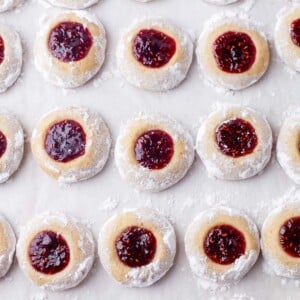
Classic Thumbprint Cookies are buttery shortbread cookies with favorite jam filling in the centers. The outer buttery cookies is delicate and light with a wonderful chewier middle.
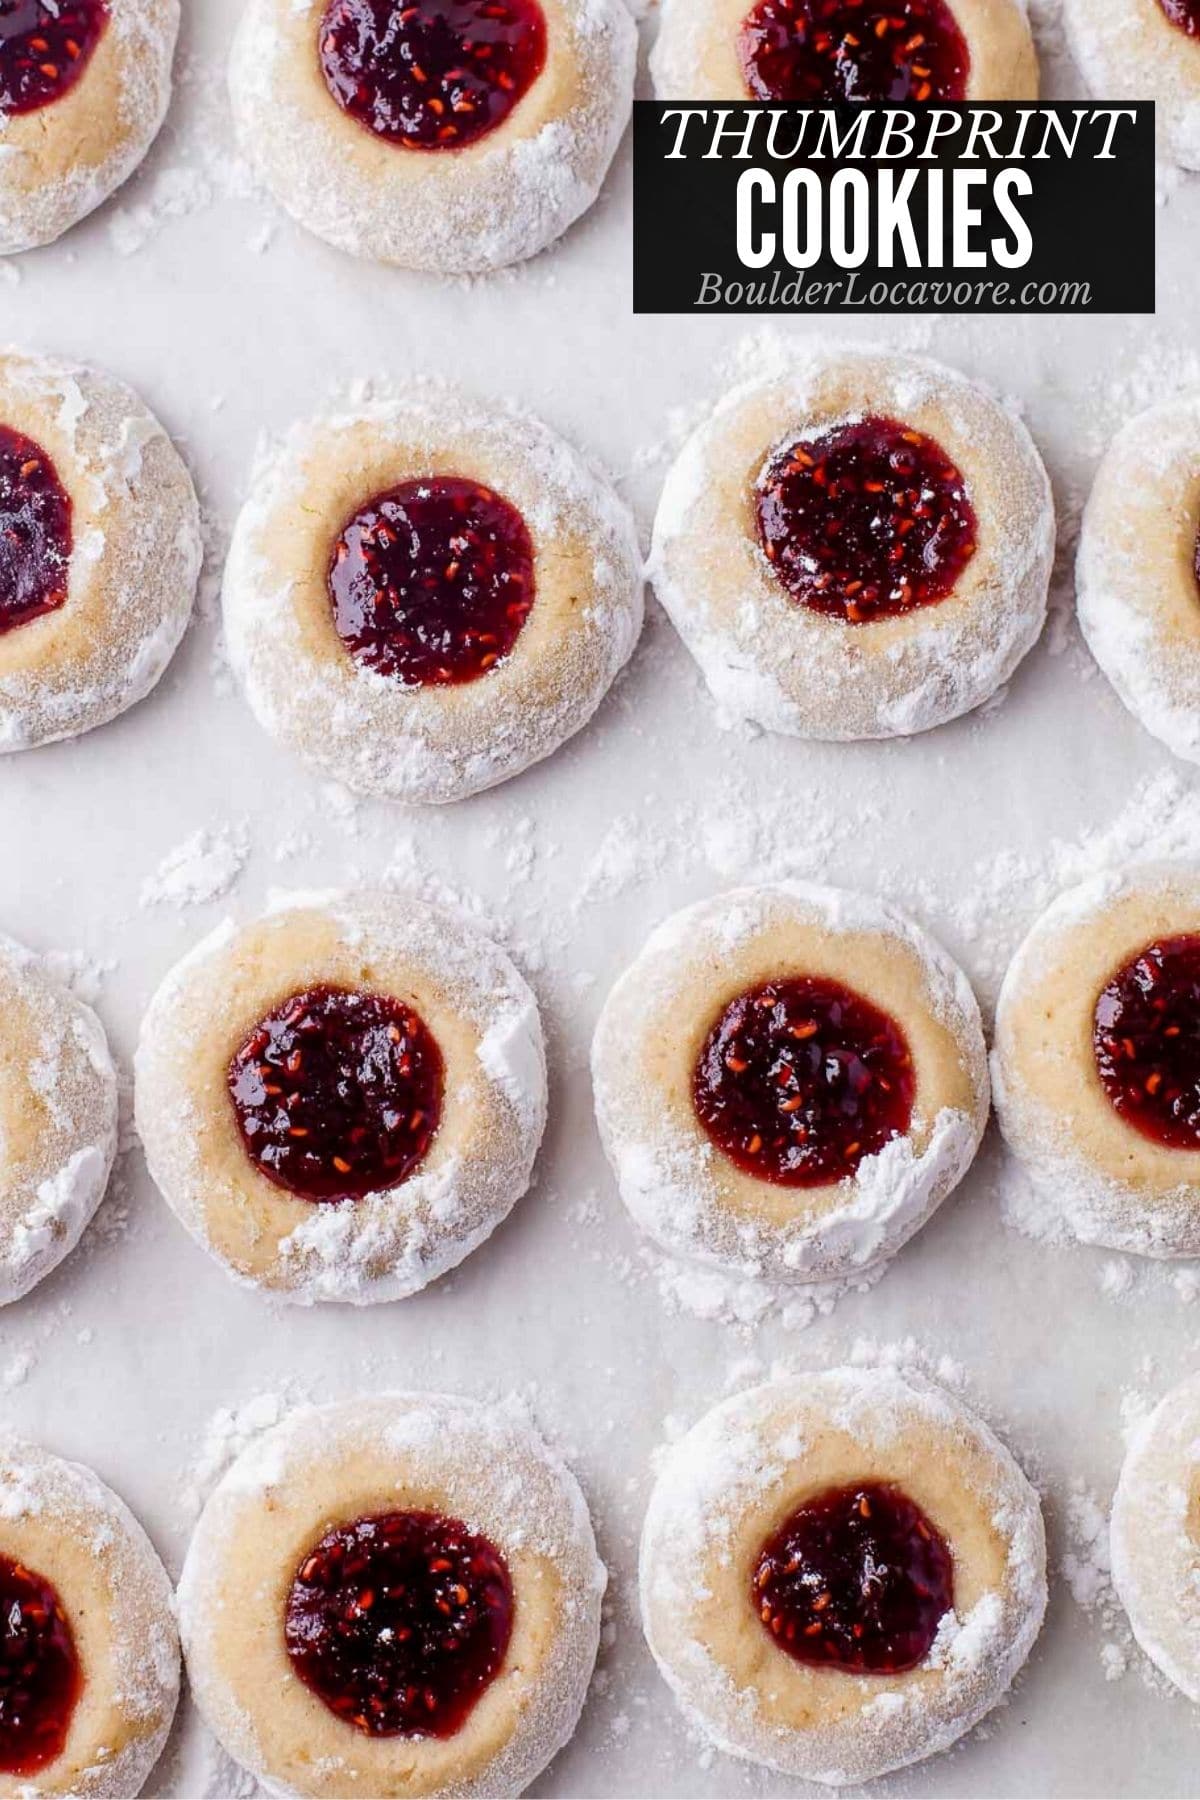
You’ll love this Thumbprint Cookie recipe for classic Christmas cookies and great cookies any time of year. The shortbread cookie dough is soft and easy to scoop into round of cookie dough. Use jam you love or a few types for a combination of colors on the cookie tray.
Jump to:
Why are they called thumbprint cookies?
Because of how the cookies are prepared. The cookie dough is rolled into balls and an indentation made in the center to hold jam. The indentation can be made with a thumb though we like to make it with the back of a teaspoon measuring spoon.
In Sweden they are called Hallongrotta which translates to mean ‘raspberry cave’ referring to the well of jam in the centers of the cookies.
Recipe Ingredients Notes
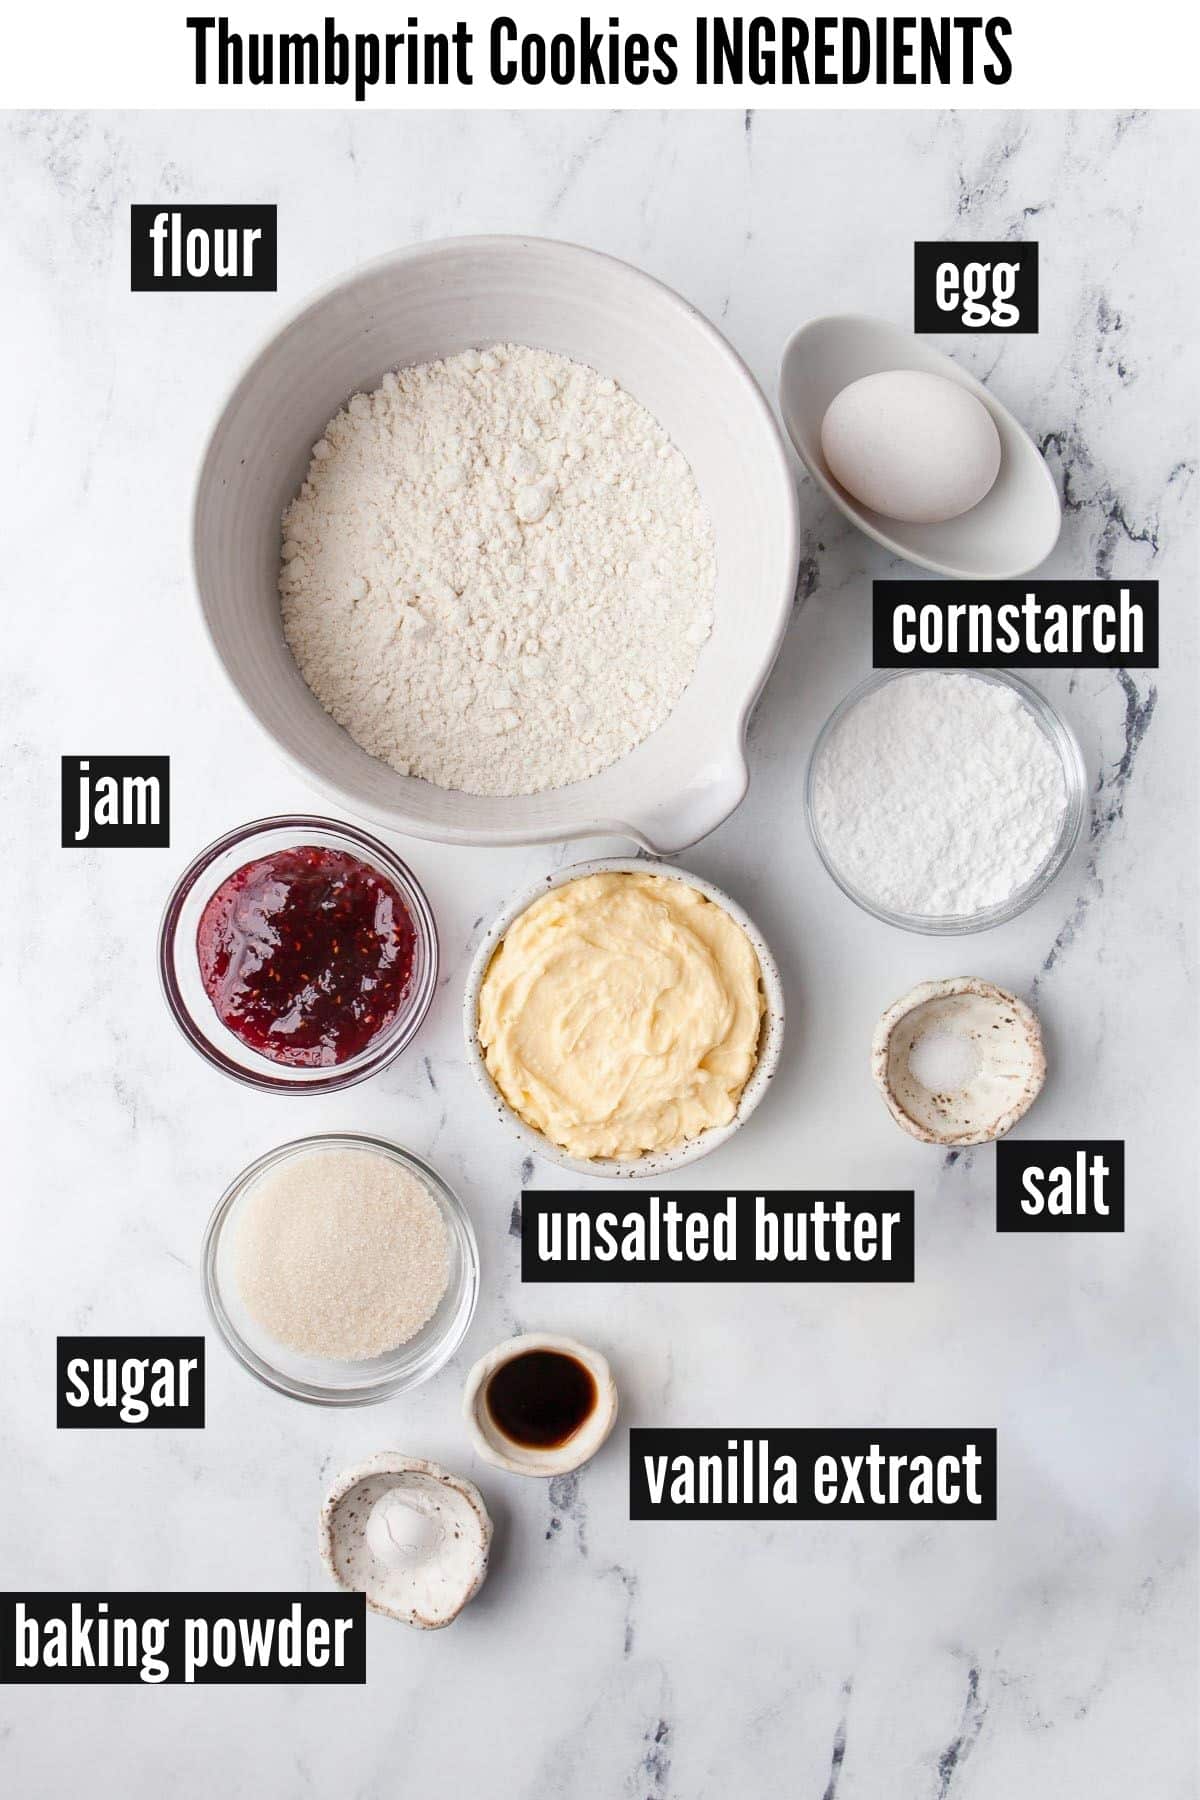
All purpose flour. Regular or gluten-free measure-for-measure flour may be used. We recommend Bob’s Red Mill gluten-free 1-to-1 baking flour for a gluten-free version. It’s the only flour blend we use now.
Unsalted butter. Start with softened room temperature butter.
Cornstarch. This helps the cookies not spread and have a nice texture.
Jam. You’ll need about 1/2 cup of jam. It can be any flavor of jam you love or a combination (half the cookies with one type and the other half with a different type). Raspberry jam and apricot jam are popular and pretty on a cookie tray together.
How to make Thumbprint Cookies – Step-by-Step
STEP 1. Preparation
Pre heat oven to 350 degrees F. Line a rimmed baking sheet with parchment paper.
STEP 2. Make the dough
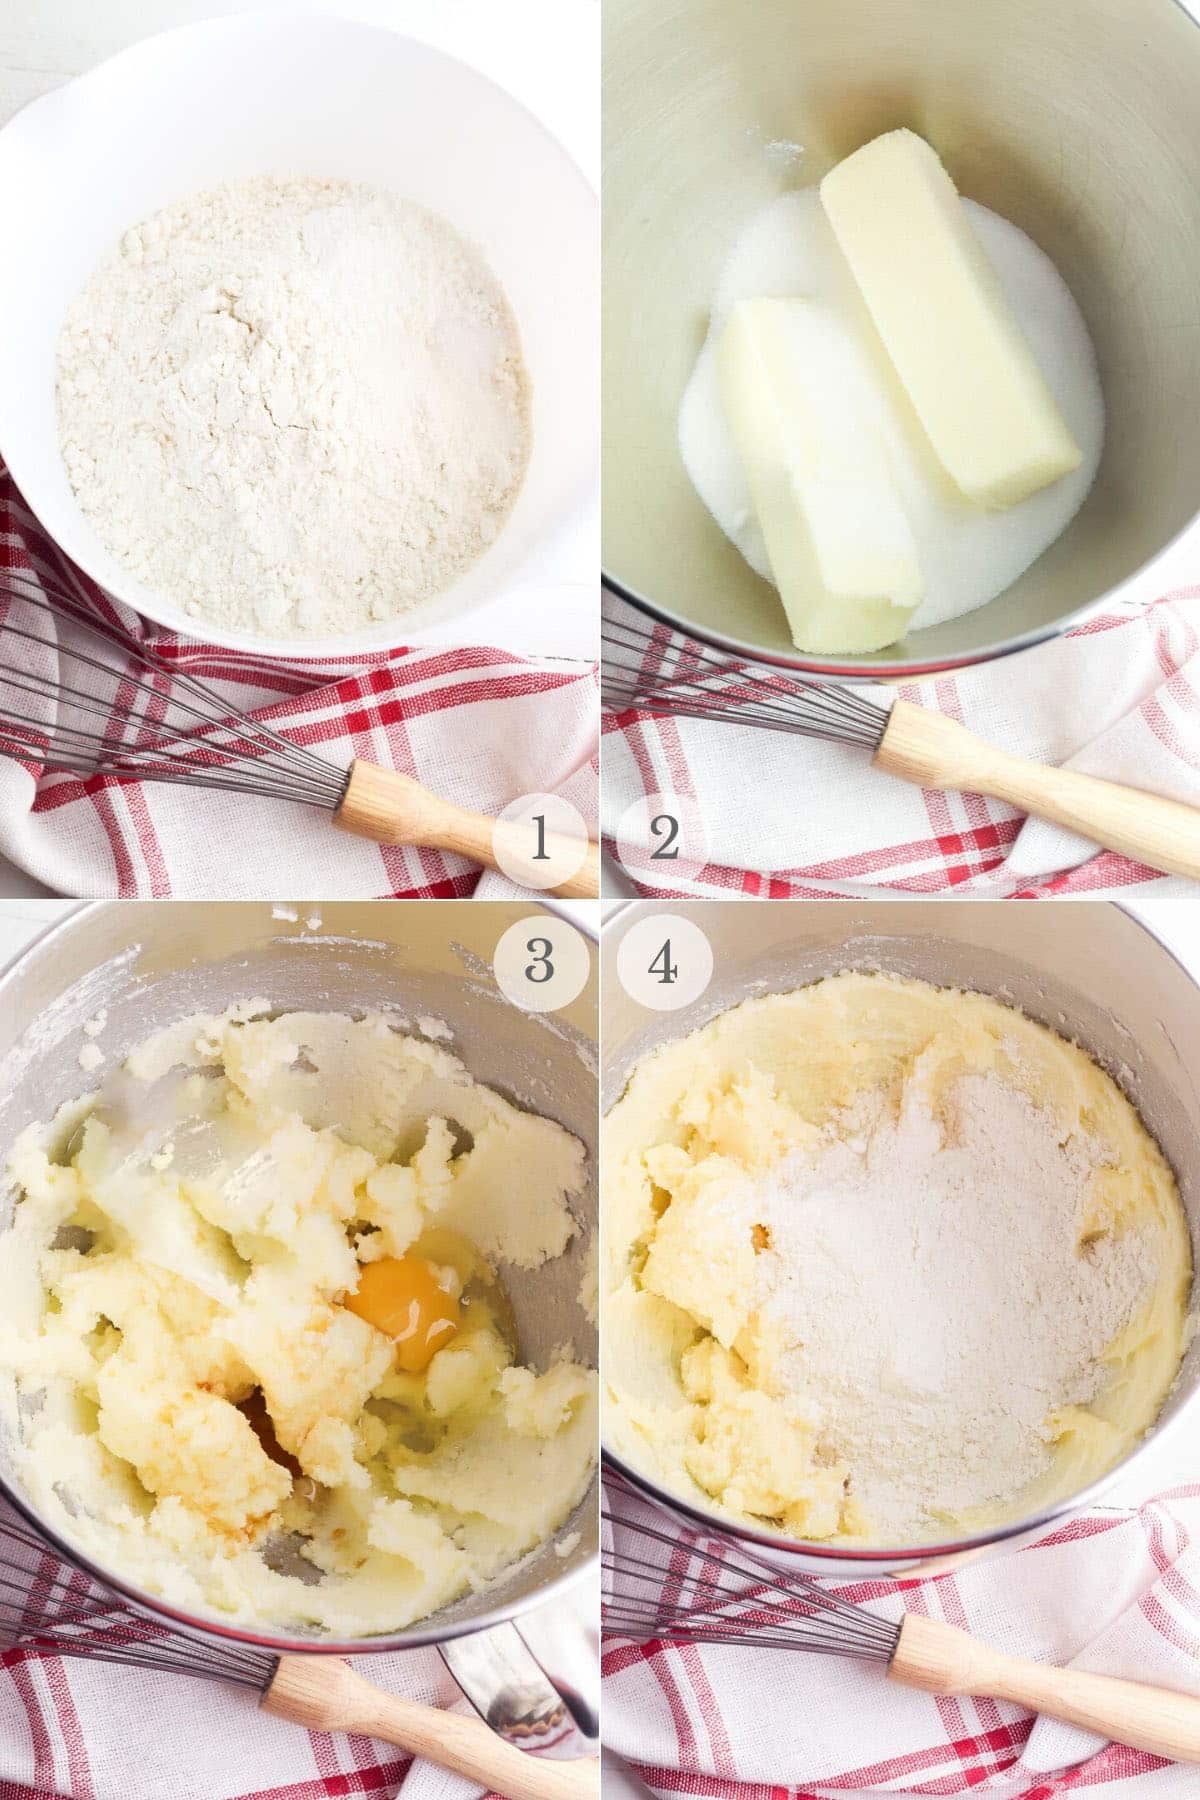
In a medium bowl combine the flour, salt, baking powder and cornstarch. Whisk to combine (photo 1).
Using an electric mixer (hand held or a bowl of a stand mixer fitted with a paddle attachment) cream butter on high speed. Add the sugar to the creamed butter and beat until light and airy (3-5 minutes) (photo 2).
Beat in the egg and vanilla extract on low speed just until combined (photo 3).
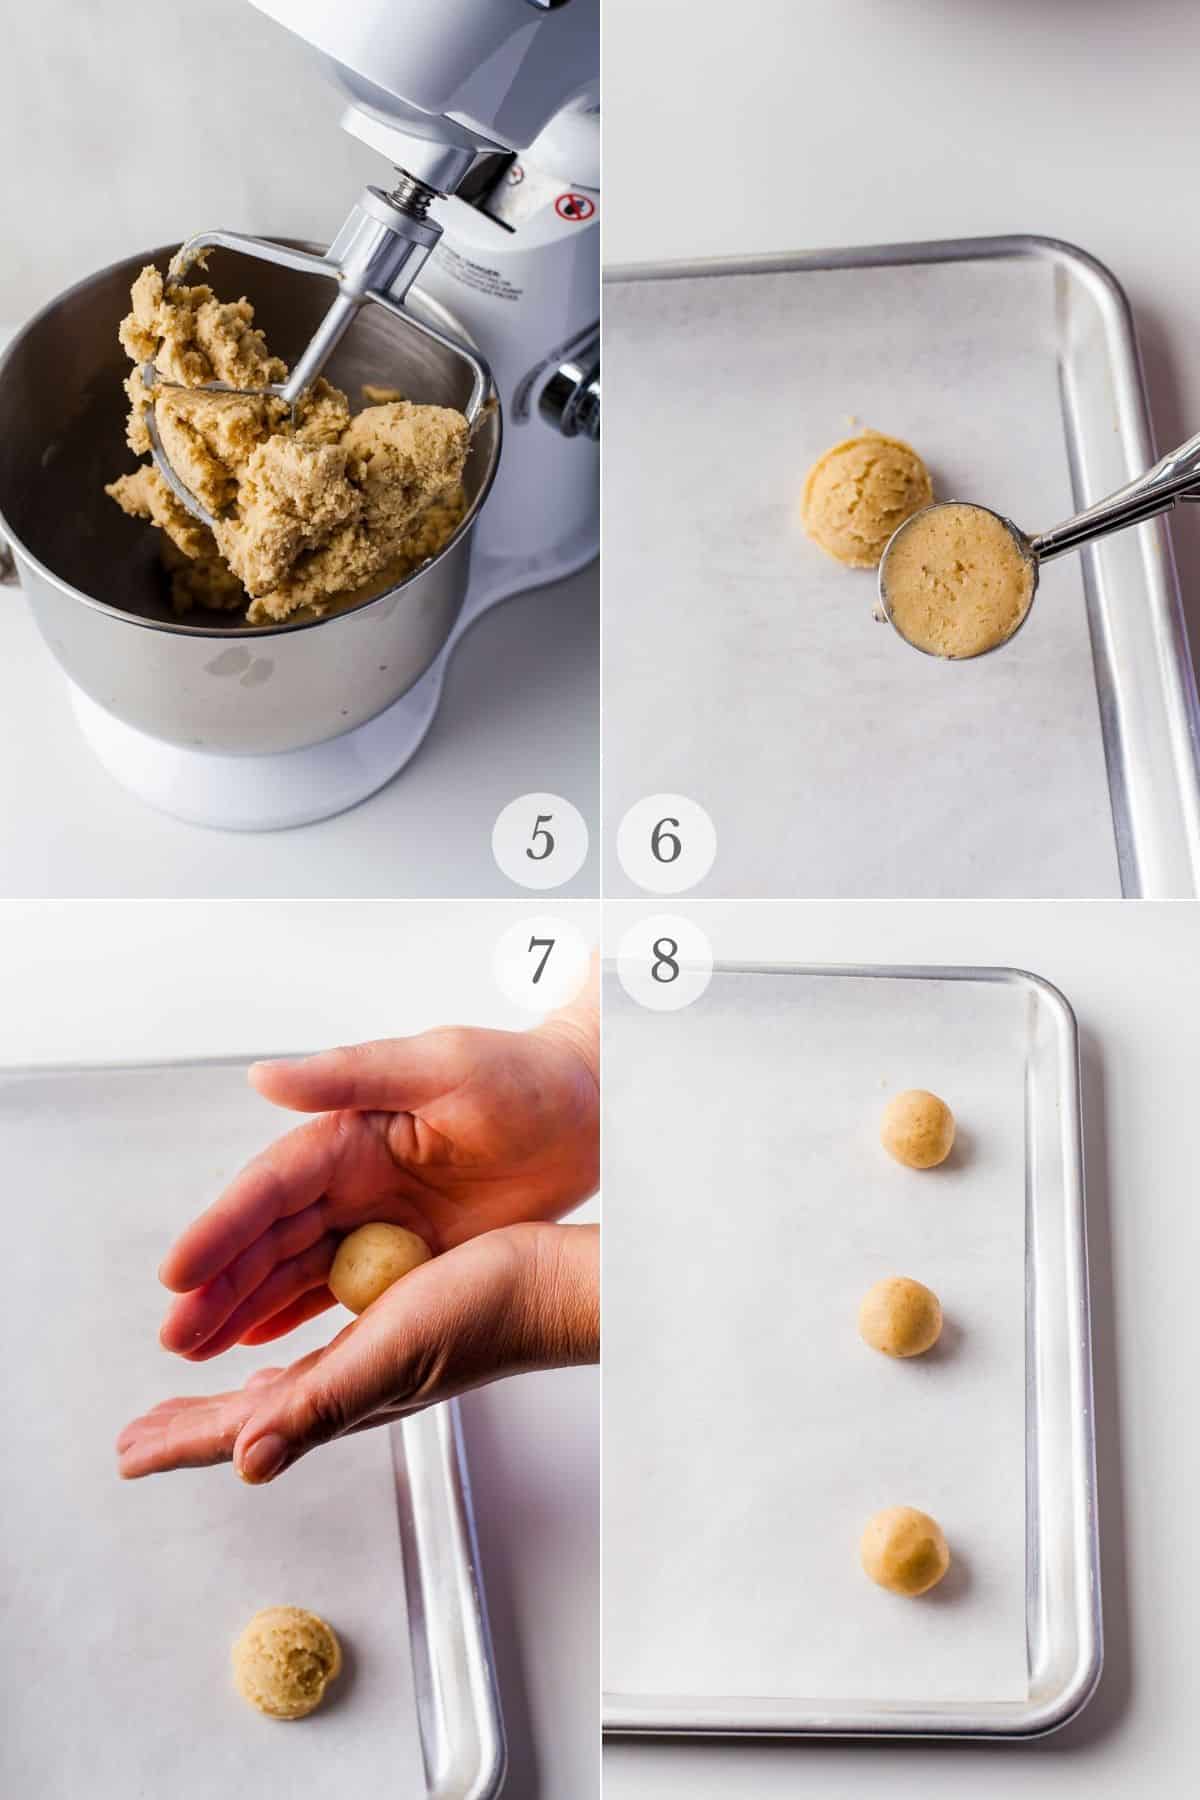
Slowly add the dry ingredients and beat on medium speed just until combined into a dough. Be sure to scrape the sides of the bowl and bottom of the bowl to combine all ingredients (photo 4-5).
STEP 3. Make cookies
Add 1/2 cup of granulated sugar to a small bowl.
Use a 1-tablespoon cookie scoop to scoop out balls of dough (photo 6). Gently shape dough into a ball between palms of your hands to ensure there are no cracks (photo 7).
Place the dough ball in a granulated sugar; roll to coat. NOTE: this keeps the dough from being sticky when making the indentation.
Place cookie dough balls on the prepared baking sheet with 2 inches of space in between (photo 8).
STEP 4. Add jam
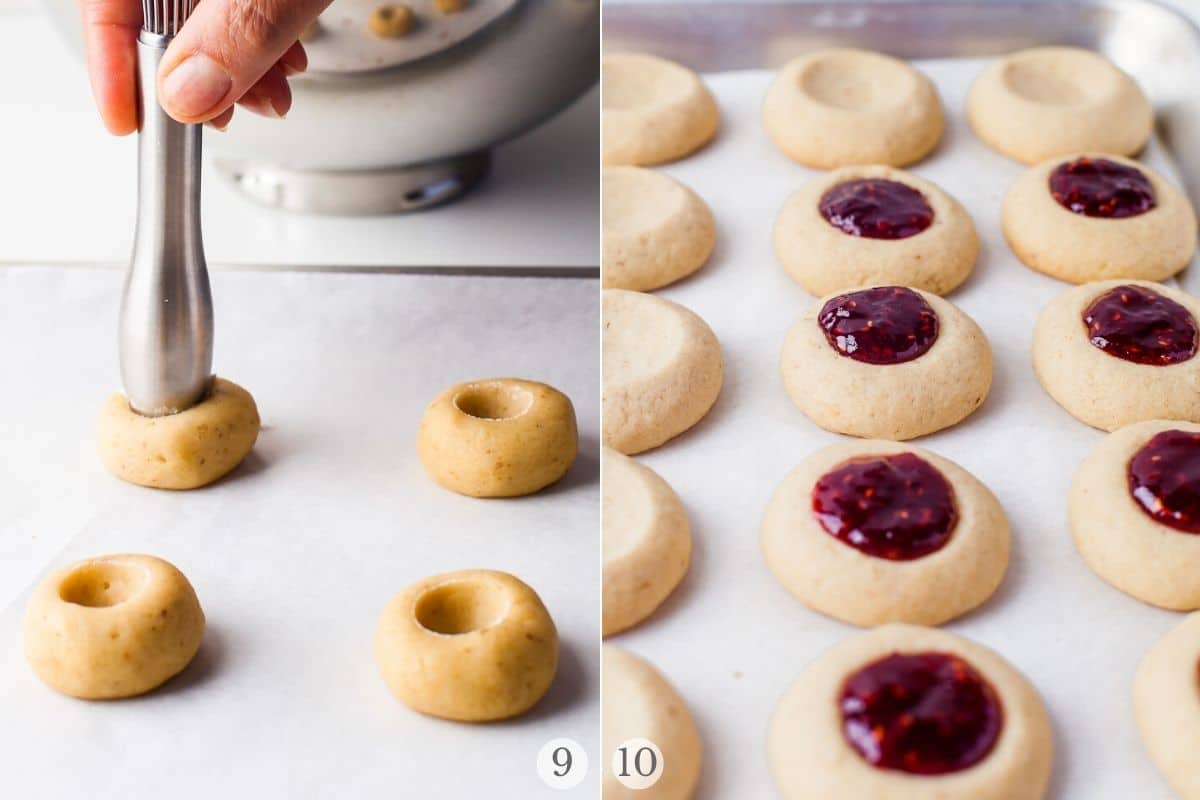
Using the back of a 1 teaspoon measuring spoon press an indentation into the cookie dough. This will slightly flatten the cookie too. Alternatively you can use your thumb or the end of a wooden spoon (photo 9).
Place the jam in a microwave safe bowl and microwave for 10-12 seconds. Stir vigorously to smooth out the jam.
Fill the indentation in the center of each cookie ball (about 1/2 teaspoon of jam per cookie) (photo 10).
STEP 5. Bake and Cool
Bake cookies for 11-13 minutes. The cookies should be colorless on top and only lightly golden brown on the bottom edges of the cookie when baked. Remove and let them sit on the baking sheet for 10 minutes.
Gently transfer cookies to a wire rack until full cooled.
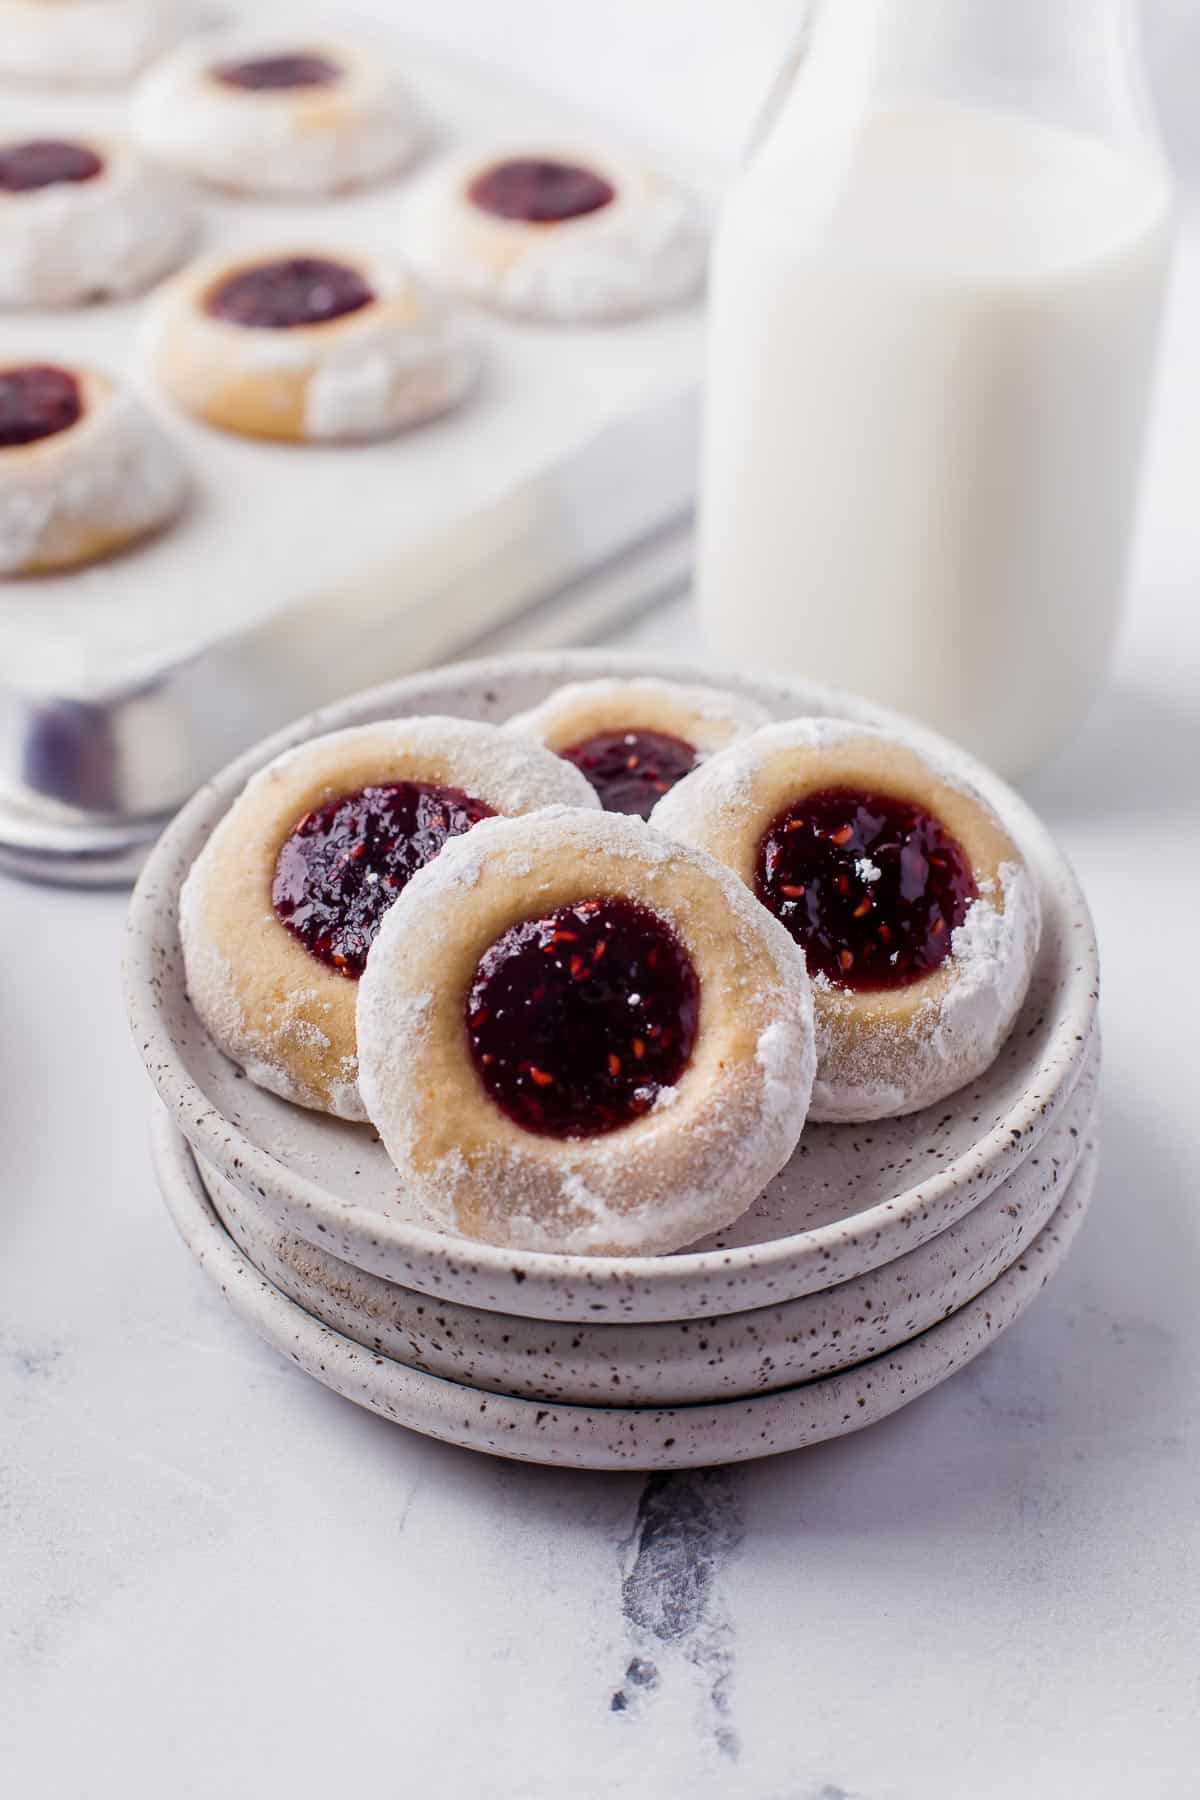
Option: for a wintery look you can dust the final cookies with powdered sugar. Hold a tablespoon upside down over the jam filling and sprinkle the sugar.
Variations
Use some almond extract. Instead of vanilla extract add some almond extract for a almond shortbread flavor.
Change the filling. Any jam works great (strawberry jam, even leftover cranberry sauce, etc). For a spring flavor use lemon curd or orange curd. Bake the cookies for 8-10 minutes and check for doneness.
Pro Tips
If the dough is overly sticky chill for 30 minutes. We experimented with no chilling of the dough, chilling for 1 hour and chilling in the freezer. In our testing the cookies all came out the same.
The dough can be slightly sticky which rolling in sugar addresses. If your dough seems very sticky chill in the refrigerator for 30-60 minutes before scooping into balls. Still roll in the sugar before adding the indentation for the jam.
Frequently Asked Questions
Yes! Once they are fully cooled place into an airtight freezer-safe container. Freeze for up to 2 months. Thaw in the refrigerator and serve at room temperature.
It can be done either way but we feel adding the jam before baking creates the best result in taste and texture of the cookie.
How to Store
Once cookies have fully cooled store in an airtight container at room temperature for up to a week. Add a layer of parchment between single layers if dusting with powdered sugar. If in a hot area store in the refrigerator and allow to warm at room temperature before serving.
More recipes you’ll love!


Recipe
Thumbprint Cookies
Ingredients
- 1/2 cup granulated sugar for rolling dough optional but highly recommended
- 2 1/4 cups all purpose flour regular or gluten-free measure-for-measure flour blend
- 1/2 teaspoon kosher salt
- 1/2 teaspoon baking powder
- 2 teaspoons cornstarch
- 1 cup unsalted butter softened
- 2/3 cup granulated sugar
- 1 egg
- 1 teaspoon vanilla extract
Instructions
- Preheat oven to 350 degrees F. Line a rimmed baking sheet (s) with parchment paper.Add 1/2 cup of granulated sugar to a small bowl.
- In a medium bowl combine the flour, salt, baking powder and cornstarch. Whisk to combine.
- Using an electric mixer (hand held or a bowl of a stand mixer fitted with a paddle attachment) cream butter on high speed. Add the sugar to the creamed butter and beat until light and airy (3-5 minutes).
- Beat in the egg and vanilla extract on low speed just until combined.
- Slowly add the dry ingredients and beat on medium speed just until combined into a dough. Be sure to scrape the sides of the bowl and bottom of the bowl to combine all ingredients.
- Use a 1-tablespoon cookie scoop to scoop out balls of dough. Gently shape dough into a ball between palms of your hands to ensure there are no cracks.
- Place the dough ball in a granulated sugar; roll to coat. NOTE: this keeps the dough from being sticky when making the indentation.
- Place cookie dough balls on the prepared baking sheet with 2 inches of space in between.
- Using the back of a 1 teaspoon measuring spoon press an indentation into the cookie dough. This will slightly flatten the cookie too. Alternatively you can use your thumb or the end of a wooden spoon.
- Place the jam in a microwave safe bowl and microwave for 10-12 seconds. Stir vigorously to smooth out the jam.Fill the indentation in the center of each cookie ball (about 1/2 teaspoon of jam per cookie).
- Bake cookies for 11-13 minutes. The cookies should be colorless on top and only lightly golden brown on the bottom edges of the cookie when baked. Remove and let them sit on the baking sheet for 10 minutes.
- Gently transfer cookies to a wire rack until full cooled.
- Option: for a wintery look you can dust the final cookies with powdered sugar. Hold a tablespoon upside down over the jam filling and sprinkle the sugar.
Lisa K Kitzke says
Does the 2/3 cup of sugar include the 1/2 cup that is placed in a small bowl? if so, that wouldn’t leave much for the dough when adding to the butter. Which is it? 2/3 total? Or 2/3 plus 1/2 for the end?
Toni Dash says
The 2/3 cup sugar is for the cookie recipe itself; the 1/2 cup is just for rolling the dough to make the indentation less likely to stick. We’ve updated the recipe to make that more clear! Thanks for your question. Happy baking!