I’m going broke buying granola bars. ‘Stop buying them then’; it’s easier said than done. My dilemma is that I have two gluten-free kids who are both athletes and have after school activities. My daughter is on a high school swim team swimming two hour practices, mostly Butterfly at that, and she in particular needs fuel. We need on-the-go snacks that are gluten-free, nutritious, and taste great. A snack bar is perfect…if the perfect one can be found.
We’ve tried many, many gluten-free granola or snack bars. Each seems to have their own little thing that makes them sub-optimum. There is a weird flavor. They are too hard (especially when the kids were both recently in braces, they were non-starters). Though I don’t eat them as often, I don’t love an overabundance of oats. Some with puffed cereal seem to be ALL puffed cereal and become stale easily. AND they are expensive; $5-$6 for a box of 5 bars. I’ve felt sure there is a way for me to make something comparable at home that fills the bill and saves some cash.
I consulted with the kids about what they love about the bars they like and what they don’t care for in those that miss the mark. I personally like texture and good visual appeal. I’m not as partial to the fully ground up fruits and nut bars; I like to see some color, some shapes and have some variable texture with great flavor. The kids like seeds and nuts but prefer larger nuts or fruits to be ground so they aren’t stopped cold on a large, hard nut. Pretty much any nuts or seeds were a go. Love peanut butter (the elder in particular).
Here was my criteria: I wanted them to be nutritious, packed with energy-supportive calories, and no fillers. We add Chia and Hemp seeds to many gluten-free baked good to pump up the protein and fiber; those were a must. I also don’t love the idea of bars sweetened with lots of processed sugar. I knew I’d want dates to be one of the dried fruits as they provide dense natural sweetening. I also like the idea of using honey (more quickly processed) and agave (doesn’t spike the glycemic index, meaning doesn’t give that rise in blood sugar that is followed with that drastic fall) for sweetening. We always strive to eat organic and of course must eat gluten-free.
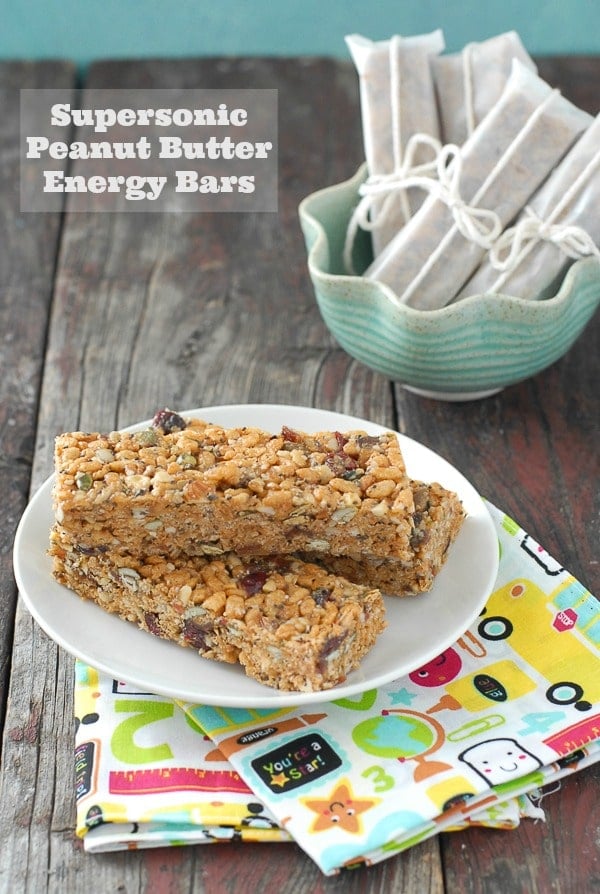
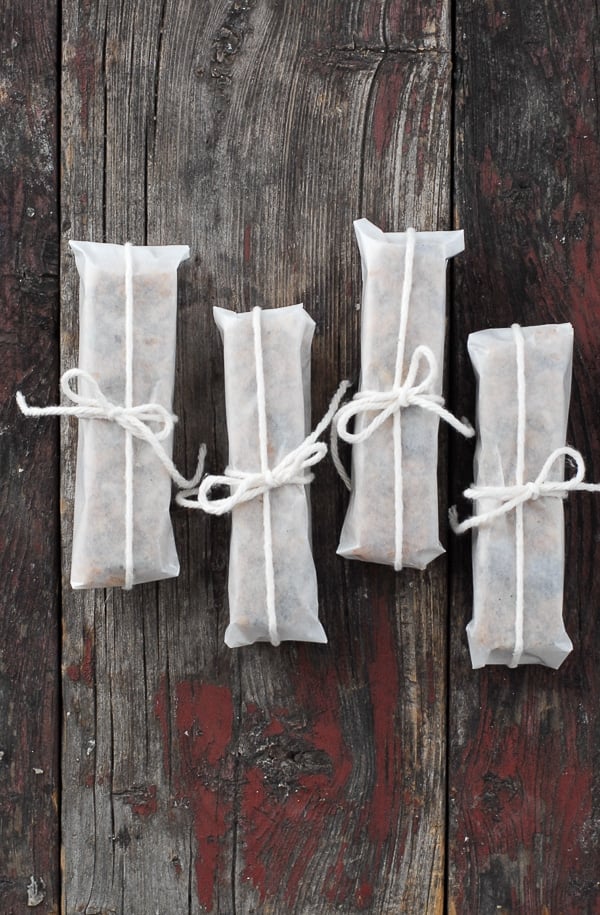
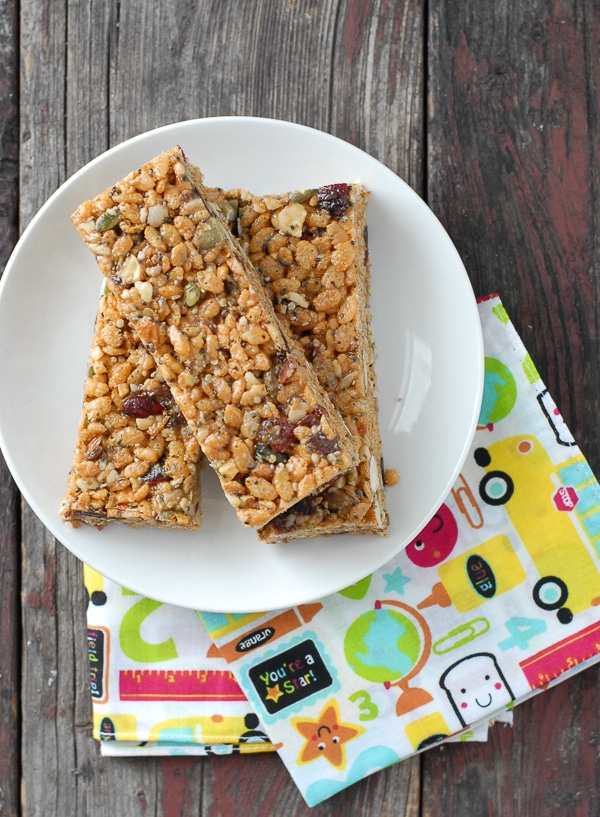
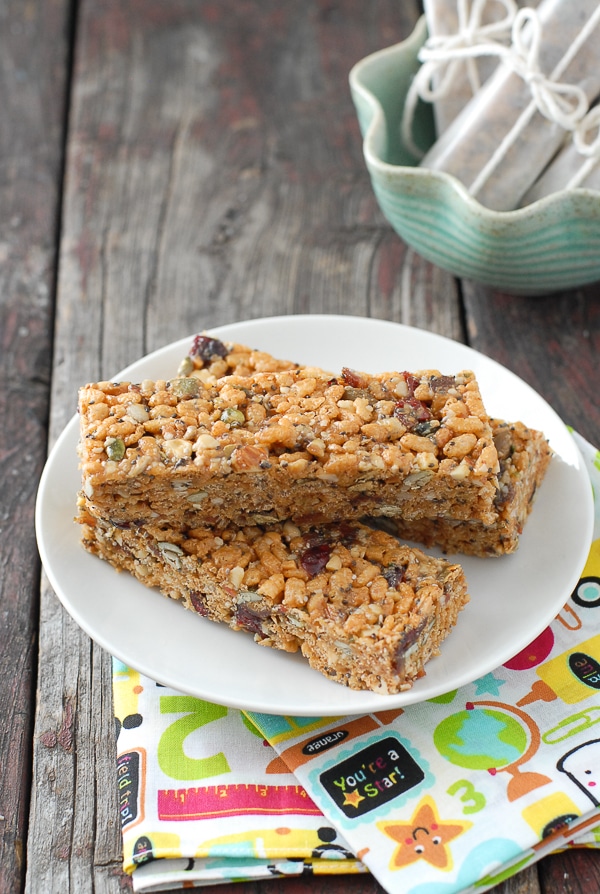
After making and sticking the bars in the fridge to cool overnight, I’m over the moon this morning. My first thought was I love the look of them. I love seeing full seeds in different sizes and colors. The texture is soft so no one’s teeth are in jeopardy. The flavor of peanut butter and honey are prominent which I also love. The kid’s reaction? They loved them. They liked the softer bite, the texture and flavors. I’ve wrapped them up in wax paper and they are in the lunchboxes for school.
Recipe
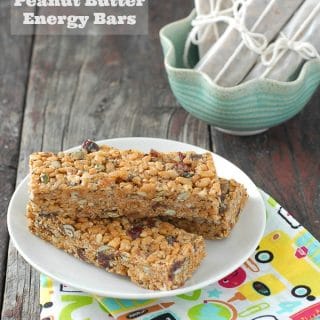
Supersonic Peanut Butter Energy Bars
Ingredients
- ¾ cup Peanut Butter (I use ground nut only natural peanut butter with nothing else added)
- ¼ cup Wildflower Honey
- ½ cup Agave Nectar
- 1 teaspoons Vanilla Extract
- 1/8 teaspoon Kosher Salt
- ½ cup Raw Almonds , chopped in a food processor or chopper
- 3 tablespoons Chia Seeds
- 2 tablespoons Hemp Hulls
- 2 tablespoons Raw Pumpkin Seeds (shelled)
- 2 tablespoons Raw Sunflower hulls
- 3 tablespoons Roasted , Salted Pepitas (pumpkin seeds)
- ½ cup dried Dates , chopped in a food processor or chopper
- ¼ cup dried Cranberries , sweetened (preferably with juice)
- ¼ cup dried Cherries , depending on your needs) sweetened
- 4 cup Puffed Brown Rice Cereal (gluten-free or regular
Instructions
- Line a 13 x 9 inch baking pan with parchment paper. Set aside.
- In a large mixing bowl, combine the almonds, all the seeds, dried fruits and the rice cereal. Toss with hands to fully combine.
- In a large pot (large enough to hold all the ingredients with room to mix them together) combine the honey, agave nectar and peanut butter on medium low heat. Stir frequently until the peanut butter (and honey if semi-solid) melt and begin to bubble; approximately 3-5 minutes. Turn off heat. Stir in the salt and vanilla.
- Pour the cereal-nut-fruit mixture into the saucepan and mix together to ensure the dry mixture is all coated with the wet ingredients.
- Turn the mixture into the prepared pan. Spread it evenly around the pan. With the back of a mixing spoon, press the mixture down to compress it and flatten the top. Place wax paper on the top of the bars and place in the refrigerator until fully set (approximately 2 hours).
- Slice and keep refrigerated in and air tight container or freeze.
Lauren says
Super tasty, and really easy! Thank you so much for the recipe. 🙂