Home composting is easy with this simple DIY home composting can tutorial and guide on how to compost at home. Grow the garden of your dreams using homemade compost! This fun, simple, inexpensive, earth-friendly project is family-friendly, and great for Earth Day!
This post is shared as part of Boulder Locavore’s ongoing partnership with Silk, exploring earth-friendly, healthy lifestyles choices and exciting plant-based dietary options.
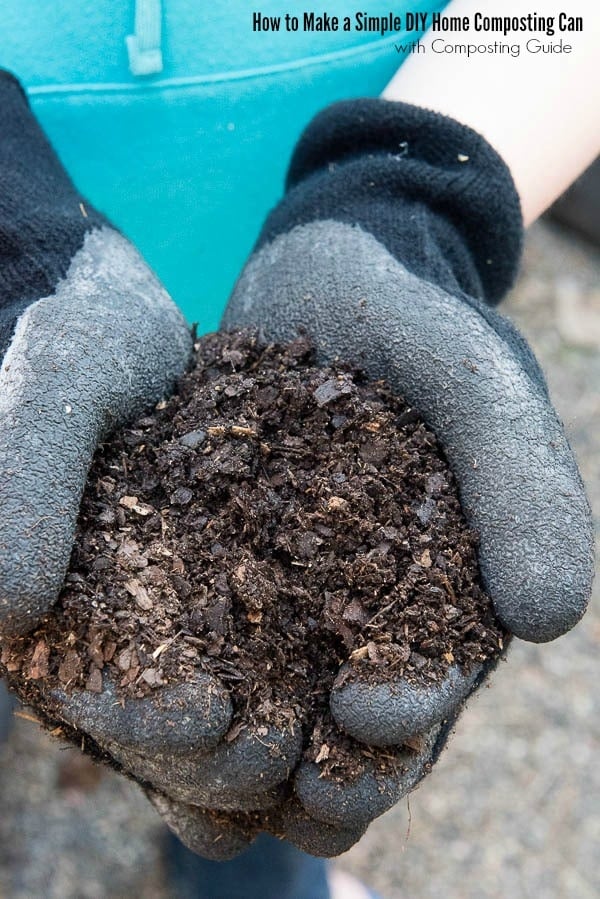
With Earth Day right around the corner, I’m sharing a project near and dear to my heart: How to Make a Simple Home Composting Can. It’s an inexpensive DIY project, easy to set up and very gratifying as well as great for your garden! Growing a vegetable garden with homemade composte means that your vegetables will grow to be delicious in salads, soups, and other recipes.
I am fortunate to live in a very environmentally conscious community. Shortly after moving to Boulder they started curbside pick-up for recycling as well as composting. In return for contributing to composting the eco center allows residents to come pick up bags of the final compost for their gardens. I’ll confess, since the compost program can accept any vegetation and since I use compost on my food garden, I generally prefer to make my own since I know what I’ve put in it. Specifically, I don’t put any weeds in the compost as I don’t want my food garden sprouting tons of weeds from any weed seeds!
What is Composting?
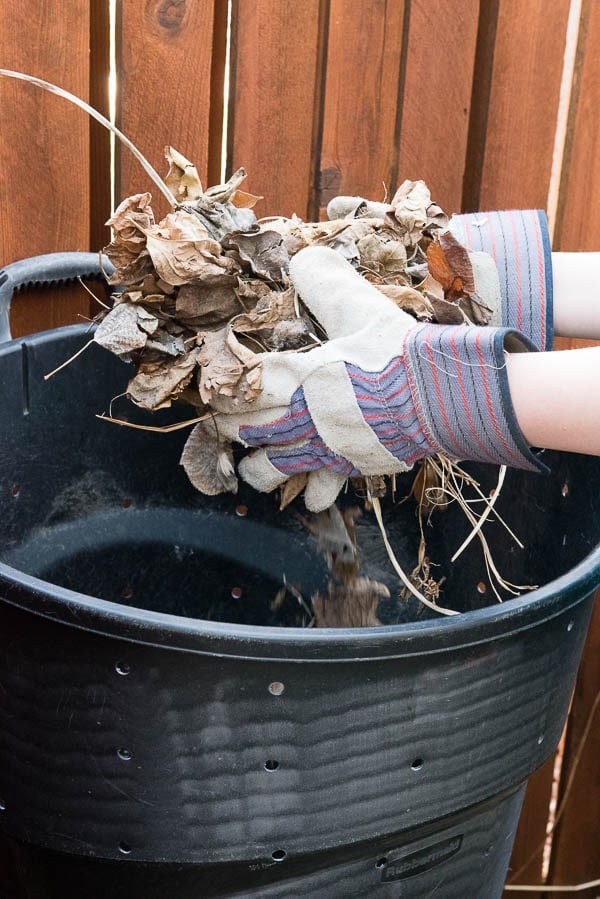
Let’s start at the beginning, what is composting? Composting is the process of breaking down organic (formerly living) material into a rich soil. Plant matter (leaves and grass clippings) and food scraps are all you need to start composting. For successful composting an equal amount of ‘brown’ and ‘green’ matter need to be used. Examples of brown matter would be leaves, straw (untreated) and newspaper. Green matter would be food scraps, coffee grounds, egg shells and grass clippings. Some people add vegetarian-fed animal manure to their compost. I prefer not to add manure but to incorporate that into my garden beds separately. Also I only use plant scraps in home composting. Adding meat and dairy products are a bit more complicated and I leave that for my curbside compost pick-up.
Home Composting Timetable and Materials
The rate at which matter breaks down into compost depends on a few simple factors:
- temperature inside and outside of the bin
- air flow
- humidity
- the ratio of the materials being composted.
The smaller the size of the matter also can effect the speed it composts as well, I find. Newspaper should be shredded through a shredder before adding to a compost pile. If possible putting leaves through a leaf mulcher is great before adding them too. Once everything is combined it will be rotated periodically to encourage the breakdown of the contents. I’ll cover that more in a bit.
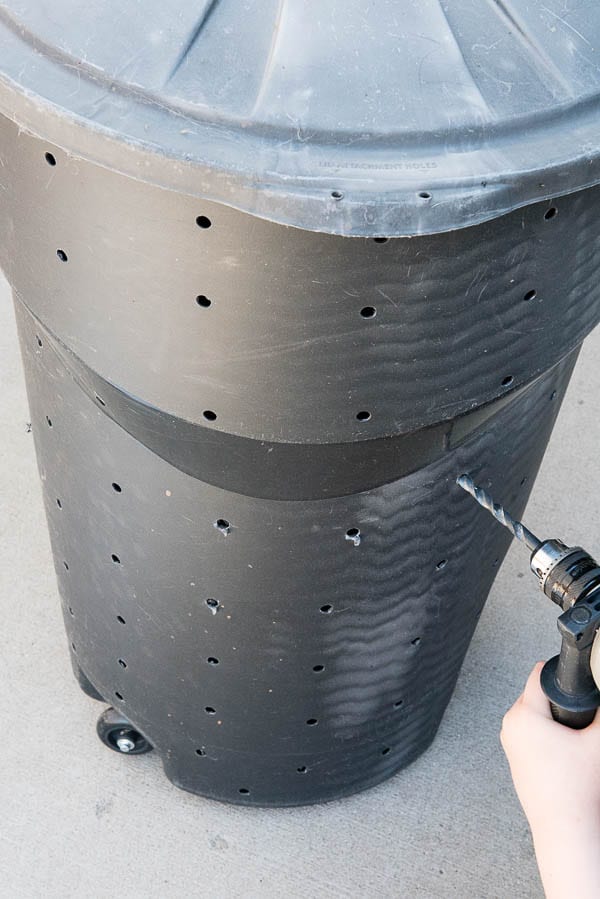
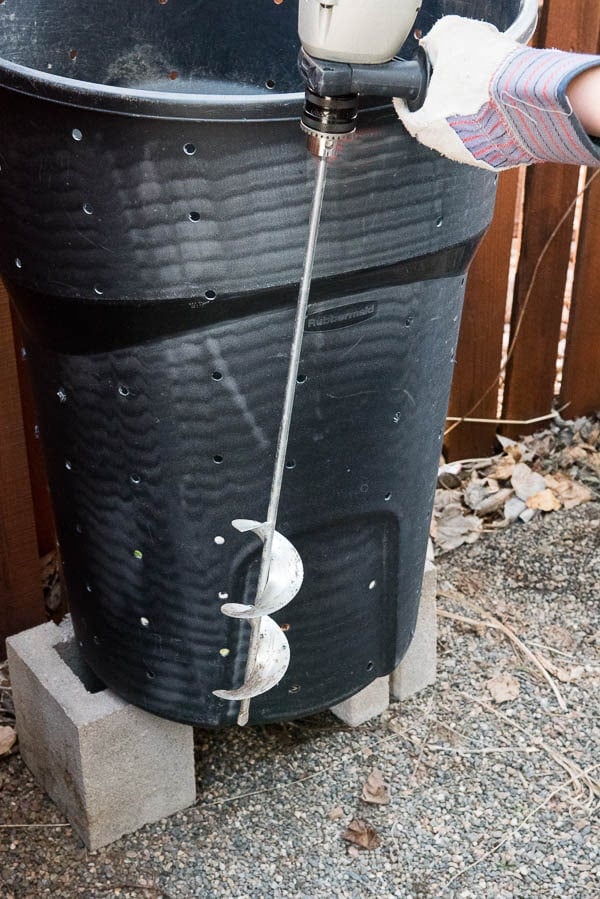
Many of us don’t have the space for a full blown compost pile. I have the perfect solution that works and is inexpensive! You’ll need a plastic garbage can with a lid, a drill with a large bit and 1-2 cinder blocks. Holes are drilled into the garbage can to allow air flow, including the bottom, and it sits on the cinder blocks to stay off the ground. It’s a great family project to purchase and create a home compost bin!
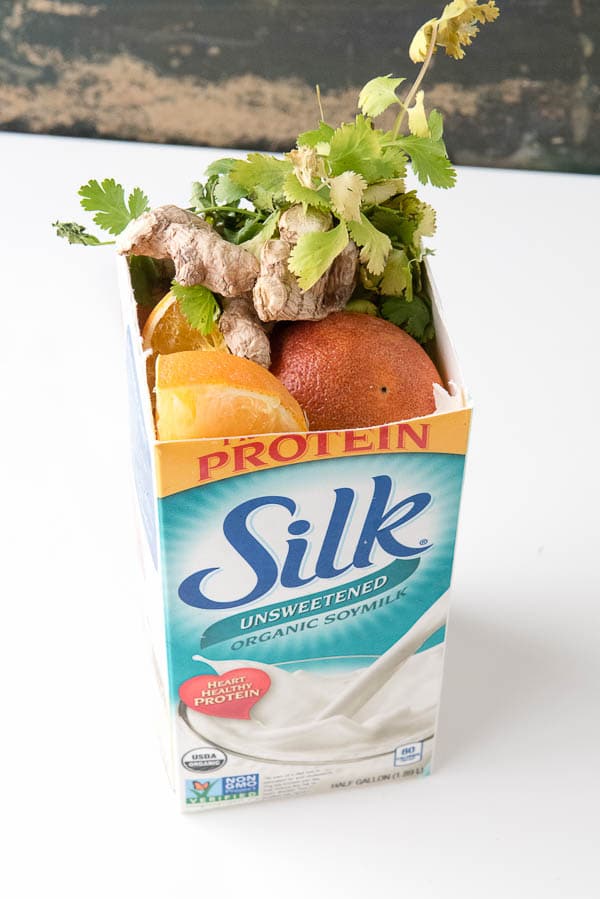
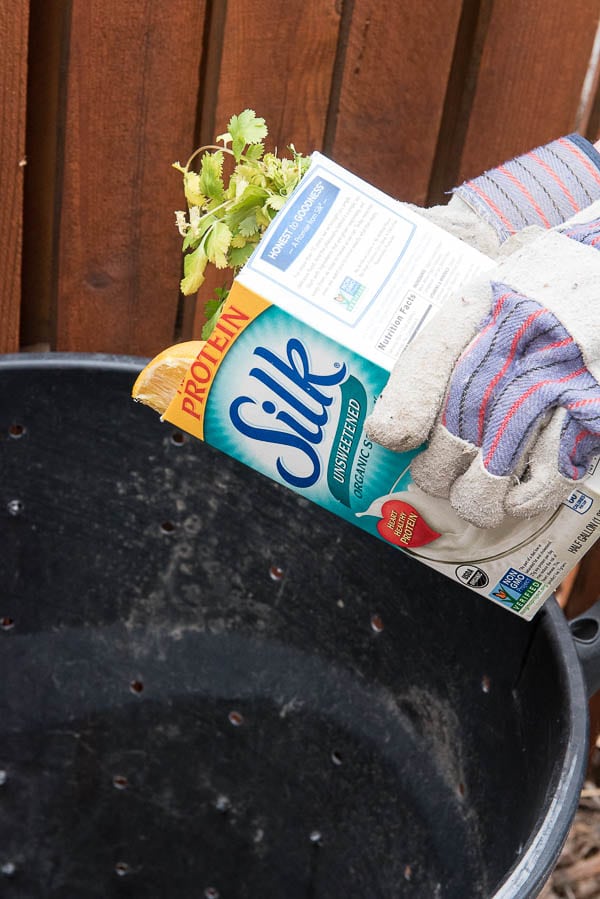
I also find it handy to have a small bin in which to put kitchen compost scraps. Realistically I do not trot out to the compost bin each time I prepare food. A simple milk carton is a perfect size to keep underneath the kitchen sink for this. It holds 1-2 days of scraps so does not smell and can be easily taken out to dump in the compost can. Using a box cutter (adults only please!) cut along the top seam of a half-gallon milk carton (just below the slanted area); remove and discard the top. Your scrap container is now ready!
Composting Supplies
32-gallon Plastic Garbage Can with Lid
Drill with large diameter bit (3/8 inch)
2 Cinder Blocks
Optional: Auger Drill Bit (for rotating the compost)
How to Make a Home Composting Can
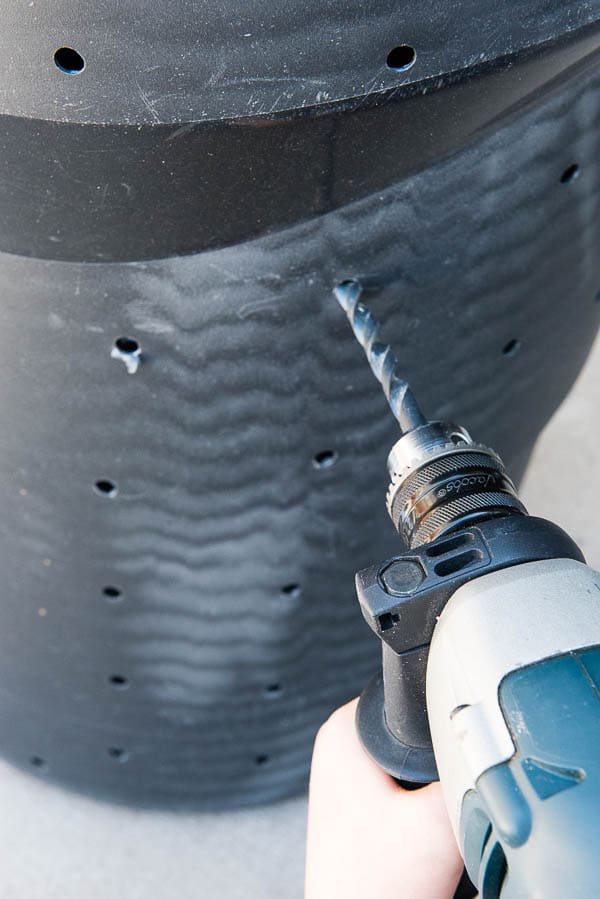
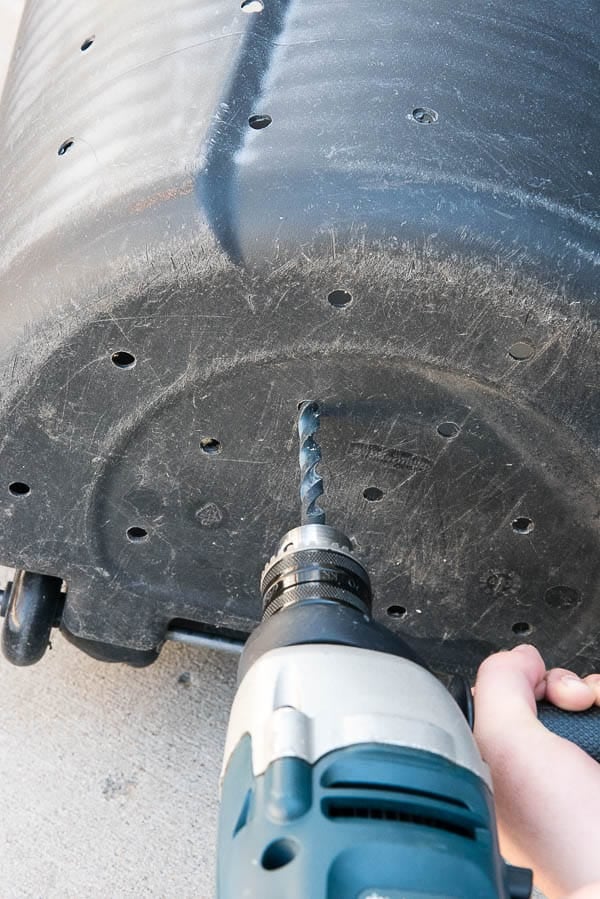
Equip the drill with the large drill bit. Drill holes uniformly all over the can, including the bottom. This allows for air flow to the compost.
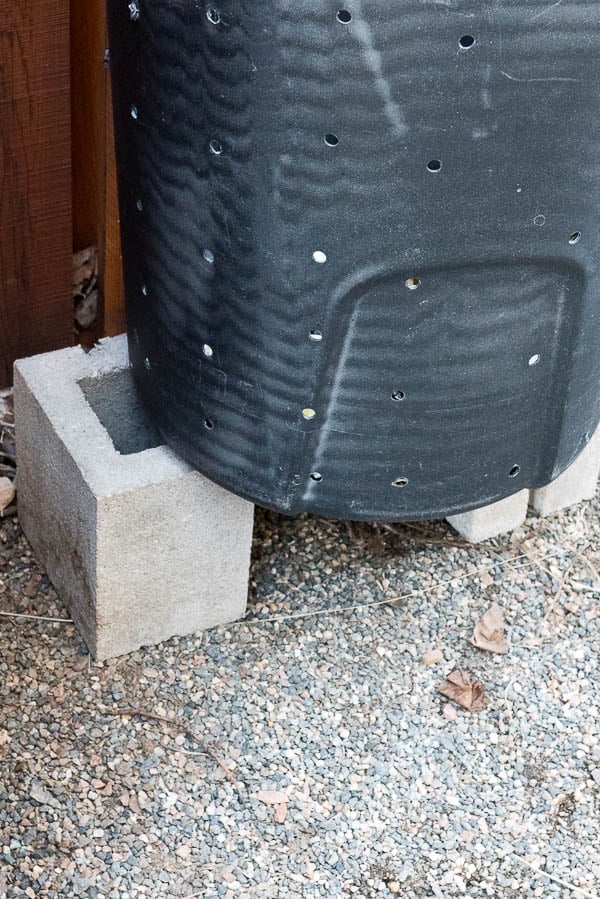
Sit the prepared compost can on top of the two cinder blocks to allow air flow to the bottom of the can.
How to Make Compost at Home:
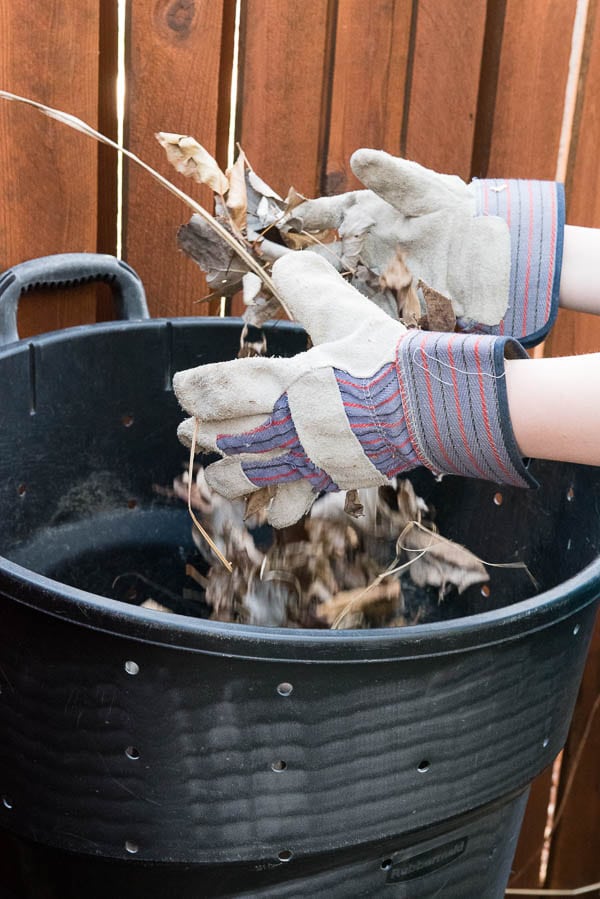
- Add equal parts of brown and green material (refer to examples above) into the home composting can.
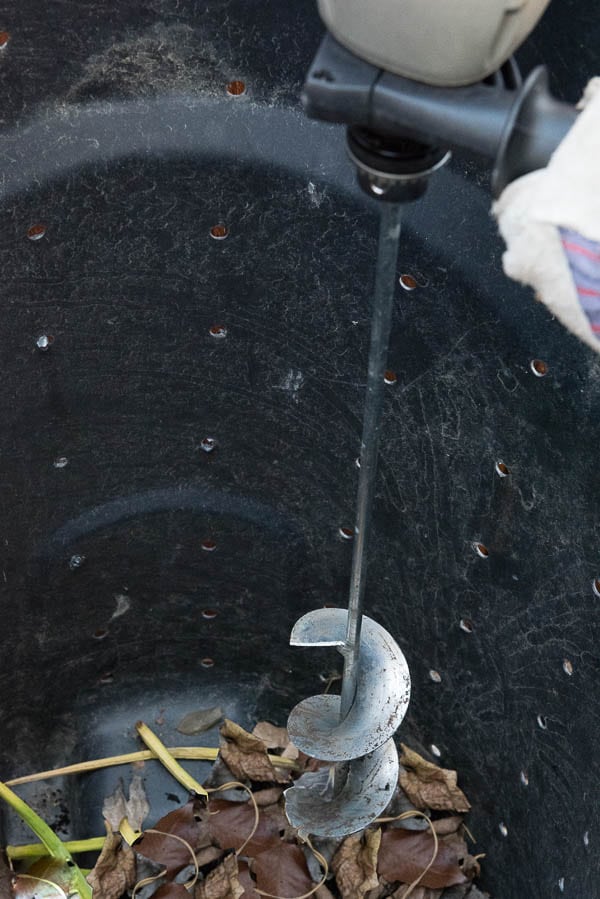
Turning the compost is critical to the breakdown of the material. To turn the contents of the can either use an auger bit on a drill (see below) or place the can on its side (with lid secured on top) on the ground and roll it back and forth. Turning the compost should happen a few times a week.
For more details on home composting, check these resources:
Home Composting Made Easy, Cornell Composting FAQs, Earth Easy: Composting
This is a sponsored conversation written by me on behalf of Silk. The opinions and text are all mine.
Stacie says
So excited to make this home composting can! Can you tell me if you put holes in the lid as well? Wondering if this would allow the right amount of moisture in. Thanks so much!
Toni Dash says
Great question Stacie! I did not add holes to the lid, just the sides and bottom for air flow. Hope that helps!
Joni Mason says
I live in an apartment and can only do container gardening and I was beginning to think I couldn’t find a solution to having a compost can for my tiny space. Thank you for this post!
michele soyer says
I have made so many composts bins over the years and to tell the truth many have been very poor.. I am definately going to give this idea a try.. Thank you!