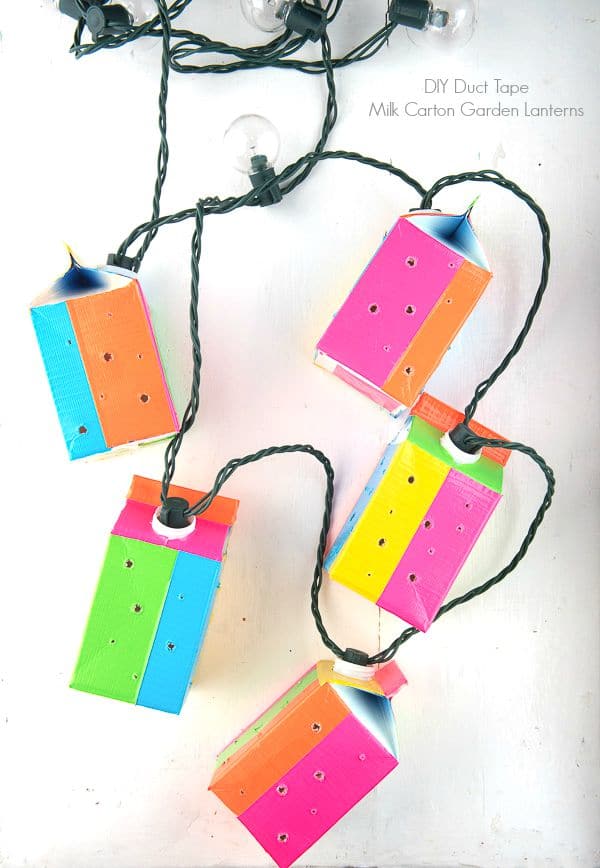
It’s hard to imagine summer is careening toward a close. When I was a child summer ended after Labor Day which is when school started. Now everything comes to an abrupt halt in the latter part of August which feels incredibly untimely. Shouldn’t the feel of fall be in the air at least?
August to me is the quintessential summer month. The heat is at its heyday. Swimming pools, swimming ponds, water parks, the ocean and lakes all beckon for cannonballs and hours of frolicking in the icy chill of the water. Nights are full of cricket songs, and staying up way past bedtime trying to outlast the sultry heat of the day like a test of wills to see who will blink first.
The most magical thing about summers for me as a child were visiting relatives in the South and catching fireflies.
There is nothing more captivating when the violet blue of night creeps in to see the quiet flicker of floating lights in the heavy summer air.
This image and the sense of life’s unexpected magic are what inspired this month’s addition to my Bucket List project sponsored by Silk, maker of fine plant-based milks. I wanted to create something that gives that same sense of wonder. I made Duct Tape Milk Carton Garden Lanterns. If I do say, I completely love them.
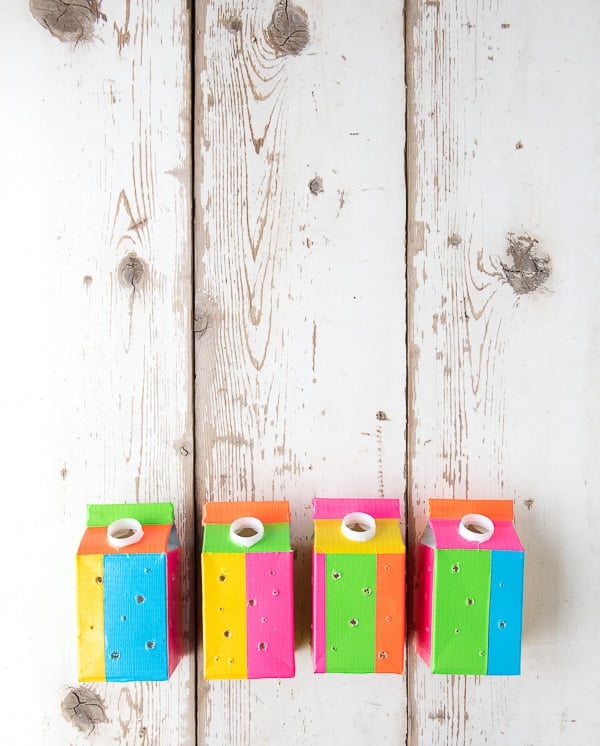
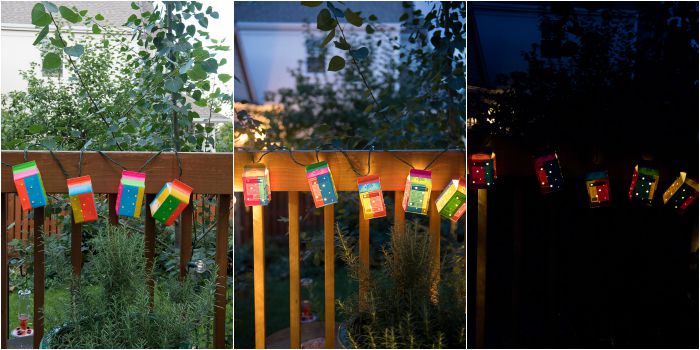
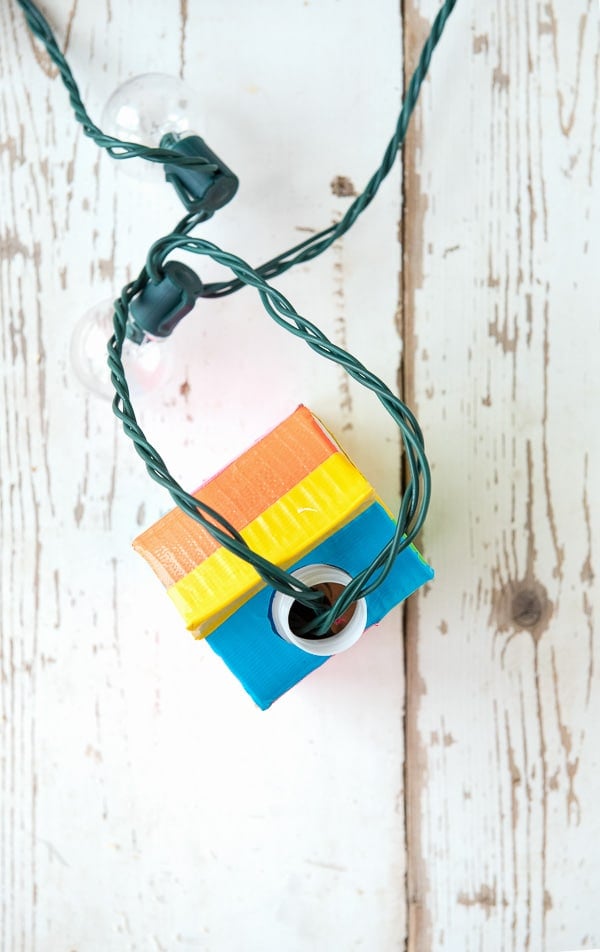
For my project I used pint size creamer cartons which are color blocked with duct tape and hung on a strand of outdoor LED lights. They are cute by day, robust in the weather and at night glow with little pinholes of light like fireflies in the dark.
I chose an array of vibrant colors however any duct tape you love could be used. They could match or not. You could make a few and add on as you feel inspired to do so. Some duct tape is sheer when the lights are inserted and if you prefer more layers of duct tape could be added.
They make our patio feel fanciful and happy, and I love sipping a cold drink (an icy cold glass of Silk Almond Milk sounds pretty good right now) watching the lanterns change with the waning of the light.
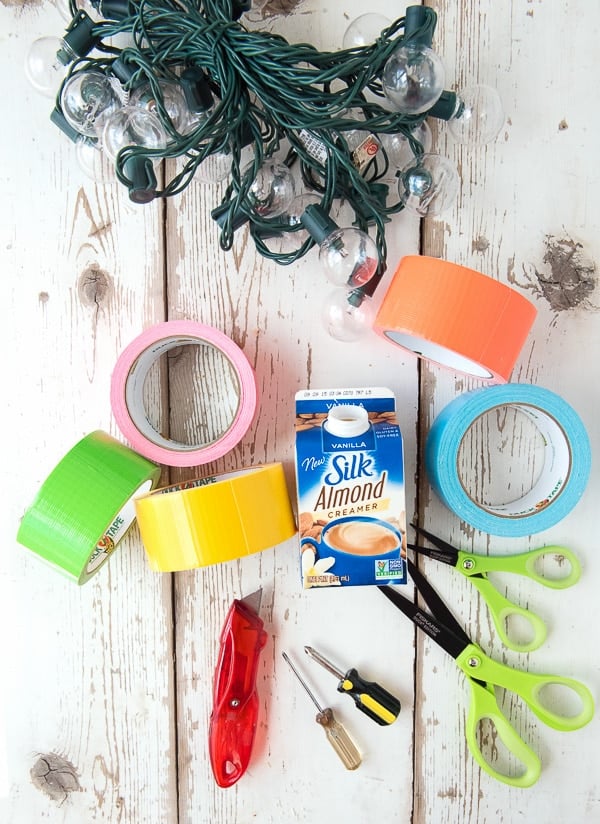
Supplies Needed
- Pint Milk/Creamer Cartons with a pouring spout; rinsed and fully dry inside
- Duct Tape
- Scissors (I highly recommend Fiskar Duck Tape Scissors; they make cutting the duct tape far easier)
- Philips screw drivers in multiple sizes
- Box cutter
- Strand of LED outdoor garden globe lights (these are the lights I used), with twist off bulbs. *NOTE: the lights must be LED because they do not give off heat; regular lights will get hot and could pose a fire hazard*
Step by Step Instructions
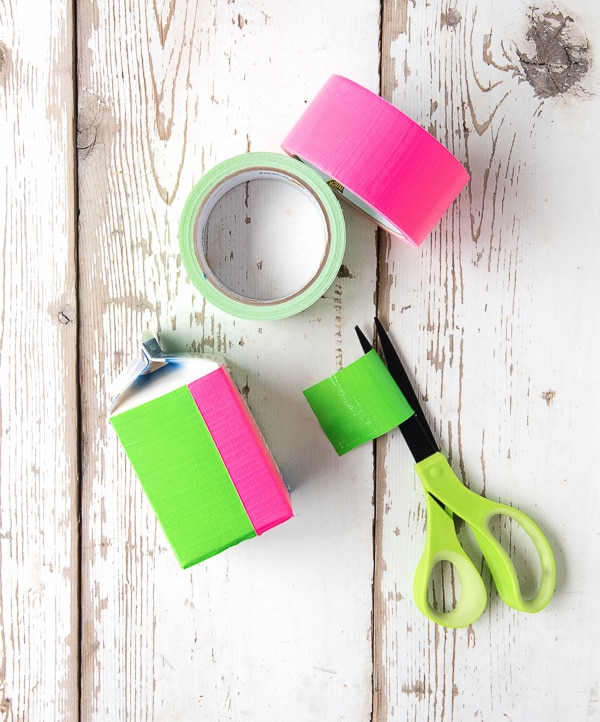
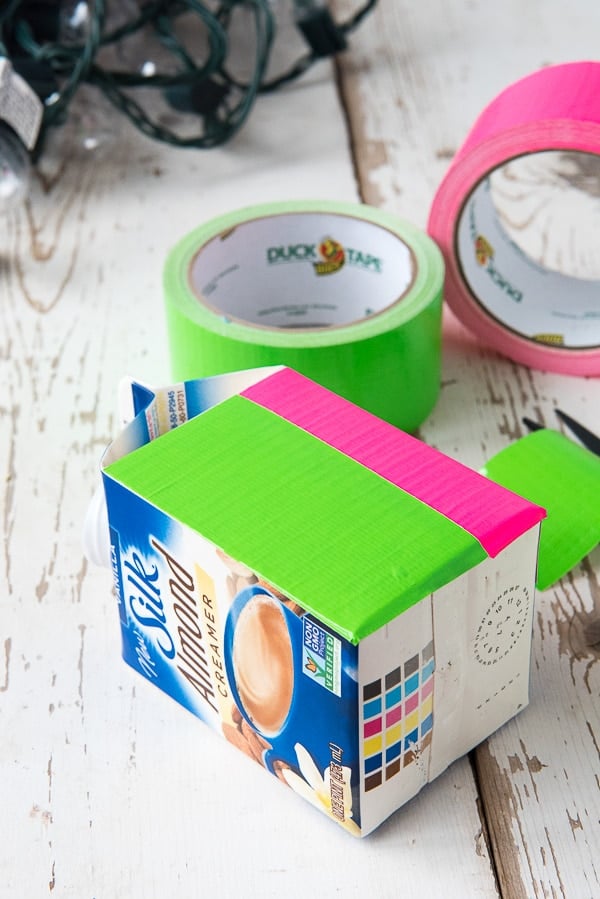
Cover the sides and slanted top of the milk carton with duct tape. To color block place different colors next to each other, varying the widths of the tape stripes. Tip: to cut a strip to go around the pouring spout, gently place a piece of duct tape on a work surface and trace around the outside of the lid in the position where it would be on the tape.
Cut a straight slit from the edge of the tape and around the outline of the cap. Wrap the circle around the spout, aligning the slit sides below the opening flush with each other. Press the tape onto the milk carton and trip any excess duct tape on the sides.
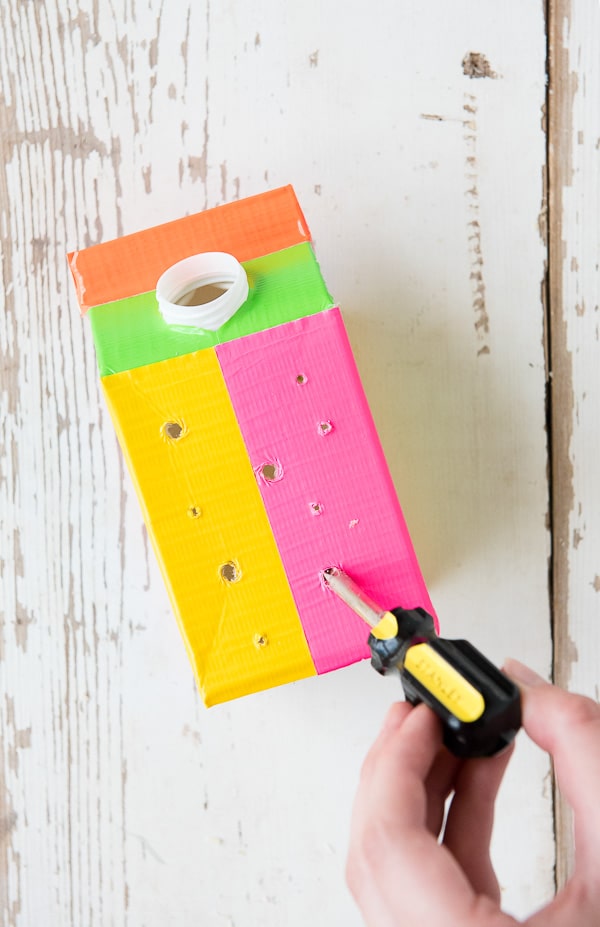
Starting with a small Philips screwdriver, gently turn the screwdriver over a spot on the milk carton where a hole is desired. Avoid pushing too hard to prohibit creasing of the milk carton. Continue to make all the desired holes in the milk carton.
To vary the hole size, go back over the holes with larger screwdrivers, twisting them into the holes.
On the bottom of the milk carton cut a small three-sided trap door from the seam below the pouring spout 2 inches down and over (see photo).

Remove a bulb from a LED light socket on the light strand. Insert the socket into the pourable spout of the milk carton until you can pull it down to the trap door of the carton.
Twist the bulb back into the socket and pull the ends of the strand so the bulb seats just under the spout inside the carton. Repeat for additional milk cartons you have made.
Alternative option: should you not be able to find LED lights, using LED battery operated faux tealight candles is another option. To string the lanterns in that case, insert a large Philips screwdriver through the indentation under the flaps of the top of the milk carton, making a hole all the way through, then string them on twine.
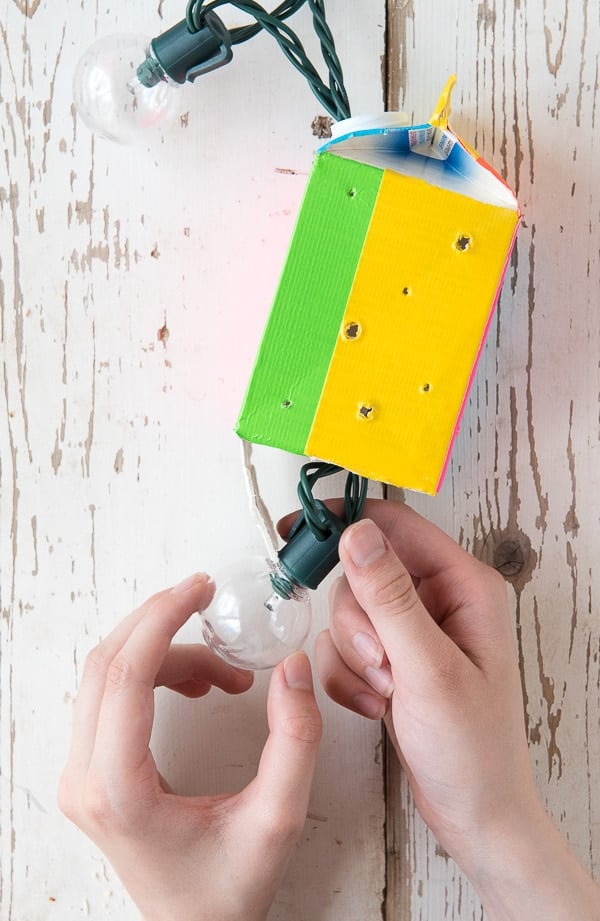
Place a piece of duct tape over the trap door to secure it (or cover the bottom entirely; the duct tape is easy to remove if needed). String the strand where you choose and plug in!
This conversation was originally sponsored by Silk. The opinions and text are all mine.
Linda Szymoniak says
I love the bright colors of these, but am thinking that thanks to the huge variety of duct tape colors and designs, you could use sports teams or other designs, too. What a fun and practically idea.
Latoicha says
What a fun and cool craft project! My kids would love this. Thanks for sharing.
Candy O says
What a great craft idea for left over cartons. Love making light projects. Great idea!
Chris Scheuer says
How adorable! It must look so magical when these are all lit up at night!
Christie says
What a fun project for the kids! I’d love to make a set for entertaining
Amy Desrosiers says
What a super cool DIY! I love how creative this is and the pictures are amazing.
Shell says
Those are so cute! I love crafting with duct tape!
Penelope says
Love it! What a beautiful craft!
Amy @ Marvelous Mommy says
Oh that’s really cute! Great DIY project idea!
Ann Bacciaglia says
This is such a fun DIY project. I love using Duct Tape for a ton of projects. My favorite is making flowers.