
This post is shared as part of Boulder Locavore's ongoing partnership with Silk, exploring healthy lifestyle choices and exciting plant-based dietary options.
I'm so excited October has arrived! Admittedly this is one of my favorite times of the year and I love decorating for Halloween. My taste has always leaned toward handmade items and more rustic artisan goods which are perfect for Halloween celebrating. I don't have the time I wish I did to create new decorations but still try to add something every year. A favorite I make annually is a Halloween Treat Wreath; made of lollipops covered in Halloween fabric. Trick-or-Treaters don't know it's a treat until they pull one of the balls from the wreath to realize what it is. We have kids who comment annually about how excited they are we had made one again.
We live just inside the city limits of Boulder. We are surrounded by open space, and next to the foothills. There are no street lights in our neighborhood and our house is the only one facing the open space at the end of the block, therefore it's very dark at night. We decorate our porch with illuminated jack-o-lanterns and other motion-sensor spooky objects that light up when people approach. I'm always worried about the hordes of Trick-or-Treaters not being able to see our walkway.
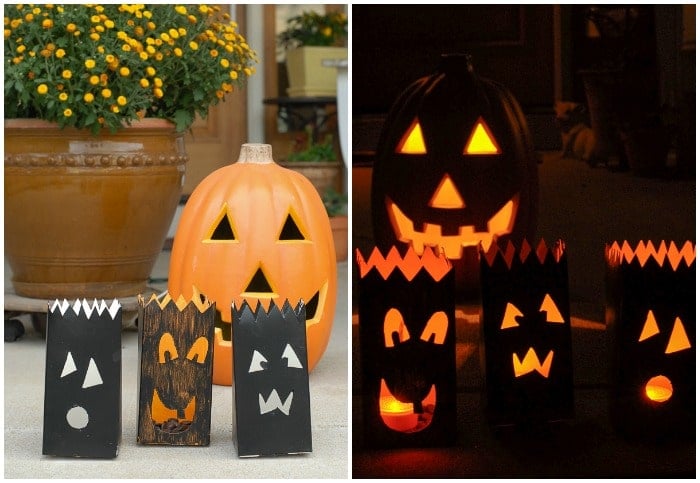
A holiday tradition I love from New Mexico is luminarias, small paper bags weighted with sand and lit with a votive candle. Especially popular around Christmas time, these simple homemade lanterns are charming and lend warmth to the season.
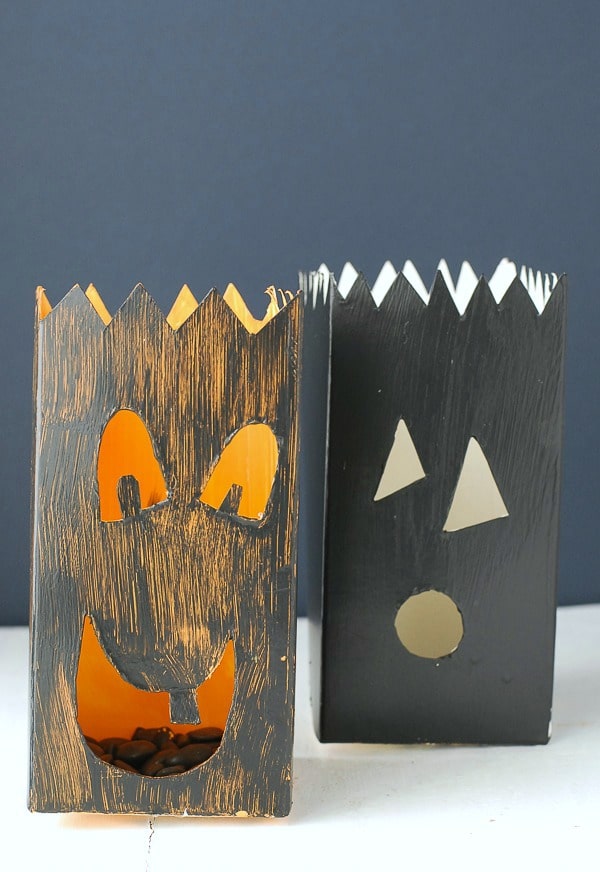
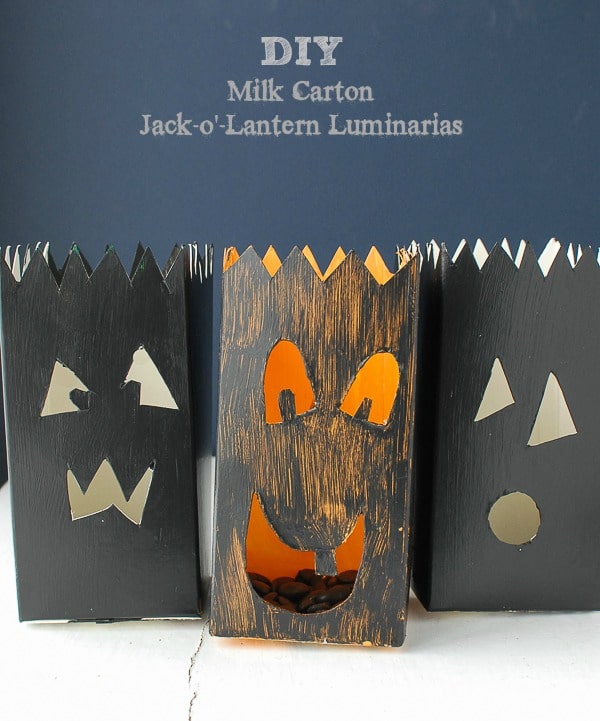
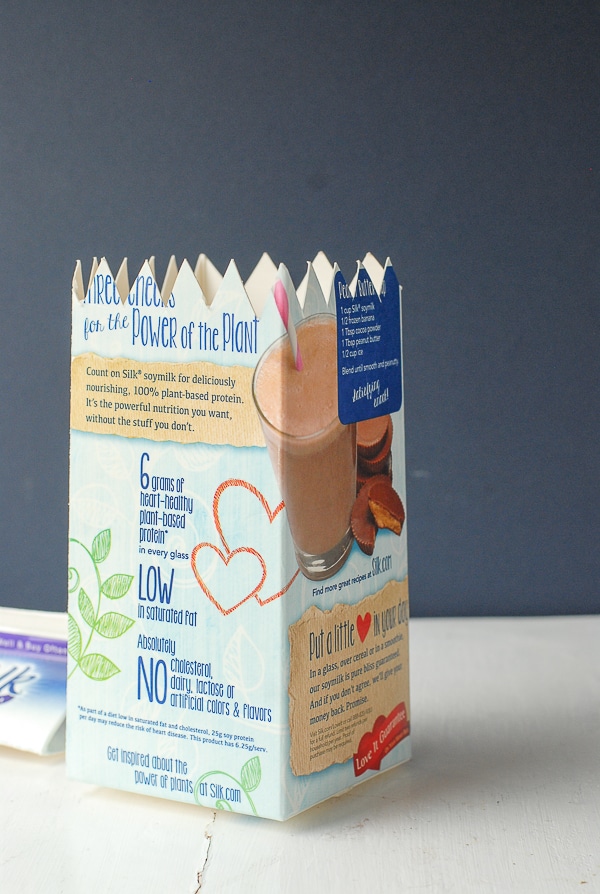
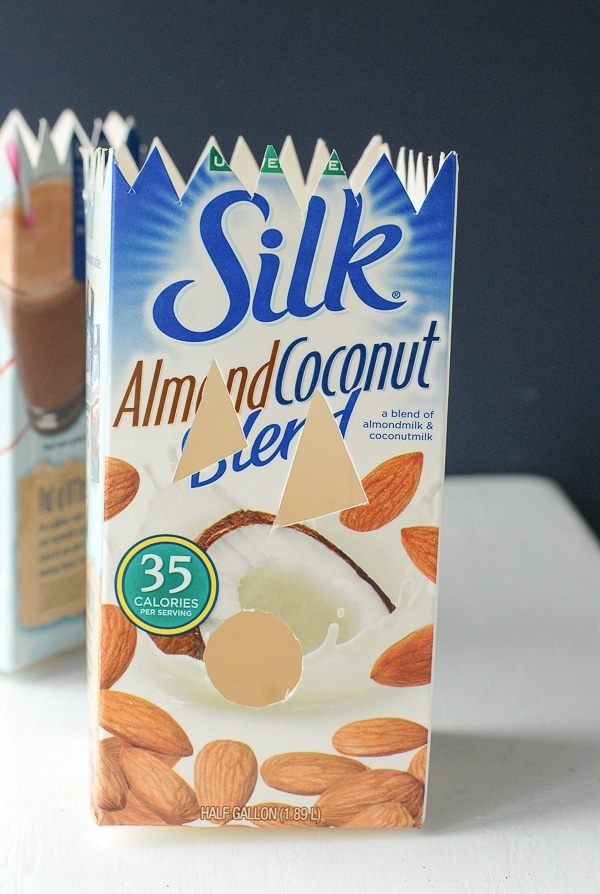
This year as a fun family project, we made Milk Carton Jack-o'-Lantern Luminarias. Much like carving pumpkins themselves, the project is easy (with no goopy seeds) merely requiring drawing out a face and cutting it out, along with some painting. Adults will need to help younger children with the cutting steps but otherwise any age can enjoy this project. It's a satisfying way to recycle milk cartons too!
Due to the waxy surface of milk cartons a bit of light sanding helps paint adhere. We used indoor/outdoor Acrylic Paint. Darker colors cover better taking a few coats to make it opaque. Lighter colors can also be used as an under coat with some peeking through. If you desire the milk carton to be completely opaque with the best paint result for coverage and adherence I recommend priming it with a a few coats of spray on paint primer. Priming would also allow lighter colors to provide good coverage versus painting an unprimed milk carton. Milk Carton Jack-o'-Lantern Luminarias will be a fun addition to your Halloween décor and light the way for ghouls and goblins on Hallow's Eve.
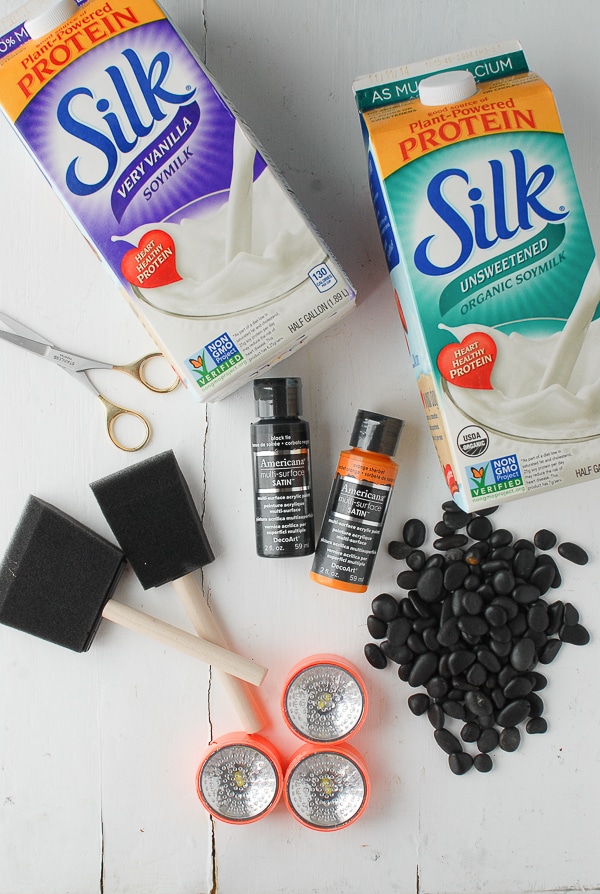
Supplies:
- Empty milk cartons, rinsed and dried
- Scissors and/or box cutter
- Sharpie to draw on face/design
- Fine grain sanding paper
- Acrylic Paint (indoor/outdoor) available at hobby and craft stores (note: darker colors cover easier than lighter colors)
- Spray on paint primer, if desired
- Sponge paint brushes
- Disposable gloves
- Drop cloth or garbage bag to protect surfaces when painting
- Sand or pebbles to weight down the finished luminarias
- Mechanical votive candle (available at hobby and Halloween stores)
Cut the top of the milk carton in a zig zag pattern to imitate the top of a paper bag. I found this easiest to do using scissors.
Draw the jack-o-lantern face on the milk carton with a Sharpie marker. Cut out the face with scissors or a razor box cutter (works best). NOTE: if making this project with young children, parents should help with this step especially if using a box cutter.
Using disposable gloves is recommended when painting. Arrange a protected work space by covering with drop cloth or garbage back (preferable to newspaper which will stick to the paint). Squeeze some of the acrylic paint onto the drop cloth (if disposable) or into a disposable container (yogurt containers work great).
Spray the milk carton with primer if desired; 1-2 coats is recommended. Allow to dry fully.
Paint each side of the milk carton with a thick amount of paint (not so much that it drips). Allow the milk carton to dry before applying additional coats. NOTE: painting over sections of the acrylic paint before it dries wipes the prior paint off; it is best to allow the paint to dry for at least 30 minutes between coats of paint. Repeat coats of paint until the milk carton has paint coverage to your personal preference. The inside of the milk carton may also be painted if desired.
To use: cover bottom with a layer of sand or pebbles, add the mechanical votive candle. NOTE: the mechanical votive candle flickers as does a regular votive however there is no fire danger as there would be with a candle and the milk carton.
LIKE Silk's Facebook page for great healthy recipe ideas, fitness tips, inspirational quotes, holiday inspiration, product information and to win great products (no purchase necessary).
This conversation is sponsored by Silk. The opinions and text are all mine.
Natalie F says
I can’t wait to make these with my kids. They love projects like this.