This post is shared as part of Boulder Locavore’s ongoing partnership with Silk, exploring healthy lifestyle choices and exciting plant-based dietary options.

As much as I love fall and the slowdown from summer, I really miss not being able to hop outside into my garden for fresh produce or herbs once the snow begins to fall. Fortunately I have a fun project anyone can do to keep herbs available for clipping all winter long: DIY Milk Carton Herb Gardens. It’s a quick, easy project and one kids will love as well with a bit of help from parents. The gardens are not limited to planting started plants either; they are a wonderful way to start windowsill seeds in the spring to transplant in a garden. Also a fun gift idea for teachers, neighbors or Grandparents.
I will confess that I truly love repurposing. We are dedicated recyclers in the Boulder Locavore household and are fortunate our local garbage company offers a thorough curbside recycling program. I also love the idea of turning our abundance of milk cartons into something else; giving them new life with a value-added purpose. I’m sure you’ll agree, it’s very gratifying to take an ordinary household item and turn them into these planters.
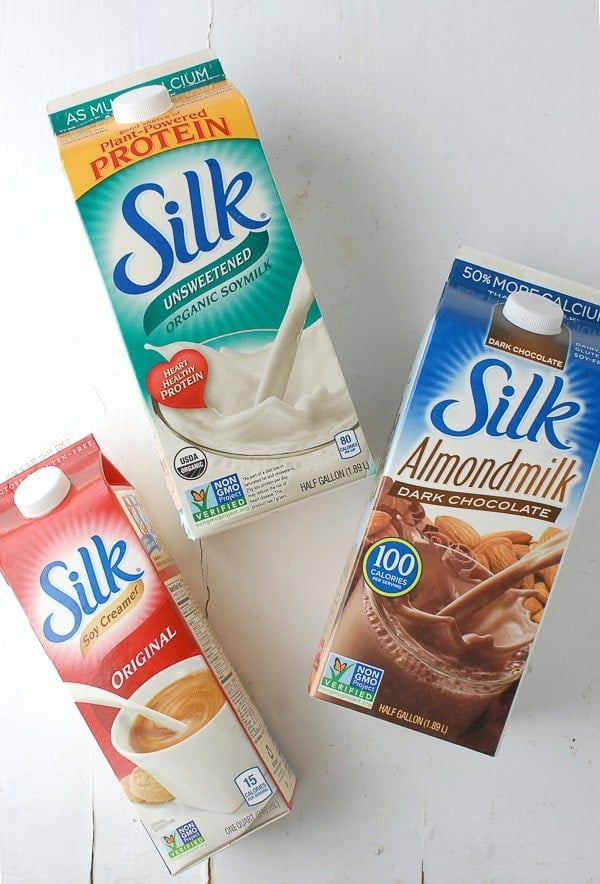
Collect used milk cartons in any size or shape you want to use. Rinse them out multiple times and allow them to drain.
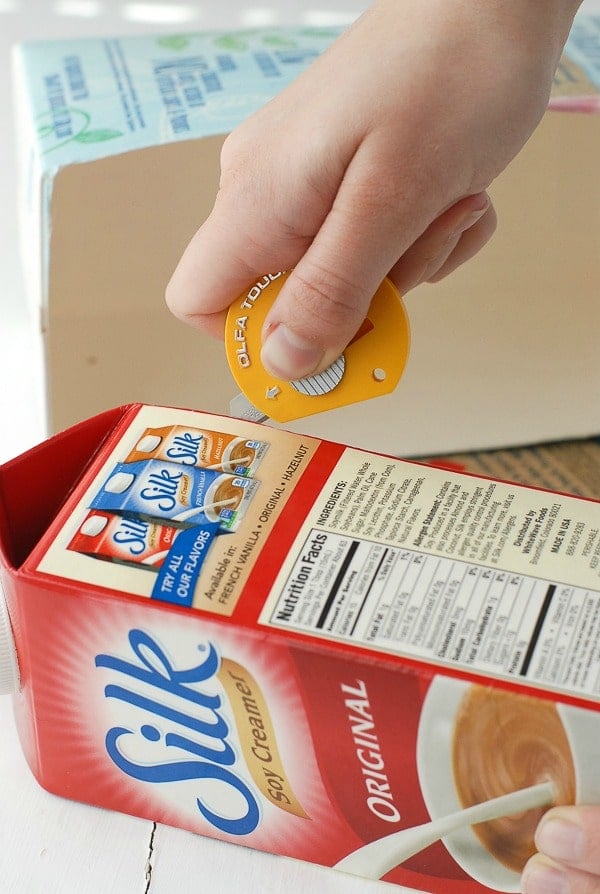
This step should be done by a parent if children are making planters: Using sharp scissors or a box cutter, cut out one side of the milk carton which will be the top of the planter. They can be cut lengthwise (offers more planting space) or across. Save the piece of the carton which has been cut out.
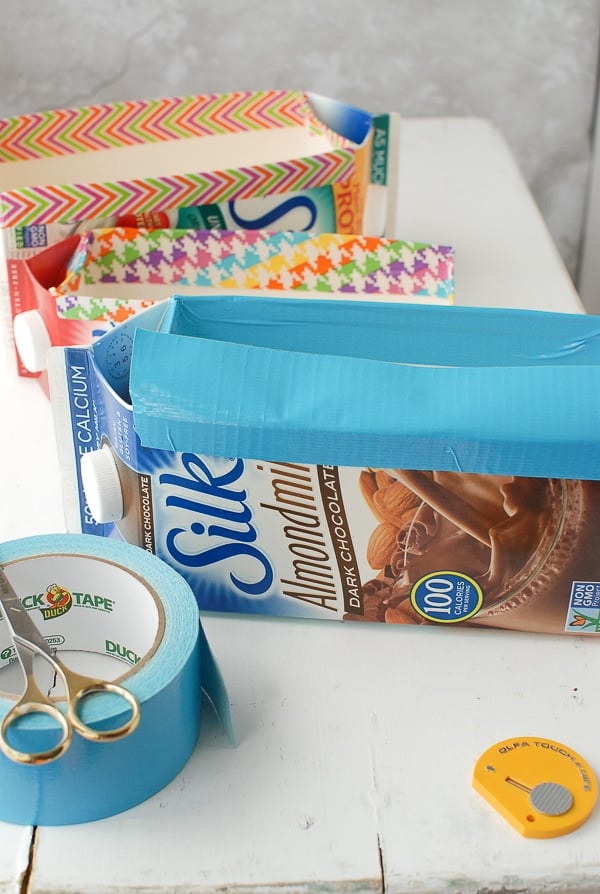
Using colorful duct tape, tape over the four edges of the opening. This helps the planter maintain its shape as well as add a decorative touch.
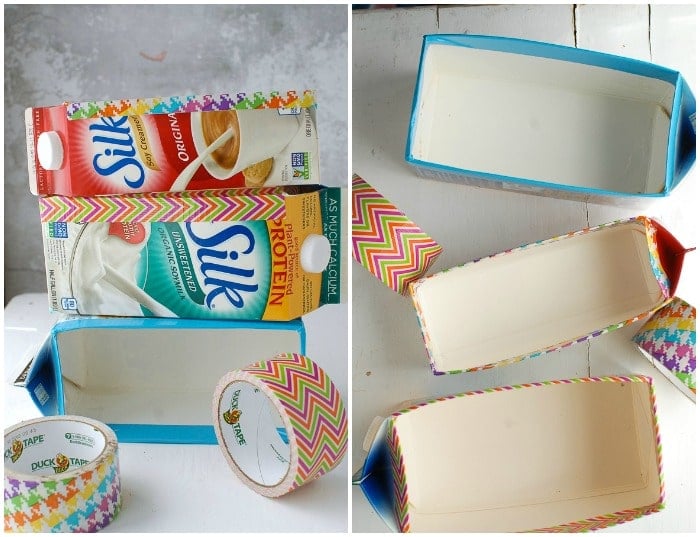
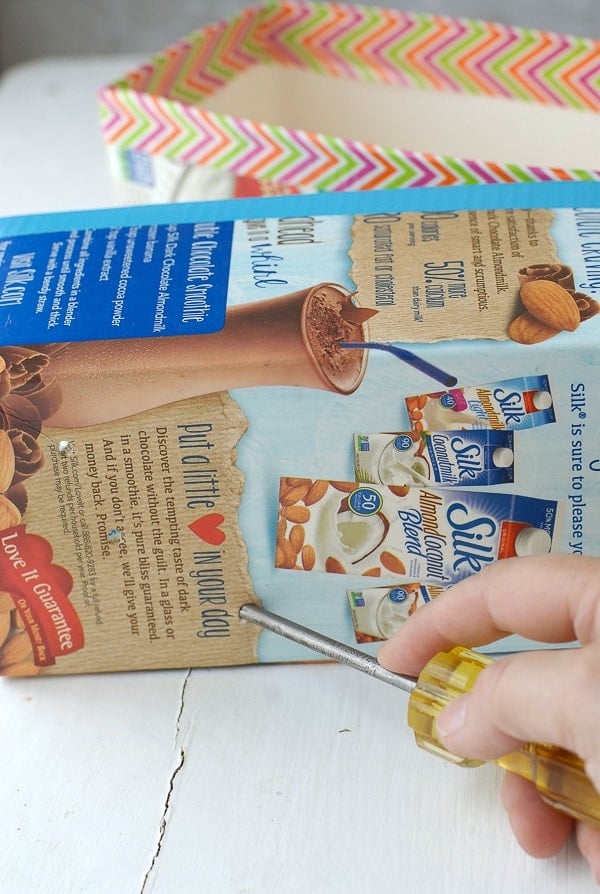
Using a Phillips-head screwdriver, poke holes for drainage in the bottom of the planter (every few inches). This step is also a good task for parents that are helping little gardeners!
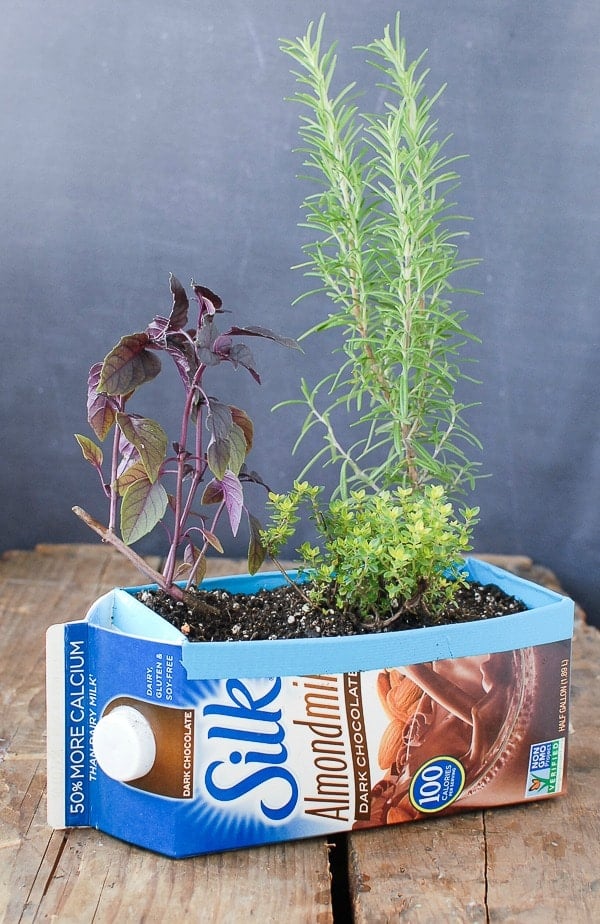
Fill the planter with quality indoor potting soil. If using purchased herbs, add a small layer of soil (about 1 inch) on the bottom; place plants on top of the soil and fill around them leaving approximately an inch between the top of the soil and the top edge of the planter. If planting seeds, fill to 1 inch below the top of the planter with soil then add the seeds as directed on seed package.
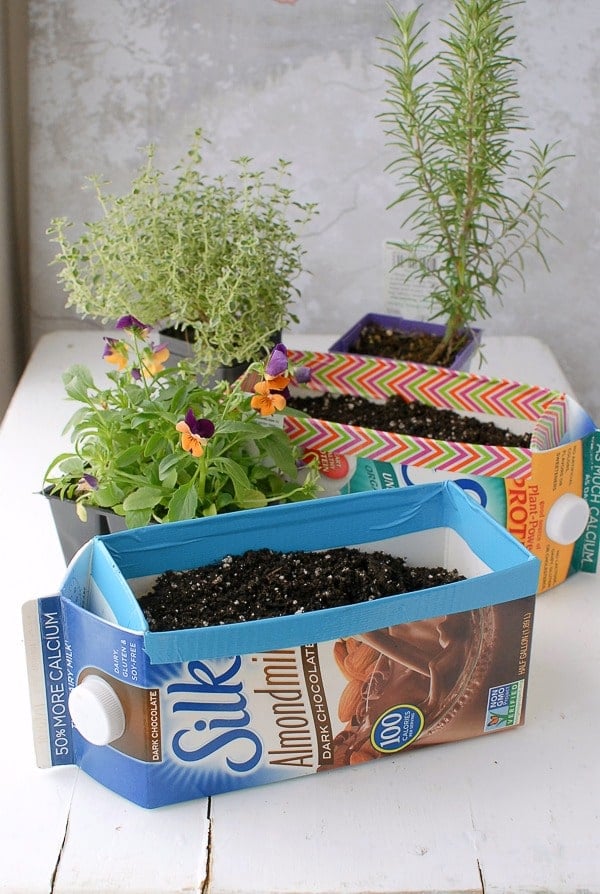
Milk Carton Herb Gardens fit perfectly on a sunny windowsill and the piece of the milk carton that was originally cut out is great to place underneath the bottom of the planter to protect the surface below. Gardens should be watered in a sink and allowed to drain fully before placing on a surface which could be damaged.
There are many things I love about Silk and one is following their Facebook page. They share product updates, great recipes ideas, gardening tips and inspirational messages. Give them a LIKE to keep track of more fun ideas like these gardens!
This conversation is sponsored by Silk. The opinions and text are all mine.
Leave a Reply