These Oreo Cookie Balls are an easy and fun no bake treat. Only three simple ingredients and they are the easiest dessert! We’ve made these into little monsters with colorful shells and candy eyes as a perfect treat for Halloween. Printable labels included too.

Delicious Oreo truffles are easy to change up in many ways!
A package of Oreos, cream cheese and some chocolate coating is all you need to make these favorite treats. They are super easy cookie truffles. This monster version is perfect for the spooky holiday season. Fun to make with kids too.
Serve with our Monster Cupcakes (also super easy)!
Jump to:
Recipe Ingredient Notes
Oreo cookies. You’ll need 36 Oreo cookies (about a ‘family pack’ size). Either regular or gluten-free Oreo cookies will work. You’ll use the entire cookie with filling.
Cream cheese. One 8-ounce brick of cream cheese is needed. Start with room temperature cream cheese or softened cream cheese.
Candy melts. For coating the monsters use 4 ounces EACH of green, blue and orange (or colors you prefer).
Candy eyes. Choose various sizes to make the monsters more interesting. You can find candy eyes where baking supplies are sold: grocery stores, craft stores with a baking section, kitchen stores or online.

How to make Oreo Balls
Printable recipe card at the bottom of this post.
STEP 1. Preparation
Line a large rimmed baking sheet with parchment paper or a sheet of wax paper.
STEP 2. Make the Oreo cookie mixture
Place Oreos in a food processor and process into fine crumbs. Alternatively you can place them in a sealed plastic bag and smash them with a rolling pin.
Place the softened cream cheese in the bowl of a stand mixer fitted with a paddle attachment. Beat until smooth. Add the Oreo crumbs and beat to mix together.
Cover the dough in plastic wrap and place in the fridge for at least 30 minutes.
STEP 3. Make cookie balls
Remove the cookie mixture from the refrigerator and roll into tablespoon sized balls (a small cookie scoop works great for this).
STEP 4. Coat
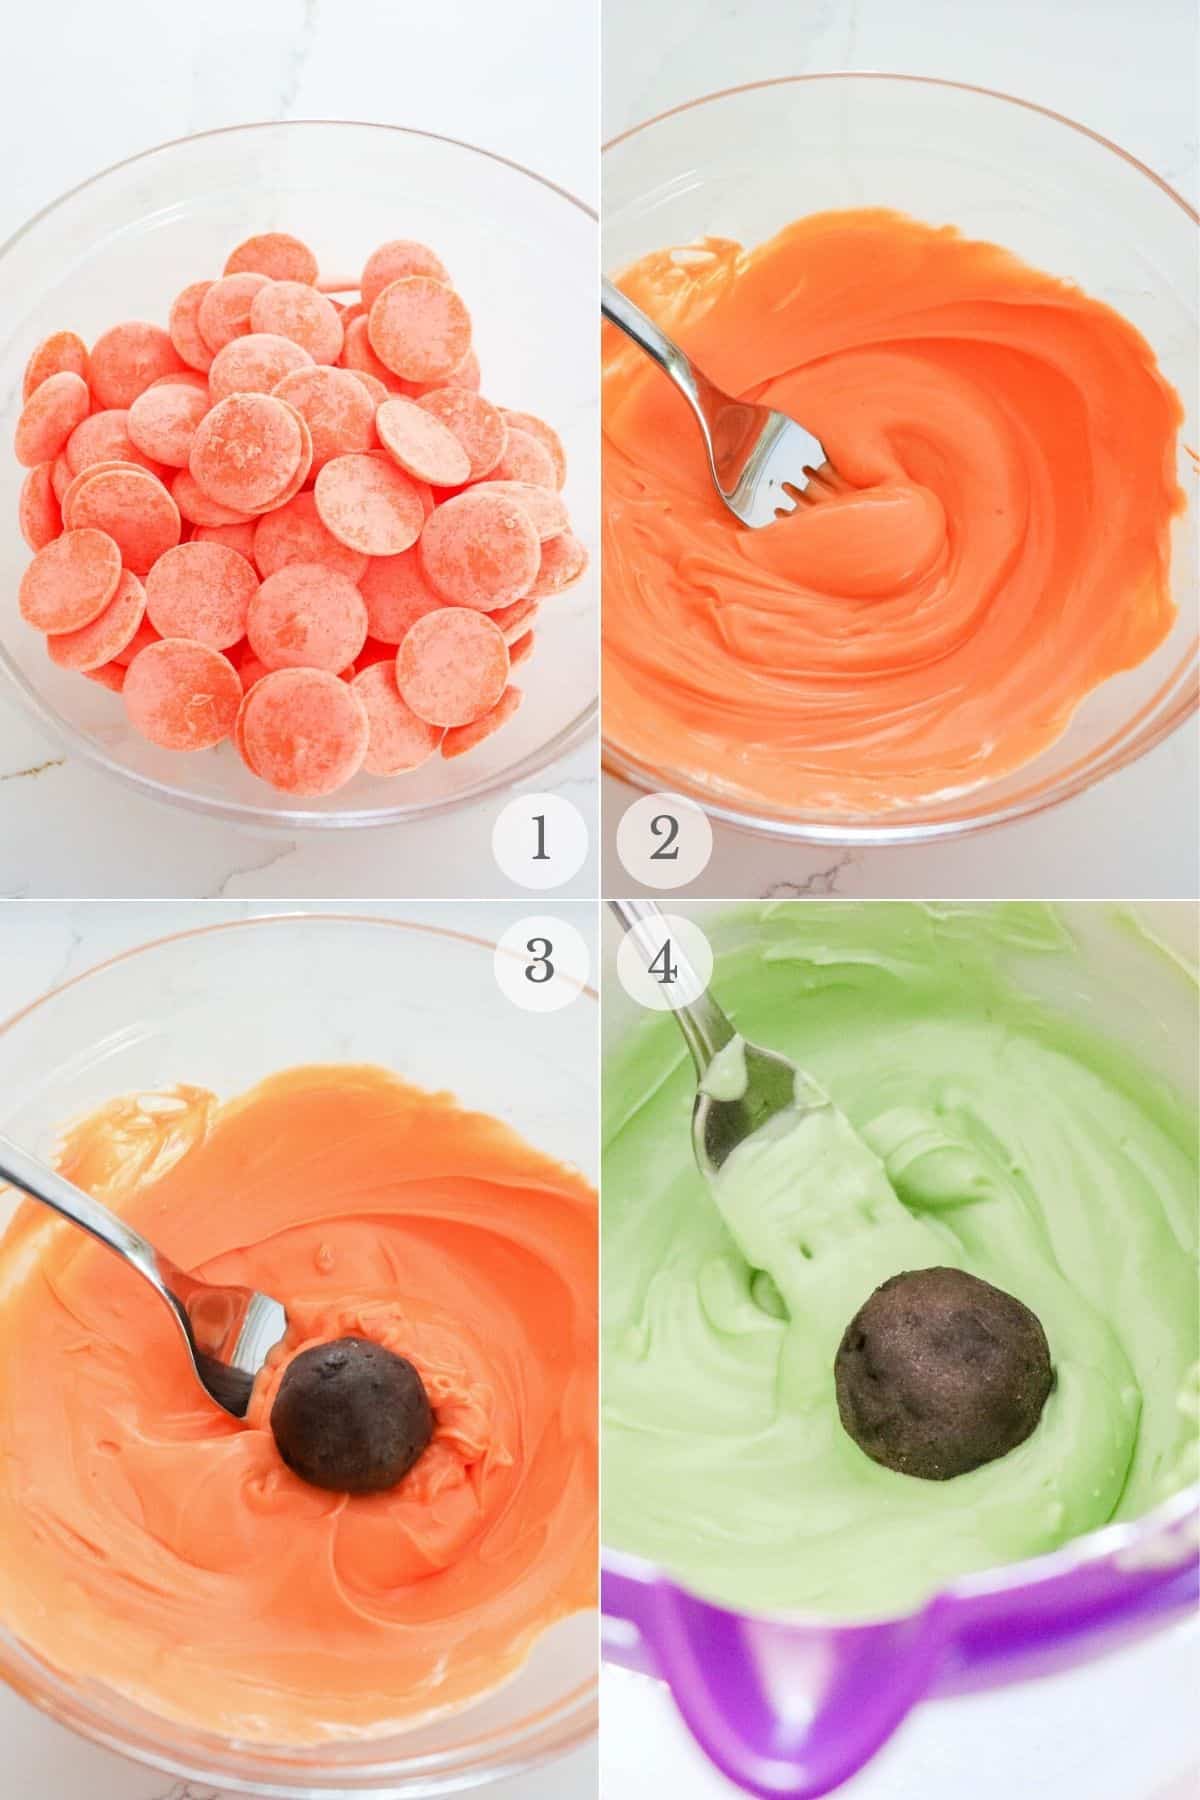
Place the candy melts each in a separate microwave-safe bowl (photo 1), melt the candy melts per the the package directions. Usually you’ll heat in 15 to 30 second intervals, checking and stirring between heating each time so that the candy doesn’t burn (photo 2).
Remove the cookie balls from the refrigerator and dip balls in the melted chocolate using a fork (photo 3-4). Coat the Oreo ball truffles and allow any excess chocolate to drip back into the bowl..
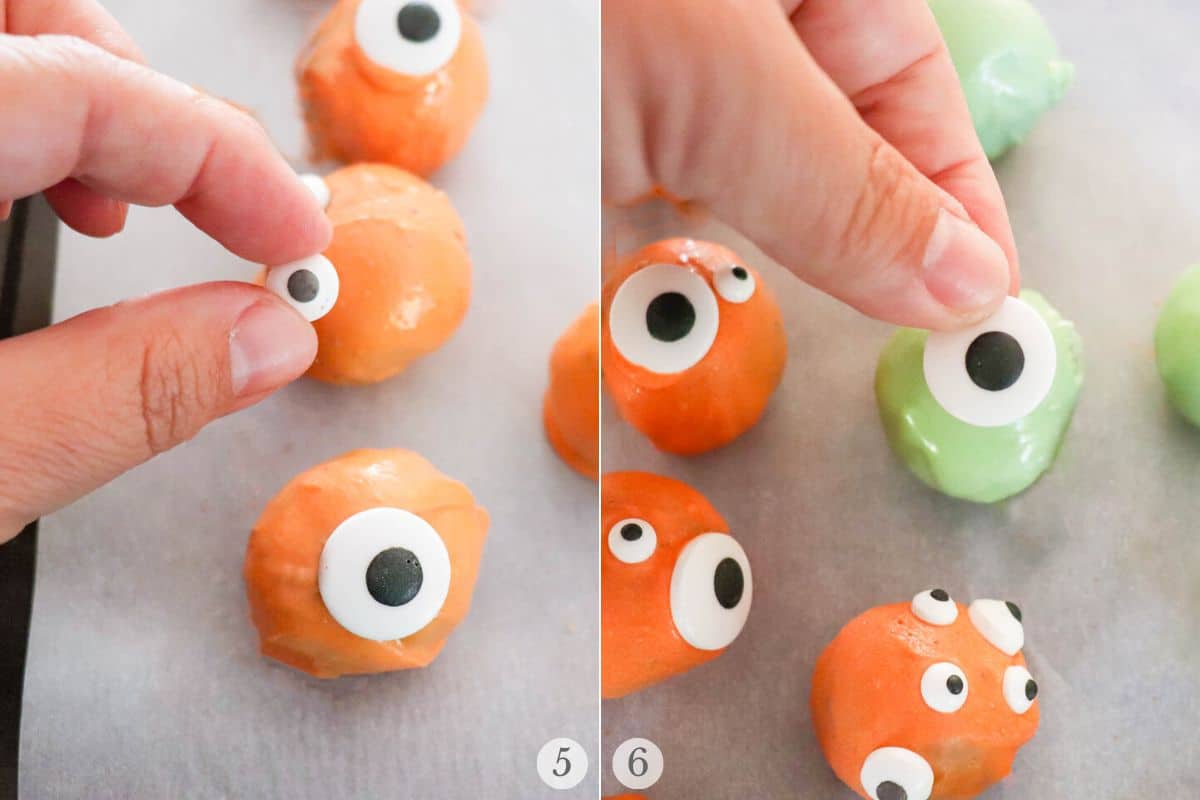
Place dipped balls on the prepared baking sheet in a single layer and immediately add candy eyes (photos 5-6).
Place the finished Oreo balls back into the refrigerator and allow the chocolate shell to harden completely before serving.
Variations
Use different flavor Oreo cookies. You can switch up the type of Oreos you use for a whole new flavor.
Try a different coating. Candy melts or almond bark work great. Unlike semi-sweet chocolate or white chocolate, candy wafer are designed to be a candy coating, forming a firm coating with a smooth finish that doesn’t melt when handled.
Candy melts come in many different colors (as well as in semi-sweet chocolate, dark chocolate and vanilla flavors). Almond bark is available in chocolate bark or vanilla.
Add a different decoration. Instead of candy eyes you can use sprinkles, finely chopped nuts, smashed peppermint candies or candy canes for a Christmas or winter variety. some crushed Oreo crumbs. Or drizzle a different color of chocolate on the small balls with any kind of chocolate you love.
Using a double boiler. If you don’t have or prefer not to use a microwave to melt the candy melts you can also use a double boiler.
Printable Tags
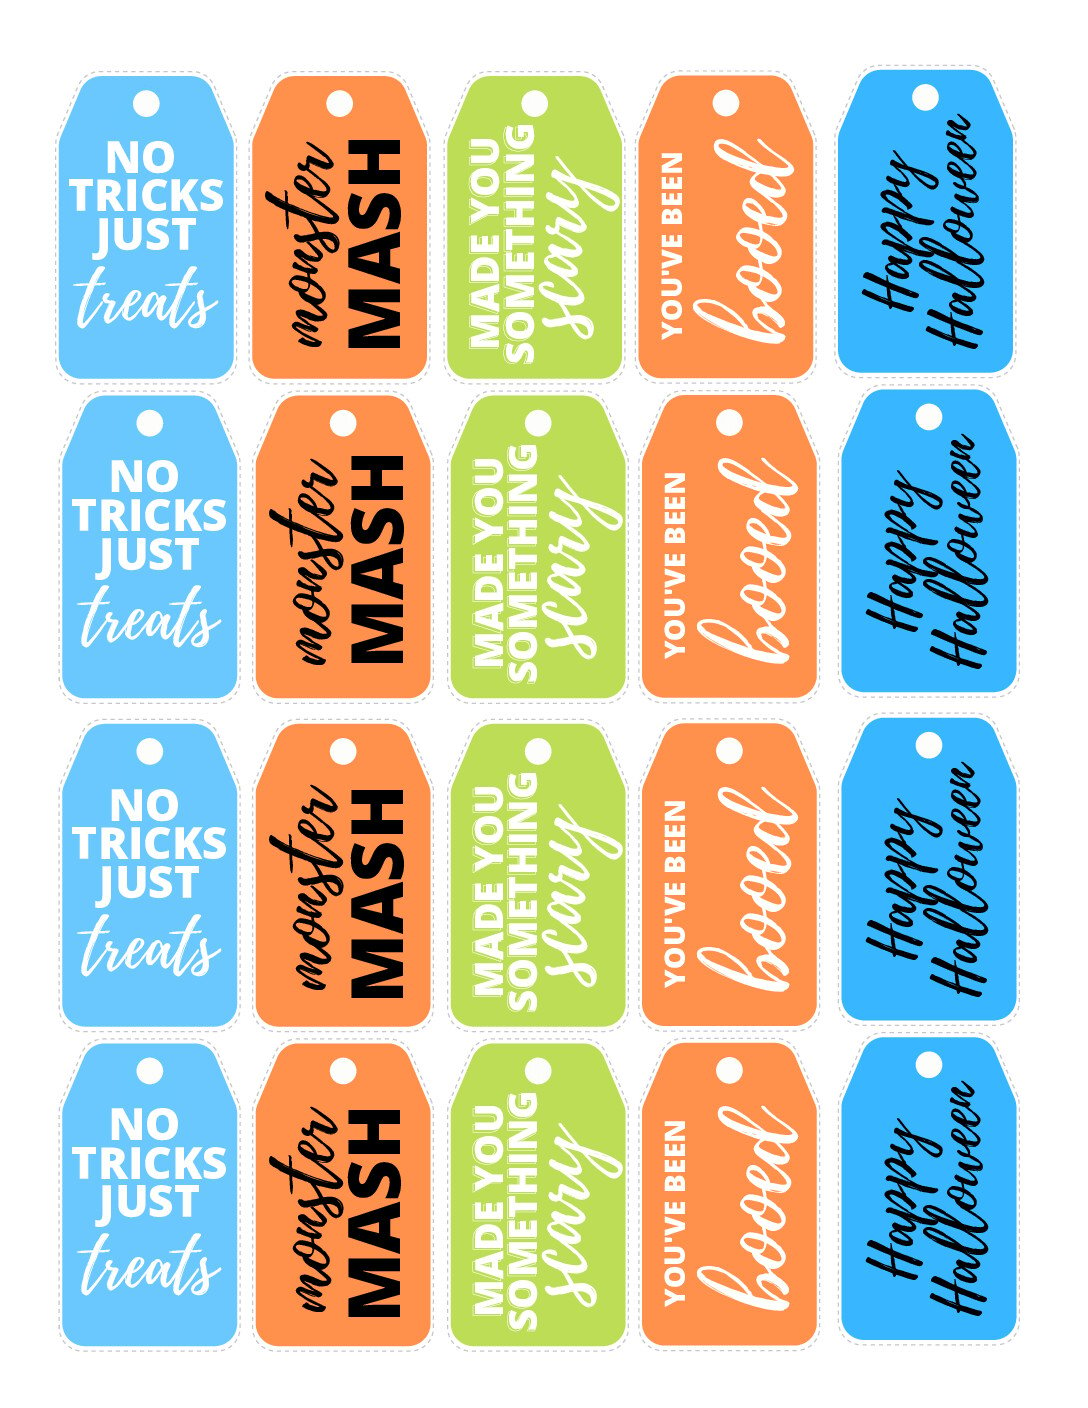
These Oreo balls are great for gifting or Halloween ‘you’ve been booed’ treats. Add them to a treat bag with one of these free printable labels!

How to store
Store in an airtight container in the refrigerator for up to 2 weeks. They can also be frozen for up to 2 months. Thaw in the refrigerator.
More recipes you’ll love!
Recipe

Monster Oreo Balls
Ingredients
- 36 Oreo sandwich cookies regular or gluten-free
- 8 ounce package cream cheese softened
- 4 ounces green candy melts
- 4 ounces blue candy melts
- 4 ounces orange candy melts
- Candy eyes different sizes
Instructions
- Line a large rimmed baking sheet with parchment paper or a sheet of wax paper.
- Place Oreos in a food processor and process into fine crumbs. Alternatively you can place them in a sealed plastic bag and smash them with a rolling pin.
- Place the softened cream cheese in the bowl of a stand mixer fitted with a paddle attachment. Beat until smooth. Add the Oreo crumbs and beat to mix together.
- Cover the cookie mixture with plastic wrap and place in the fridge for at least 30 minutes.
- Remove the cookie mixture from the refrigerator and roll into tablespoon sized balls (a small cookie scoop works great for this).
- Place the candy melts each in a separate microwave-safe bowl, melt per the the package directions. Usually you'll heat in 15 to 30 second intervals, checking and stirring between heating each time so that the candy doesn't burn.
- Remove the cookie balls from the refrigerator and dip balls in the melted chocolate using a fork. Coat the Oreo ball truffles completely and allow any excess chocolate to drip back into the bowl.
- Place dipped balls on the prepared baking sheet in a single layer and immediately add candy eyes.
- Place the finished Oreo balls back into the refrigerator and allow the chocolate shell to harden completely before serving.





Stacy G says
So adorable! These were easy to make and the kids loved them! Thank you!
Kim says
These are the cutest and were so simple to make! The kids loved helping too.
Nikki says
These are so fun and adorable! They will be a huge hit at my Halloween party!
Amanda Wren-Grimwood says
These are so cute! Who doesn’t like oreos and this was a great activity to do with the kids too.
Kali Alexandria says
These monster balls are SO cute and great for kiddos!
Gloria says
I actually have some candy eyeballs already. Was a really fun project with my grandkids.